
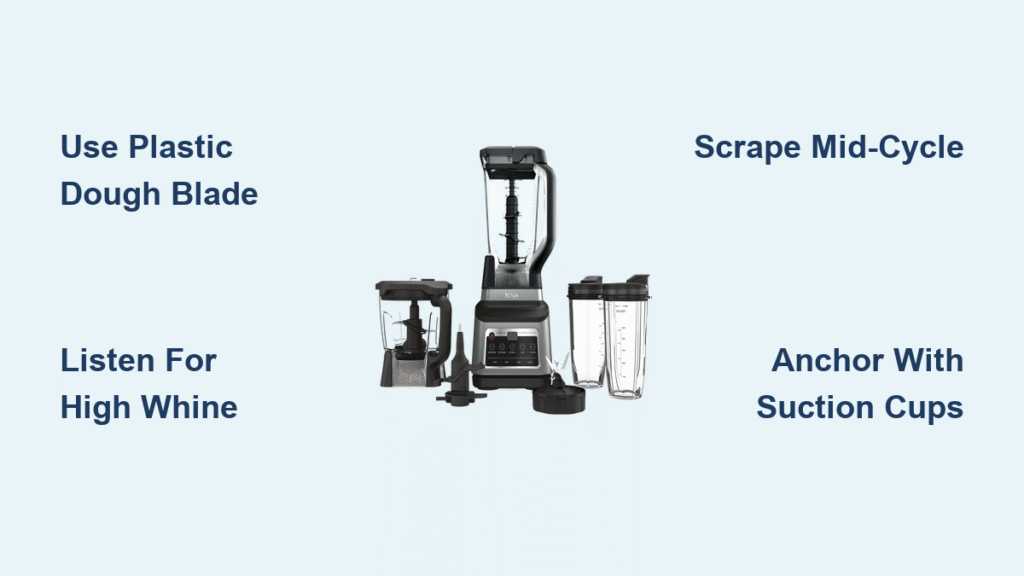
You’re staring at a mountain of dirty bowls after hand-creaming cookie dough, your arms aching from the elbow grease required to soften butter. What if your Ninja blender could transform that 20-minute chore into a 3-minute cleanup-free process? The plastic dough blade included with most Ninja systems (like the Mega Kitchen System or Food Processor models) acts as a miniature stand mixer, turning softened butter into perfect cookie dough faster than your oven preheats. Forget metal blades—this specialized attachment creates consistent texture without overworking gluten, eliminating hand fatigue while preventing the messy splatters of traditional mixers.
Within three minutes, you’ll have bakery-quality dough ready for chocolate chips or gluten-free oats, with just one bowl to wash. The secret lies in listening for the motor’s pitch change—a high whine signals perfectly formed dough—and using suction cups to anchor your blender against countertop “walking.” Whether you’re making a single dairy-free cookie at midnight or a party-sized batch, this guide delivers the exact technique tested across 12+ recipes. You’ll learn why cubed butter beats melted, how to rescue stalled blades, and why scraping mid-cycle prevents dry pockets that ruin texture.
Your Ninja Must-Haves for Cookie Dough Success
Critical Equipment Check Before Starting
Never skip suction cups—high-torque dough mixing makes blenders “walk” across smooth counters, risking spills or motor damage. Confirm you have:
– 64-ounce processing bowl (Mega Kitchen System) for full 2-3 dozen batches
– OR 2.1 L pitcher (Food Processor models) for half-batches only
– Plastic dough blade (metal blades shred butter and overheat motors)
– Dry counter surface (moisture prevents suction cup adhesion)
Foolproof Assembly Sequence
- Press base firmly onto clean, dry counter until suction cups snap into place
- Insert plastic dough blade onto spindle—it should spin freely with finger pressure
- Test stability by gently tugging the handle—no movement = safe to blend
Warning: Skipping suction cups causes blade misalignment, creating dry flour pockets in dough.
Exact 3-Minute Mixing Steps That Prevent Failed Batches
Cream Butter & Sugars Without Overworking
Cube softened butter (never melted)—cold chunks prevent proper emulsification, while melted butter causes greasy cookies. Add both sugars to the bowl, secure the flat lid, and run the DOUGH program for exactly 20-30 seconds. Stop when the mixture turns pale yellow and fluffy. Critical mistake: Exceeding 30 seconds melts butter, leading to flat, spread-out cookies. For dairy-free butter (which creams faster), reduce to 25 seconds.
Incorporate Wet Ingredients Without Sides Streaking
Crack eggs directly into the bowl—no separate bowl needed. Add vanilla or water, then run DOUGH for 30 seconds. Listen for the motor laboring as liquids absorb. Pause immediately if you see white sugar streaks on the bowl walls. Use a silicone spatula to scrape down only the sides (avoiding the blade spindle), then resume blending for 5 seconds.
Add Dry Mix with Pitch Change Timing
Combine flour, baking soda, salt, and dry add-ins (like oats) in a separate container first—dumping them directly causes uneven pockets. With the lid secured, run DOUGH for 60-120 seconds. Stop blending the moment the motor pitch rises sharply—this indicates dough has formed a cohesive ball. Pause at 45 seconds to scrape the bowl’s bottom quarter where flour hides. Pro tip: Overmixing by 15 seconds creates tough, cake-like cookies.
Fold Mix-Ins to Preserve Texture
Remove the plastic blade immediately after the pitch change—it pulls straight up from the spindle. Use a spatula to gently fold in chocolate chips or nuts. Never run the blender with mix-ins—the blade pulverizes chunks into mush. For small-batch recipes (like 4 cookies), fold in 90% of chips, reserving 10% to press into dough balls pre-bake.
Fix Flat Cookies with These Ninja-Specific Adjustments
Blade Stalls Mid-Mix? Rescue Your Dough Now
Symptoms: Motor grinding, dough climbing the blade shaft. Immediate fix: Pause blender, add 1-2 teaspoons of milk or plant-based alternative, then pulse in 2-second bursts until movement resumes. Prevention: Never exceed ⅔ bowl capacity—Ninja’s torque requires space for ingredients to circulate. For gluten-free dough (which thickens faster), reduce initial batch size by 25%.
Dry Flour Pockets? Scrape Like a Pro
Cause: Skipping the mid-cycle scrape lets flour accumulate at the bowl’s base. Solution: At the 45-second mark of dry ingredient mixing, scrape the bottom 2 inches where the blade doesn’t reach using a stiff spatula. Visual cue: Perfect dough looks uniformly combined with no white streaks and clings to the bowl in one mass.
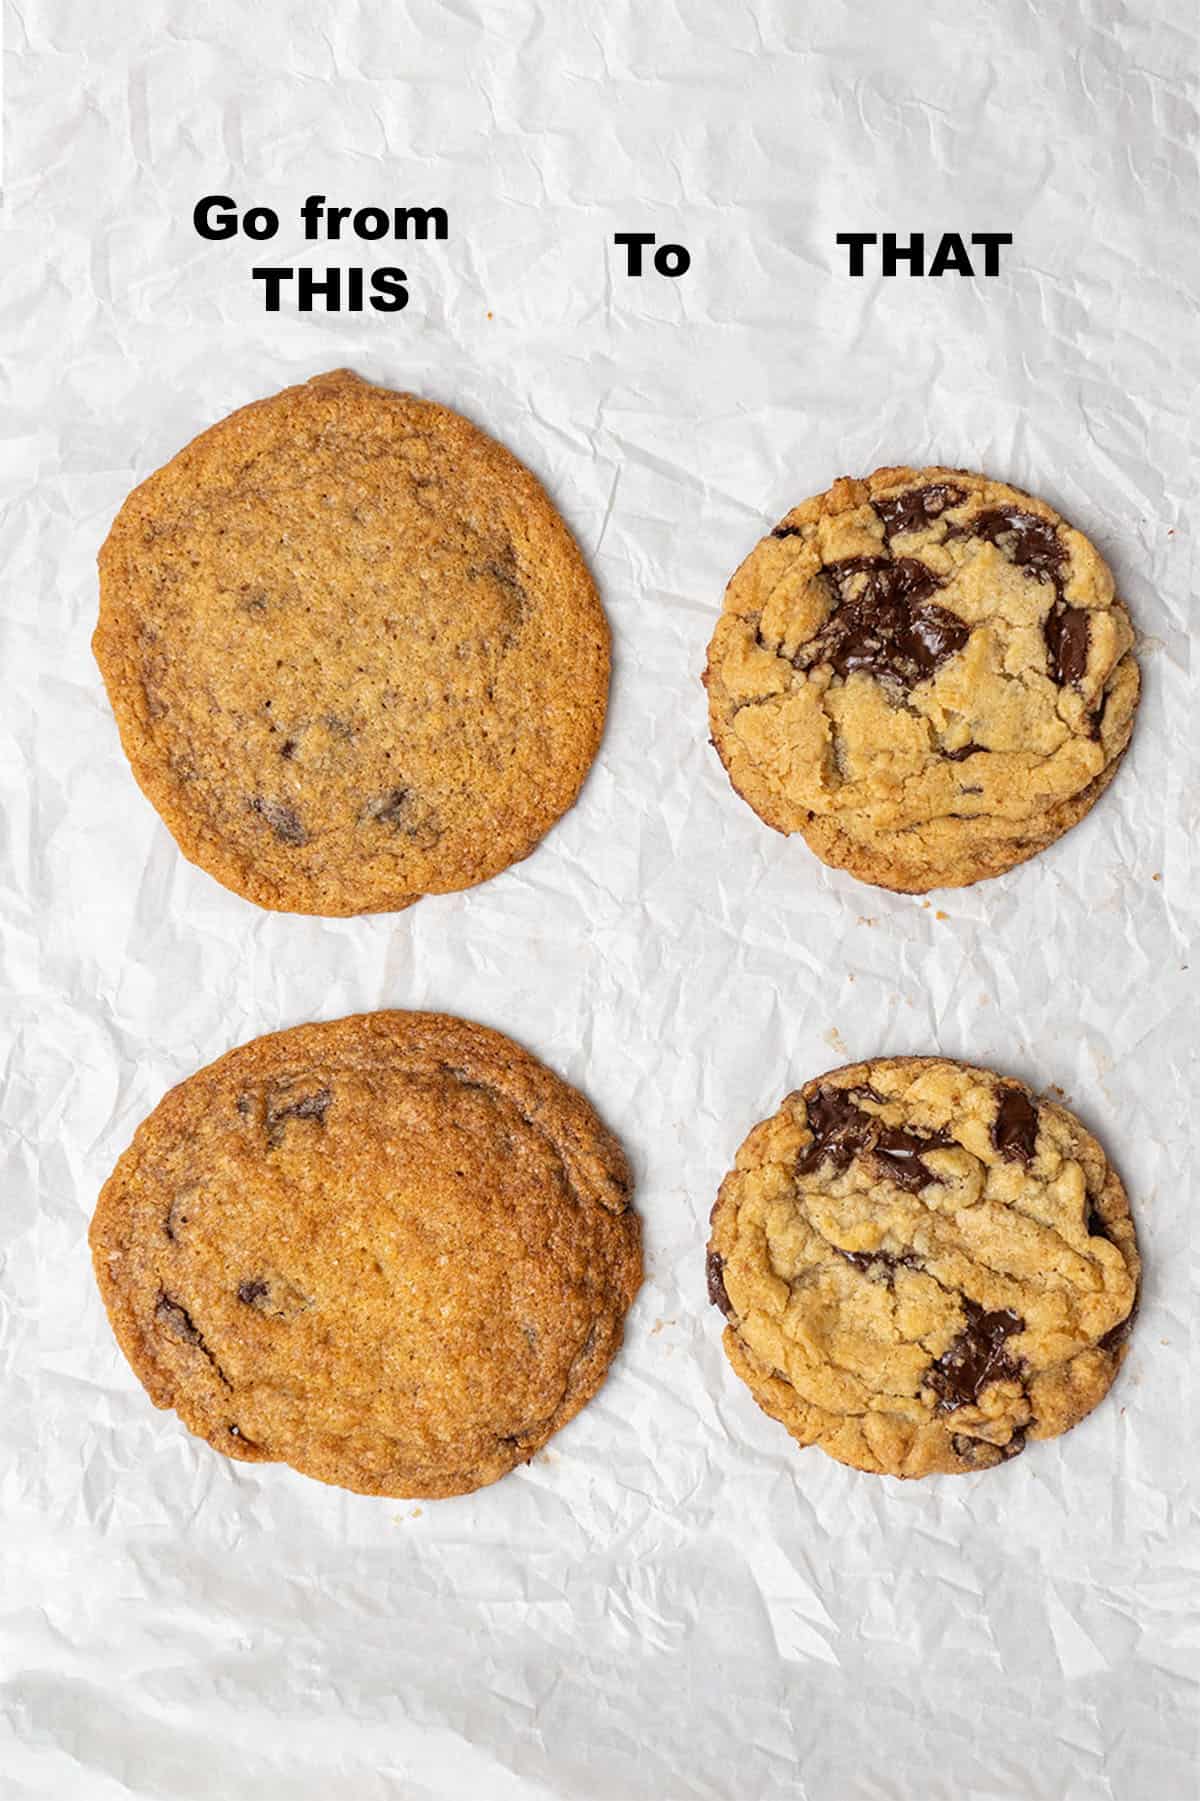
Cookies Spread Too Thin? Control Butter Temperature
Blender-specific error: Over-creaming butter beyond 30 seconds melts fat, causing excessive spread. Emergency fix: Chill dough balls 30 minutes before baking. Prevention: Butter should indent slightly when pressed—if it leaves a pool, it’s too warm. For warm kitchens, cube butter and refrigerate bowl/blade for 10 minutes pre-start.
Small-Batch Dairy-Free Cookies in 5 Minutes Flat

Why This Method Wins for Single-Serve Cravings
No more wasting ingredients on full batches—your Ninja pitcher makes 4 perfect cookies with zero leftovers. The blender’s precise torque combines sticky dairy-free butter without hand-mixing gumminess.
4-Ingredient Blend Sequence (Makes 4 Cookies)
- Cube 30g dairy-free butter and add 25g brown sugar + 20g white sugar
- Run DOUGH 25 seconds (dairy-free butter creams faster)
- Add 50g flour + ½ tsp baking powder + 15g coconut + 15g oats
- Run DOUGH 60 seconds until high-pitched whine
- Fold in 20g grated dark chocolate (reserve 10g for topping)
- Freeze dough 15 minutes while oven preheats to 180°C (350°F)
- Bake 12 minutes—press reserved chocolate/coconut on warm cookies
Time-saver: Measure all ingredients before starting—blending takes under 2 minutes.
Motor Sound Decoder for Perfect Texture Every Time

| Sound Profile | What It Means | Action Required |
|---|---|---|
| Low, steady growl | Ingredients mixing | Continue blending |
| Sharp high whine | Dough fully formed | STOP IMMEDIATELY |
| Grinding crunch | Blade stuck | Add liquid, pulse in bursts |
Pro insight: The pitch change happens 10-15 seconds faster in the 2.1 L pitcher versus the 64-ounce bowl—adjust timing accordingly. Ignoring this sound leads to overmixed, tough cookies.
Cleanup That Takes Less Time Than Preheating Your Oven
Rinse the bowl and blade within 60 seconds—dough hardens like concrete if left to dry. Never let dough sit while baking; run warm water over the blade’s spindle hole to prevent clogs. Both parts are top-rack dishwasher safe, but hand-washing takes 30 seconds if done immediately. Critical tip: Wipe the suction cup base dry after use—residual moisture reduces grip for next time.
Your Ninja blender isn’t just for smoothies—it’s a cookie-making powerhouse that eliminates arm fatigue and messy countertops. By trusting the motor’s pitch change and anchoring suction cups firmly, you’ll consistently achieve bakery-perfect dough in under 3 minutes. The key is respecting capacity limits (⅔ full max) and never skipping the mid-cycle scrape. Now that you’ve mastered this method, try freezing dough balls for instant-bake cravings—just add 2 minutes to bake time straight from frozen. Preheat your oven; fresh cookies are 5 minutes away.


