
Few things frustrate espresso lovers more than watching freshly ground coffee cling stubbornly to grinder internals, creating stale flavor notes and contaminating your carefully sourced beans. That coffee sticking to grinder surfaces isn’t just an annoyance—it’s a silent quality thief that robs your shots of brightness, character, and consistency. Whether you’re pulling shots at home or managing a busy café, understanding why retention happens and how to combat it transforms your espresso experience from constant frustration into predictable excellence.
The phenomenon of coffee grounds accumulating inside grinding chambers affects virtually every grinder design, yet the solutions vary dramatically based on your specific equipment and usage patterns. What works for a commercial-grade Mazzer might destroy a delicate precision grinder, and the maintenance schedule that keeps one machine humming might be entirely unnecessary for another. This guide walks you through understanding exactly where and why coffee sticks, how to identify your grinder’s specific retention personality, and implement targeted solutions that preserve both flavor and equipment longevity.
Decode Why Coffee Grounds Stick Inside
Coffee grounds cling to grinder internals due to a combination of physical design and the natural properties of roasted coffee itself. Every grinder contains voids, recesses, and transition zones where particles can lodge and remain undisturbed by subsequent grinding operations. These spaces exist where beans enter the grinding chamber, around burr mounting areas, and within the internal geometry that guides coffee from the burrs to your portafilter.
Pro Tip: Think of your grinder like a maze—coffee naturally accumulates in the dead-end corridors where the grinding action doesn’t reach. The first coffee to enter these spaces after cleaning essentially becomes trapped. New grounds subsequently flow around this retained material rather than displacing it, creating a static reservoir that doesn’t participate in extractions. This isn’t a malfunction—it’s an inherent consequence of mechanical coffee grinding. The grinding path itself accumulates older coffee on a shot-by-shot basis during regular use, with the rate and extent depending entirely on your grinder’s specific design.
Oil retention compounds the problem significantly. The natural oils in roasted coffee create a slightly sticky residue that grabs onto metal surfaces, particularly in the warmer regions of the grinding chamber. As these oils accumulate, they transform from minor nuisance to significant retention mechanism, binding fresh grounds to surfaces that would otherwise release them cleanly. Darker roasts with higher oil content make this problem particularly pronounced.
How Coffee Oils Accelerate Sticking Problems
When you grind coffee, the friction generates heat that causes the natural oils to become more fluid and sticky. These oils then coat the metal surfaces inside your grinder, creating a perfect environment for subsequent grounds to adhere. Over time, this creates a self-perpetuating cycle:
- Oily coffee → Sticky residue on metal surfaces → Increased retention → More oil buildup → Worse retention
This cycle explains why retention problems often worsen over time if not properly addressed. The good news? You can break this cycle with targeted maintenance that addresses both the physical spaces where coffee accumulates and the oil buildup that makes retention worse.
How Grinder Design Determines Retention Patterns
Different grinder architectures exhibit dramatically different retention characteristics, making your specific model the most important factor in understanding and managing this issue. Flat burr grinders like the SJ and Major models possess substantial voids under both the upper and lower burrs that can swallow considerable amounts of grounds after thorough cleaning. These void spaces represent the natural consequence of flat burr mounting design, where component arrangement creates pockets where coffee collects and remains undisturbed.
Expert Note: If your grinder has flat burrs, you’re likely dealing with 3-5 grams of retention after cleaning—significantly more than conical burr designs. In stark contrast, the K10 grinder’s grind chamber contains no such substantial voids, resulting in approximately only 1 gram of retention from the first shot dose when single dosing after cleaning. This ten-fold difference illustrates how fundamentally different design approaches produce vastly different retention profiles. Understanding your grinder’s baseline behavior allows for targeted intervention rather than wasted effort on problems your particular machine doesn’t actually have.
The retention capacity extends beyond the immediate grinding chamber to what enthusiasts call the “pipeline”—the coffee in transit from the hopper through the burrs, down the chute, and potentially through a doser mechanism. The Vario and M3 grinders exemplify low-retention design in this regard, with less than 0.5 grams of material in the pipeline during normal operation. At the opposite extreme, the Robur-E can accumulate up to 10 grams in its pipeline, representing a substantial reservoir that could mix with fresh grounds or become stale during idle periods.
Identify Your Grinder’s Retention Personality
Take 30 seconds to determine your grinder’s retention profile by:
- Thoroughly cleaning your grinder (remove hopper, run brush through chamber)
- Single-dosing 18g of coffee (light roast shows retention better)
- Collecting the first dose that comes out—this represents your baseline retention
Grinders fall into three retention categories:
– Low retention (<2g): K10, Niche Zero, many modern home grinders
– Medium retention (2-5g): Most flat burr grinders like EK43, SJ models
– High retention (>5g): Older commercial grinders, some doser-equipped machines
Knowing your category tells you exactly how aggressive your maintenance needs to be. Low-retention grinders need minimal intervention, while high-retention models require more systematic approaches.
Identify Your Grinder’s Retention Zones

Learning where your specific grinder tends to accumulate coffee enables precise maintenance rather than blanket approaches that might waste time or risk damage. Most grinders exhibit retention in predictable zones that you can map through careful observation and occasional inspection.
The grinding chamber itself represents the primary retention zone in most designs. Coffee collects around burr edges, in mounting recesses, and along chamber walls where the sweeping mechanism doesn’t make direct contact. On grinders with visible chambers or removable bottoms, you can observe this accumulation directly after grinding several shots of a distinctly colored coffee.
Warning: Never use metal tools to scrape coffee from burrs or chamber walls—this can damage precision components and create metal shavings that contaminate your coffee.
The exit throat where ground coffee transitions from the grinding chamber to the chute or doser frequently accumulates material, particularly on designs where the throat diameter is significantly smaller than the chamber interior. This zone often shows visible buildup after each shot, presenting an easy target for daily maintenance.
Doser-equipped grinders add another retention zone entirely. The chamber where coffee accumulates before being dispensed by the dosing mechanism can hold surprising amounts of material, especially if the doser vanes don’t make complete contact with all interior surfaces. Grinders with dosers require attention to this zone specifically, as material settling here during idle periods represents the most likely source of stale coffee contamination.
Daily Habits That Minimize Sticking
Implementing simple daily practices dramatically reduces retention impact without requiring disassembly or aggressive intervention. The goal is interrupting the accumulation cycle before it builds to problematic levels, using minimal effort for maximum effect.
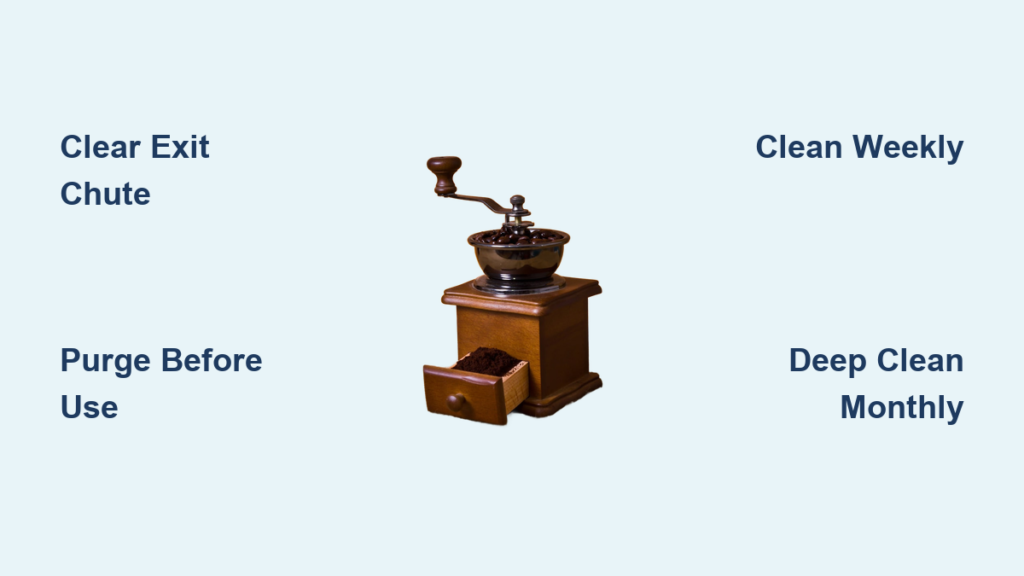
Clearing the exit chute after each shot using a simple tool like a chopstick or dedicated brush captures coffee that would otherwise remain in the system. This captured material can be added to your current dose, minimizing waste while reducing the amount of retained grounds. For grinders without visible chutes, running the dosing mechanism briefly after grinding accomplishes similar evacuation.
After any extended idle period—overnight being the most common scenario for home users—grind 2-3 grams of coffee and discard this material before your intended dose. This purge addresses the coffee most likely to have become stale or to contaminate fresh grounds, protecting your shot quality with minimal waste. For doser-equipped grinders, an additional few grams run through and captured in the doser helps clear material that may have settled during idle periods.
Develop a habit of quick chute inspection and cleaning—it transforms retention management from a periodic chore into an automatic part of your workflow. The thirty seconds invested after each shot prevents the gradual accumulation that eventually requires more aggressive intervention.
The 3-Step Daily Retention Prevention Routine
Follow this simple routine to keep coffee from sticking to your grinder:
- Post-shot clearance: After grinding your dose, use a small brush or chopstick to clear the exit chute (takes 10 seconds)
- Pre-shot purge: Before grinding your next dose (especially after >30 minutes idle), grind 2-3g and discard
- Weekly visual check: Remove hopper weekly to inspect upper chamber for buildup (takes 20 seconds)
This routine requires less than one minute daily but prevents 80% of retention-related quality issues.
Deep Cleaning Without Damaging Components
Periodic deep cleaning addresses the oils and residues that daily maintenance can’t reach, but approaching this task incorrectly risks damaging soft brass components that most grinders use for burr carriers. The threading where brass carriers attach to steel components is vulnerable to cross-threading and damage through repeated disassembly.
Commercial grinder cleaners provide the most user-friendly deep cleaning option. These products are designed to break down coffee oils without requiring mechanical intervention, allowing you to clean internal surfaces through the normal grinding action. Run a small amount of cleaner through the grinder, following product instructions for quantity and method, to address accumulated residue without any disassembly.
Pro Tip: For stubborn oil buildup, try this enhanced cleaning method:
1. Run 5g of commercial cleaner through your grinder
2. Let it sit for 10 minutes (don’t turn off grinder)
3. Run another 5g of cleaner
4. Follow with 20g of plain rice to absorb remaining residue
5. Finish with 30g of coffee to clear any rice traces
When disassembly becomes necessary—typically recommended approximately twice per year for most home users—following careful procedure protects your investment. Ensure the grinder is completely cold before starting to prevent thermal expansion from complicating reassembly. Use a proper-sized wrench on the burr carrier flats to prevent rounding the edges that future adjustments require. Taking photographs before disassembly provides a reference for correct reassembly, and turning the carrier in the proper direction (counterclockwise to loosen on most grinders) prevents cross-threading.
Maintenance Schedule That Prevents Sticking
Implement this tiered maintenance approach to prevent retention from becoming problematic:
- Daily: Clear exit chute after each shot; purge 2-3g before first shot after idle periods
- Weekly: Inspect upper chamber for visible buildup; run commercial cleaner through grinder
- Monthly: Deep clean chute and doser mechanism; check for oil buildup in accessible areas
- Quarterly: Full disassembly and cleaning (for most home users); replace burr carriers if worn
Expert Note: Coffee sticking to grinder internals isn’t something you eliminate completely—it’s something you manage strategically. By following this schedule, you’ll prevent retention from affecting your espresso quality while protecting your equipment from unnecessary wear and tear.
The minimal intervention philosophy serves most users well. Frequent disassembling wastes significant time and introduces risk of damage. The grinder’s normal operation provides ongoing self-cleaning as newly ground coffee forced through the spaces between burrs pushes previous material through the system. This automatic cleaning addresses the direct burr engagement zone while leaving the voids and recesses for periodic attention.
Final Note: Managing coffee that sticks to grinder components transforms from frustration to routine when you understand your specific machine’s retention patterns and implement targeted solutions. By focusing your efforts on the pipeline and chute—where retention actually affects your espresso quality—you’ll protect your coffee’s integrity while extending your grinder’s lifespan. Remember: a few grams of purge coffee is a small price to pay for consistently excellent espresso. Your grinder can produce outstanding results shot after shot; retention simply becomes one more variable you understand and control rather than an obstacle to your coffee enjoyment.


