
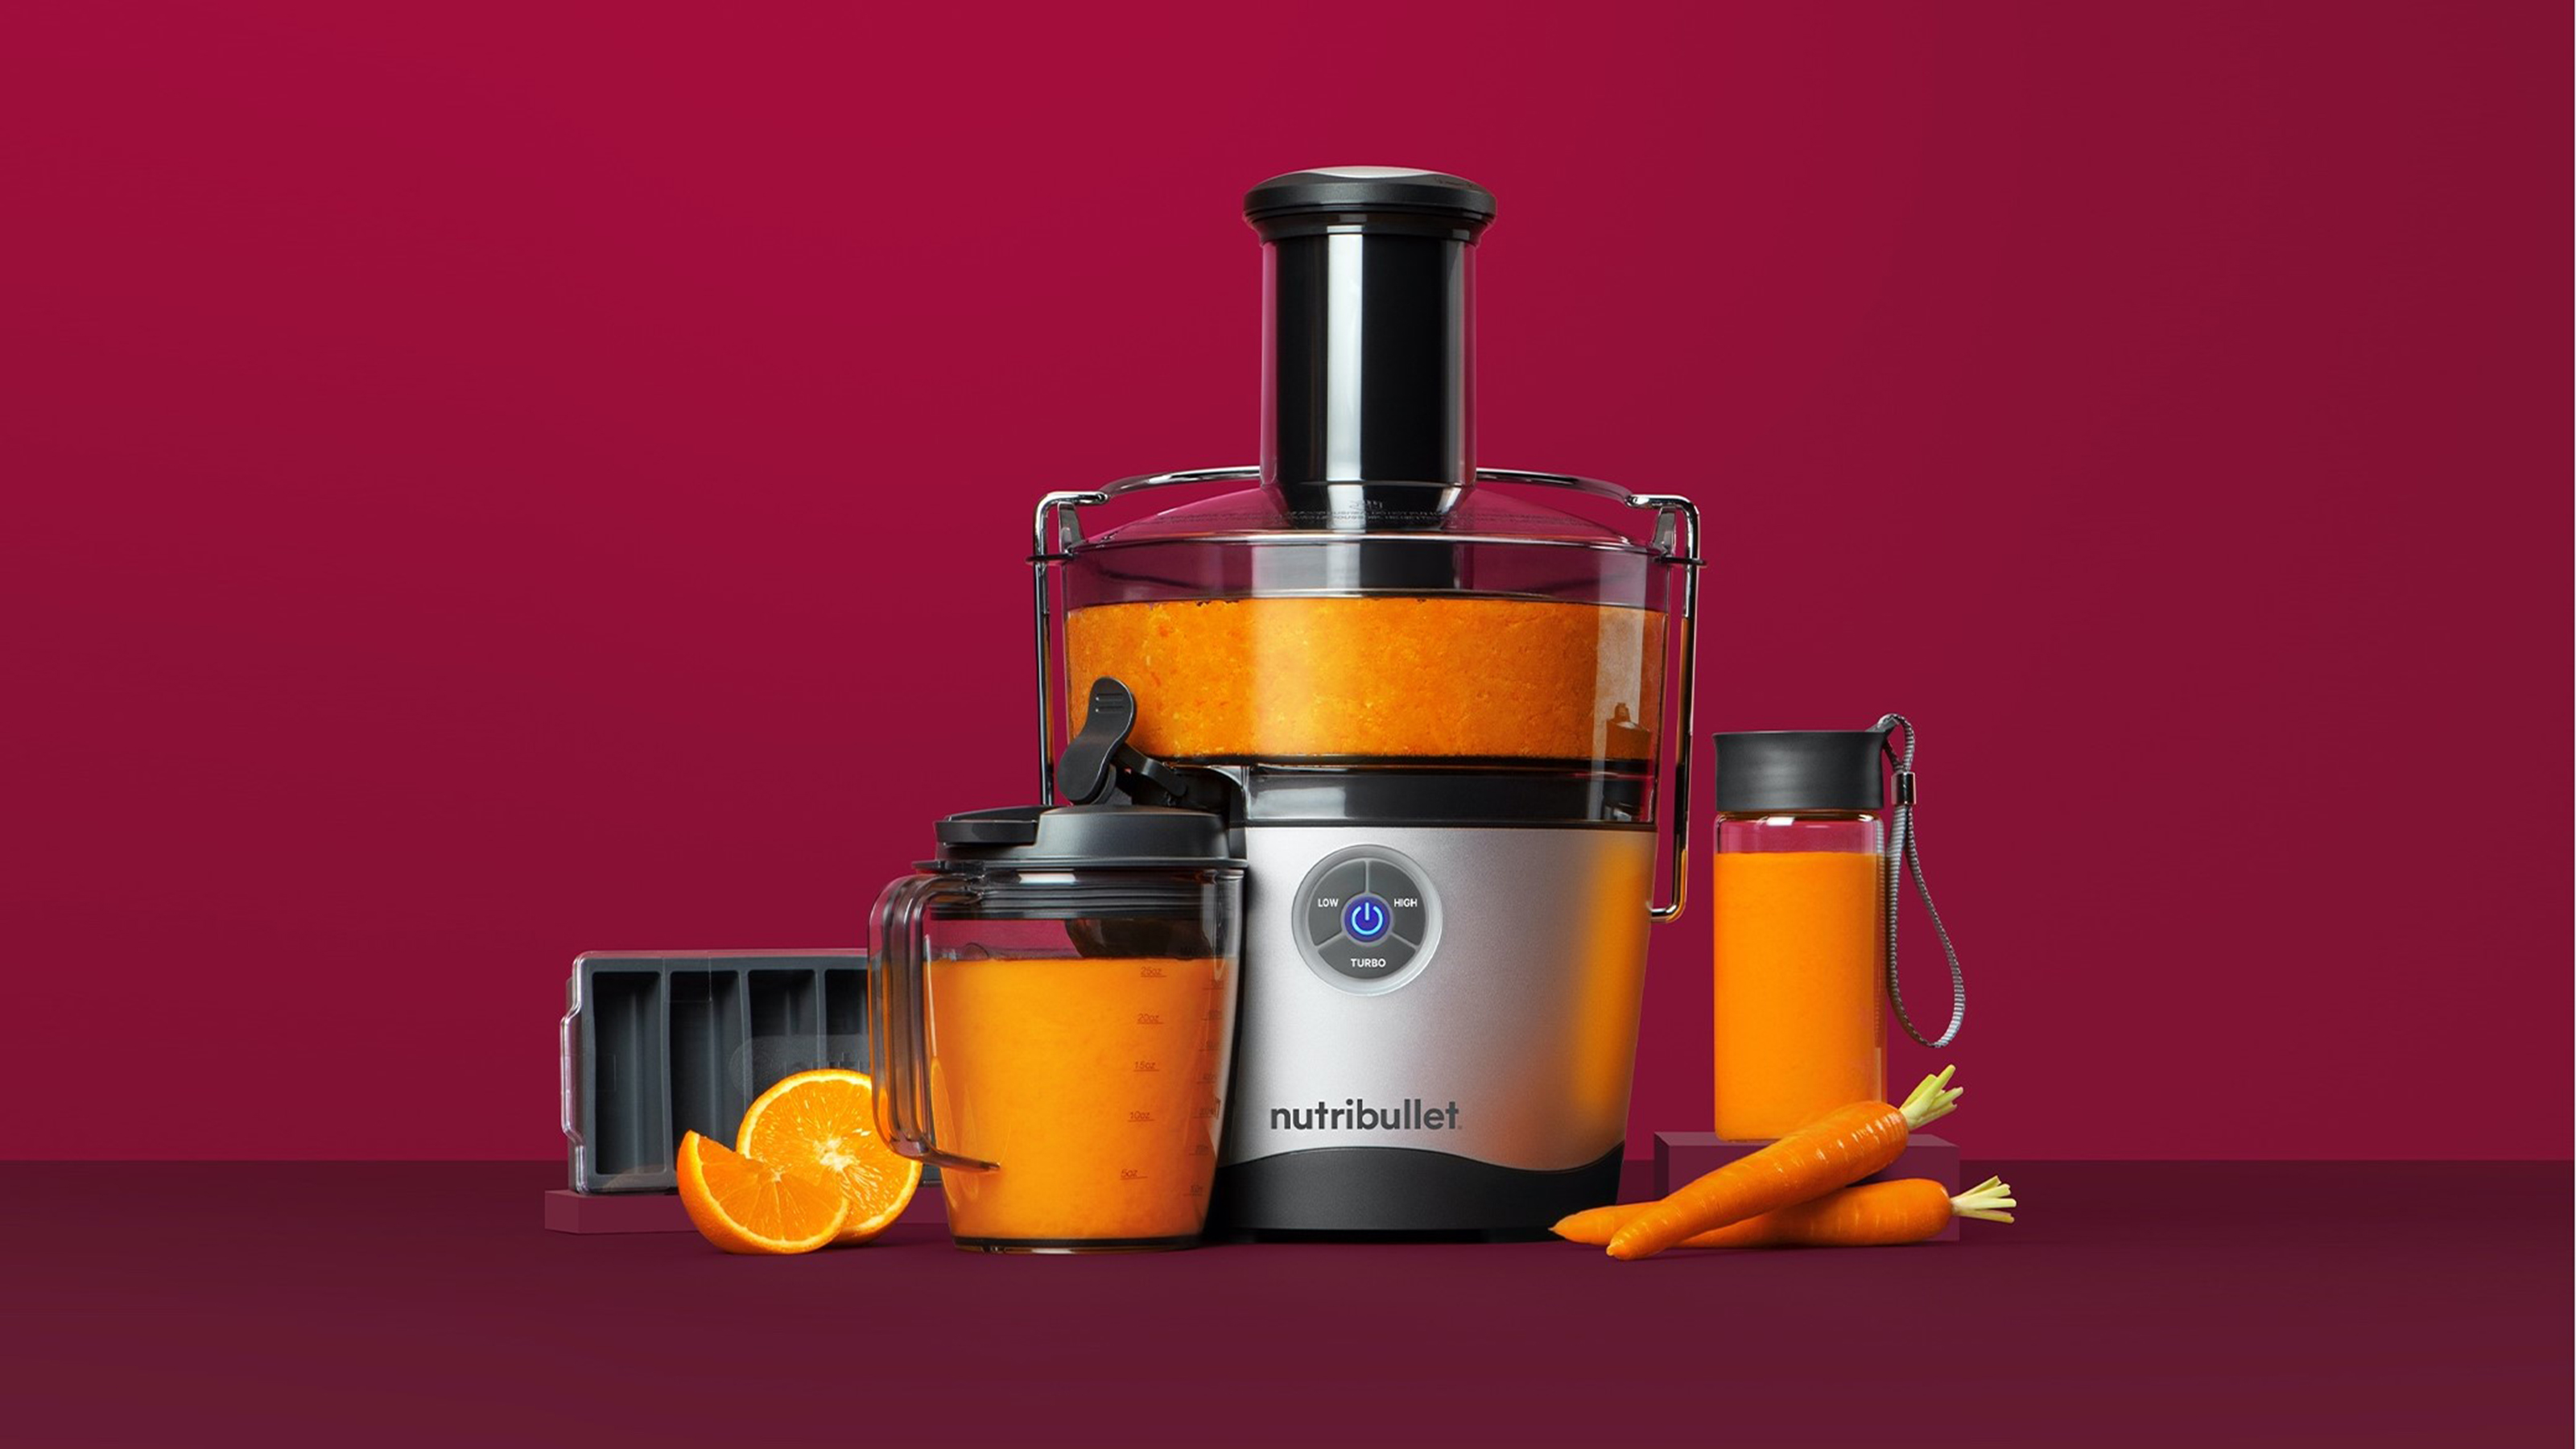
Your Nutribullet juicer delivers fresh, nutrient-packed beverages with minimal effort, but neglecting proper cleaning transforms this kitchen powerhouse into a performance liability within days. Residue builds rapidly in the sieve mesh—the component responsible for separating juice from pulp—drying and hardening into stubborn clogs that slash juice yield by up to 40% over time. Learning proper cleaning nutribullet juicer techniques isn’t just about hygiene; it’s the difference between consistently smooth, high-yield juice and a machine that strains to produce watery, pulp-filled results. This guide reveals the exact cleaning protocol that keeps your juicer operating at peak efficiency, from the critical sieve maintenance to strategic component replacement schedules that extend your appliance’s lifespan.
Many users make the critical mistake of simply rinsing components after use, unaware that microscopic pulp particles remain trapped in the sieve’s fine mesh. These particles harden within hours, creating a breeding ground for bacteria and gradually degrading performance. A properly cleaned Nutribullet juicer not only produces noticeably better-tasting juice but also protects your motor from unnecessary strain. By dedicating just five minutes after each use to targeted cleaning, you’ll avoid the intensive scrubbing sessions required when residue accumulates—and ensure every glass delivers the vibrant flavor and nutritional benefits you expect.
Grab Your Nutribullet-Specific Cleaning Tools
Skip the kitchen sponge and dish brush—your Nutribullet juicer requires specialized tools designed for its unique components. The nutribullet Juicer Sieve Cleaning Brush (SKU: ANBJBRSH) is engineered specifically to tackle the fine mesh sieve where standard tools fail completely. Priced at $9.99, this $10 investment pays for itself in extended juicer life and consistent performance. Its tapered bristles penetrate the microscopic openings in your sieve mesh without damaging the delicate structure, removing pulp that would otherwise harden and permanently reduce juice yield.
For complete cleaning nutribullet juicer maintenance, gather these essentials before disassembling your machine:
– nutribullet Sieve Cleaning Brush (non-negotiable for sieve maintenance)
– Warm water (never hot, which can warp plastic components)
– Mild dish soap (avoid abrasive cleaners that degrade seals)
– Soft microfiber cloth (for exterior surfaces only)
– Small bowl for soaking stubborn components
Avoid these common cleaning mistakes that damage your juicer:
– ❌ Using steel wool or abrasive pads that scratch components
– ❌ Soaking electrical bases or motor units
– ❌ Forcing disassembly of stuck parts (gently twist instead)
– ❌ Air-drying components on paper towels (lint transfers to mesh)
Having these tools ready before you start ensures you complete the entire cleaning process without cutting corners when residue proves stubborn.
Unclog Your Sieve Mesh in 3 Critical Steps
The sieve is where 90% of cleaning nutribullet juicer challenges occur—its fine mesh traps pulp that dries into concrete-like residue within hours. When neglected, this buildup reduces juice yield dramatically and forces your motor to work harder, shortening its lifespan. Follow this three-step process after every use:
Step 1: Immediate Rinse
Disassemble your juicer immediately after use and rinse the sieve under warm running water while pulp remains moist. Hold the sieve with the mesh facing down and use your fingers to gently dislodge large pulp chunks. This simple step prevents the initial drying phase that makes residue exponentially harder to remove later.
Step 2: Targeted Brushing
Apply the nutribullet Sieve Cleaning Brush in a circular motion across the entire mesh surface. Focus on areas where juice appears cloudy after rinsing—these spots indicate trapped residue. Work the bristles into each opening at a 45-degree angle, applying gentle pressure. For stubborn buildup, soak the sieve in warm soapy water for 15 minutes before brushing to soften dried particles.
Step 3: Final Inspection
Hold the sieve up to a light source to verify complete cleaning. Properly cleaned mesh should appear uniformly transparent with no visible pulp shadows. Run water through the sieve—if it flows freely without pooling, you’ve successfully cleared all residue. If water beads or pools in certain areas, repeat the brushing process until all mesh openings are fully clear.
Replace Blades Before Performance Suffers

Dull blades don’t just produce chunky juice—they strain your motor and reduce nutrient extraction. Nutribullet recommends blade replacement every six months for daily users, but visual inspection tells the real story. During your cleaning routine, check for these warning signs:
- Visible nicks or dull edges on the blade
- Juice requiring noticeably longer processing times
- Increased pulp in finished juice
- Unusual grinding noises during operation
The smart solution? Subscribe to nutribullet’s blade replacement service. For a 10% discount, new blades arrive automatically every six months—no tracking required. This $25 investment every half-year preserves motor health and ensures optimal juice consistency. Heavy users processing fibrous greens daily might need blades every 4 months; adjust your schedule based on performance rather than calendar dates.
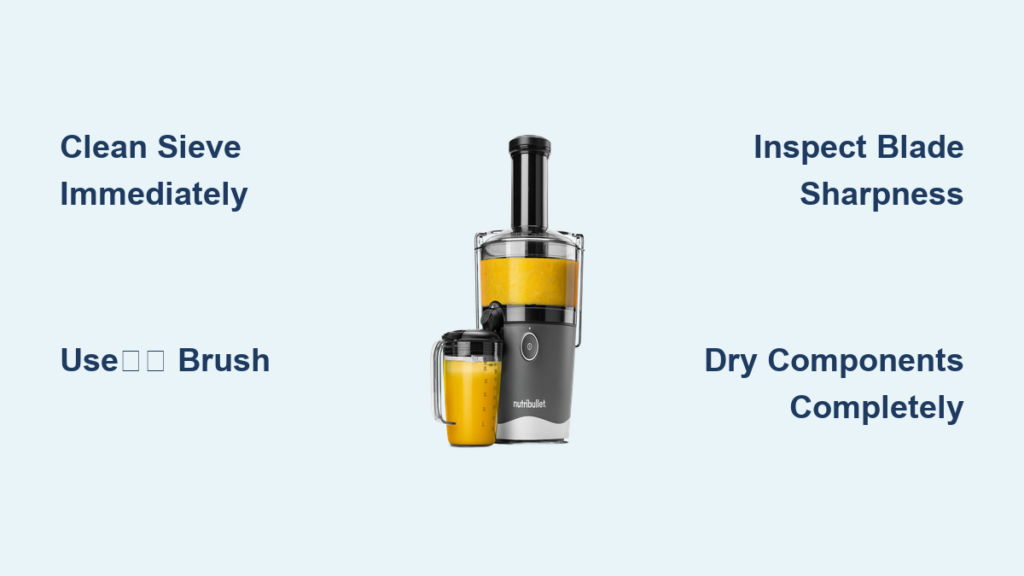
Create Your Cleaning Schedule Based on Usage
Your cleaning nutribullet juicer frequency should match your usage intensity. Follow this tiered approach:
After Every Use (2 minutes):
– Disassemble components
– Rinse sieve under warm water
– Wipe motor base with damp cloth
– Air-dry all parts completely before storage
Every 3-4 Uses (5 minutes):
– Deep clean sieve with specialized brush
– Inspect blade sharpness
– Clean pulp container thoroughly
– Check seals for residue buildup
Monthly Maintenance (10 minutes):
– Soak sieve in warm soapy water for 20 minutes
– Scrub all hard-to-reach areas with sieve brush
– Inspect gaskets for cracks or hardening
– Test motor function without components attached
This graduated approach prevents the overwhelming buildup that occurs when users only clean “when they remember.” Consistent micro-cleaning beats occasional intensive sessions every time.
Prevent Costly Repairs With Warranty Protection
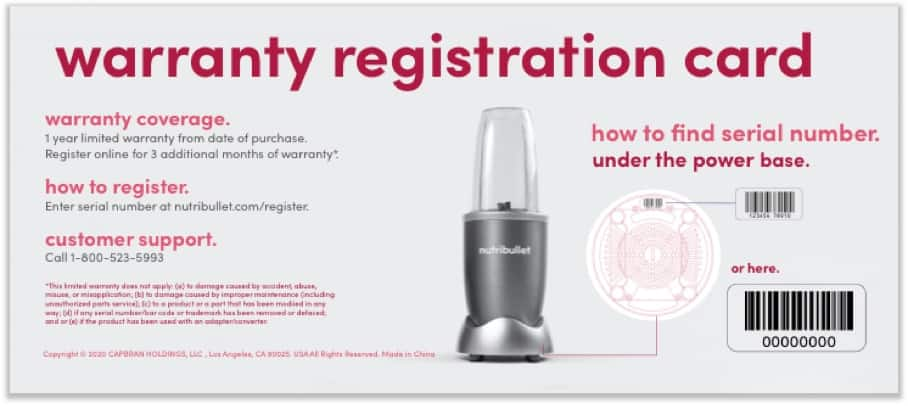
Your Nutribullet juicer comes with a standard one-year warranty, but serious users should consider the extended warranty that adds three additional years of coverage. This four-year total protection plan covers manufacturing defects that might emerge during heavy usage—particularly valuable since daily juicing accelerates normal wear.
The extended warranty proves most beneficial for:
– Households using the juicer multiple times daily
– Users processing hard or fibrous ingredients regularly
– Anyone without technical skill to diagnose mechanical issues
– Owners seeking peace of mind for their kitchen investment
Unlike standard appliance warranties, this extended coverage specifically addresses juicer-specific failures like motor burnout from residue buildup or sieve mechanism failures. When combined with proper cleaning nutribullet juicer practices, this warranty ensures maximum return on your investment.
Verify Complete Cleaning With This 4-Point Checklist
Before reassembling your juicer, confirm thorough cleaning with this quick verification:
- Sieve Test: Hold up to light—no shadows should appear through the mesh
- Water Flow Check: Pour water through sieve—should drain immediately without pooling
- Blade Inspection: Run finger along edges (carefully)—should feel uniformly sharp
- Seal Verification: Check all gaskets for cracks and ensure no residue remains in grooves
If any test fails, repeat the cleaning process for that specific component. Never store your Nutribullet juicer with damp components—this invites mold growth in hard-to-reach areas. Allow all parts to air-dry completely on a clean towel before storage.
Maximize Your Juicer’s Lifespan With Strategic Maintenance
Proper cleaning nutribullet juicer routines combined with strategic component replacement extends your appliance’s life dramatically. While neglected juicers often fail within 18 months, those receiving consistent care regularly last 3-4 years or more. The key is addressing small issues immediately—when you notice reduced juice yield, don’t wait until your next scheduled cleaning. Disassemble and inspect the sieve immediately.
For heavy users, implement these advanced maintenance techniques:
– Alternate between two sieve sets (clean one while using the other)
– Store blades separately from sieve to prevent moisture trapping
– Run occasional “cleaning cycles” with citrus fruits to naturally degrease components
– Never force ingredients through a partially clogged sieve
Your Nutribullet juicer represents an investment in daily health—not just another appliance. By dedicating minimal time to proper cleaning and maintenance, you protect both your machine’s performance and the quality of every nutrient-packed glass you create. The few minutes invested after each use pays exponential dividends in consistent results and years of reliable service. Start implementing these cleaning nutribullet juicer practices today, and enjoy peak performance from your machine for seasons to come.


