

Your Cuisinart burr grinder is the unsung hero of your morning coffee ritual. But when coffee oils and residue build up inside the mechanism, your once-perfect grind turns inconsistent, your coffee develops off-flavors, and your grinder works harder than necessary. A properly cleaned Cuisinart burr grinder delivers uniform particle size, preserves delicate coffee flavors, and extends your appliance’s lifespan. Most coffee enthusiasts don’t realize that just five minutes of weekly maintenance can prevent 90% of common grinder problems. In this guide, you’ll discover the exact techniques that coffee professionals use to keep their grinders running like new.
Coffee oils begin oxidizing within hours of grinding, turning rancid and transferring unpleasant flavors to your next batch. This sticky residue attracts more grounds, creating a cycle of contamination that worsens with each use. The good news is that cleaning your Cuisinart burr grinder properly takes less time than brewing your morning cup. Whether you’re dealing with stale-tasting coffee or just want to prevent future problems, this guide covers every cleaning scenario—from quick refreshes to complete deep cleans.
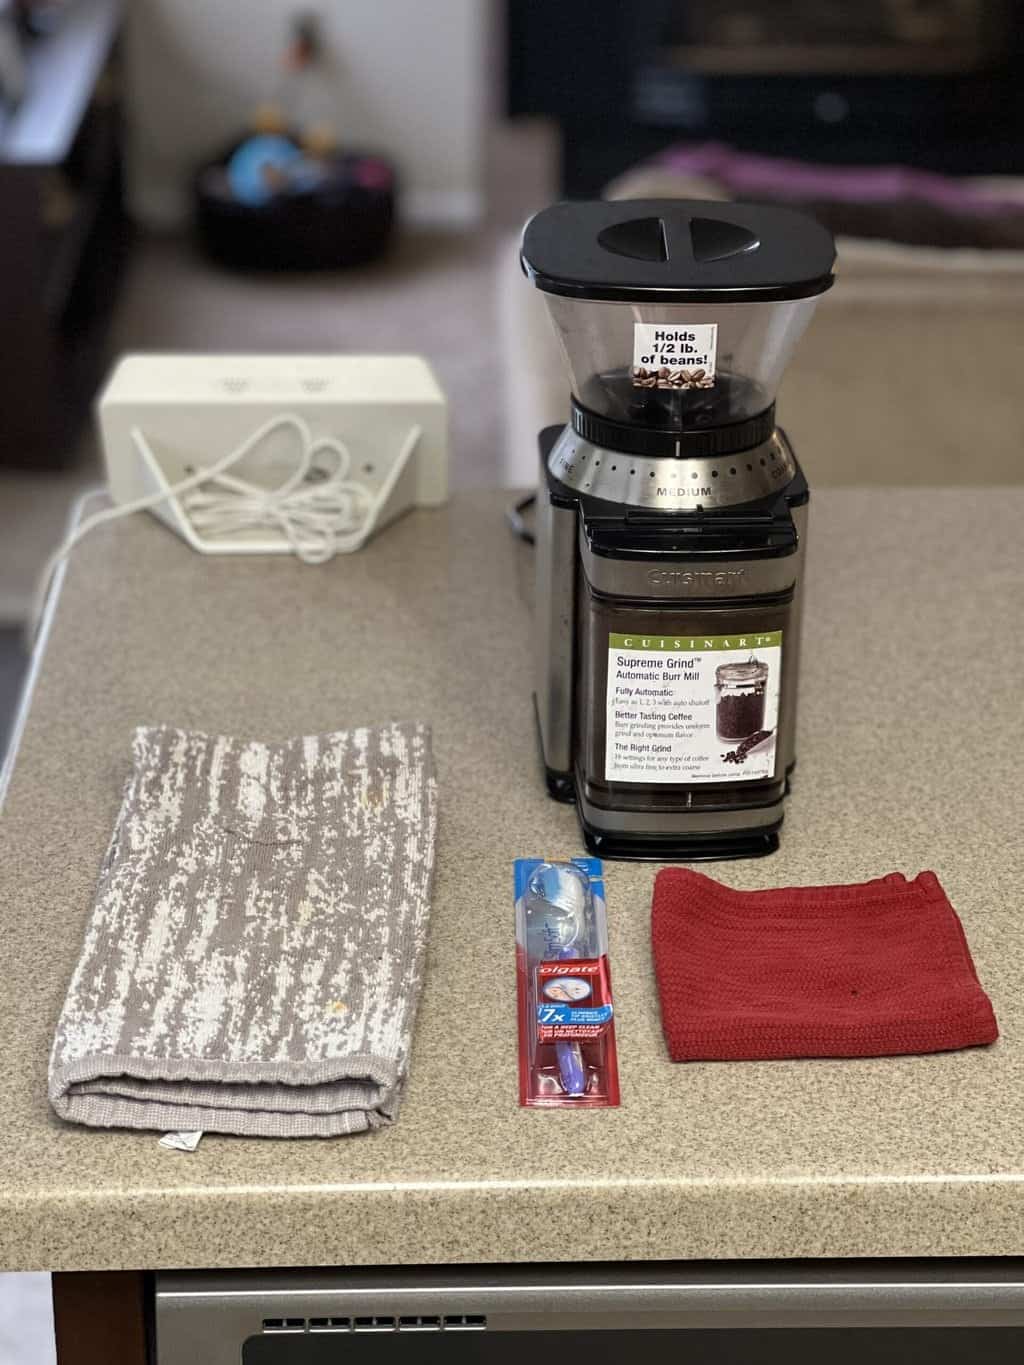
Collect Your Cuisinart Burr Grinder Cleaning Tools
Before touching your grinder, gather the right supplies to avoid mid-process interruptions. The most critical tool is a soft-bristled brush with narrow bristles that reach between burr teeth without causing damage. A dedicated coffee grinder brush or clean paintbrush works perfectly. Pair this with compressed air to blast stubborn particles from tight spaces where your brush can’t reach.
For deep cleaning sessions, add food-safe cleaning tablets or uncooked rice to your toolkit. These natural cleaners absorb oils without introducing moisture that could damage electrical components. Some coffee specialists recommend Grindz cleaning tablets that mimic coffee bean density while scrubbing residue. Never use water or liquid cleaners inside the grinding chamber—moisture causes grounds to clump and creates mold-friendly environments in hidden crevices.
Execute Your Daily Cuisinart Grinder Maintenance Routine
Perform these two-minute steps after every use to prevent 80% of residue buildup problems. First, run a small handful of dry rice through your empty grinder on the coarsest setting. The rice absorbs residual oils while capturing loose coffee dust, effectively sweeping the burrs clean. Immediately follow with your dry brush to remove any remaining particles from the grounds chute and around the burr assembly.
Empty the grounds drawer completely after each use and wipe it with a dry cloth before reinserting. Leftover grounds become moist and create perfect conditions for mold growth, which then contaminates your next batch. This daily habit takes less time than washing your coffee mug but prevents the stubborn buildup that requires intensive cleaning later.
Complete Your Weekly Deep Cleaning Session
Schedule this 10-minute procedure when your grinder has been idle for several hours, allowing oils to dry slightly for easier removal. Unplug your Cuisinart burr grinder and remove the bean hopper by twisting counterclockwise (most models require a quarter-turn). Brush out any loose beans, then focus on the upper burr assembly visible beneath the hopper opening.
Locate the black plastic collar just below the hopper—turn this counterclockwise to release it, then carefully lift out the upper burr. Use your soft brush to dislodge accumulated grounds from the grinding chamber, working in circular motions to reach all surfaces. Follow with compressed air to blow debris upward and out of the chamber. Never touch the burr teeth with your fingers, as skin oils transfer flavors and the sharp teeth can cause injury.
How Often Should You Deep Clean Your Cuisinart Grinder?
Most home users need weekly deep cleaning, but your schedule depends on usage patterns. If you grind daily for multiple cups, clean twice weekly. Light users who brew occasionally can extend to bi-weekly sessions. Watch for these warning signs that indicate immediate cleaning is needed:
– Coffee develops bitter or rancid flavors
– Grind consistency becomes uneven (fines mixed with boulders)
– Grinder operates louder than usual
– Grounds appear oily or clump together
Disassemble for Complete Burr Cleaning

Monthly maintenance requires full disassembly to access hidden residue areas. After removing the hopper and upper burr, focus on the lower burr at the grinding chamber base. Remove the grounds collection drawer, then reach into the cavity to unscrew the lower burr retention ring—rubber jar grips help with stubborn components.
What to Look for During Deep Inspection
Examine both burrs closely for these critical indicators:
– Healthy burrs: Clean metal with sharp, defined teeth
– Moderate buildup: Light brown film that brushes off easily
– Severe buildup: Dark, sticky residue requiring soaking
– Damage: Chipped or rounded teeth affecting grind quality
If you spot heavy oil residue, soak the burrs briefly in food-grade alcohol to dissolve buildup, then dry thoroughly before reassembly. Clean the grounds chute with your brush and compressed air, using a plastic tool to gently remove hardened grounds without scratching plastic components.
Clean Your Cuisinart Grinder Housing Properly
While internal components need the most attention, exterior cleaning prevents cosmetic damage and functionality issues. Unplug your grinder and remove remaining components before wiping all surfaces with a slightly damp cloth. Focus on the area around the on/off switch and crevices where grounds accumulate—use a soft toothbrush for stubborn spots.
For sticky residue on plastic surfaces, apply a baking soda paste with a soft cloth. The mild abrasiveness lifts buildup without scratching. Wipe clean with a damp cloth, then dry immediately. Never submerge the base or allow liquid near electrical components—even small amounts cause corrosion or shorts.
Reassemble Your Cuisinart Burr Grinder Correctly
Proper reassembly prevents inconsistent grinding and potential damage. Ensure all parts are completely dry before starting. Begin by installing the lower burr with its retention ring threaded correctly—hand-tighten firmly but avoid tools that could crack plastic. Replace the grounds drawer, then install the upper burr in its original orientation (most models have keyed designs that only fit one way).
Reinstall the hopper by aligning threads and turning clockwise until secure. Test that it rotates freely before adding beans. Run the empty grinder for ten seconds to expel any remaining cleaning residue, then brush the grounds hopper one final time. Incorrect assembly causes uneven grinding and premature wear—take time to get it right.
Establish Your Cuisinart Cleaning Maintenance Schedule
Consistency beats intensity for grinder maintenance. Follow this proven schedule:
– Daily: Rice flush + brush (2 minutes)
– Weekly: Complete disassembly of upper burr (10 minutes)
– Monthly: Full burr removal and deep clean (15 minutes)
Track your sessions in a small notebook, noting observations about your grinder’s condition. You’ll quickly recognize patterns—like how your grinder looks after two weeks versus one week of use. Adjust frequency based on your bean type (darker roasts need more frequent cleaning) and usage patterns.
Troubleshoot Common Cuisinart Grinder Problems
Inconsistent grind size after cleaning often means residual buildup remains in hard-to-reach areas. Run multiple batches of cleaning tablets through your grinder to dislodge stubborn particles. Strange noises usually indicate foreign objects—stop immediately and inspect burrs for debris. Never operate with suspected objects inside, as they can damage burr teeth.
If your grinder won’t turn on, it may have a tripped thermal reset from overheating. Unplug for thirty minutes to cool, then try again. Persistent issues after thorough cleaning suggest internal problems requiring professional service.
Maximize Your Cuisinart Grinder’s Performance
Extend your grinder’s lifespan with these complementary practices:
– Always use high-quality beans free of stones or foreign objects
– Store beans in cool, dry conditions to minimize moisture
– Allow 60-second rests between extended grinding sessions
– Never grind anything but coffee beans (spices leave permanent residue)
Avoid extremely oily beans unless you increase cleaning frequency—they leave more residue than standard roasts. Proper care ensures consistent performance and protects your investment.
When to Seek Professional Cuisinart Service
Professional help becomes necessary when you notice visible burr damage like chips or significant wear. Worn motor bearings, excessive vibration, or persistent grinding noises after thorough cleaning also indicate internal issues. Most Cuisinart burr grinders have limited warranties covering mechanical failures—keeping cleaning records supports warranty claims.
Regular cleaning transforms your Cuisinart burr grinder from a neglected appliance into a reliable tool that produces exceptional coffee daily. By establishing consistent maintenance habits, you protect your investment and ensure every cup reflects your beans’ quality. The few minutes invested weekly pay dividends in superior flavor, consistent grind quality, and extended lifespan. Start your cleaning routine today—your morning coffee will thank you for years to come.


