That stubborn kale ring clinging to your Vitamix container isn’t just unsightly—it’s a breeding ground for bacteria and a performance killer. When residue builds up under the blades or mineral films cloud your container, your $500 investment starts acting like a cheap knockoff. But here’s the good news: proper cleaning a Vitamix blender takes just 30 seconds daily and prevents 90% of deep-cleaning headaches. Whether you battle turmeric stains from golden milk or peanut butter residue that hardens like concrete, this guide delivers the exact protocols commercial kitchens use to keep Vitamix blenders running like new for decades.
Most owners make one critical mistake: waiting until residue dries. That 10-minute delay turns smoothie splatter into permanent stains requiring aggressive scrubbing. Today, you’ll learn how to dissolve stubborn buildup with pantry staples, safely clean fixed blades without risking injury, and revive clouded containers to crystal clarity—all while protecting your warranty.
30-Second Soap Blend Routine That Prevents 90% of Deep Cleaning
Never let residue dry—this single habit slashes deep-cleaning needs by 70%. The moment you finish blending, pour warm water to the 4-cup line, add two drops of mild dish soap, and secure the lid. Run on high for 30–60 seconds using Variable Speed 1 → High (or your Self-Cleaning Program). The vortex action reaches every crevice under the blades where peanut butter and seed oils hide.
Critical Mistake That Voids Your Warranty
Skipping the immediate rinse invites disaster. Oily nut butter residues polymerize within hours, creating a concrete-like film that requires harsh scrubbing. This abrasion scratches polycarbonate containers, trapping bacteria in microscopic grooves. Always rinse within 5 minutes—even if you’ll deep-clean later.
After the soap cycle, empty the container and inspect the blade base. If particles remain, repeat once. Then invert it on a drying rack—never stack containers while damp. This entire process takes 90 seconds and keeps your machine hygienic between uses.
Deep Clean Stubborn Residue in 20 Minutes (No Scrubbing Required)
When oily salad dressings or dried smoothie rings resist daily cleaning, combine vinegar and baking soda for molecular-level breakdown. Fill your container halfway with warm water, add 1 tablespoon white vinegar plus 1 teaspoon baking soda. The fizzing reaction shatters residue bonds without scratching.
Why Overnight Soaking Backfires
Commercial kitchens use 15-minute soaks because prolonged exposure softens polycarbonate. For home use, never exceed 2 hours—minerals in hard water redeposit as the solution evaporates, worsening cloudiness. After soaking, blend the mixture on high for 30 seconds to dislodge particles.
Now tackle the blade zone: Hold the container at a 45-degree angle and use a long-handle bottle brush to gently scrub under the blade assembly. Focus where the base meets the walls—this is residue’s favorite hiding spot. Rinse until water runs completely clear; vinegar traces will ruin tomorrow’s smoothie flavor.
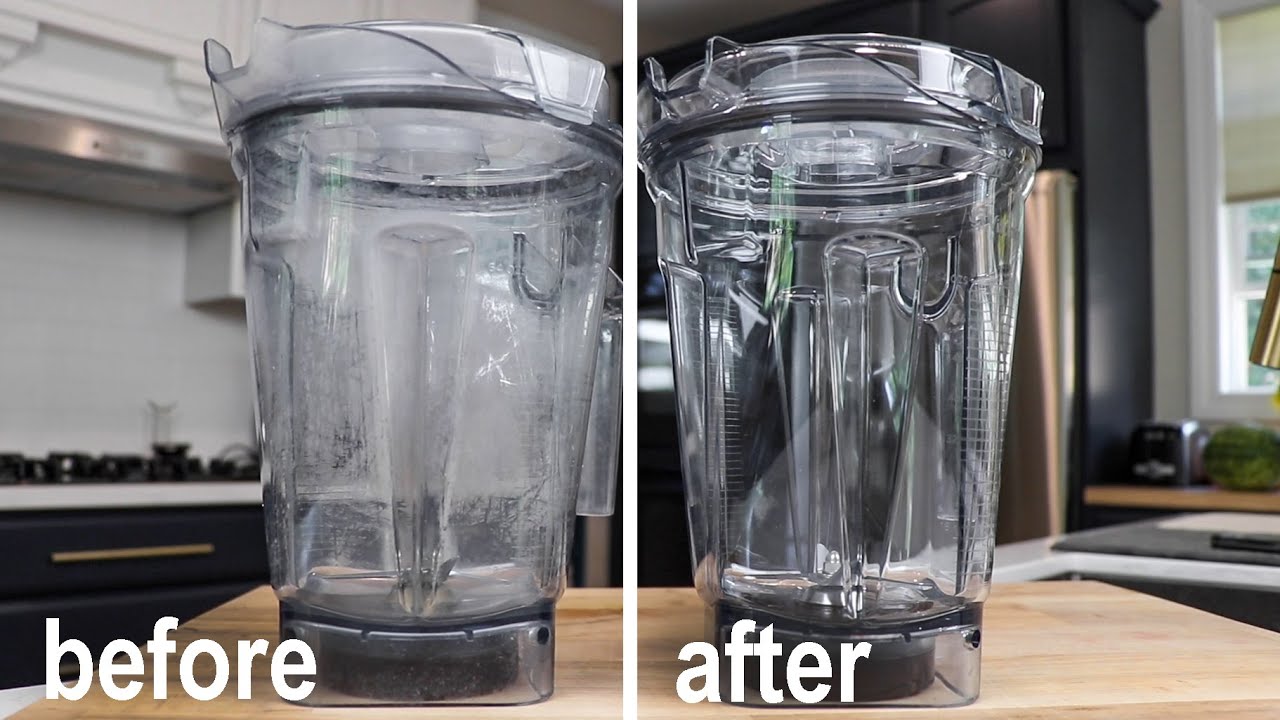
Restore Cloudy Containers to Crystal Clarity Overnight
That frosted film isn’t permanent damage—it’s mineral deposits from hard water. Skip abrasive pads (they create micro-scratches that worsen cloudiness) and use this two-step fix:
- Vinegar Soak: Pour 1 cup white vinegar into the container, fill halfway with warm water, and let stand upright for 4–8 hours.
- Gentle Agitation: Discard the cloudy solution (you’ll see suspended minerals), then scrub with a soft pot scrubber using circular motions.
Baking Soda Paste Rescue for Stubborn Films
If cloudiness persists, mix baking soda and water into a thick paste. Apply with a microfiber cloth using light pressure—never press toward the blade edges. The mild abrasion lifts deposits without etching plastic. Rinse 3x to eliminate gritty residue.
Banish Garlic & Turmeric Odors Fast
Garlic smoothies shouldn’t haunt your morning green juice. Lemon-baking soda is your odor assassin: Blend warm water, 1 teaspoon baking soda, and 5 drops fresh lemon juice for 30 seconds. Let sit 10 minutes—baking soda neutralizes acidic compounds while lemon oils mask smells. Rinse until no powdery residue remains.
Sun-Bleach Turmeric Stains Without Chemicals
Yellow curry stains fade naturally with UV exposure. After standard cleaning, place the completely dry container in direct sunlight for 48 hours. Rotate it hourly to maximize surface exposure. UV rays break down pigment molecules—this works only on dry containers as moisture blocks UV penetration.
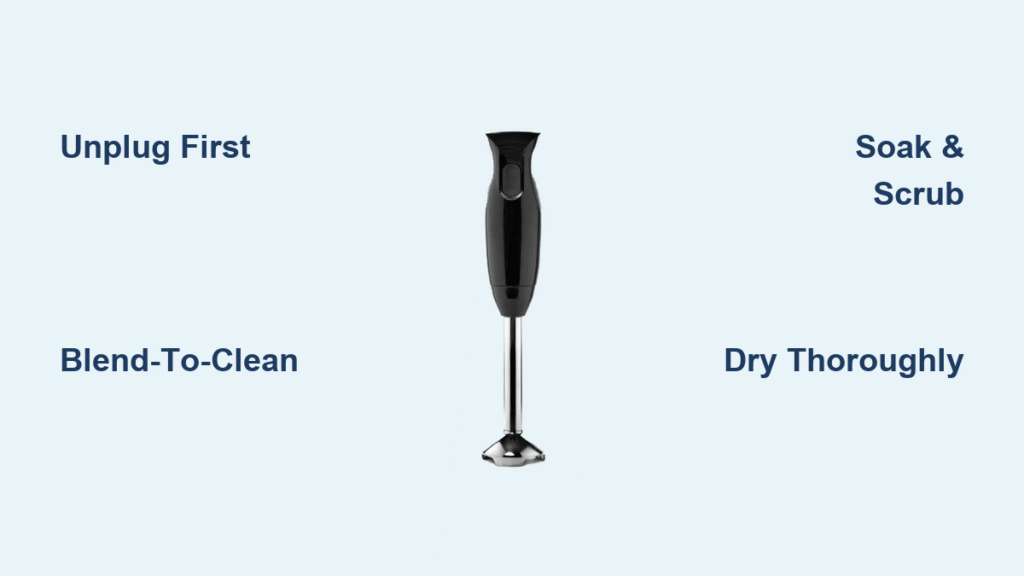
Fixed Blade Cleaning: Safety-First Protocol

Vitamix blades are permanently sealed—never attempt removal. To clean safely:
- Unplug the base (this prevents accidental activation)
- Run the soap-water blend cycle for 30 seconds
- For caked debris, soak 15 minutes in vinegar-baking soda solution
- Insert a soft-bristle brush under blades while tilting the container
Critical warning: Always keep fingers 3+ inches from blades. The dull edges still cause severe cuts when combined with rotational force. If residue persists after two cycles, use commercial Vitamix cleaner packets—never metal scrubbers.
Base & Control Panel Cleaning That Won’t Void Warranty
Your Vitamix base attracts splatters, but one misstep invites electrical damage. Follow this 3-step wipe-down:
- Unplug the unit
- Dampen a microfiber cloth (water only)—never spray directly
- Wipe surfaces dry immediately with a second cloth
Avoid these warranty-killers:
– Bleach or ammonia (clouds display windows)
– Citrus-based cleaners (etches plastic labels)
– Excess moisture near air vents (causes motor corrosion)
Dishwasher Safety: What Actually Works
Most Vitamix containers aren’t dishwasher safe. Check the bottom for the “Dishwasher Safe” symbol:
| Container Type | Dishwasher Safe? | Critical Detail |
|---|---|---|
| Classic 64 oz tall | ❌ No | Hand-wash only—dishwashers warp polycarbonate |
| Low-Profile 64 oz | ✅ Top rack | Use low-heat dry cycle only |
| Stainless-Steel | ✅ Top rack | High heat cracks thermal seals |
Lids and tampers are generally top-rack safe, but remove gaskets for hand-washing. Never dishwasher-clean personal cup adapters—thermal stress cracks their silicone seals.
Commercial Kitchen Deep-Clean Protocol
Restaurants run Vitamix blenders 50+ times daily, yet maintain spotless machines with this end-of-shift ritual:
- Run soap-water cycle twice to remove oily residues
- Soak 15 minutes in vinegar-baking soda solution
- Hand-scrub blade assembly with food-safe brush
- Document cleaning time for health inspectors
Weekly non-negotiable: Overnight vinegar descaling to prevent mineral buildup that alters blend consistency. Home users should do this monthly.
Troubleshooting Leaks & Mold Fast
Leaking from blade assembly? Stop using immediately. This indicates failed seals requiring professional repair—DIY fixes void your warranty. Contact Vitamix at 1-800-VITAMIX before one more blend.
Mold in stored containers requires nuclear-level cleaning:
1. Discard all contents
2. Run vinegar-soak cycle twice (1 hour each)
3. Scrub with bottle brush until all black spots vanish
4. Air-dry inverted for 24 hours before reuse
Long-Term Warranty Protection Plan
Your Vitamix carries a 5–10 year warranty, but abrasive cleaners void coverage instantly. Protect your investment with this routine:
- Replace lid gaskets annually (they trap odors when worn)
- Never use steel wool or Comet—even “natural” powders scratch
- For persistent cloudiness, repeat vinegar soaks instead of scrubbing
Pro Tip: Store containers inverted with lids off to prevent moisture trapping. This simple habit prevents 95% of mold issues in humid climates.
Key Takeaway: Master the 30-second soap blend today, and your Vitamix will outlive three cheaper blenders. Daily cleaning prevents 90% of problems, while targeted vinegar-baking soda treatments handle turmeric stains and garlic odors without harsh chemicals. Remember: that green ring isn’t permanent—it’s just a 5-minute fix waiting to happen. Your future self will thank you every time you blend a spotless, flavor-free smoothie.