
Tired of spending hours babysitting a simmering pot for smooth butternut squash soup? Your high-powered blender holds the secret to velvety butternut squash blender soup in under 15 minutes—with zero stovetop monitoring. This revolutionary method harnesses friction heat from Vitamix or Blendtec machines to simultaneously cook and emulsify ingredients, transforming roasted squash into piping hot perfection straight from the pitcher. No more gritty textures or uneven cooking.
Whether you’re rushing to get dinner on the table after work or craving a foolproof fall comfort food, this technique eliminates traditional soup-making pitfalls. You’ll skip the immersion blender struggles and heavy pot cleanup while achieving restaurant-quality silkiness. Discover exactly how to leverage your appliance’s power for steaming, aromatic soup that adapts to vegan, gluten-free, or keto diets with simple swaps.
Essential Ingredients That Guarantee Perfect Texture
Base Components for Foolproof Results
Roasted squash is non-negotiable: Start with 1-2 medium butternut squash peeled and cubed (or halved for roasting). For ideal texture, roast halved squash cut-side down at 400°F for 30-40 minutes until fork-tender. Cubed pieces need 425°F for 12-17 minutes—watch for deep golden edges without burning, which creates bitter flavors.
Liquid ratios make or break consistency:
– Use 2 cups liquid per 2 cups roasted squash for thick soup
– Increase to 8 cups for broth-like consistency
– Vegetable broth adds depth, while full-fat coconut milk (¼ cup) creates dairy-free creaminess
Flavor foundations: 2-3 tbsp olive oil, salt, and pepper form the base. Always include 1 medium onion or shallots plus 2-3 garlic cloves—roast these alongside squash to mellow sharpness and deepen complexity. Never use raw garlic; it won’t blend smoothly.
Flavor Boosters That Elevate Your Bowl
Fresh herbs transform simplicity: Add 2 tbsp chopped sage for earthy warmth or dill for brightness. For authentic Thai flair, use cilantro stems (not just leaves) and 1 tbsp minced ginger. Pro tip: Asian grocers sell cilantro with roots intact—steep these in hot broth before blending for incredible depth.
Balance sweetness strategically: Butternut squash’s natural sugars need counterpoints. A pinch of cayenne adds heat, while 1 tsp maple syrup rounds out flavors without cloying. Crucial: Add sweeteners after roasting—high heat caramelizes squash naturally, so you’ll likely need less than expected.
Blender Requirements You Can’t Skip
Power Specs That Actually Cook Soup
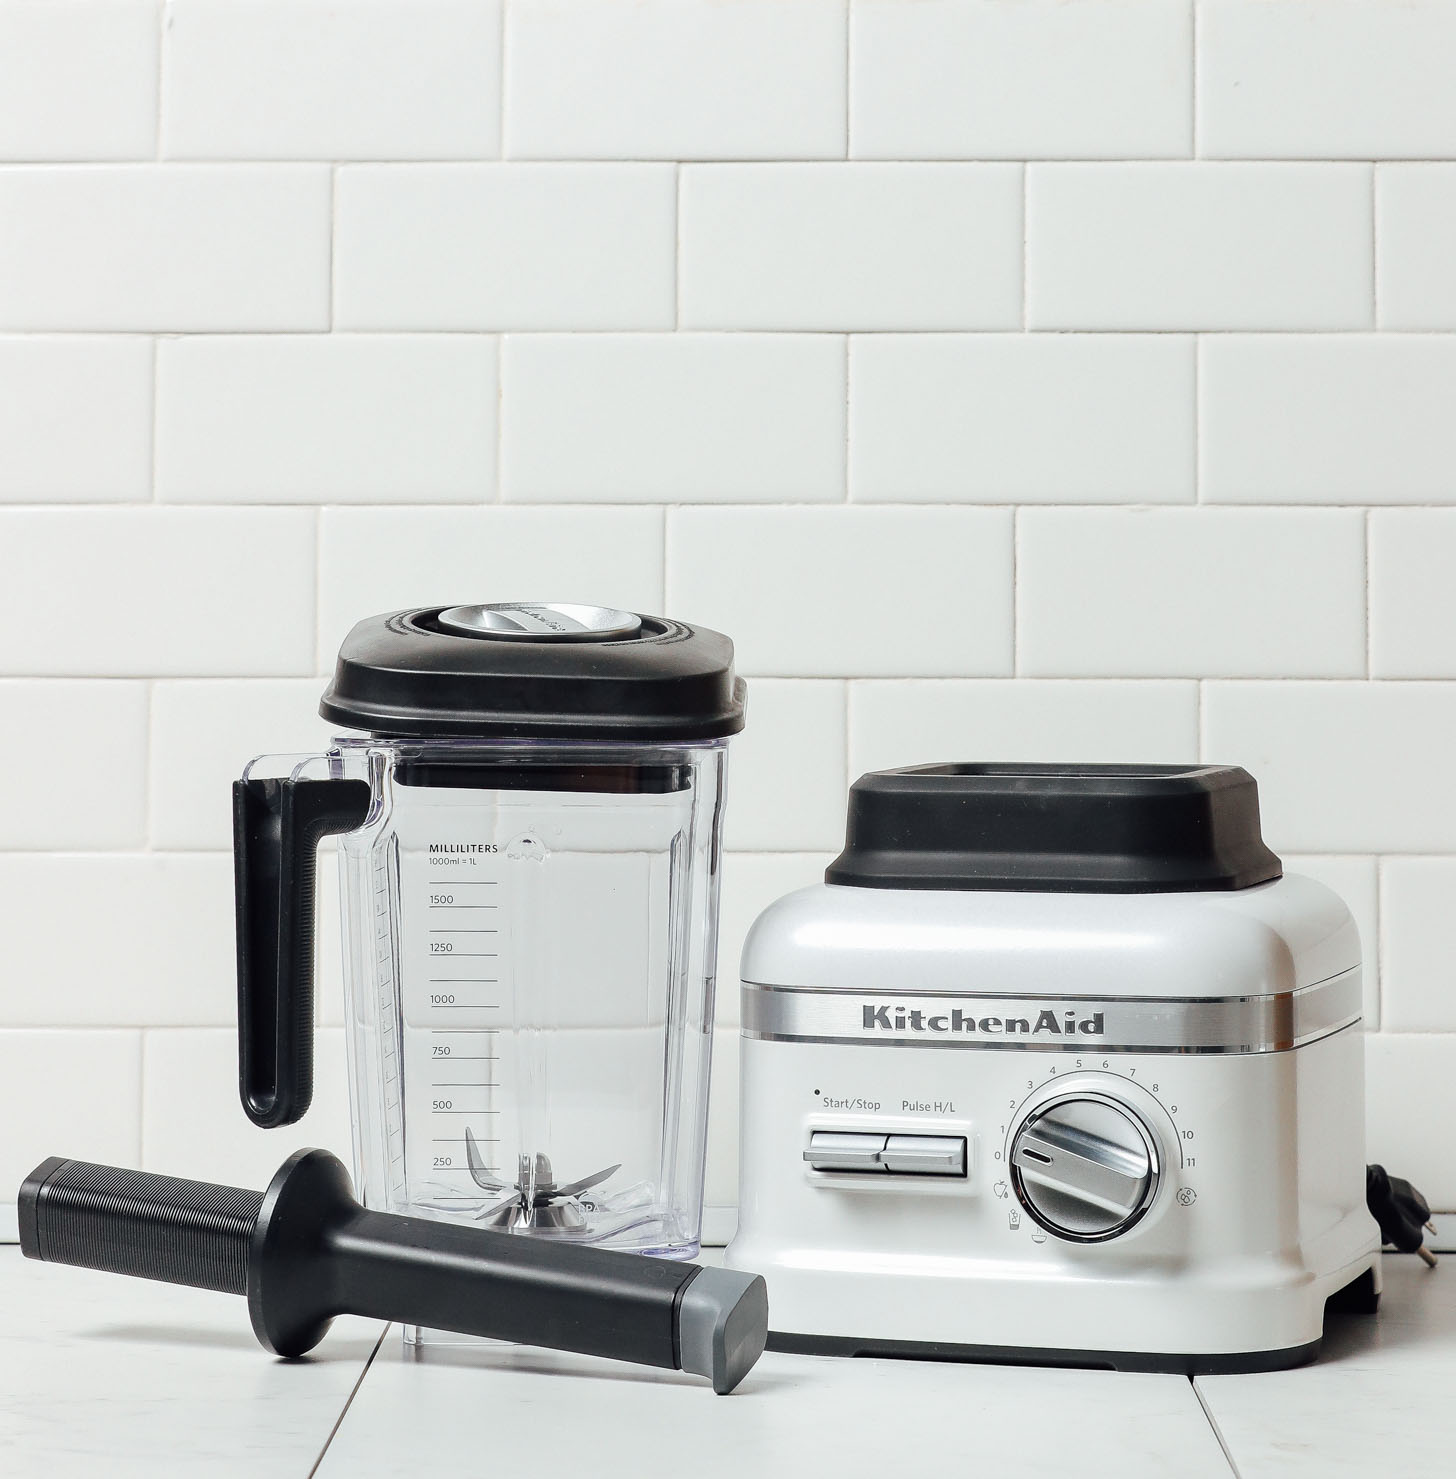
Your blender must hit 5-minute steam threshold: Standard models won’t generate sufficient friction heat. Verify capability by blending 4 cups water on high for 5 minutes—if steam doesn’t appear by minute 4, it can’t safely cook soup. Vitamix, Blendtec, and KitchenAid Pro Line Series are proven performers.
Lid security prevents dangerous spills: Choose blenders with reinforced non-malleable lids (like KitchenAid’s Pro Line). Avoid flexible rubber lids—they warp under steam pressure, risking violent lid displacement. Always secure the lid with one hand while blending hot ingredients.
Foolproof Roast-and-Blend Technique
Perfect Roasting for Seamless Blending
Oil application is critical: Brush cut squash surfaces with 2-3 tbsp olive oil before roasting. This prevents sticking to pans while promoting caramelization that builds flavor. Visual cue: Squash should yield completely to fork pressure with no resistance—undercooked pieces cause grainy texture.
Garlic roasting transforms flavor: Cut top off whole garlic head, drizzle with oil, wrap in foil, and roast with squash. Squeeze out 2 tbsp of sweet, golden cloves—they’re essential for depth. Never skip this step; raw garlic creates harsh, uneven bites.
Precision Blending for Steaming Results
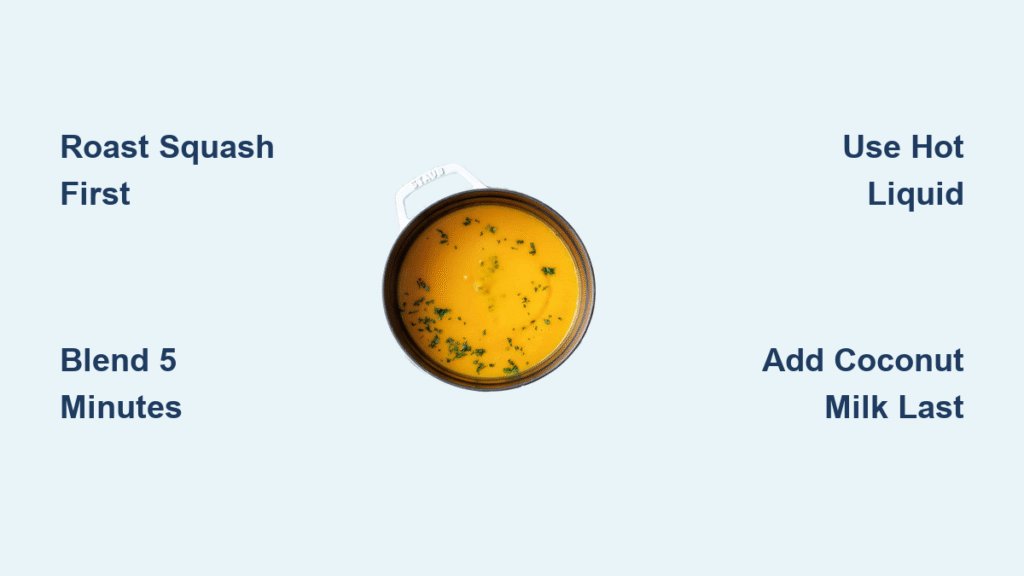
Loading sequence prevents splatters: Always add roasted squash to the blender first, then hot liquid (broth or coconut milk). This cushions the impact and avoids scalding steam eruptions.
Timing is non-negotiable: Blend on high for exactly 5 minutes—no less, no more. Steam visibly rising around minute 4 signals proper heating (180-190°F). Stop immediately when smooth; over-blending makes soup gummy. Adjust thickness by adding hot broth in ¼-cup increments during blending.
Quick Batch Cooking System
Freezer Strategy for 5-Minute Meals
Roast and freeze for instant dinners: Batch-roast 3-4 squash, cool completely, then freeze in 2-cup portions. Critical: Freeze roasted (not raw) squash—it blends smoother and heats faster. Frozen portions go straight into the blender with 2 cups hot broth.
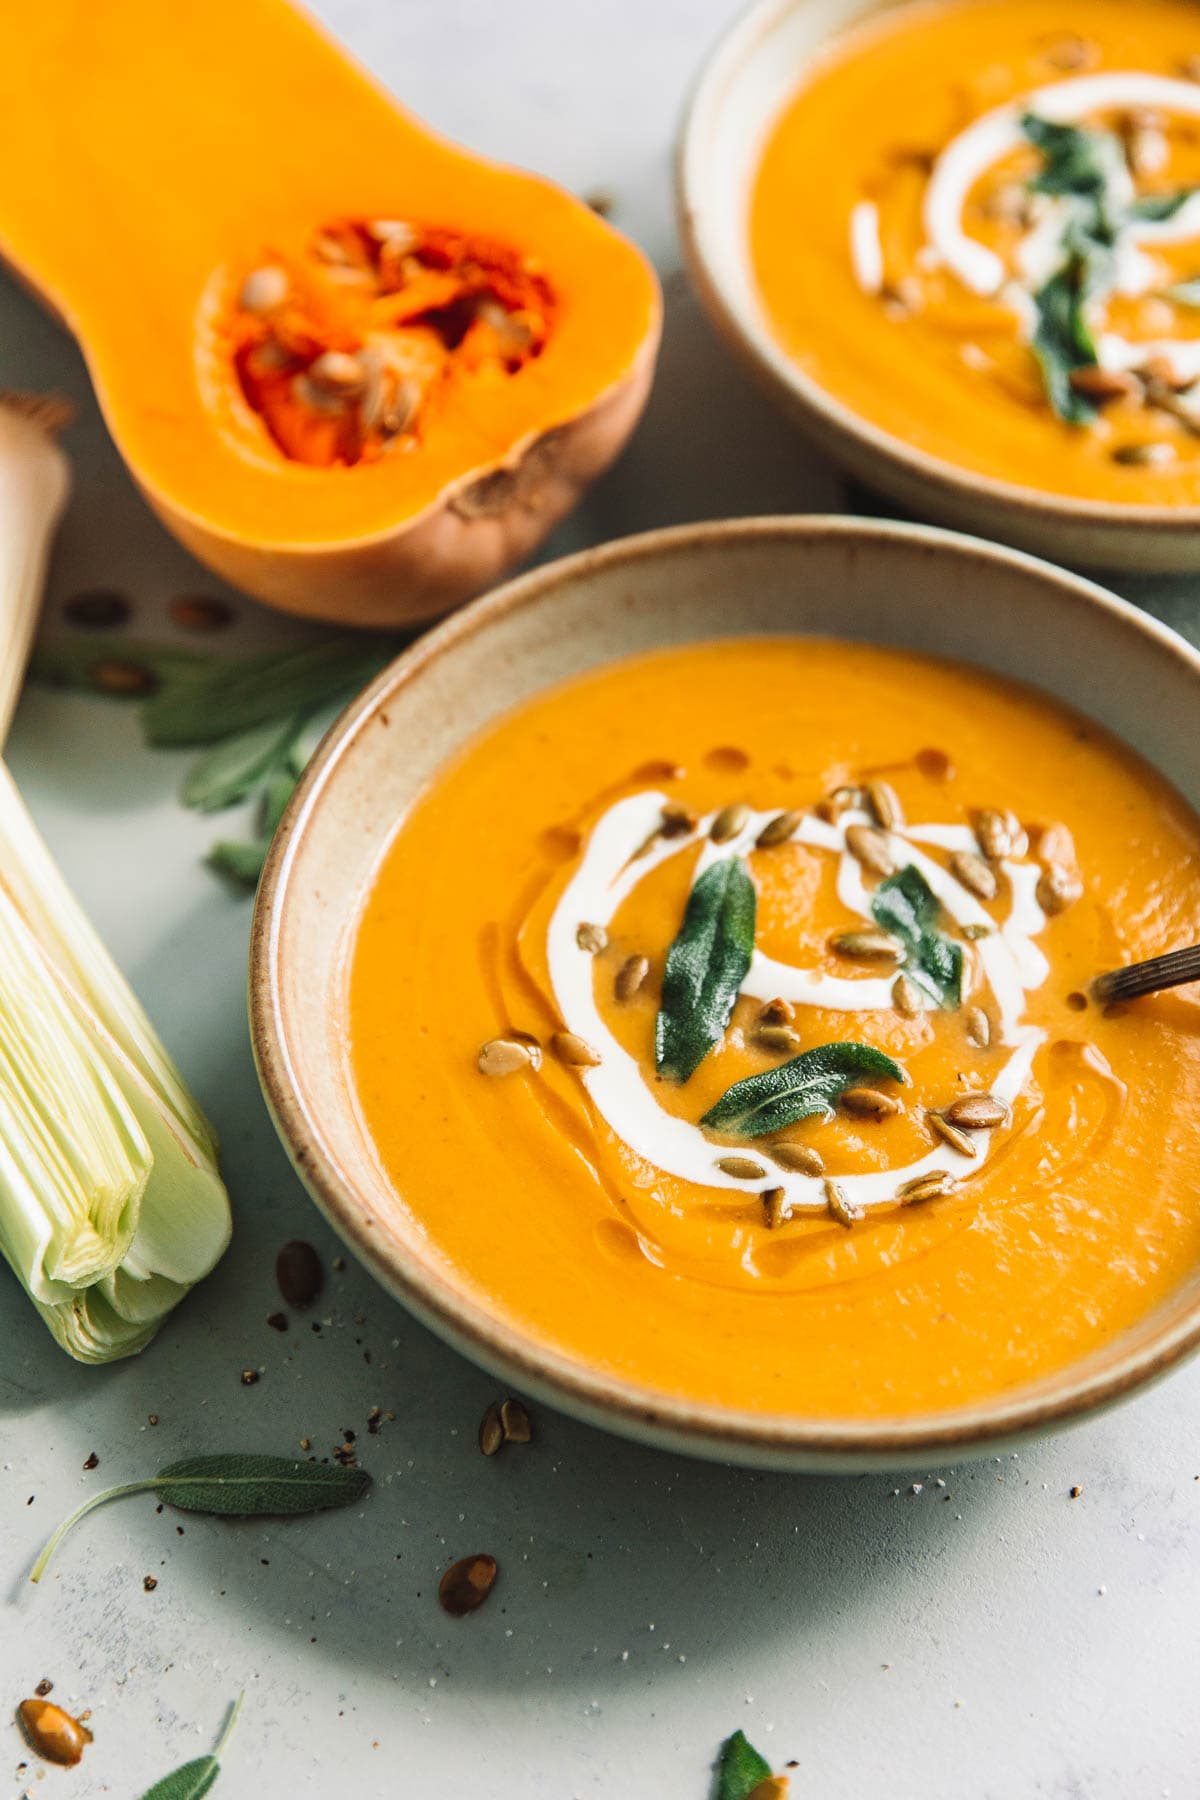
Customization without compromise: Store toppings separately to maintain texture. Mix ¼ cup pepitas, ¼ cup sunflower seeds, and ¼ cup sliced almonds for ready-to-use crunch. Add fresh herbs or coconut milk per serving to prevent flavor fatigue in large batches.
Texture Troubleshooting Guide
Fix Graininess in 60 Seconds
Too thick? Gradually add hot broth while blending—start with 2 cups liquid per 2 cups squash. Too thin? Blend extra roasted squash (frozen works) or reduce liquid next time. Remember: soup thickens slightly as it cools, so judge consistency at serving temperature.
Grainy texture means under-blending: Extend blending by 30-60 seconds. High-powered blenders must run 5 minutes for friction heat to fully cook and emulsify. If still gritty, your squash wasn’t fork-tender pre-blending—always test with a fork before loading the blender.
Professional Smoothness Hacks
Coconut milk integration: Add during the final 30 seconds of blending. Adding earlier causes separation. For vegan creaminess, always use full-fat canned coconut milk—lite versions won’t emulsify properly.
Temperature trick: Hot soup appears thinner than cooled. If texture seems off immediately after blending, let it rest 2 minutes before adjusting.
Nutritional Powerhouse Benefits
Why This Soup Beats Traditional Versions
Potassium powerhouse: One cup delivers 582mg—more than a banana—for blood pressure support. Vitamin A excellence promotes skin health naturally, while 6g fiber per serving aids digestion without bloating.
Dietary flexibility: Naturally gluten-free and easily vegan (use veggie broth + coconut milk). At just 180 calories per serving, it satisfies without heaviness—perfect for weight management while feeling indulgent.
Serving Secrets for Maximum Impact
Garnish Like a Pro
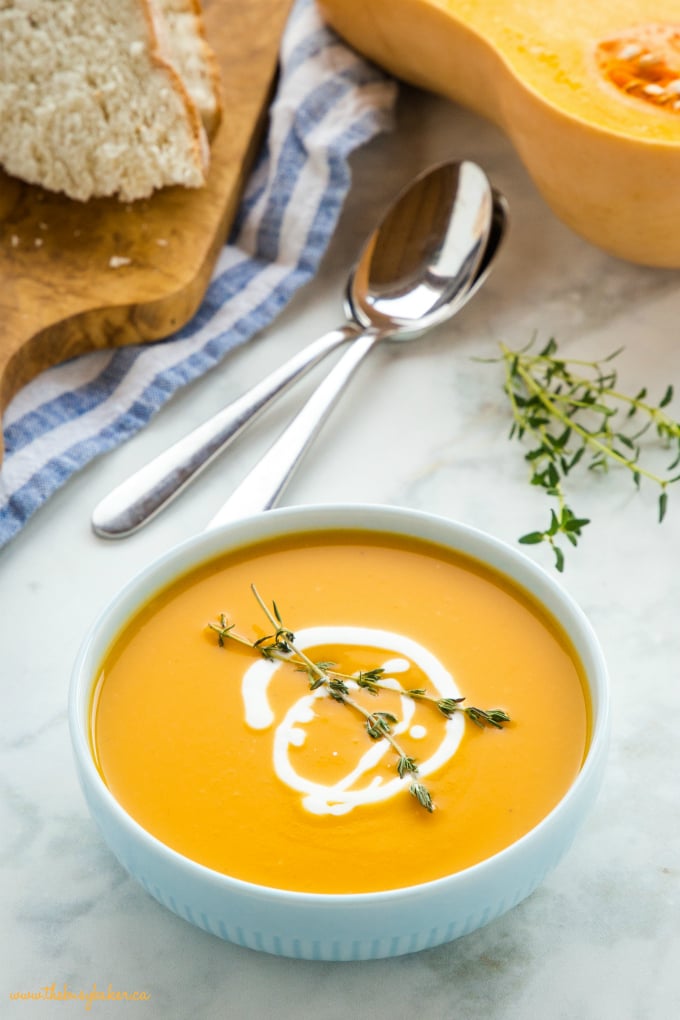
Temperature matters: Serve immediately after blending at 180-190°F—the ideal sipping temperature. Never reboil; it breaks coconut milk emulsions. For leftovers, gently rewarm on lowest stove setting while stirring.
Visual appeal elevates taste: Swirl coconut milk in figure-eights, top with paper-thin radish slices for peppery crunch, and finish with fresh herbs. Pair with mini turkey sandwiches for fall picnics—the soup’s sweetness complements savory fillings perfectly.
Storage Mastery for Make-Ahead Success
Freezing Without Sacrificing Quality
Portion for single servings: Freeze in 2-cup containers (soup thickens when frozen). Thaw overnight in the fridge, then re-blend for 60 seconds to restore silkiness. Coconut milk-based versions freeze exceptionally well—minor separation reverses with brief blending.
Prep shortcuts save time: Use pre-chopped squash from Costco (worth the premium) for last-minute meals. Store roasted squash up to 3 months frozen—vacuum-seal for maximum freshness.
Expert Secrets Only Chefs Know
Avoid Costly Mistakes
Caramelization balance is key: Roasted vegetables should be golden-brown, not blackened. Burnt edges create bitterness that ruins the entire batch—set a timer and check 5 minutes early.
Lid displacement prevention: Fill blender no more than ¾ full, secure lid firmly, and use the tamper through the vent hole to release steam safely. Never cover the vent hole—that’s how blenders erupt.
Seasoning science: Salt roasted vegetables before blending—heat intensifies saltiness. Always do final seasoning adjustment after blending, as flavors concentrate during roasting.
Mastering butternut squash blender soup means embracing efficiency without sacrificing sophistication. Your high-powered blender becomes a culinary secret weapon, transforming humble roasted squash into velvety, steaming perfection in minutes. By roasting ahead and freezing portions, you’ll have restaurant-quality soup ready faster than takeout—ideal for busy weeknights or elegant entertaining. The magic lies in friction heat: that 5-minute blend time isn’t just mixing; it’s actively cooking your soup to piping-hot perfection. Whether you crave the warming ginger-maple version for chilly evenings or the vibrant coconut curry for meal prep, this method adapts to every diet while delivering unmatched texture. Ditch the pots and ladles—your blender holds the key to the smoothest, most flavorful fall soup you’ve ever tasted.


