
Your Breville blender suddenly dies mid-smoothie, leaving chunky fruit pulp and a silent motor where there should be a powerful whirl. That frustrating moment when your morning routine grinds to a halt isn’t just inconvenient—it’s avoidable. Most Breville blender repair issues stem from three predictable failure points that you can diagnose and fix without technical skills. This guide cuts through the confusion using only official Breville parts and support channels, saving you costly service calls. You’ll learn to resurrect your blender in under 30 minutes while preserving warranty coverage—whether you own a BBL620, BBL920, or BPB550 model.
Don’t waste money replacing a $300 appliance when 80% of failures involve user-replaceable components. Breville intentionally designs critical parts like drive couplings and sealing gaskets to fail safely, protecting your motor from catastrophic damage. By following this breville blender repair roadmap, you’ll leverage Breville’s direct support resources and genuine parts to restore peak performance. Let’s transform your broken blender back into a kitchen powerhouse—starting with identifying your exact model.
Locate Your Breville Model Number in 60 Seconds
Find the Critical Silver Sticker
Flip your motor base upside down and locate the silver sticker near the power cord entry. This 1/2-inch label displays your unique model number (like BBL620 or BPB550)—the master key to sourcing correct repair parts. Skipping this step risks ordering incompatible components, especially since Breville uses different drive couplings across blender lines. Verify this number before any repair attempt; it’s required for warranty claims and parts lookup.
Match Parts to Your Specific Failure Points
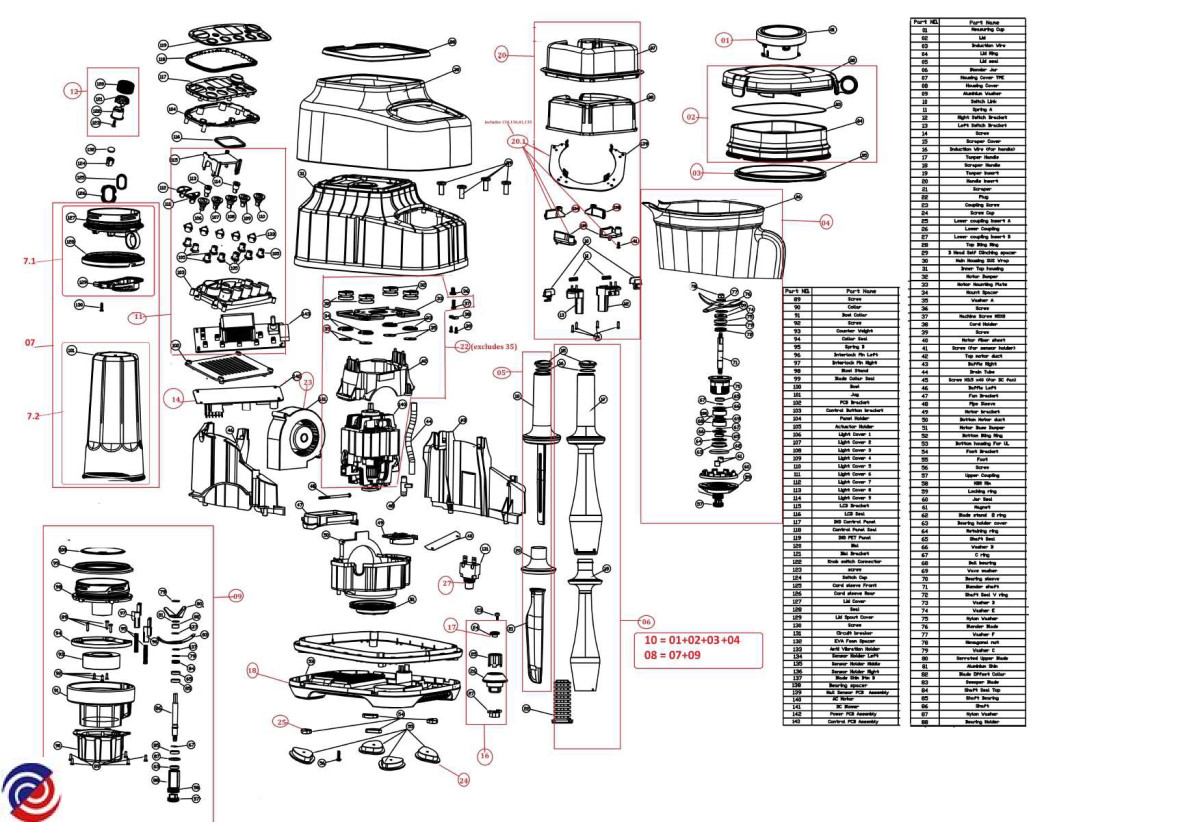
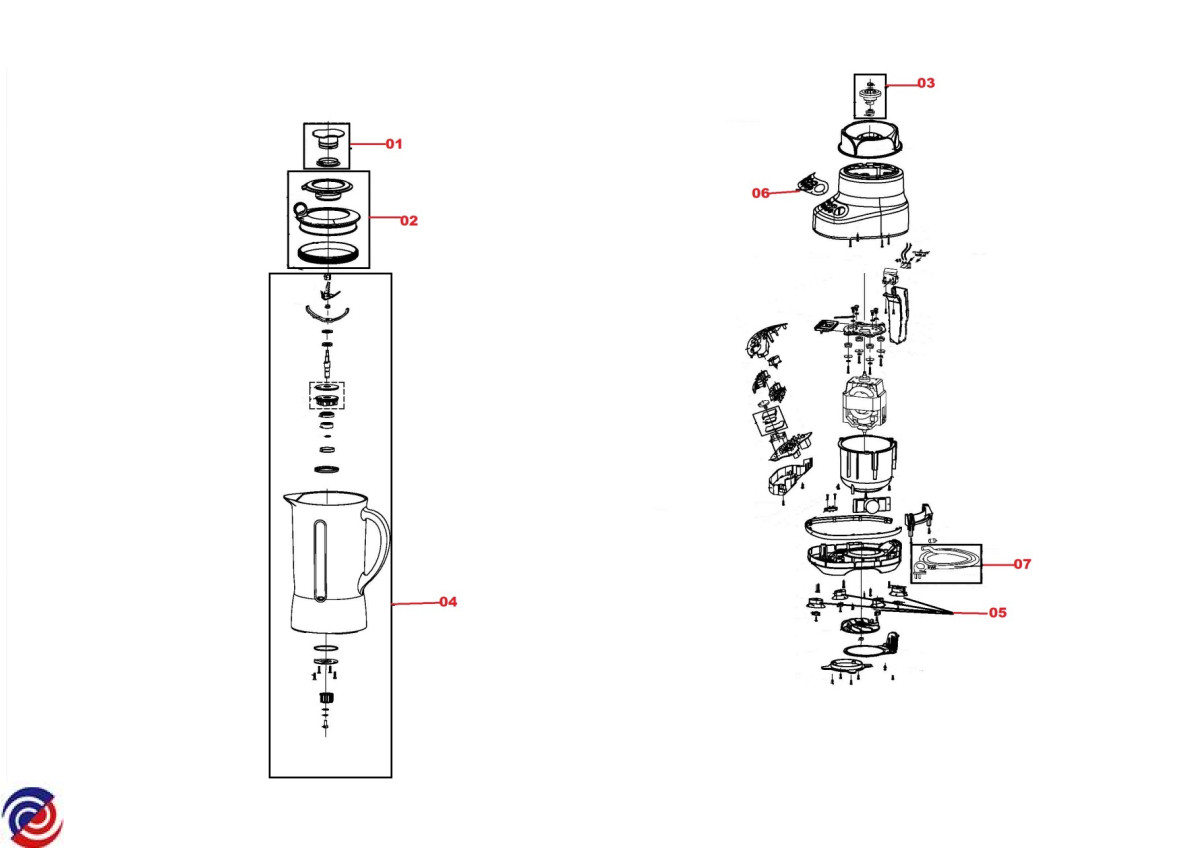
Your model number unlocks access to Breville’s exploded parts diagrams showing exactly which components fail most often. High-use models like the BBL920 typically need drive coupling replacements after 3-5 years, while BPB550 units commonly develop leaking seals from gasket compression. Never guess—enter your model into Breville’s Parts Finder tool to see visual guides of vulnerable parts. This prevents wasted time on misdiagnosed issues like replacing a fuse when the real culprit is a stripped coupling.
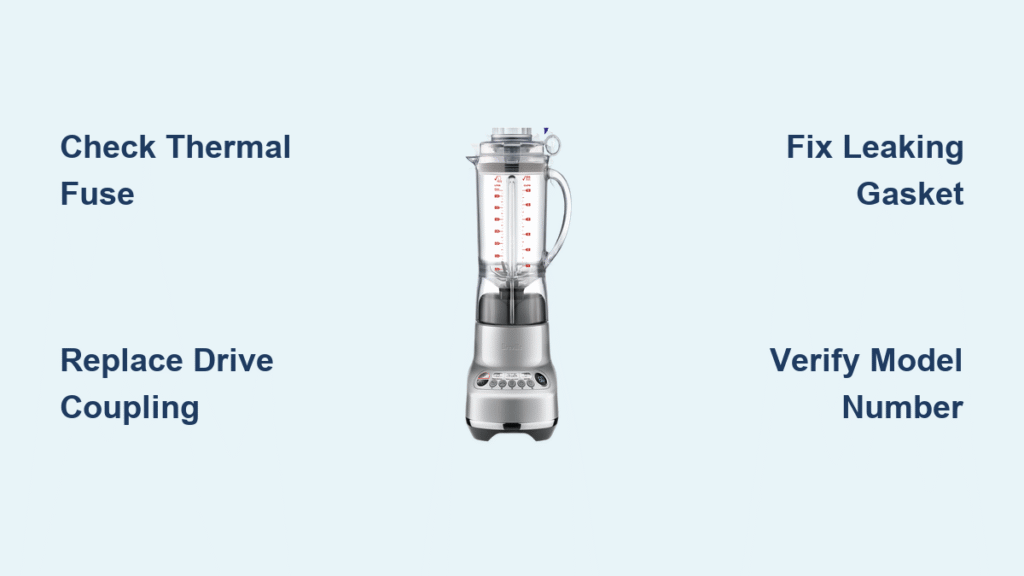
Diagnose These 3 Critical Breville Failures

Motor Base Completely Dead? Check the Fuse First
When pressing buttons yields zero response, inspect the thermal fuse—a safety component that trips during overheating. This occurs most often in humid kitchens or after back-to-back blending sessions. Unplug the unit for 1 hour to reset thermal protection before testing. If still unresponsive, the fuse or power cord likely needs replacement. Both are user-serviceable parts available through Breville’s store, avoiding full motor base replacement.
Water Pooling Under Jar? Your Gasket Failed
Visible liquid seeping from the blade assembly base indicates a compromised sealing gasket—the rubber ring between jar and blades. Test by filling the jar with water, securing the lid, and inverting it for 30 seconds. Dripping confirms gasket failure, common after 500+ uses or improper cleaning. Replacement costs under $15 and takes 2 minutes, but requires matching your model’s specific gasket size from Breville’s database.
Grinding Noise With Burning Smell? Stripped Drive Coupling
That harsh grinding accompanied by a burnt plastic odor means the drive coupling has failed. This intentional weak point sacrifices itself to protect your motor during overload (like blending frozen fruit). The coupling—a plastic gear connecting motor shaft to blades—strips when excessive force is applied. You’ll hear clicking without blade rotation. Replacement is critical within 24 hours to prevent motor damage.
Order Genuine Breville Parts in 5 Minutes
Use the Parts Finder Tool Correctly
Go directly to Breville’s official store → “Find Parts” → “Blenders” → enter your model number. Study the exploded diagram to identify components visually—no technical jargon needed. For example, the drive coupling appears as item #17 on BBL620 diagrams. Click any part for specifications and compatibility notes. This eliminates guesswork, ensuring you order the exact Breville OEM component (like coupling part #9100054700 for BBL920 models).
Maximize Free Shipping Threshold
Combine small parts like gaskets ($12.99), cleaning brushes ($8.99), and fuse kits ($6.99) to hit the $49 free shipping minimum. Breville processes orders within 24 business hours with tracking provided—most U.S. deliveries arrive in 3-5 days. Avoid third-party sellers; only genuine Breville parts maintain safety certifications and won’t void remaining warranty coverage.
Replace Drive Coupling: 15-Minute Fix
Essential Tools Checklist
Grab a Phillips screwdriver and needle-nose pliers—no special tools needed. Unplug the blender and remove the 4 rubber feet from the motor base bottom. Under each foot, you’ll find a screw securing the base plate. Keep screws organized as you work; losing one means ordering a replacement plate.
Remove and Install the Coupling
After removing the base plate, locate the drive coupling (a white plastic gear) seated on the motor shaft. Use pliers to gently pry it straight off—never twist, as this damages the shaft. Press the new coupling firmly onto the shaft until it clicks into place, ensuring no wobble. Reassemble the base plate in an X-pattern to distribute pressure evenly. Test by rotating the coupling manually before plugging in.
Stop Jar Leaks Permanently
Replace the Gasket Without Tools
Twist the blade assembly counterclockwise to remove it from the jar. Pop out the old gasket using a butter knife (slide under one edge and lift). Clean the gasket groove thoroughly with vinegar to remove residue. Press the new gasket into the groove until flush—no gaps visible. Hand-tighten the blade assembly; overtightening distorts the seal.
Prevent Recurring Leaks
Never submerge the motor base in water—this damages internal electronics. After each use, hand-wash the jar, lid, and blade assembly separately. Store jars upside down without blades attached to relieve gasket compression. Replace gaskets annually for daily users or when you notice hardening/cracks.
Contact Breville Support Like a Pro
Live Chat Troubleshooting Hacks
Access live chat Monday-Friday (8 AM-4:30 PM PT) with your model number and purchase date ready. Support agents can diagnose issues from photos—send clear shots of error codes or damaged parts. For urgent repairs, mention “warranty claim” to bypass general troubleshooting. Have your MyBreville account logged in for instant warranty verification.
Phone Support for Complex Issues
Call 1-866-273-8455 for motor failures or control board errors. Phone agents provide case numbers for expedited shipping on critical parts. If your blender sparks or emits smoke, this is the fastest path to resolution—do not attempt DIY repairs on electrical components.
Maximize MyBreville Account Benefits
Register your blender immediately at MyBreville.com to unlock model-specific repair videos and digital warranty storage. Upload your receipt to avoid disputes during claims. Account holders receive 15% off first parts orders and priority support routing. This free account pays for itself during your first repair.
Warranty Repair Process Decoded
Instant Coverage Verification
Log into MyBreville to see remaining warranty time—standard coverage is 1-3 years depending on model. Upload your receipt directly to the dashboard for instant validation. Unregistered units require manual verification, delaying repairs by 3-5 business days.
What’s Covered vs. Self-Repair
Warranty covers motors, control boards, and manufacturing defects—but not wear items like gaskets or blades. If your drive coupling fails within warranty, Breville replaces the entire motor base free. For out-of-warranty units, self-repair with genuine parts costs 90% less than professional service.
Prevent Future Breakdowns: 3 Critical Habits
Daily 60-Second Maintenance
Rinse the jar immediately after use to prevent food buildup. Wipe the motor base with a damp (not wet) cloth—never immerse in water. Air-dry all components before storage. This simple routine prevents 80% of common failures by stopping residue from jamming moving parts.
Monthly Vent Cleaning
Use compressed air to blow dust from motor base vents every 30 days. Blocked vents cause overheating, triggering thermal fuse trips. Do this while the unit is unplugged and cool—5 seconds of maintenance prevents catastrophic shutdowns during heavy use.
Smart Storage Protocol
Store jars without blades attached to maintain gasket elasticity. Keep the motor base in a dry cabinet—humidity corrodes internal electronics. Never wrap the power cord tightly; coil loosely to prevent internal wire damage.
When to Call Professionals
Motor Base Replacement Scenarios
If you smell burning insulation or see visible sparks, stop using the blender immediately. These indicate internal motor failure requiring authorized service. Breville’s certified centers offer flat-rate repairs ($75-$120) often cheaper than new units.
Control Board Errors
Error codes like “E1” or unresponsive touch panels signal control board failure. While Breville sells replacement boards, installation requires soldering skills. For digital models (BBL920 series), professional repair is safer than DIY attempts.
Repair vs. Replace Math
Calculate: (Part cost + labor) should be under 50% of a new blender’s price. Example: A $25 gasket repair saves $275 versus replacement. But a $150 motor base repair on a $299 model may warrant replacement. Breville support provides exact cost estimates before you commit.
Final Note: Most Breville blender repairs take 15-30 minutes using genuine parts from the official store—no special skills needed. Keep your model number visible on the motor base, register through MyBreville immediately, and perform monthly vent cleaning to avoid 90% of common failures. When issues strike, start with the drive coupling and gasket checks before contacting support. By following this breville blender repair protocol, you’ll extend your appliance’s life for 5+ years while saving hundreds in replacement costs. Your next perfectly smooth smoothie is just one coupling replacement away.


