
That satisfying whir of your Breville blender has suddenly turned into a frustrating puddle on your countertop. You’re not alone—thousands of Breville owners face this exact problem every year. When your high-performance blender starts leaking, it’s more than just a messy inconvenience; it threatens the longevity of your appliance and could even create electrical hazards. The good news? Most Breville blender leaks stem from simple issues you can diagnose and fix in under 15 minutes with basic tools.
Whether you’re dealing with stubborn smoothie residue seeping from the base or water pooling beneath your expensive appliance during operation, understanding the specific leak location is crucial. This comprehensive guide cuts through the confusion to deliver precise solutions for every possible leak scenario. You’ll learn exactly where to look, what tools you need, and step-by-step procedures that actually stop the leak—no guesswork required.
Pinpoint Your Breville Blender Leak Source Immediately
Before grabbing tools or replacement parts, you must determine exactly where your blender is leaking. Misdiagnosing the problem wastes time and money. Breville blenders typically leak from three distinct areas, each demanding a different solution approach.
Critical leak locations to inspect:
– Blade assembly base – Liquid dripping from where the blade meets the jug
– Lid interface – Splatter escaping around the lid during operation
– Motor base junction – Moisture collecting where the jug sits on the motor unit
Effective leak identification method: Fill your blender halfway with water, place it on a dry paper towel, and run for 30 seconds on low speed. Turn off immediately and check where water appears on the towel. This simple test reveals your exact leak source without creating a major mess.
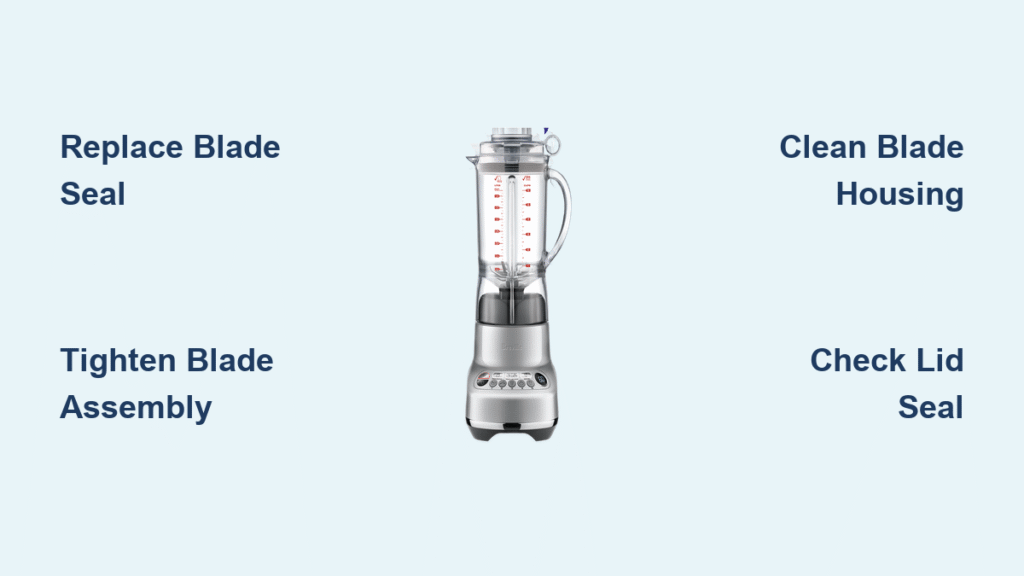
Replace Degraded Blade Assembly Seals for Permanent Fixes

The rubber seal surrounding your blade assembly represents the most common leak culprit in Breville blenders. After 6-12 months of regular use, these critical components harden, crack, or lose elasticity, creating tiny gaps for liquid escape.
Clear indicators your blade seal needs replacement:
– Persistent puddles forming directly beneath the blade housing
– Small black rubber particles appearing in your blended creations
– Visible cracks or flattened sections when inspecting the seal
– Leaks occurring only during operation, not during storage
Essential tools for successful seal replacement:
– Exact replacement seal matching your Breville model
– Flathead screwdriver with precision tip
– Mild dish soap and warm water
– Clean microfiber towel
Step-by-step seal replacement process:
1. Ensure blender is unplugged and jug removed from base
2. Turn jug upside down and locate the blade assembly retaining ring
3. Gently insert screwdriver tip and carefully pry off the retaining ring
4. Remove the old seal and thoroughly clean the groove with soapy water
5. Position the new seal with the flat side facing downward
6. Reinstall the retaining ring and test with water before food use
Pro tip: Keep your old seal as a reference when ordering replacements—Breville uses model-specific sizes that generic parts often don’t match properly.
Secure Loose Blade Assembly Without Causing Damage
Frequent vibration during blending can gradually loosen the blade assembly, creating microscopic gaps that cause leaks. Before replacing parts, try this simple tightening procedure that solves many leak issues.
Effective tightening technique:
– Remove jug from motor base
– Turn jug upside down and locate the large plastic nut surrounding blades
– Using your palm, firmly press and rotate clockwise until snug (avoid excessive force)
– Conduct a water test to verify the leak has stopped
Warning signs requiring professional attention:
– Visible stripping on plastic threads
– Significant wobble in the blade assembly
– Leak persists despite proper tightening
– Unusual grinding noises during adjustment
Eliminate Debris in Blade Housing That Causes Leaks
Food particles and residue buildup can prevent proper sealing between the blade assembly and jug. This creates hidden channels for liquid escape during high-speed operation, mimicking a damaged seal.
Complete blade housing cleaning procedure:
1. Fill jug halfway with hot water and two drops of dish soap
2. Blend on high speed for 30 seconds to dislodge debris
3. Empty contents and inspect blade housing edges for stuck particles
4. Use a bottle brush to clean around blade attachment points
5. Rinse thoroughly and allow complete air drying
6. Reassemble and conduct a water test before regular use
Focus areas during inspection:
– Underneath blade edges where sticky residues accumulate
– The threading area where blade assembly screws into the jug
– Any visible cracks or imperfections in the plastic housing
Resolve Lid Seal Leaks During Blending Operations

When liquid sprays from the top during operation, your problem lies with the lid seal rather than the base. This commonly affects newer Breville models where users haven’t mastered proper sealing techniques.
Proper lid sealing protocol:
– Position lid with spout oriented away from handle
– Apply firm, even pressure until you hear a distinct click
– Verify the inner rubber seal sits flush against the jug rim
– Begin blending on low speed for 5 seconds before increasing
Frequent lid-related mistakes:
– Misalignment of lid positioning arrows
– Using incompatible lid for your specific jug size
– Blending hot liquids with vent cap closed
– Exceeding the maximum fill line during preparation
Temporary lid seal solution:
– Remove lid and wash thoroughly in warm soapy water
– Gently stretch the rubber seal to restore elasticity
– Apply minimal cooking oil to the seal surface
– Order replacement if seal shows cracks or permanent deformation
Address Motor Base Connection Leaks Immediately
When liquid appears where the jug meets the motor base, the issue involves the coupling system. Ignoring this type of leak risks permanent motor damage and electrical hazards.
Critical motor base leak symptoms:
– Liquid dripping from the bottom of the blender during operation
– Visible moisture inside the motor housing compartment
– Distinct burning food odor during use
– Noticeable decrease in motor performance
Emergency response protocol:
1. Immediately unplug the blender from power source
2. Remove jug and inspect both coupling mechanisms
3. Clean jug coupling and motor coupling with slightly damp cloth
4. Check for cracks or damage in plastic coupling components
5. Allow all parts to dry completely before next use
Coupling replacement indicators:
– Worn or broken teeth on coupling mechanism
– Excessive wobble when jug sits on motor base
– Clicking sounds during operation
– Rust or corrosion on metal drive shaft
Prevent Breville Blender Leaks Before They Start
Stopping leaks through proper maintenance saves time, money, and frustration. These preventive measures extend your blender’s lifespan significantly while ensuring consistent performance.
Daily leak prevention habits:
– Hand-tighten blade assembly before each use
– Clean blade housing immediately after sticky blends
– Store jug upside down for complete drying
– Never exceed the maximum fill line
– Start blending on low for 5 seconds before increasing speed
Weekly maintenance routine:
– Inspect blade assembly for cracks or wear
– Clean lid seal thoroughly with soft brush
– Check coupling teeth for damage
– Wipe motor base with damp cloth
– Test seal integrity by blending water briefly
Select Correct Replacement Parts for Lasting Repairs
Using incompatible replacement parts causes more leaks than they solve. Breville models use specific seals, gaskets, and blade assemblies that aren’t universally interchangeable.
Before ordering replacement parts:
– Locate your exact model number (typically printed on jug bottom)
– Measure old seal diameter with precision ruler
– Identify blade assembly style (removable vs fixed)
– Confirm jug size specifications
Reliable replacement part sources:
– Official Breville website parts section
– Authorized appliance retailers
– Local kitchen supply stores with model catalogs
– Verified online marketplaces with exact model compatibility
Warning signs of incompatible parts:
– No specific model compatibility information
– Unusually low pricing compared to official parts
– Non-food-grade material specifications
– Customer reviews mentioning fit issues
Know When Professional Repair Is Necessary
Some leaks indicate internal electrical or mechanical issues requiring professional expertise. Attempting complex repairs yourself risks permanent damage and voids warranty coverage.
Situations requiring professional service:
– Leaks containing black fluid (indicating motor oil)
– Visible sparks or smoke during operation
– Motor runs but blades remain stationary
– Leaks persist after multiple seal replacements
– Blender trips circuit breakers during use
Warranty considerations:
– Most Breville blenders include 1-3 year manufacturer warranties
– Unauthorized repairs typically void warranty coverage
– Maintain purchase receipt for warranty claims
– Contact Breville customer service before third-party repairs
Repair cost analysis:
– Professional service: $50-120
– New comparable Breville model: $200-400
– DIY seal replacement: $5-15
– Always factor in appliance age and overall condition
Don’t let leaks derail your healthy lifestyle or waste precious morning time. Most Breville blender leaks stem from simple issues you can resolve during a single coffee break. Start with the diagnostic water test to pinpoint your exact leak source, then implement the targeted solution. Addressing leaks immediately prevents costly motor damage from liquid exposure. Keep a spare seal on hand, establish the recommended maintenance routine, and your Breville will deliver reliable, leak-free performance for years to come. Remember—consistent care transforms your blender from a leaky liability into a dependable kitchen workhorse.


