
Tired of dirtying every bowl in your kitchen just to make fall-flavored pancakes? Your blender holds the secret to fluffy pumpkin pancakes with zero cleanup drama. This revolutionary method transforms whole oats into flour while blending the entire batter in under 60 seconds—no whisking, no pre-mixing, no sink full of dishes. Just pour the silky batter straight from your blender onto the griddle and watch golden, spice-kissed pancakes emerge with that signature autumn warmth. Forget dense, grainy gluten-free pancakes; this technique delivers tender, restaurant-quality results that even wheat-lovers crave.
You’ll discover why skipping traditional flour creates a naturally gluten-free breakfast packed with fiber and protein. The magic happens when your blender pulverizes rolled oats into fine flour while simultaneously emulsifying pumpkin puree, eggs, and warm spices into a perfectly smooth batter. In just 20 minutes flat (including cooking time), you’ll have a stack of pumpkin-spiced perfection that’s dairy-free adaptable and ready for any topping. Whether you’re meal-prepping for busy mornings or craving a cozy weekend brunch, this recipe eliminates every pain point of pancake-making.
Why Your Blender Creates Perfect Pumpkin Pancakes Every Time
Forget lumpy batters and uneven spice distribution. High-speed blenders (like Vitamix or Ninja) solve the #1 problem with oat-based pancakes: coarse texture. By grinding 2 cups certified gluten-free rolled oats into ultra-fine flour before adding liquids, you prevent gritty results. This pre-grinding step—which takes just 15-30 seconds of pulsing—is the secret to achieving that elusive light, airy crumb without wheat flour.
Critical Ingredient Swaps for Flawless Results
- Pumpkin puree: Must use 100% pure pumpkin (not pie filling) for proper moisture balance
- Oats: Only old-fashioned rolled oats work—quick oats turn mushy, steel-cut oats risk blender damage
- Leavening boost: Combine 1 tsp baking powder and ½ tsp baking soda for maximum rise
- Acid activation: Add 1 tsp apple-cider vinegar to react with baking soda for fluffiness
Realistic Yield Expectations
Don’t be fooled by misleading recipes—this formula delivers exactly:
– 15 silver-dollar pancakes (perfect for meal prep)
– 8 standard 6-inch pancakes (ideal for family breakfasts)
– Scaling truth: Doubling works flawlessly, but halving requires precise ½-cup oat measurements
Griddle Setup Secrets Most Recipes Don’t Mention
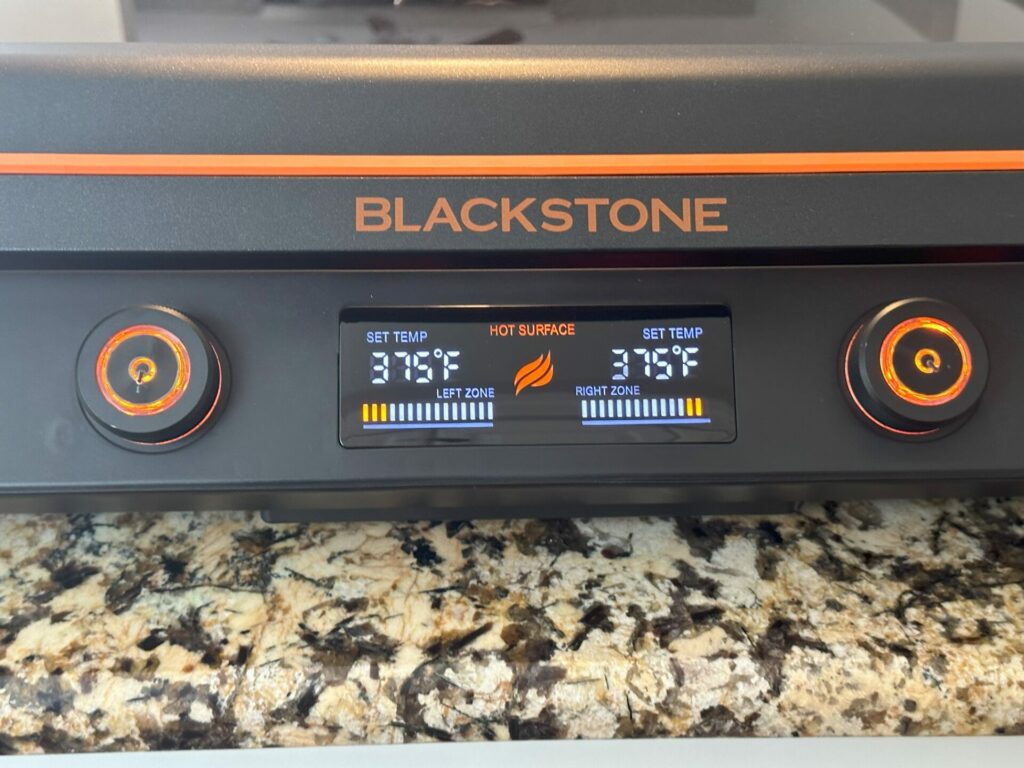
Your cooking surface makes or breaks the texture. Electric griddles set to 375°F deliver the most consistent results because they maintain even heat across the entire surface. If using a skillet, stick to non-stick and avoid cast iron—the intense heat browns exteriors before centers cook, creating raw, gummy middles.
Non-Negotiable Preheating Step
Place a single drop of water on your griddle—it should dance and evaporate in 3 seconds when properly preheated. Grease only after preheating using:
– Butter (for classic flavor)
– Coconut oil (for dairy-free)
– Oil spray (for even coverage)
Never pour batter onto a cold surface—that’s the #1 cause of sticking disasters.
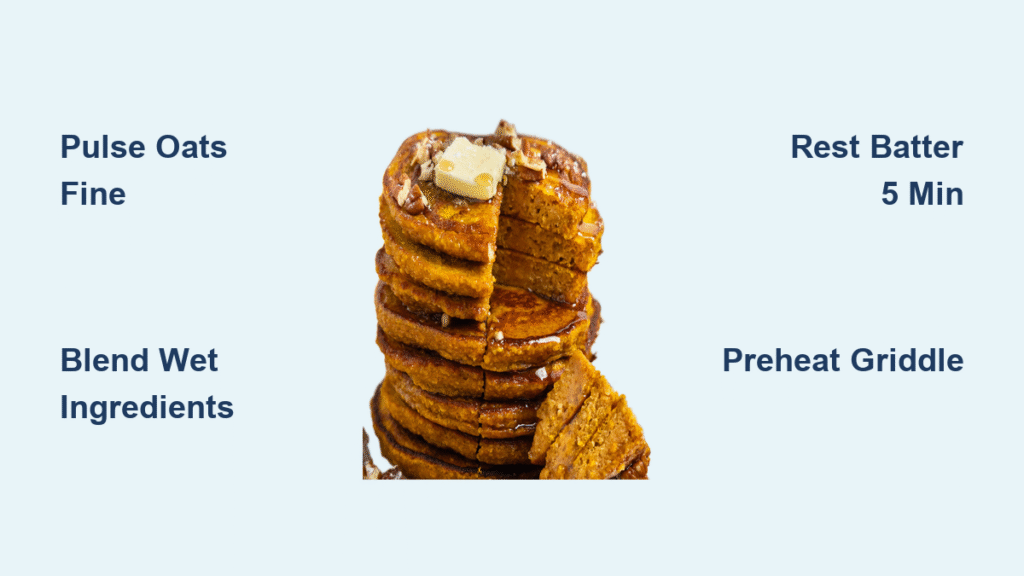
The 3-Step Blender Method That Takes 60 Seconds
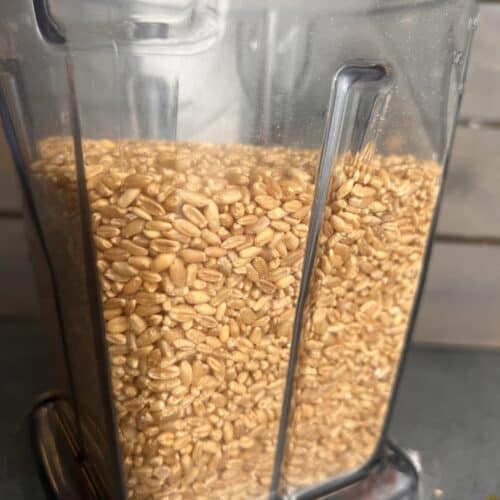
1. Pulse Oats Alone Until Powdery Fine
Why this matters: Grinding oats solo prevents uneven texture. Pulse 15-30 seconds until resembling flour—do not skip this. Coarse oat bits sink during cooking, creating dense spots. Check by rubbing between fingers; it should feel smooth like cornstarch.
2. Blend Wet Ingredients in One Pour
Add all remaining ingredients at once:
– ¾ cup pumpkin puree
– 1 cup milk (dairy or plant-based)
– 2 eggs
– 1-3 Tbsp maple syrup
– 1-2 Tbsp melted fat
– Spices + leaveners + ¼ tsp salt
Blend 20-60 seconds just until smooth. Over-blending incorporates too much air, causing pancakes to collapse. Scrape sides once if needed—batter should coat a spoon thickly.
3. Rest Batter 5 Minutes (The Fluff Factor)
This hydration window is non-negotiable. While batter rests:
– Oats fully absorb liquids
– Leaveners activate for maximum rise
– Gluten-free batter thickens to ideal pourable consistency
Pro tip: Preheat your griddle during this rest—you’ll never miss the timing.
Cooking Hacks for Golden-Perfect Pancakes
Portion Control for Even Cooking
Use a ¼-cup ladle for silver-dollar size or ⅓-cup for diner-style. Pour batter from 2 inches above the griddle—this creates perfectly round shapes without spreading. If batter ribbons off the ladle too slowly, thin with 1 Tbsp milk. Too runny? Add 1 Tbsp ground oats.
Flip Timing Visual Cues
Don’t guess—watch for these signs:
– First side: Bubbles break and stay open (not popping closed)
– Edges: Turn matte (not shiny/wet)
– Bottom: Deep golden when gently lifted with spatula
Critical: Flip only once! Pressing down with the spatula squeezes out air pockets.
Troubleshooting Burning, Gummy, or Flat Pancakes

| Problem | Immediate Fix | Prevention Tip |
|---|---|---|
| Raw center, burnt edges | Reduce heat to medium-low; thin batter with 1 Tbsp milk | Always preheat griddle to 375°F—use thermometer |
| Gummy texture | Pulse oats longer next time; ensure 5-min rest | Buy certified GF oats—cross-contamination causes gumminess |
| Pancakes spread too thin | Chill batter 5 min; increase oats by 2 Tbsp | Don’t over-blend wet ingredients |
| Bitter aftertaste | Replace baking soda (test with vinegar—if no bubbles, it’s dead) | Store leaveners in airtight containers away from moisture |
Make-Ahead Mastery for Stress-Free Mornings
Freezer Strategy That Prevents Sogginess
Cool pancakes completely, then:
1. Flash-freeze in single layer on baking sheet (30 mins)
2. Layer between parchment paper in freezer bag
3. Reheat in toaster oven (3 mins at 350°F) for crisp edges
Avoid microwaving—it creates rubbery texture. Frozen pancakes stay fresh 3 months, not weeks.
Meal-Prep Portioning Trick
Double the batch and store in:
– Snack bags: 2-3 pancakes for kids’ lunches
– Mason jars: Layer with yogurt and berries for pancake parfaits
– Waffle iron: Cook frozen pancakes 90 seconds for crispy texture
Top 3 Pro Variations Worth Trying
1. Protein-Powered Post-Workout Version
Add 1 scoop unflavored protein powder + ¼ cup extra milk. The blender emulsifies lumps you’d get from hand-mixing. Perfect for gym mornings—each serving packs 14g protein.
2. Campfire-Friendly Dry Mix
Pre-blend dry ingredients (oats, spices, leaveners) in a ziplock bag. At campsite, add wet ingredients to your portable blender. Cook over fire on cast-iron griddle—no electricity needed.
3. Baby’s First Pancakes
Omit sweeteners and spices. Make 2-inch silver-dollars using only pumpkin’s natural sweetness. Freeze extras for teething relief—babies love gnawing on cold pancakes.
Why This Beats Traditional Pancake Recipes
Blender pumpkin pancakes solve the gluten-free paradox: they’re hearty yet tender, with no chalky aftertaste. Oat flour provides sustained energy (5g fiber per serving), while pumpkin delivers vitamin A without overpowering sweetness. Most importantly, you’ll save 12+ minutes on cleanup—no whisking bowls, no flour spills, no sticky measuring cups.
Final pro tip: For next-level flavor, add 1 Tbsp bourbon to the batter—it amplifies pumpkin notes without making pancakes boozy. Serve with toasted pecans and warm maple syrup for a breakfast that tastes like fall in every bite. Once you master this one-bowl method, you’ll never drag out your mixing bowls for pancakes again.


