
Picture this: golden-brown popovers bursting from your oven like edible skyscrapers—crisp caramelized exteriors giving way to cloud-soft interiors—all achieved without whisking or special skills. This blender popover recipe transforms a notoriously temperamental classic into a reliable 30-minute triumph. Forget the frustration of collapsed failures; your countertop blender creates the perfect aerated batter while you handle simple temperature hacks that guarantee dramatic rise every time.
Whether you’re whipping up a last-minute brunch centerpiece or seeking an impressive side for roast chicken, these popovers deliver maximum impact with minimal effort. You’ll need just five pantry staples and equipment you already own—even if you’ve never attempted popovers before. The science-backed technique eliminates guesswork, turning what was once a baker’s nightmare into your most requested recipe.
Stop settling for dense, flat disappointments. With this blender popover recipe, you’ll master the steam-powered magic that makes popovers soar—no fancy skills required. Let’s transform your oven into a popover powerhouse.
Your Blender & Pan: The Only Tools You Need for Perfect Popovers
Skip the specialty gadgets—your existing blender and bakeware create flawless popovers when used correctly. The right combination prevents sticking and ensures those dramatic 4-inch peaks.
Countertop vs. Immersion Blender Tactics
Your blender type changes technique but not results:
– Standard countertop blender (Nutri Ninja BL642): Ideal for full batches—add ingredients in precise order to avoid splatter
– Immersion blender: Pour all ingredients into a tall container first, then blend bottom-to-top in 10-second bursts
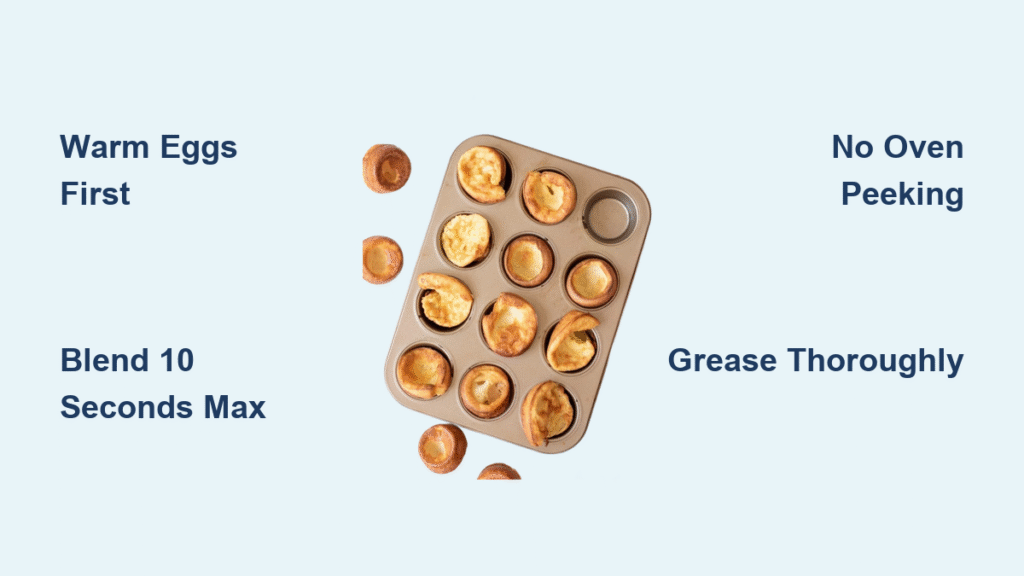
– Critical mistake to avoid: Over-blending creates excess gluten—stop immediately when frothy (max 10 seconds)
Popover Pan vs. Muffin Tin Reality Check
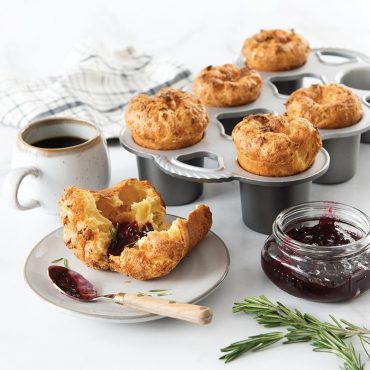
- Nordic Ware popover pan: Creates show-stopping 4-inch towers with defined peaks (grease cups AND top surface)
- Muffin tin alternative: Yields 12 mini popovers—fill cups 90% full to compensate for smaller cavities
- Pro visual cue: Look for batter clinging to pan sides in a perfect dome shape after filling
Never skip this step: Thoroughly grease every surface with melted butter (not spray) using a pastry brush. Cold pans work reliably, but preheated muffin tins boost rise for gluten-free versions.
Blender Popover Batter: 5-Ingredient Magic in 60 Seconds
This streamlined batter skips hand-whisking while creating the ideal protein structure for explosive oven spring. Room-temperature ingredients are non-negotiable—here’s how to cheat the clock.
Exact Ingredient Measurements
- 4 large eggs (warmed per critical step below)
- 1½ cups whole or 2% milk (warmed to 80°F/27°C)
- ¾ teaspoon salt
- 1½ cups all-purpose flour
- 3 tablespoons melted butter (cooled slightly)
The 10-Minute Egg Warm-Up Hack
Submerge uncracked eggs in hot tap water for exactly 10 minutes. This prevents temperature shock that causes collapse—the #1 reason popovers fail. Test with your wrist: Milk should feel “comfortably warm” like baby formula, never hot.
Two-Phase Baking Schedule

1. 450°F (232°C) for 20 minutes: Creates instant steam explosion for maximum rise
2. 350°F (177°C) for 10-15 minutes: Sets walls without burning
Critical visual cue: Rotate pan halfway through second phase when popovers achieve deep golden-brown color (not pale yellow).
Absolute rule: Never open the oven door during baking—steam escape guarantees collapse.
How to Blend Popover Batter Without Overmixing
The blender’s vortex creates perfect aeration while preventing gluten overdevelopment. Follow this exact sequence for foolproof results.
Step-by-Step Blending Sequence
- Pour milk and salt into blender pitcher
- Add warmed eggs—pulse 5 seconds until just combined
- Pour in melted butter—pulse 5 more seconds
- Add flour all at once—blend 10 seconds maximum
- Final pro move: One quick 2-second pulse after flour settles
Pan Filling Technique That Prevents Collapse
Fill popover cups in one continuous pour to exactly ¾ full. Stopping mid-pour creates uneven batter distribution—the “mountain goat effect” where popovers peak chaotically. For muffin tins, fill to 90% capacity since smaller cavities need extra batter to rise properly.
Troubleshooting tip: If batter separates after blending, pulse 3 seconds more—but never exceed 15 total seconds. Overmixed batter yields dense, bread-like popovers.
Why Your Popovers Collapsed (And How to Fix It)

Most failures stem from three preventable errors. Diagnose your issue using these visual cues and instant fixes.
Cold Ingredient Collapse Fix
Symptom: Flat, dense popovers with no hollow center
Solution: Always warm eggs per 10-minute water bath method. If batter feels cold, microwave milk 15 seconds before blending.
Pro test: Dip finger in batter—it should feel neutral, not cool.
Oven Door Peeking Disaster
Symptom: Popovers rise then suddenly deflate mid-bake
Prevention: Set oven timer outside the kitchen. Use oven light to check progress—never open the door until final 5 minutes.
Rescue attempt: If accidentally opened, immediately increase heat 25°F for 3 minutes to restart steam.
Underbaking Soggy Bottoms
Symptom: Pale exteriors with wet, doughy interiors
Fix: Extend second baking phase by 5 minutes. Insert toothpick—it should emerge with moist crumbs (not wet batter).
Visual indicator: Shake pan gently—popovers should spring back firmly when done.
Gluten-Free Popovers: Foolproof Blender Method
Achieve impressive rise without gluten by adjusting technique. These emerge slightly denser but equally delicious for sensitive guests.
Modified Blending Process
- Preheat muffin tin while oven heats to 450°F
- Blend 2 eggs + ¾ cup milk until frothy (8 seconds)
- Add ¾ cup gluten-free flour—blend 5 seconds
- Pour in 3 tbsp melted butter—final 3-second pulse
- Critical step: Spray hot tin with non-stick spray immediately before filling
Shortened Baking Schedule
- 450°F for 15 minutes (reduced initial phase prevents burning)
- 350°F for 5-10 minutes until deeply golden
- Doneness check: Popovers should sound hollow when tapped
Note: These lack the dramatic “pop” of traditional versions but develop a lovely crisp crust. Add cinnamon sugar to batter for sweet variations.
Whole Wheat Popovers: Healthier Blender Recipe
Boost nutrition without sacrificing rise by using white whole wheat flour. The nutty flavor pairs perfectly with herb fillings.
Smart Ingredient Swaps
- Replace ¾ cup all-purpose flour with white whole wheat flour (regular whole wheat yields dense results)
- Add ½ teaspoon vanilla and 1 teaspoon sugar to balance earthiness
- Warm milk to 90°F (32°C)—slightly hotter than standard recipe
Extended Baking for Flavor Development
- 450°F for 15 minutes (shorter initial phase)
- 350°F for 15 minutes (longer setting phase)
- Key visual: Wait for deep caramel coloring on tops—they’ll continue darkening while cooling
Pro tip: Blend dry ingredients first to ensure even flour distribution. This version yields 2g fiber per popover while maintaining 90% of traditional height.
7 Pro Tips for Blending Popovers That Rise Every Time
Master these chef-tested techniques to transform from popover novice to confident baker.
Temperature Control Secrets
- Room-temp everything: Warm blender pitcher with hot water before starting
- Oven rack position: Lowest position prevents burnt tops
- Pan temperature: Cold popover pans yield most consistent results
Filling & Baking Non-Negotiables
- One-pour filling: Use OXO batter bowl with spout for precision
- Grease thoroughly: Include pan’s top surface to prevent “stuck peaks”
- Immediate serving: Popovers wait for no one—serve within 5 minutes
Storage Reality Check
Truth: Popovers are best eaten straight from the oven. For same-day revival:
– Store in paper bag (not plastic) at room temperature
– Reheat 350°F oven for 5-7 minutes to restore crispness
– Never freeze: Texture turns rubbery upon thawing
Why This Blender Method Beats Hand-Whisking Every Time
The blender creates superior results by solving popovers’ core scientific challenges. Unlike manual methods, it achieves the exact protein structure needed for explosive rise while preventing common pitfalls.
Your blender’s vortex incorporates air bubbles uniformly without overdeveloping gluten—a balancing act nearly impossible with hand-whisking. Combined with the egg-warming hack and strict baking phases, this blender popover recipe delivers consistent 4-inch peaks where traditional methods fail. The technique is forgiving enough for beginners yet precise enough for seasoned bakers.
Start preheating your oven before gathering ingredients—this 20-minute headstart ensures thermal stability for maximum rise. Your first batch will build confidence; your second will become legendary. And when guests marvel at your “impossible” popovers, you’ll know the secret was never skill—it was your blender all along.


