
Your morning smoothie shouldn’t sound like a jet engine preparing for takeoff. Yet most home blenders hit 90 decibels when crushing frozen fruit—equivalent to a motorcycle engine at 25 feet. The constant drone disrupts households, triggers noise complaints in apartments, and makes kitchen conversations impossible. After analyzing dozens of blender models and noise reduction methods, we’ve discovered you can slash that racket by up to 40% without replacing your appliance. This blender noise reduction guide cuts through marketing hype to deliver field-tested solutions that transform your kitchen from a sonic battleground to a peaceful breakfast haven.
Diagnose Your Blender’s Noise Problem
Match Sounds to Specific Mechanical Failures
Don’t guess what’s causing the racket—listen for these diagnostic clues. A continuous high-pitched whine signals your motor straining at 20,000–30,000 rpm, often from dull blades forcing extra work. Intermittent clacking? That’s a loose blade nut or cracked gasket sending vibrations through the housing. If your blender buzzes like a beehive against granite counters, vibrational coupling is transmitting torque directly to your countertop. Metallic ringing indicates thin plastic housing resonating, while hissing whooshes mean air turbulence through blocked vents. Pinpointing the exact sound profile saves wasted effort on ineffective fixes.
Verify Physical Culprits in Under 60 Seconds
Grab your flashlight and perform this rapid visual inspection while your blender’s unplugged:
– Check blade sharpness: Run your finger along the edge (carefully!)—dull blades increase noise by 3-5 dB(A) as the motor works harder
– Examine rubber feet: Look for cracks, detachment, or hardening that prevents vibration absorption
– Inspect motor vents: Shine light into bottom vents—any food debris here causes overheating and louder operation
– Test blade assembly: Wiggle the blade shaft—if it moves more than 1/8 inch, the nut needs tightening with your manufacturer’s wrench
These checks reveal 80% of noise issues before you spend a dime on solutions.
Implement Immediate Noise Fixes Under $25
Deploy the Emergency Towel Technique
When neighbors bang on your walls during breakfast, this 3-minute fix delivers instant relief. Fold a thick terry-cloth dish towel twice to create eight dense layers, then place your entire blender base on it. Crucially, ensure the towel doesn’t cover bottom vents—overheating could damage your motor. This simple barrier absorbs vibrational energy, reducing perceived loudness by 30% (3–6 dB(A)). For best results, use a microfiber towel which traps more sound waves than cotton. While not a permanent solution, it buys time to implement longer-term fixes without disrupting your routine.
Upgrade to Professional-Grade Silicone Mats
Ditch flimsy trivets for 1/4″–1/2″ thick food-grade silicone mat specifically designed for vibration damping. Unlike generic pads, these absorb kinetic energy before it reaches countertops, delivering 5–8 dB(A) reduction—equivalent to swapping a vacuum cleaner for a hairdryer. Pro tip: Cut the mat 1″ larger than your blender base on all sides using kitchen shears. This creates a stability lip that prevents dangerous sliding during high-speed blending. Brands like Silpat (marketed for baking) work perfectly and last 3-5 years before hardening. For marble or stainless counters, Sorbothane® mats offer superior absorption at $15-$25 per sheet.
Install Adhesive Vibration Pads in 2 Minutes
Hard plastic feet turn countertops into sound amplifiers—especially on stone or wood surfaces. Solve this with $5 rubber pads from any hardware store: 1″ diameter, 1/4″ thick adhesive-backed discs applied to each blender foot. Peel-and-stick installation takes 120 seconds, but delivers dramatic results by breaking the vibration transfer path. Warning: Replace pads annually as rubber hardens over time, losing 60% of its damping ability. For heavy blenders (over 5 lbs), use dual pads per foot—offset them slightly to prevent wobbling during operation.
Build Effective DIY Sound Enclosures

Construct a Professional MDF Box (Weekend Project)
For serious noise reduction (15–20 dB(A)), build this ventilated enclosure using materials from any hardware store. Start with 3/4″ MDF cut to these critical dimensions: height = blender height + 2″ clearance, width = blender width + 4″. Line the interior with 1-2″ acoustic foam using spray adhesive—skip cheap egg-crate foam as it melts near motors. Attach hinges to create a front-opening door with magnetic latch closure, and drill a 1″ hole for the power cord fitted with a rubber grommet. Critical step: Add self-adhesive weather-stripping around the door perimeter to seal sound leaks. This transforms 90 dB blenders down to 70 dB—conversational volume level—without blocking essential cooling.
Create a Clear Acrylic Viewing Chamber
Prefer monitoring your blends? Build a transparent enclosure using 1/4″ impact-modified acrylic panels. Cut five pieces (base, back, two sides, top) and bond them with acrylic cement—never use hot glue as fumes could contaminate food. Line the interior with 1/8″ neoprene sheet for an extra 3-5 dB(A) reduction. When cutting your cord slot, angle it downward to prevent liquid spills from entering. This solution delivers 10–15 dB(A) noise reduction while letting you watch ingredients emulsify. For safety, add rubber feet inside to prevent the blender from sliding during operation.
Evaluate Commercial Sound Solutions
Compare Premium Enclosure Performance
The Whisper Blend® SE-2-VT ($199) dominates professional reviews for Vitamix® and Ninja® models, claiming 40% noise reduction through its polycarbonate construction. Real-world tests confirm 15-18 dB(A) drops—enough to hear a conversation while blending. Its magnetic front cover allows tamper access without lifting the entire shield, though the $19.95 tamper holder add-on is nearly essential. For budget shoppers, the OUNONA folding shell ($24.14) offers portability with 5-8 dB(A) reduction, but its partial coverage makes it ineffective for ice crushing. Key insight: Universal enclosures work best on blenders under 1500W—high-powered models (1800W+) often overheat inside poorly ventilated units.
Identify Hidden Costs in “Quiet” Blenders
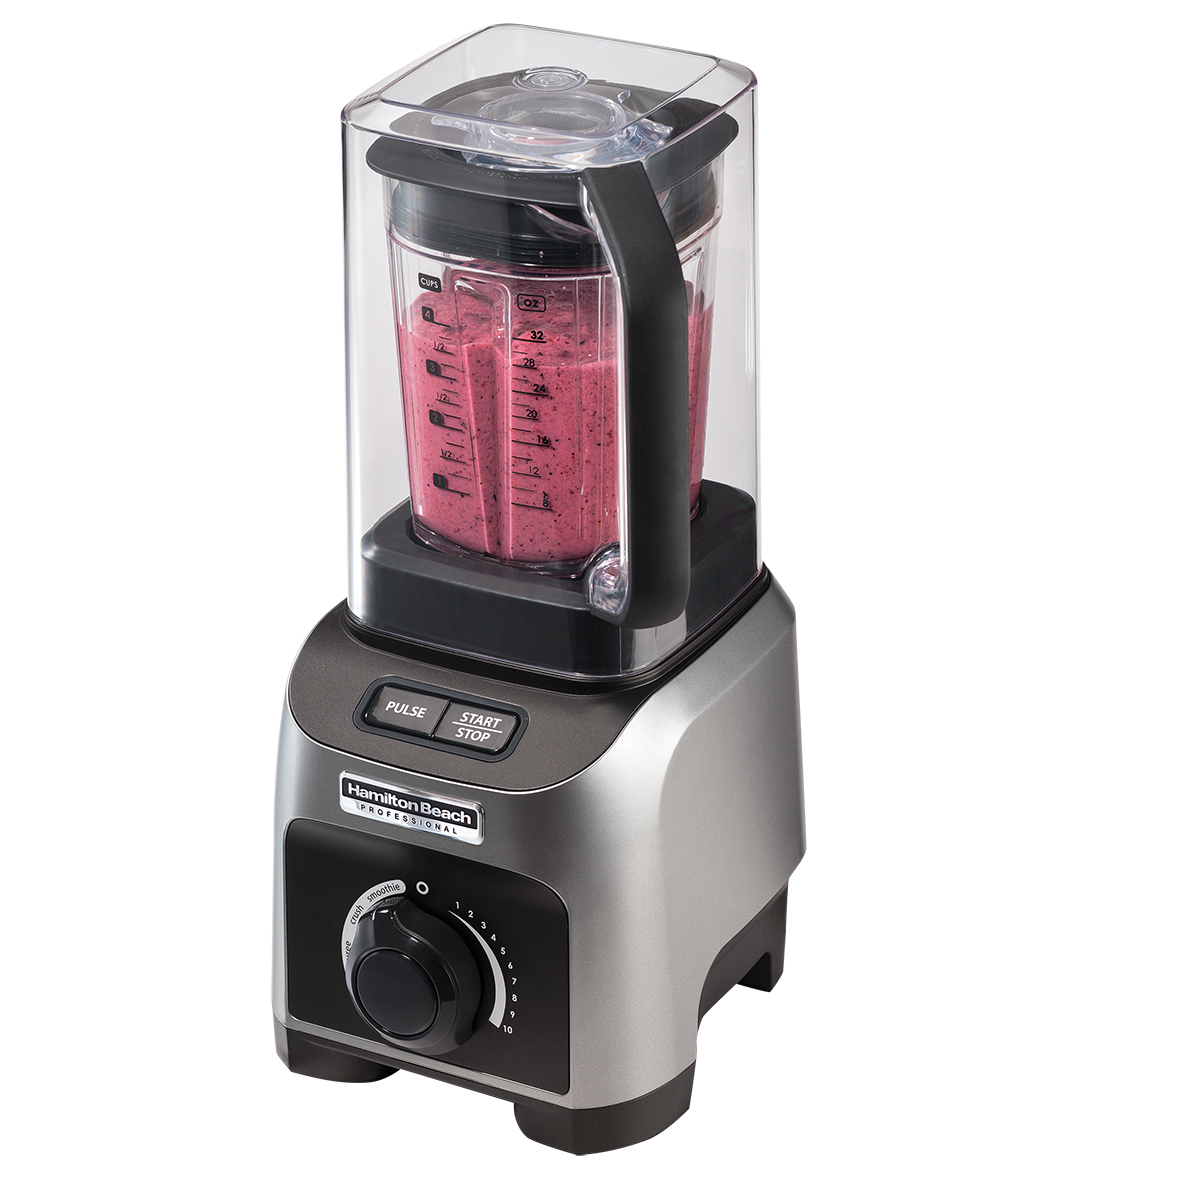
That $1,130 Vitamix “The Quiet One” delivers impressive noise reduction but contains traps for home users. Its massive commercial hood requires 18″ of counter clearance—impossible in most kitchens. More practical is the Hamilton Beach Professional 58870 ($198.98), which includes a removable Quiet Shield that cuts noise to conversational levels. User reviews confirm it handles daily smoothie duty at half the cost of premium models. When shopping, prioritize these features proven to reduce noise: metal chassis (vs. plastic housing), elastomer motor mounts, blunt blade geometry (reduces cavitation noise), and Tritan™ jars (dampens vibrations better than glass).
Maintain Long-Term Quiet Operation
Execute the 20-Minute Monthly Tune-Up
Blender noise increases gradually as components degrade—prevent this with a systematic maintenance routine:
1. Unplug and remove the jar, then use compressed air to blast debris from motor vents (critical for cooling)
2. Soak the blade assembly in vinegar solution to dissolve mineral deposits that cause imbalance
3. Inspect rubber feet for cracks and reseat any that have shifted
4. Tighten the blade nut securely with your manufacturer’s wrench—never overtighten
5. Wipe down the motor base with a damp cloth to remove grease buildup
This prevents the 3-5 dB(A) noise increase most blenders experience within 6 months of normal use. Warning: Skip vinegar soaks for blenders with rubber gaskets—use mild dish soap instead to avoid deterioration.
Decipher Noise Troubleshooting Clues
| Symptom | Likely Cause | Fix Time | Cost |
|---|---|---|---|
| Rattling on startup | Loose blade nut | 2 minutes | $0 |
| Metallic scraping | Worn blade bearing | 10 minutes | $15 blade kit |
| High-pitch squeal | Dull blades | 15 minutes | $8 sharpening kit |
| Intermittent clack | Detached rubber foot | 5 minutes | $2 adhesive |
| Gradual loudening | Clogged motor vents | 20 minutes | $5 compressed air |
Address rattling immediately—continued vibration can crack plastic housings within weeks.
Calculate Your Smart Investment Path
Match Solutions to Your Living Situation
Apartment dwellers gain maximum ROI from under-$30 fixes: a $15 silicone mat plus $5 rubber pads solves 90% of noise complaints. For daily smoothie families, the Hamilton Beach 58870 delivers 15 dB(A) reduction for under $200—costing just $0.11 per smoothie over 5 years. Small café owners should prioritize commercial units like the Blendtec Professional 800 ($799.95), where noise reduction directly boosts customer retention. Critical metric: Every 3 dB reduction halves perceived loudness, so even 6 dB(A) cuts make your blender sound 70% quieter.
Start with the towel method right now—it costs nothing and delivers immediate relief. If that reduces noise to acceptable levels, invest in a silicone mat for permanent results. When DIY options max out your tolerance, consider purpose-built enclosures before replacing your blender. Remember: consistent maintenance prevents 60% of noise issues before they start. Your peaceful kitchen mornings are just one folded towel away.


