Your Black and Decker blender sputters to a halt mid-smoothie, leaving chunky kale and frozen berries swirling in warm liquid. That sinking feeling hits—you need this appliance for breakfast, baby food, or sauces, and now it’s dead weight on your counter. When your Black and Decker blender not working scenario strikes, 80% of “broken” units actually suffer from simple, fixable issues. This guide cuts through the frustration with model-specific solutions for BL3000S and BL1400DG-P blenders, proven troubleshooting sequences, and clear indicators when replacement is smarter than repair. You’ll learn to diagnose power failures in 60 seconds, stop leaks permanently, and avoid costly mistakes that turn minor issues into total meltdowns.
Power Failure Diagnosis
No Response When Plugged In
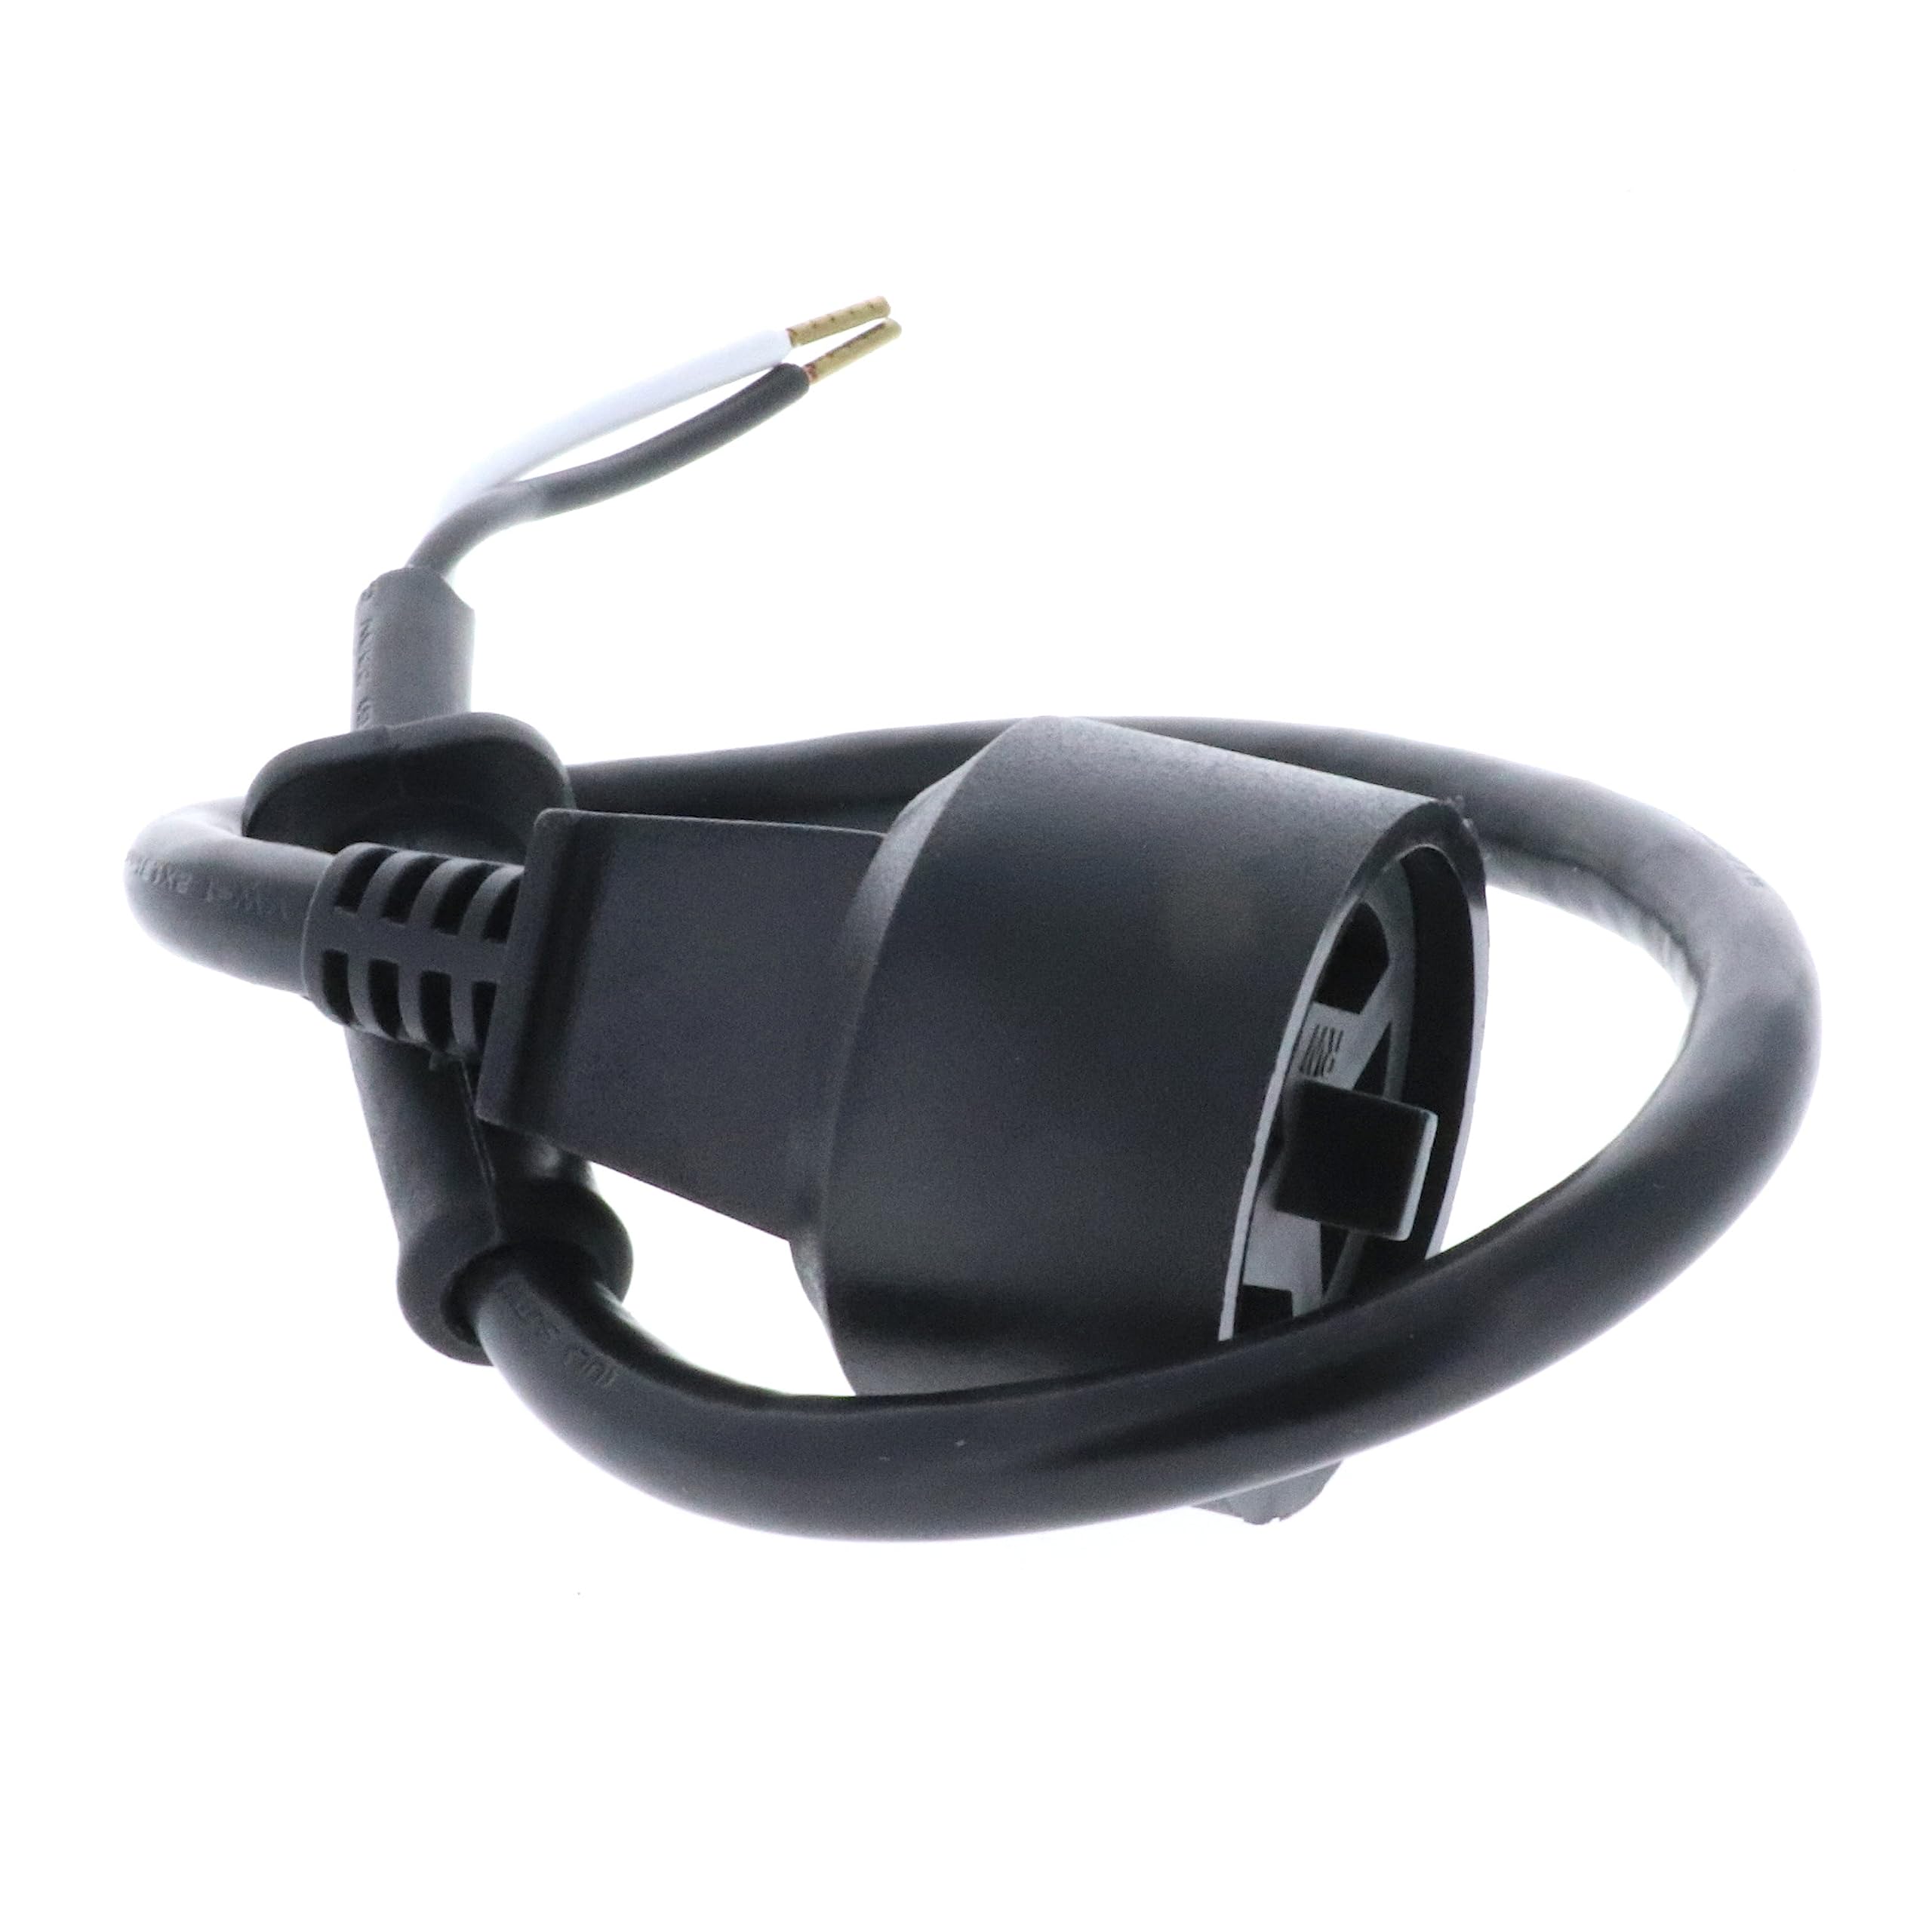
Start with the outlet—not the blender. Plug in your phone charger to confirm power flow; dead outlets cause nearly half of all “broken” blender incidents. Next, inspect the cord where it meets the base plug. Visible fraying or kinks means immediate replacement—never tape damaged cords. For BL1400DG-P models, watch for a blinking power light: this signals thermal overload, not total failure. Always test in a different outlet first before disassembling your blender.
Critical Power Checks:
– Wiggle the cord at both ends while plugged in (if it sparks or intermittently works, replace immediately)
– Verify the circuit breaker hasn’t tripped (especially if using high-wattage appliances simultaneously)
– Examine the base for scorch marks near the motor housing—this indicates dangerous electrical faults
Circuit Board Issues
If the outlet works but your Black and Decker blender not working issue persists, the circuit board is likely compromised. Unlike loose cords, this requires full replacement—these boards aren’t user-serviceable due to micro-soldering. For BL3000S models, locate the model number under the base (e.g., “BL3000S-01”) before ordering parts. Never attempt circuit board repairs with DIY soldering; incorrect fixes risk fire hazards. When the board fails, you’ll notice complete silence—no hum, no lights, no response to button presses.
Leak Detection and Repair
Immediate Leak Stoppage
Leaks threaten motor destruction within minutes. Unplug immediately and identify the source: 90% originate from three points. For lid leaks, remove the lid completely and scrub the silicone seal with warm soapy water—food residue prevents proper sealing. Re-seat until you hear a distinct click. For blade assembly leaks, empty the jar, unscrew the base counterclockwise, and check threads for trapped spinach or seeds. Hand-tighten firmly; over-tightening cracks plastic jars.
Emergency Leak Protocol:
1. Unplug and disassemble the leaking component
2. Soak sealing surfaces in vinegar solution for 5 minutes to dissolve residue
3. Dry thoroughly before reassembly (moisture causes immediate re-leaking)
4. Test with water only before using food
Permanent Leak Solutions
Cracked jars require replacement—epoxy repairs fail under pressure and risk glass shards in food. For BL1400DG-P models, alignment is critical: the blade assembly’s arrow must perfectly match the jar base arrow during tightening. If leaks persist after cleaning, inspect the jar for hairline cracks near the base (hold up to light). Replacement jars cost $15-$25—far cheaper than motor replacement after liquid damage.
Blade Spinning Problems

Jar Seating Issues
Improper jar placement causes 70% of non-spinning blade cases. Remove the jar and inspect the base gears for stuck food particles. For BL3000S models, wipe both the jar’s bottom tabs and the base’s metal coupler with a damp cloth. Realign the jar tabs with base slots, then twist clockwise until firmly seated—you should feel resistance. Test with water only first; if it spins, add ingredients gradually.
Proper Seating Checklist:
– Clean gear teeth with an old toothbrush
– Ensure jar sits level (no wobbling)
– Listen for a distinct thunk when locking into place
– Never force the jar—misalignment strips gears
Obstruction Removal
Stuck blades often trap fibrous foods like celery or banana peels. Always unplug first—never reach inside. Use a wooden chopstick to dislodge debris between blade edges. For stubborn jams, fill the jar halfway with warm water, let sit 10 minutes, then manually spin blades upward with your fingers (they should rotate freely). If resistance remains, unscrew the blade assembly and clean the shaft thoroughly.
Motor Failure Signs
If blades spin freely by hand but the motor only hums, the motor is burned out. This is irreversible—Black and Decker motors aren’t replaceable in consumer models. Confirm by:
1. Testing with an empty jar (reduces load)
2. Trying all speed settings
3. Checking for burning smells
When these occur, replacement is the only safe option.
Performance Restoration
Dull Blade Solutions
Worn blades struggle with ice after 1-2 years. Test by blending water and ice cubes for 30 seconds; if chunks remain or you hear grinding (not smooth crushing), replace the assembly. Genuine Black and Decker blades cost $18-$25 versus $80+ for new blenders. Never sharpen blades yourself—improper angles cause imbalance and vibration damage.
Food Jamming Prevention
Overfilling causes 60% of performance drops. For BL3000S models, never exceed the 48-ounce line. When blending dense foods like nut butters:
– Add liquid in 1:1 ratio with solids
– Pulse in 10-second bursts
– Start on low speed before increasing
– Pause every 15 seconds to scrape sides
Overheating Recovery
Thermal Protection Reset
BL1400DG-P models automatically shut down when overheated (blinking power light = thermal protection). Unplug, remove the jar, and wait 25 minutes minimum. Use compressed air to clear dust from the motor fan vents under the base. Never force restart—repeated overheating destroys motors.
Preventing Future Overheating
Limit continuous runs to 45 seconds. For thick mixtures:
– Blend in 15-second pulses with 20-second rests
– Add liquid before solids to reduce motor strain
– Keep the jar below ⅔ full to prevent heat buildup
This extends motor life by 2+ years.
Model-Specific Fixes
BL3000S Troubleshooting
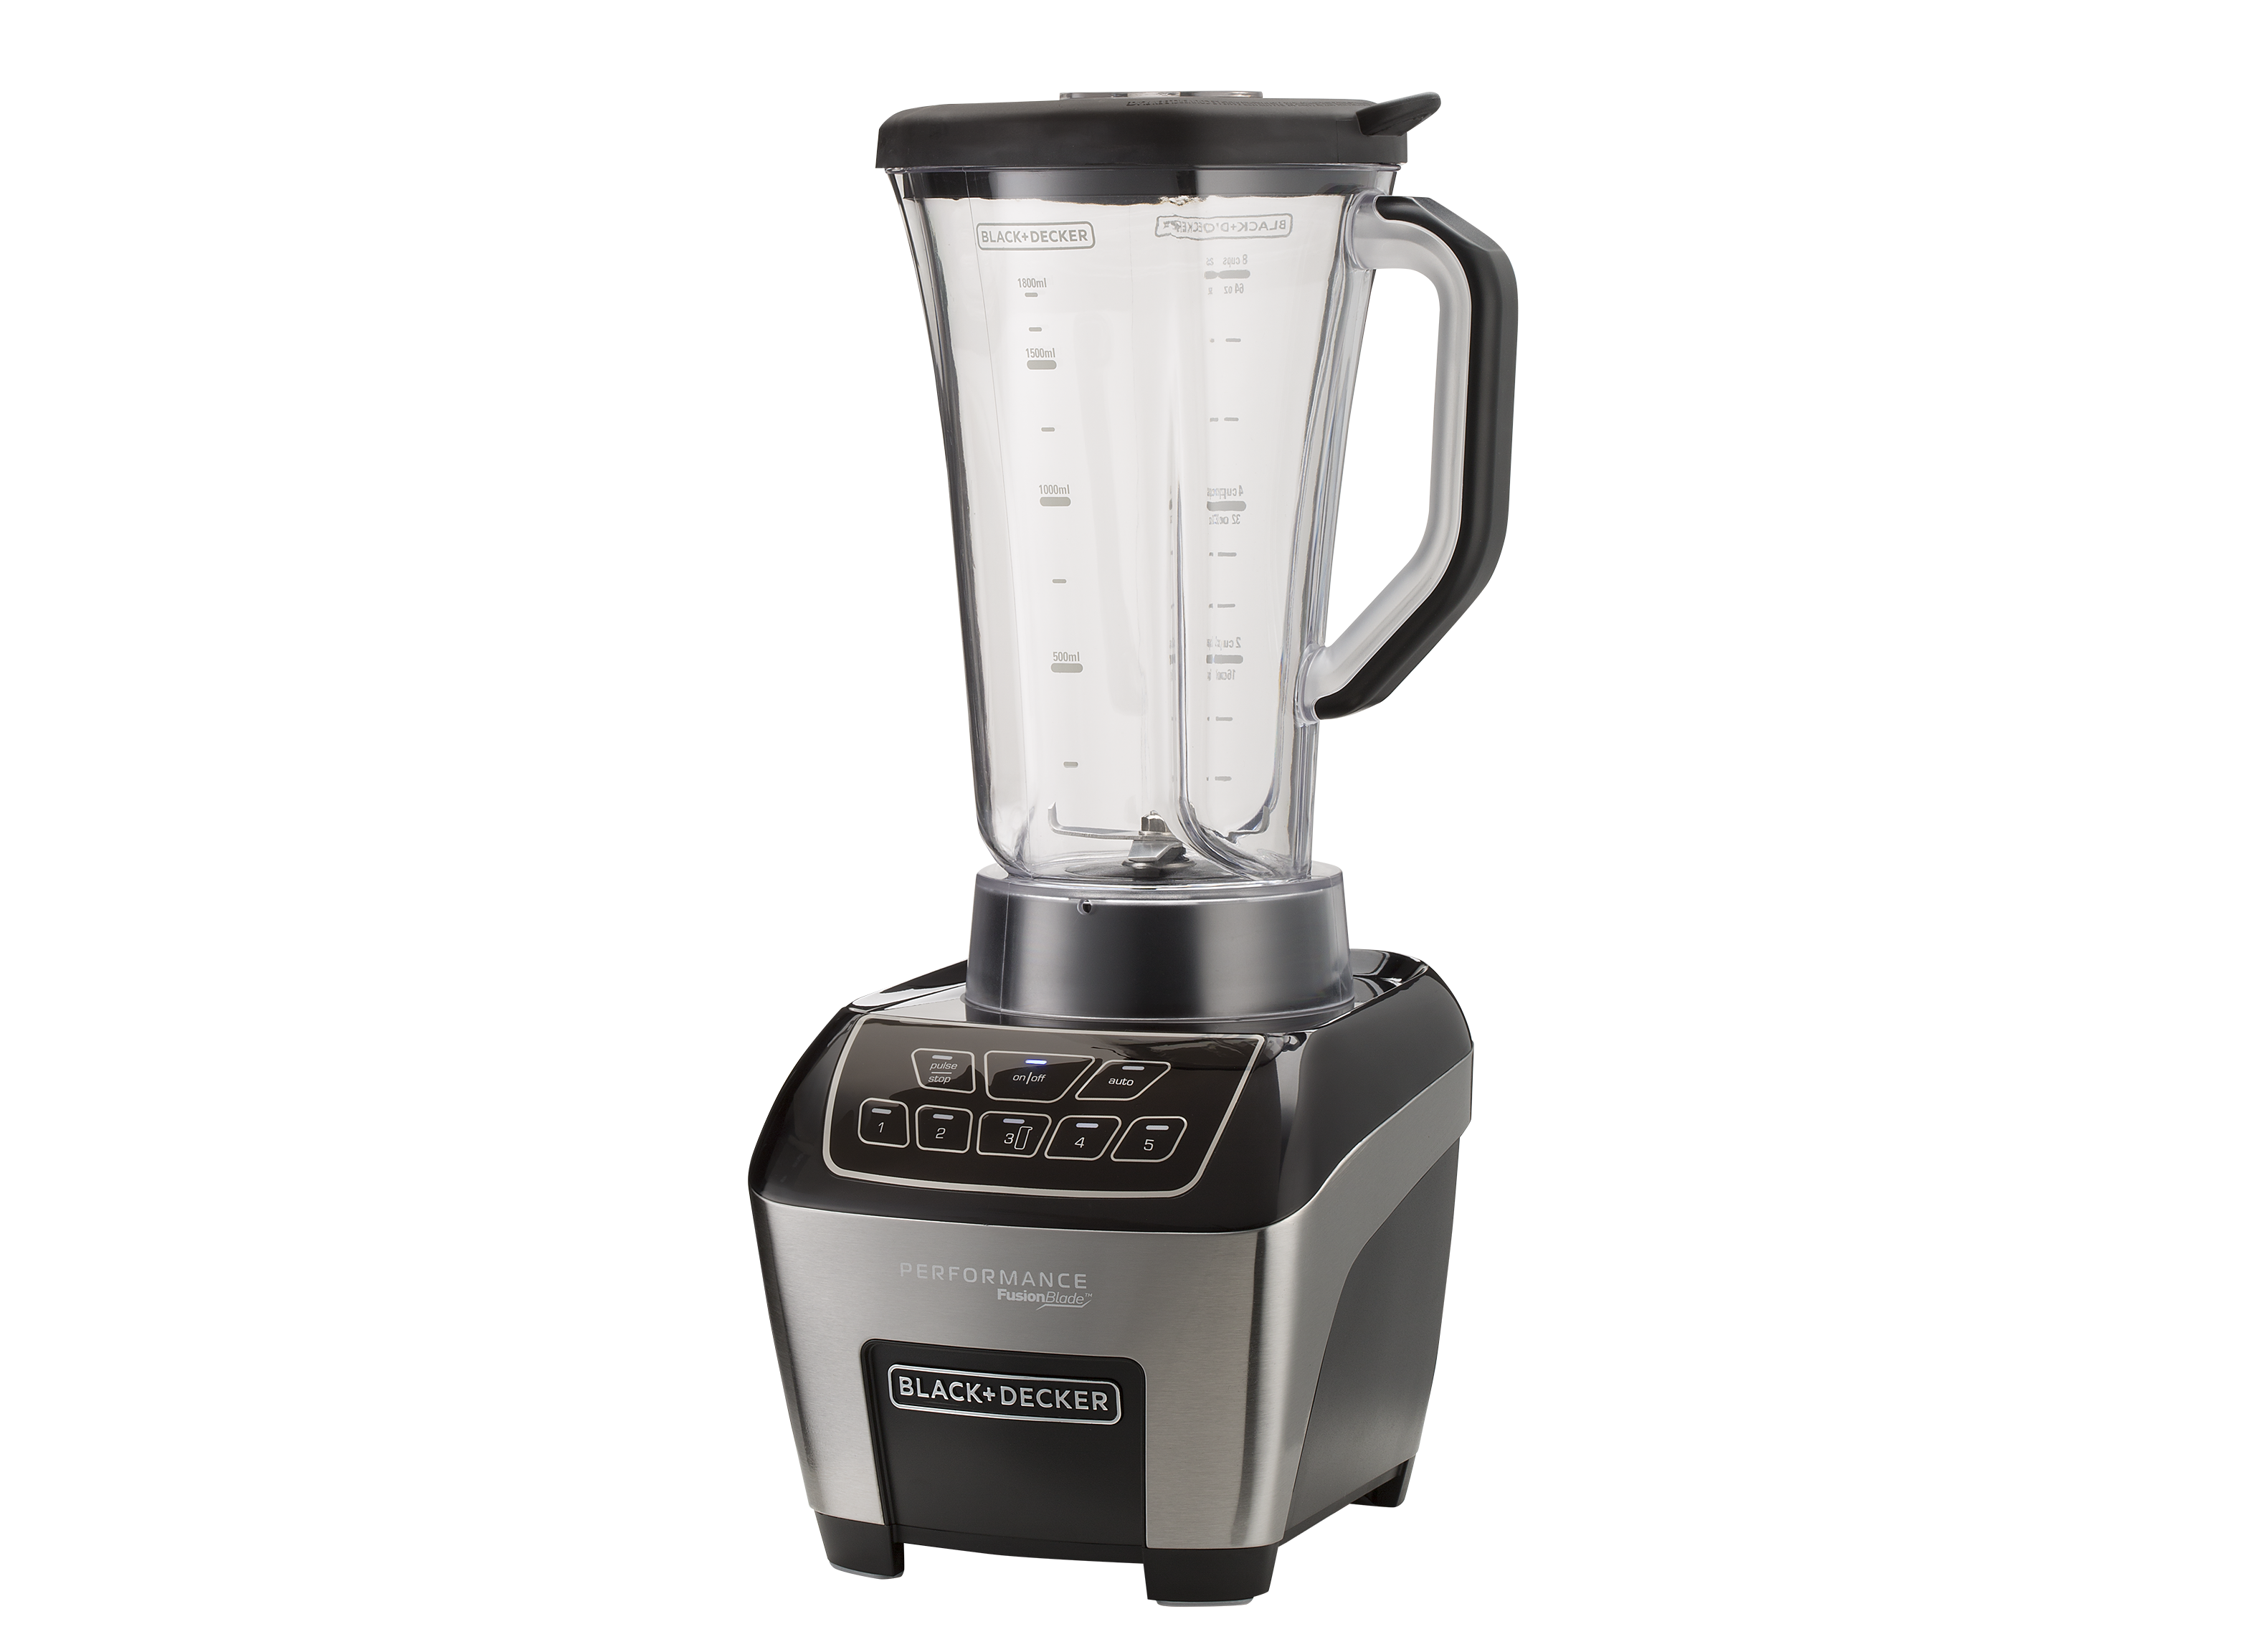
This 475-watt glass-jar model excels with ice but overheats with nut butters. If the jar cracks (common with temperature shocks), replace immediately—glass shards are hazardous. Always use the pulse setting for ice crushing, and run the jar through the dishwasher top rack weekly to prevent residue buildup.
BL1400DG-P Solutions
The “quiet” model triggers thermal protection easily. If the power light blinks:
1. Unplug for 30 minutes
2. Check blade alignment (arrow-to-arrow)
3. Reduce ingredient density
Contact support within 30 days for motor failures—this model has a strict 1-year warranty.
Essential Repair Tools
What You Actually Need
Most fixes require only three tools:
– #1 Phillips screwdriver (for base access)
– Needle-nose pliers (to check wire connections)
– Warm soapy water (for cleaning seals)
Forget soldering irons—replacement parts cost less than professional repair. If you need circuit boards or motors, replacement is always cheaper.
Prevention Strategies
Daily Habits That Save Your Blender
Before Each Use:
– Verify jar seating with a firm clockwise twist
– Wipe lid and blade seals dry
– Check power cord for damage
– Add liquid before solids
Weekly Maintenance:
– Inspect blade tightness (hand-tighten if loose)
– Examine jar for hairline cracks
– Clean base gear area with dry toothbrush
– Wipe control panel with damp cloth
When Replacement Makes Sense
If your Black and Decker blender not working problem requires both a new jar ($22) and blade assembly ($19), buy a new unit ($40-$60). Motors last 3-5 years with care—beyond that, repair costs exceed value.
Warranty and Support
Free Fixes Available
Black and Decker covers motor failure and electrical defects for 1 year. Contact support with your model number (under the base) and purchase receipt. Never attempt warranty repairs yourself—voided coverage is common with DIY fixes.
Warranty Exclusions:
– Cracked jars from impacts
– Dull blades from normal use
– Overheating from overfilling or continuous use
Final Troubleshooting Checklist
Before abandoning your blender, run this sequence:
1. Test in a different outlet
2. Clean jar/base gear connection
3. Remove blade obstructions
4. Allow 25-minute cooling period
5. Verify arrow alignment on blade assembly
Most “dead” blenders revive with proper jar seating or cooling. When problems persist after these steps, replacement is the practical choice.
Pro Tip: Tape your receipt inside the manual—warranty claims without proof of purchase get denied 95% of the time. Keep your Black and Decker blender working reliably by addressing small issues immediately, and you’ll avoid the headache of a sudden blender breakdown when you need it most.