
Your blender transforms everyday pantry staples into a magical dessert that creates its own crust while baking. This Bisquick impossible coconut pie skips the tedious crust-rolling step entirely—just pulse ingredients together, pour over coconut, and watch the oven work its “impossible” trick. Within an hour, you’ll have a golden-crusted base supporting a luxuriously smooth coconut custard that tastes like a tropical vacation. The blender method slashes prep time to under 10 minutes while guaranteeing a perfectly emulsified batter, making this vintage recipe ideal for last-minute holiday emergencies or casual weeknight treats. You’ll discover why generations swear by this fuss-free pie that somehow makes itself.
The “impossible” name isn’t marketing hype—it’s pure kitchen science. As this Bisquick coconut pie bakes, the batter separates into distinct layers: a crisp coconut-studded base forms the “crust” while the custard rises to the top. No pre-baking, no blind-baking, no crust to shrink or burn. Using your blender is the secret weapon here, ensuring every ingredient melds seamlessly to prevent the dreaded curdled texture that plagues hand-mixed versions. For best results, stick with the classic yellow-box Bisquick (not low-fat versions) and whole milk—substitutions alter the delicate emulsion that makes this pie work its magic.
Blender Method Essentials
Required Equipment Checklist
Skip the mixer and measuring cups clutter—this recipe needs only four tools. Your standard countertop blender handles everything, but ensure it’s at least 48-ounce capacity to prevent overflow. A 9-inch glass or ceramic pie pan is non-negotiable; dark metal pans over-brown the crust before the custard sets. Keep a rubber spatula handy to scrape every bit of batter, and invest in an $8 oven thermometer—most home ovens run 25-50 degrees off, causing failed batches. Non-stick spray works for pan greasing, but butter creates better browning for that signature golden crust.
Ingredient Assembly Order
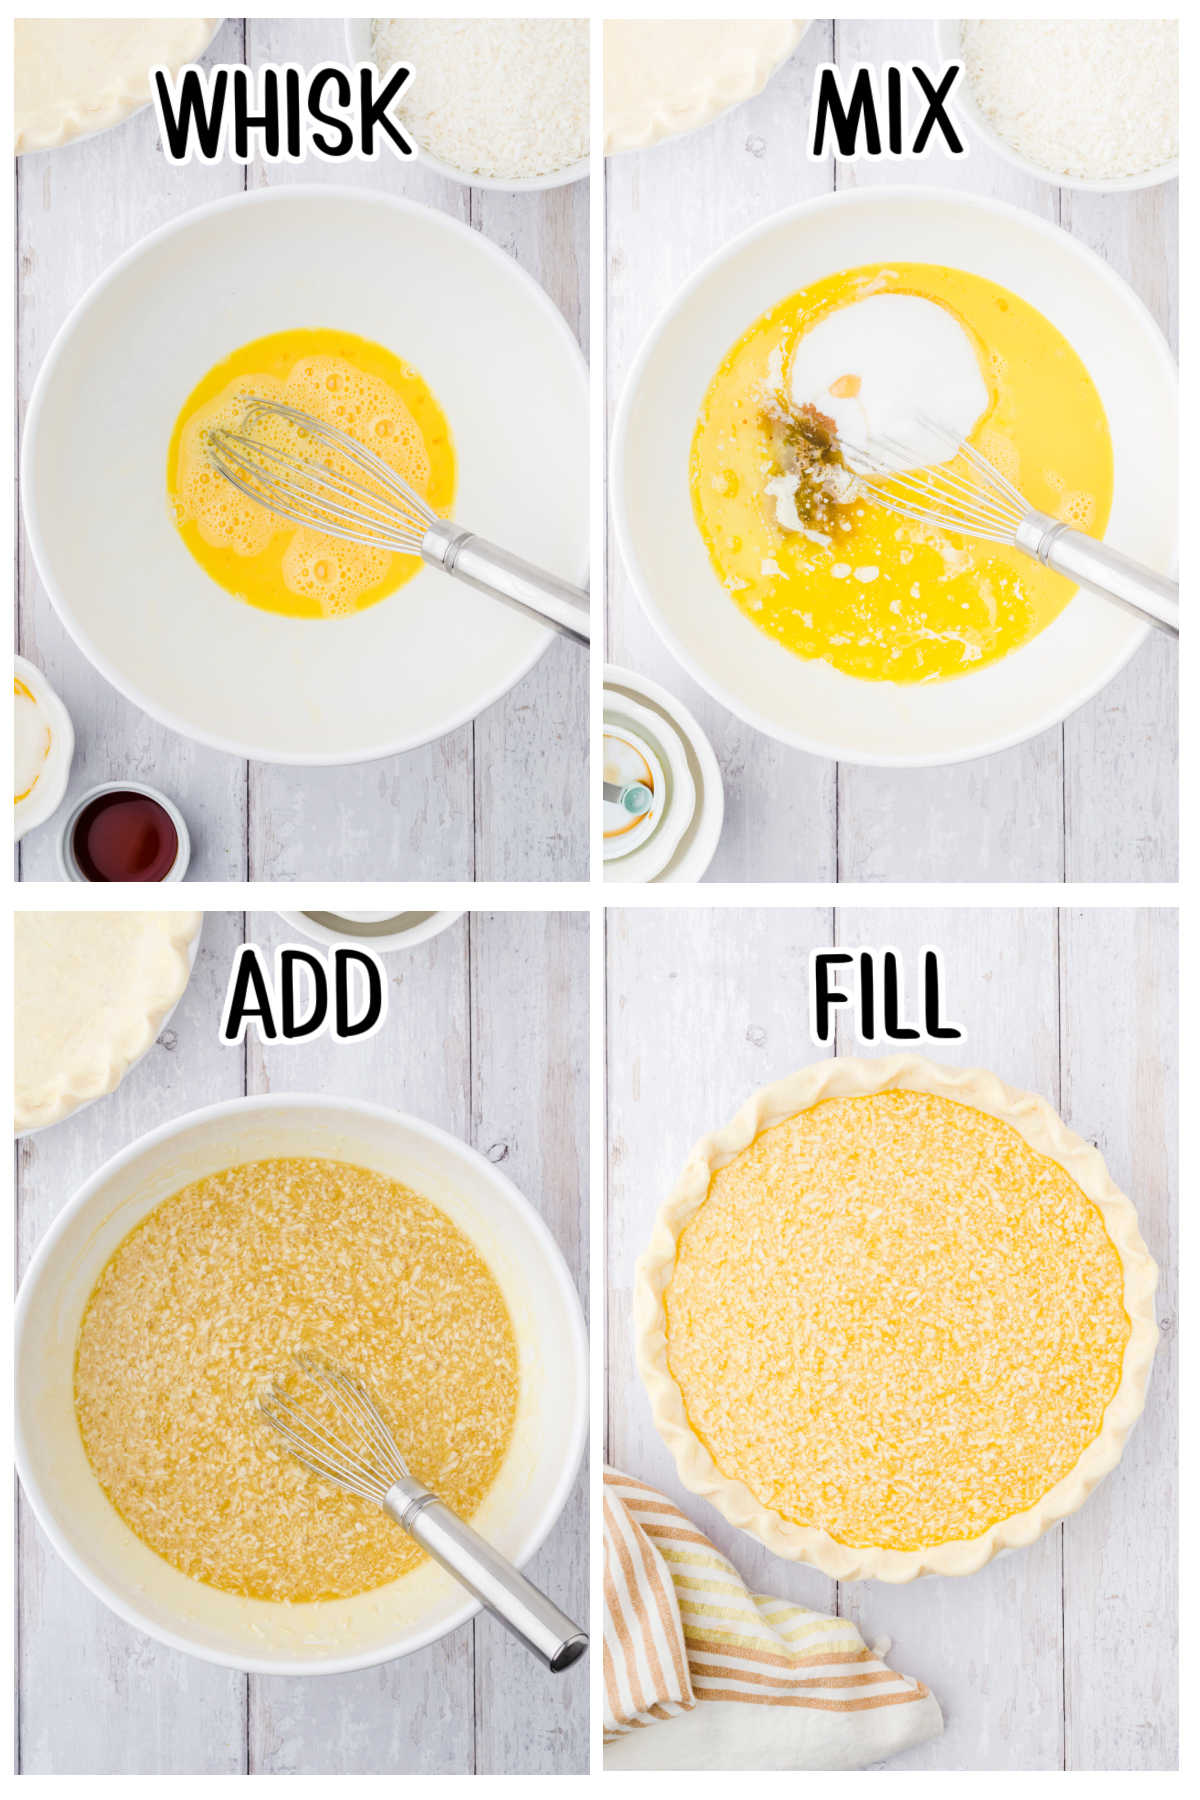
Measure all components before starting—this moves fast once blending begins. Room-temperature eggs incorporate quicker, but keep milk cold to prevent the melted butter from seizing prematurely. Place dry ingredients (Bisquick, sugar, salt) in a small bowl while prepping wet ingredients (milk, extracts, butter). Have your coconut ready to spread in the greased pan immediately after blending. This assembly-line approach prevents the batter from resting too long, which could cause separation before baking.
Perfect Blender Technique
Loading Sequence Matters
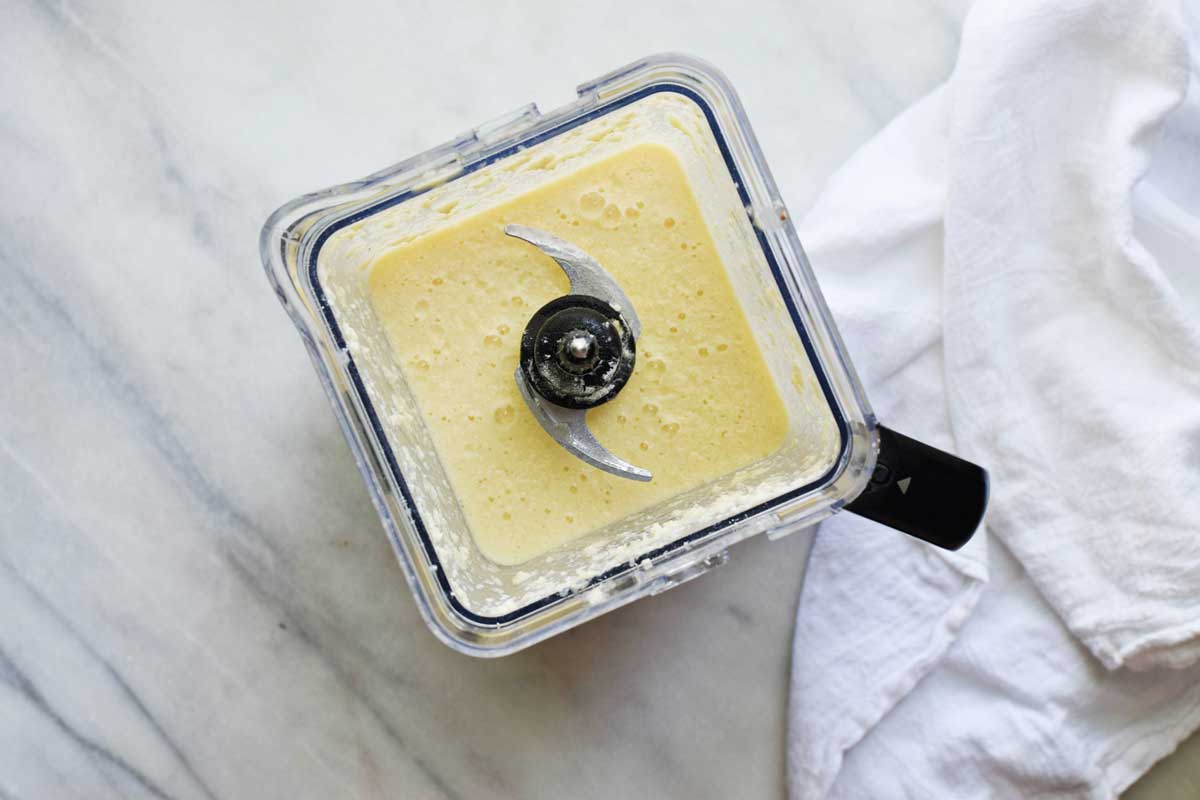
Pour ingredients into your blender in this critical order: cold milk first, then eggs, sugar, Bisquick mix, extracts, and salt. This sequence prevents Bisquick from clumping at the bottom and ensures even hydration. Blend on high for 30 seconds until smooth, pausing to scrape sides once if needed. The batter should coat a spoon like thin pancake batter—thicker than crepe batter but thinner than cake batter. Never add Bisquick first; it creates stubborn lumps that won’t fully incorporate.
Achieving Silky Smooth Batter
With the blender running, slowly drizzle melted butter through the lid’s vent hole over 15 seconds. This technique creates a stable emulsion that prevents the butter from separating during baking. Stop blending the moment streaks disappear—over-processing incorporates too much air, causing cracks in the finished pie. If your blender is small, blend in two half-batches then combine in a bowl; never exceed ¾ capacity to avoid messy overflow.
Critical Baking Stages
Oven Position Importance
Place your pie pan on the lowest oven rack—this is non-negotiable for proper crust formation. The intense bottom heat cooks the coconut layer into a crisp base while the custard gently sets above. Rotate the pan 180 degrees halfway through baking for even browning. Avoid convection settings; the fan disrupts the delicate layer separation that makes this pie “impossible.”
Visual Doneness Cues
Set your timer for 45 minutes, but watch for these signs: edges should be fully set with a slight puff, the center must jiggle like gelatin when gently shaken, and the surface should be deep golden brown with darker coconut flecks. If the center sloshes like liquid, return to oven in 3-minute increments. Never walk away during the last 10 minutes—overbaking by just 5 minutes turns the creamy custard into rubbery gelatin.
Cooling and Setting Protocol
Why Cooling Matters
This pie continues cooking from residual heat after removal. Cutting too soon releases trapped steam, causing the custard to weep and the crust to crumble. The full cooling cycle allows the starches in the Bisquick to fully set the structure. Patience here transforms a soupy mess into clean-sliced perfection. Reheating is disastrous—it makes the custard seize into an unappetizing firm slab.
Temperature Timeline
Cool uncovered at room temperature for exactly 20 minutes—longer causes condensation that softens the crust. Then transfer to the refrigerator for a minimum 2-hour chill (4 hours is ideal for clean slicing). Serve cold or at cool room temperature; never warm. The flavor actually improves after 24 hours as the coconut fully permeates the custard.
Common Failure Points

Overbaking Disasters
Gelatin-like texture? That’s 5+ minutes overbaked. Dark, cracked edges mean your oven runs hot—reduce next time by 7 minutes. If the top browns too fast, tent loosely with foil after 30 minutes. An oven thermometer is your best defense; most home ovens read 25 degrees cooler than actual temperature.
Underbaking Fixes
A liquid center after 50 minutes indicates underbaking. Return to oven for 3-5 minute increments, checking with a gentle shake. The center should wobble like Jell-O, not slosh like water. If underbaked, the pie won’t set properly even after chilling—better to slightly overbake than underbake.
Smart Substitutions
Bisquick Alternatives That Work
Pancake mix substitutes 1:1 but adds extra sweetness—reduce sugar by 2 tablespoons. For gluten-free, use certified GF Bisquick (regular GF flour blends fail). Make a DIY version with ½ cup all-purpose flour, ¾ teaspoon baking powder, and a pinch of salt. Avoid biscuit mixes—they contain too much fat, causing separation.
Flavor Variations
Add ¼ cup drained crushed pineapple for “island flair” or swap almond extract for 1 teaspoon rum extract. For chocolate lovers, replace 2 tablespoons Bisquick with unsweetened cocoa powder. Toasted coconut sprinkled on top before serving adds irresistible crunch.
Make-Ahead Strategy
Holiday Timing Guide
Bake this pie the morning of your event for flawless evening service. The 4-hour chill time fits perfectly with dinner prep—no last-minute stress. It actually improves overnight as flavors meld. Unlike finicky desserts, this pie thrives with advance preparation.
Freezer Success Method
Wrap cooled pie double-tight in foil, freeze up to 2 months. Thaw overnight in the refrigerator—never at room temperature. Post-thaw, the texture becomes delightfully chewy, resembling a homemade Mounds bar. Freezing enhances the coconut flavor while preserving the custard’s silkiness.
Serving Suggestions
Presentation Ideas
Pipe whipped cream rosettes around the edges just before serving—skip the can and use real cream for elegance. Sprinkle toasted coconut (2 tablespoons) for texture contrast, or drizzle warm caramel sauce in a zigzag pattern. Fresh pineapple chunks add vibrant color and cut the sweetness.
Portion Control
This rich pie satisfies in small slices. For 12 servings, cut narrow wedges; for 8 hearty portions, make generous slices. Use a sharp knife dipped in hot water for clean cuts through the custard layer. Leftovers make incredible trifle layers when cubed and layered with fruit and cream.
Storage Solutions
Refrigerator Management
Press plastic wrap directly onto the pie’s surface to prevent a rubbery skin. Properly covered, it stays fresh 4-5 days. Flavor peaks at 24 hours, so day-old pie often tastes better than fresh. Avoid storing near strong-smelling foods—the custard readily absorbs odors.
Leftover Reinvention
Transform leftovers into dessert parfaits: layer cubed pie with Greek yogurt and mango puree. Or crumble the crust layer into vanilla ice cream for instant “coconut crunch” sundae topping. Day-three pie makes phenomenal French toast—soak slices in egg batter before pan-frying.
Troubleshooting Quick Fixes
Soggy Bottom Prevention
If your crust lacks crispness, your oven isn’t reaching true 350°F. Place an oven thermometer on the lowest rack during preheating. Recalibrate your oven using YouTube tutorials specific to your model—this simple fix prevents 90% of soggy-bottom failures.
Blender Overflow Issues
Fill your blender only halfway if using a small model. Blend ingredients in two batches, then combine in a bowl before pouring. Never force the lid down on a full blender—hot batter expands rapidly during blending.
Coconut Distribution Problems
Some coconut may float to the top during baking. Use a fork to gently submerge visible dry spots before baking. For even distribution, toss the coconut with 1 tablespoon of the blended batter before spreading in the pan.
The true magic of this Bisquick impossible coconut pie lies in its forgiving nature. Even slightly overbaked versions transform into delicious chilled dessert when served cold. Your blender handles the heavy lifting while the oven performs the impossible trick—creating a flawless crust and custard from a single pour. With just 10 minutes of active time, you’ll serve a pie that tastes like you spent hours, proving that sometimes the simplest methods create the most extraordinary results.


