
Your morning smoothie routine grinds to a halt when your Bella Cucina blender suddenly seizes up, leaving you staring at a jar full of half-blended ingredients. That frustrating moment when the motor whirs but the blades won’t spin—or worse, when everything locks completely—happens to countless users each month. Whether you’re dealing with fibrous greens clogging the mechanism or dried residue from yesterday’s protein shake, a stuck Bella Cucina blender doesn’t have to mean replacement. This comprehensive guide delivers proven solutions to diagnose and fix your blender’s stuck condition safely, without causing further damage. You’ll learn exactly where to look, which methods work best for different types of jams, and crucial prevention strategies to keep your blender running smoothly for years.
Identify Exactly What’s Stuck Before Proceeding
Determine Your Specific Stuck Condition
Before attempting any fixes, pinpoint precisely what’s seized in your Bella Cucina blender. Turn off and unplug the unit immediately—never work on an energized appliance. With the jar empty, perform these three critical checks:
First, try rotating the blades by hand with gentle pressure. Properly functioning blades should move with slight resistance but spin smoothly. If they’re completely immobile or produce a grinding sensation, food debris has likely worked into the spindle housing or bearings. Frozen fruit chunks and fibrous vegetables like kale or celery are common culprits that wedge between blade layers.
Next, test the jar-to-base connection. Attempt to unscrew the jar from the motor base. If the threading feels gritty or refuses to budge, dried ingredients have hardened in the connection points, or you may have accidentally cross-threaded the jar during previous use.
Finally, examine the motor coupling—the small plastic or metal component where the jar connects to the base. If it appears cracked, melted, or missing teeth, this indicates more serious damage requiring replacement parts rather than simple cleaning.
Essential Safety Measures You Must Follow
Never skip these safety steps before attempting to free your stuck blender:
- Unplug directly from the wall outlet—don’t rely on the power button
- Allow the motor to cool for at least 15 minutes if recently used
- Completely empty the jar contents before disassembly
- Place a towel beneath your work area to catch small parts that may dislodge
Attempting repairs without these precautions risks electrical shock, motor damage, or injury from sharp blades. If your blender recently overheated (indicated by burning smells), wait 30 minutes before proceeding to avoid handling hot components.
Target Your Efforts to Common Stuck Locations

Blade Assembly Food Jams and How to Clear Them
Food particles find their way into three critical areas of the blade assembly, causing different types of sticking:
Fibrous ingredients like celery, kale, or pineapple leaves wrap tightly around the central spindle, creating tension that prevents rotation. These jams often occur when users add leafy greens to the blender first instead of layering properly.
Frozen fruit chunks wedge between stacked blades, creating pressure points that lock the assembly. This is especially common when blending large quantities of frozen ingredients without sufficient liquid.
Nut butters, thick smoothies, and protein shakes work into the bearing areas beneath the blade assembly. As these substances dry, they create a cement-like bond that completely immobilizes the mechanism.
Base Coupling Failures That Mimic Blade Sticking
Many users mistake base coupling problems for blade jams. The motor may run while blades remain stationary due to these specific failures:
Worn drive studs develop flat spots from repeated use, causing the blades to slip or stutter. You’ll hear a distinctive grinding noise without corresponding blade movement.
Cracked couplers—typically made of rubber or plastic—lose their ability to transfer motor power to the blades. The coupling may appear intact but has internal fractures that prevent proper engagement.
Cross-threaded jar bases occur when users force the jar onto the motor base at an incorrect angle. This damages both the jar and base threads, creating a permanently stuck connection that worsens with each attempt to tighten.
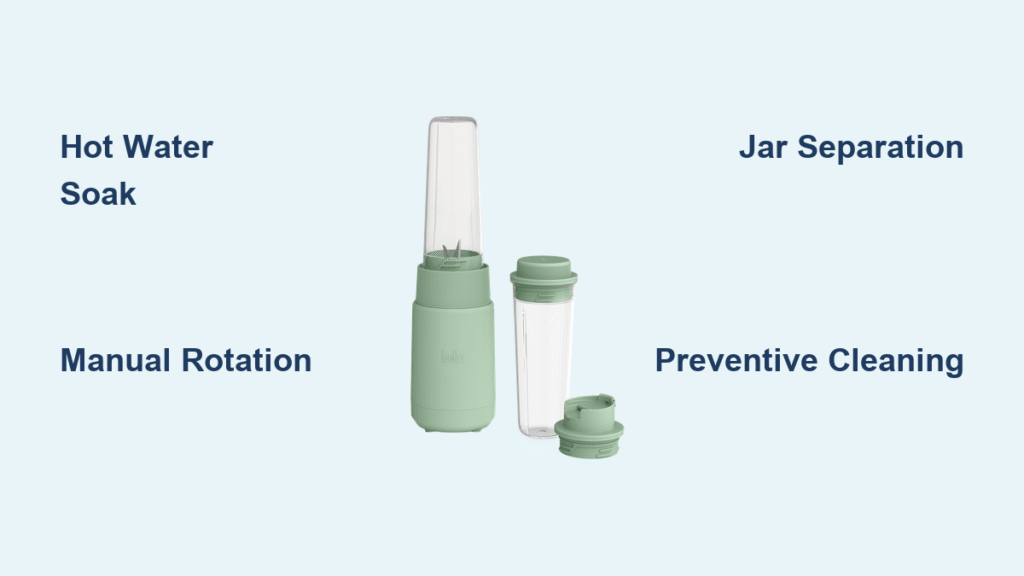
Apply These Three Proven Unsticking Methods
Hot Water Soak Technique for Dried Residue
For blade assemblies immobilized by dried food matter, follow this effective soak method:
- Fill your sink with the hottest tap water available
- Submerge the jar upside-down, ensuring complete coverage of the blade assembly
- Add two drops of dish soap to help break down stubborn residues
- Allow to soak for 20-30 minutes (extend to 45 minutes for nut butter jams)
- Attempt to rotate blades clockwise using a wooden spoon handle
- Rinse thoroughly before testing operation
Pro tip: For sugar-based residues like dried smoothie remnants, add one tablespoon of baking soda to your soak solution for enhanced cleaning power.
Manual Rotation Method for Light Jams
When blades feel slightly resistant but won’t turn freely:
- Place the jar firmly on a stable countertop
- Insert a thick wooden spoon handle between the blades
- Apply steady clockwise pressure in the blending direction
- Rock gently back and forth—never force rotation
- Once movement begins, continue rotating until blades spin smoothly
- Clean and dry all components immediately after freeing
Warning: Never use metal tools for manual rotation—this can damage blade edges and create safety hazards during future use.
Jar-to-Base Separation Fix for Seized Connections
For jars that won’t unscrew from the motor base:
- Unplug the blender and place on a non-slip surface
- Wrap the jar with a rubber jar opener or thick towel for better grip
- Hold the motor base firmly with your other hand
- Turn the jar counterclockwise using short, sharp movements
- If completely stuck, run hot water over the jar base for two minutes
- Try separation again with increased grip pressure
If these methods fail after three attempts, stop immediately—forcing the connection can permanently damage threading.
Implement Crucial Prevention Strategies
Daily Operation Best Practices to Avoid Sticking
Prevent future stuck scenarios with these simple daily habits:
Correct ingredient loading sequence: Always add liquids first, followed by soft ingredients, with frozen items going in last. This prevents air pockets that strain the motor and cause uneven blending.
Strategic pulsing technique: Begin on low speed, pulse 3-4 times to break up large chunks before continuous blending. This reduces the chance of fibrous materials wrapping around the spindle.
Respect fill limits: Never exceed the maximum fill line—overfilling creates pressure that stresses the coupling mechanism and increases jamming risks.
Weekly Maintenance Routine That Prevents 90% of Stuck Issues
Invest just five minutes weekly to avoid hours of future frustration:
- Rinse the blade assembly immediately after each use before residues harden
- Run the blender for 30 seconds with warm soapy water after heavy use
- Deep clean the gasket and blade assembly weekly with a bottle brush
- Inspect the coupling for wear monthly—replace at first sign of cracking
- Replace worn gaskets proactively before they leak into the motor housing
Critical reminder: Never submerge the motor base in water. Clean only with a damp cloth to prevent electrical damage.
Know When to Repair Versus Replace

Clear Indicators Your Blender Needs Replacement
Some stuck conditions signal the end of your Bella Cucina blender’s useful life:
Severely scored spindle shafts or wobbling blades indicate internal bearing failure. Replacement jars cost $15-25, making this an economical fix compared to a new $80+ blender.
Cracked or melted motor couplings usually indicate previous overheating. While repair kits exist for $10-15, they often provide only temporary relief before complete failure.
Stripped jar base threads represent irreversible damage—once the threading is compromised, no repair will create a secure connection.
Cost-Benefit Analysis for Stuck Blender Repairs
Use this simple decision framework:
- Under $20 repairs (blade assembly, gaskets, coupling): Always worth attempting
- $20-40 repairs (motor housing issues): Consider if your blender is less than two years old
- Over $40 repairs: New Bella Cucina models start around $60—replacement becomes the smarter choice
Most stuck blade issues fall into the first category and can be resolved with basic cleaning techniques rather than parts replacement.
Key Takeaways for Immediate Action
A stuck Bella Cucina blender rarely means permanent failure—most issues stem from preventable food buildup or improper usage. When you encounter a stuck condition, immediately unplug the unit and identify exactly which component has seized before attempting any fixes. Start with the hot water soak method for dried residues, or try manual rotation for light jams, always following essential safety protocols. Implement the daily and weekly maintenance routines outlined here to prevent 90% of future sticking problems. For persistent issues after thorough cleaning, check replacement part availability for your specific model before investing in a new blender.
Next step: Try the hot water soak method today if your blender is currently stuck, then establish the weekly maintenance routine starting tomorrow. This two-step approach resolves most sticking issues while preventing future occurrences—getting your morning smoothie routine back on track within hours rather than replacing your entire appliance.


