That first sip of truly fresh apple juice should burst with orchard-fresh flavor and vibrant color—not the flat, shelf-stable version from store shelves. When you master the apple blender juice technique, you unlock liquid gold in minutes using nothing but your countertop blender and fresh fruit. This cold-press method preserves delicate antioxidants destroyed in commercial pasteurization while giving you complete control over ingredients. Forget expensive juicers; with just apples, filtered water, and proper straining, you’ll create crystal-clear juice that tastes like sunshine in a glass.
The magic happens through mechanical extraction rather than heat. By pureeing whole apples then double-straining the pulp, you capture every drop of flavor while keeping nutrients intact. Whether you’re reviving last week’s farmer’s market haul or crafting a healthy alternative to sugary drinks, this guide delivers foolproof results. You’ll learn to diagnose cloudy juice before it happens, transform tart apples into balanced nectar, and even repurpose every scrap of pulp—no waste, all flavor.
Select Peak-Condition Apples for Maximum Juice Yield
Sweet vs. Tart Varieties for Balanced Flavor
Your apple choice dictates your juice personality. Sweet varieties like Honeycrisp, Fuji, and Golden Delicious create naturally candy-like nectar perfect for kids or cocktail bases—no added sugar needed. When these apples hit peak ripeness, their juice practically flows on its own. Tart champions like Granny Smith or Pink Lady deliver mouthwatering acidity that pairs brilliantly with spicy ginger or cinnamon, but require balancing. For foolproof results, blend one tart apple with two sweet varieties to create complex flavor without sugar spikes.
Spot High-Yield Apples at the Grocery Store
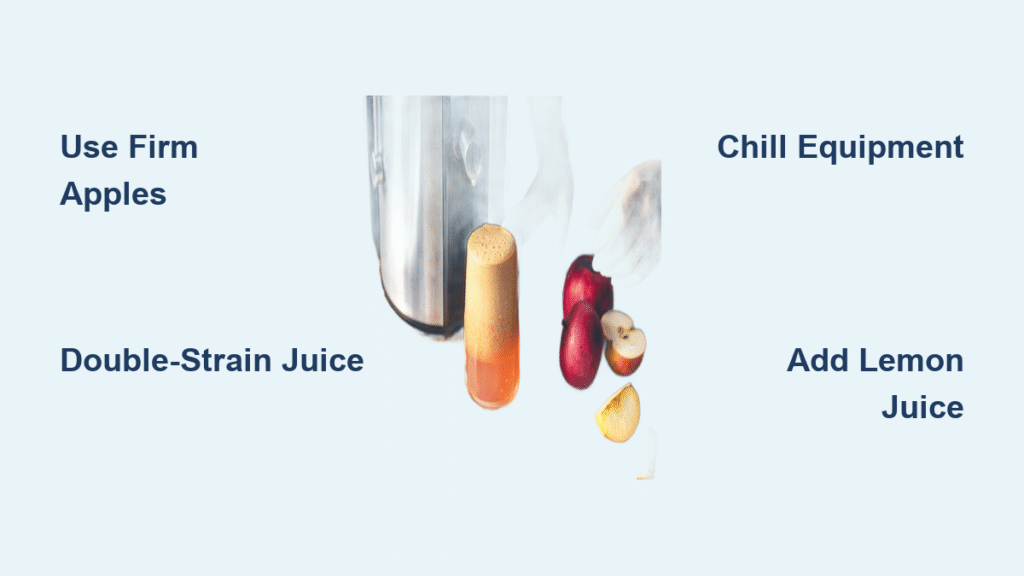
Don’t grab the first bag you see—firm apples are non-negotiable for premium juice. Test potential candidates by pressing your thumb gently against the skin; quality fruit should resist indentation like a new tennis ball. Wax-free apples are ideal (check produce stickers for “unwaxed” labels), as wax creates stubborn residue during straining. Immediately reject any with shriveled skin, brown spots, or soft patches—these flaws indicate dehydration that slashes juice volume by up to 30%. Remember: two large firm apples yield one full cup of juice, while three medium ones create the same volume.
Organic vs. Conventional Apple Strategy
When making apple blender juice, organic apples are worth the splurge. Since you’re concentrating the entire fruit into liquid form, pesticide residues become amplified—sometimes 3-5x more concentrated than in whole apples. If organic isn’t accessible, implement a triple-wash protocol: scrub under cold running water with a vegetable brush for 20 seconds, soak in vinegar-water solution (1:3 ratio) for 10 minutes, then rinse thoroughly. Never skip this step with conventional apples—it’s your safety net against chemical transfer.
Set Up Your Blender Juice Station Like a Pro

Non-Negotiable Equipment Checklist
Your blender is the engine of this operation, but high-speed isn’t mandatory—even budget models work if you prep correctly. Critical upgrades include a nut milk bag (faster and more efficient than cheesecloth) and glass storage jars (plastic absorbs flavors and stains permanently). Skip the food mill; its coarse mesh guarantees pulpy results. Instead, layer two nut milk bags or triple-fold cheesecloth over a large bowl for professional clarity. Keep a dedicated rubber spatula nearby—it’s the secret weapon for scraping every drop from stubborn pulp.
Straining Hacks That Boost Yield by 25%
Most beginners stop after one strain, wasting precious liquid trapped in the pulp. For maximum juice extraction, implement the two-pass system: First, strain the puree through your nut milk bag while gently squeezing. Then, return the damp pulp to the blender with ¼ cup fresh filtered water, pulse for 10 seconds, and strain again. This second pass recovers 20-30% more juice with minimal effort. Pro tip: Freeze leftover pulp in tablespoon portions—the next time you juice, add one frozen pulp cube to your blender with fresh apples to jumpstart enzymatic activity and boost yield.
Sanitation Secrets for Longer Shelf Life
Cloudy juice often starts with dirty equipment. Before processing, sterilize strainers and jars by submerging in boiling water for 2 minutes—this kills bacteria that accelerate spoilage. Never use tap water during blending; chlorine and minerals create off-flavors. Instead, keep a pitcher of filtered water chilled in your fridge for instant use. Work quickly once apples are cut—exposure to air starts oxidation that dulls flavor within minutes. Your goal: transform whole apples to sealed storage in under 15 minutes.
Perfect Your Cold-Press Juice Extraction Sequence
Core and Prep Without Nutrient Loss
Always remove apple cores and seeds—they contain amygdalin, which breaks down into trace cyanide compounds when crushed. But don’t peel prematurely! Unwaxed apples retain 30% more antioxidants when juiced skin-on. Only peel waxed apples (identified by unnatural shine) to avoid waxy residue. Cut apples into uniform 1.5-inch chunks—too large strains your blender, too small creates excessive foam. Work in batches: 4-5 chunks per blend cycle ensures consistent pureeing without overheating your motor.
Blend to Applesauce Consistency in 60 Seconds
Place chunks in your blender with ⅓ cup ice-cold filtered water—this lubricates without diluting flavor. Pulse 3 times to break up chunks, then blend on medium-high for 45 seconds until completely smooth. The mixture should resemble thick applesauce with no visible chunks. Over-blending creates heat that degrades nutrients; under-blending leaves fiber that clogs strainers. Stop immediately when uniform—your ideal texture passes through a spoon without dripping.
Double-Strain for Crystal-Clear Results
Position your nut milk bag over a large bowl, pour in half the puree, and twist the top closed. Squeeze gently with both hands—aggressive pressing forces fine particles through the mesh. Once liquid flow slows, untwist, add remaining puree, and repeat. For restaurant-grade clarity, strain a second time through a clean nut milk bag. Never skip this step: single-strained juice separates within hours, while double-strained versions stay brilliantly clear for days. Reserve the damp pulp for muffins or smoothies—it’s still packed with fiber.
Troubleshoot Cloudy Juice and Low Yields Immediately
Fix Pulp Contamination in Under 5 Minutes
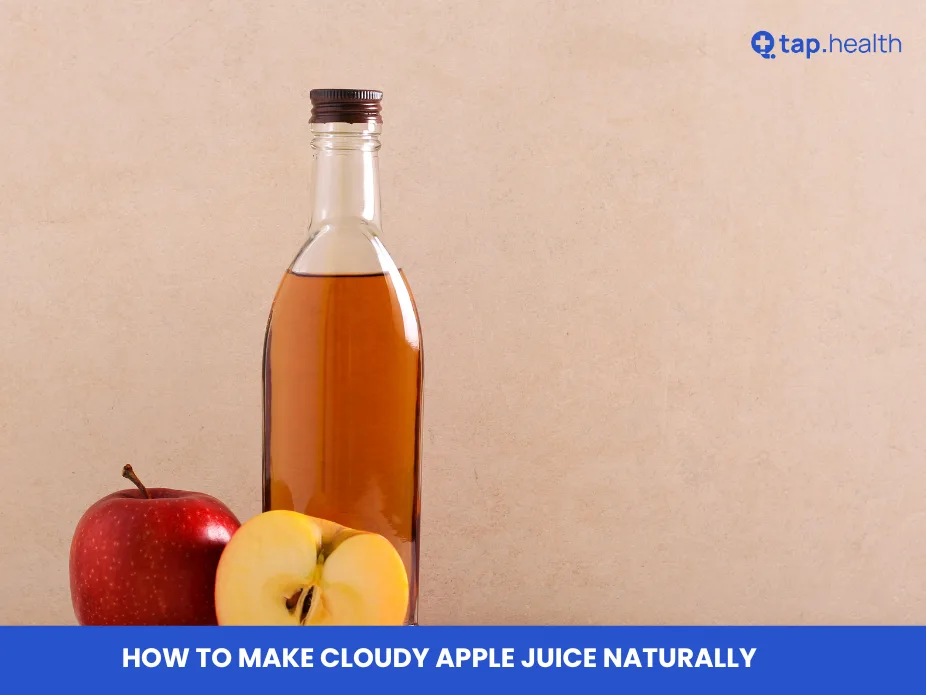
Cloudy juice means your straining failed. Immediately re-strain through triple-folded cheesecloth—the tighter weave catches micro-particles mesh strainers miss. For urgent situations, pour juice into a clear glass, let sit 10 minutes, then carefully decant the top ¾ into a new container, leaving sediment behind. Prevention is better: always chill your straining equipment beforehand—cold fibers contract for finer filtration.
Rescue Overly Tart Apple Juice Without Sugar
When Granny Smiths dominate your batch, add sweetness through fruit chemistry, not refined sugar. Blend in ¼ cup pear chunks (their natural sorbitol balances acidity) or 1 peeled orange segment. For spice-infused tart juice, simmer with a cinnamon stick for 5 minutes off-heat—cool completely before serving. Never add sugar directly to strained juice; it won’t dissolve properly and creates uneven sweetness.
Boost Juice Volume from Soft Apples
Wilted apples still have liquid potential. Re-blend pulp with ½ cup cold water instead of the standard ¼ cup, and let the mixture sit for 5 minutes before re-straining—this allows pectin to rehydrate and release trapped moisture. For every 3 apples, add one deseeded cucumber chunk during blending; its high water content (95%) dramatically increases yield without altering apple flavor.
Transform Basic Juice into Signature Creations
Infuse Seasonal Flavors Without Mess
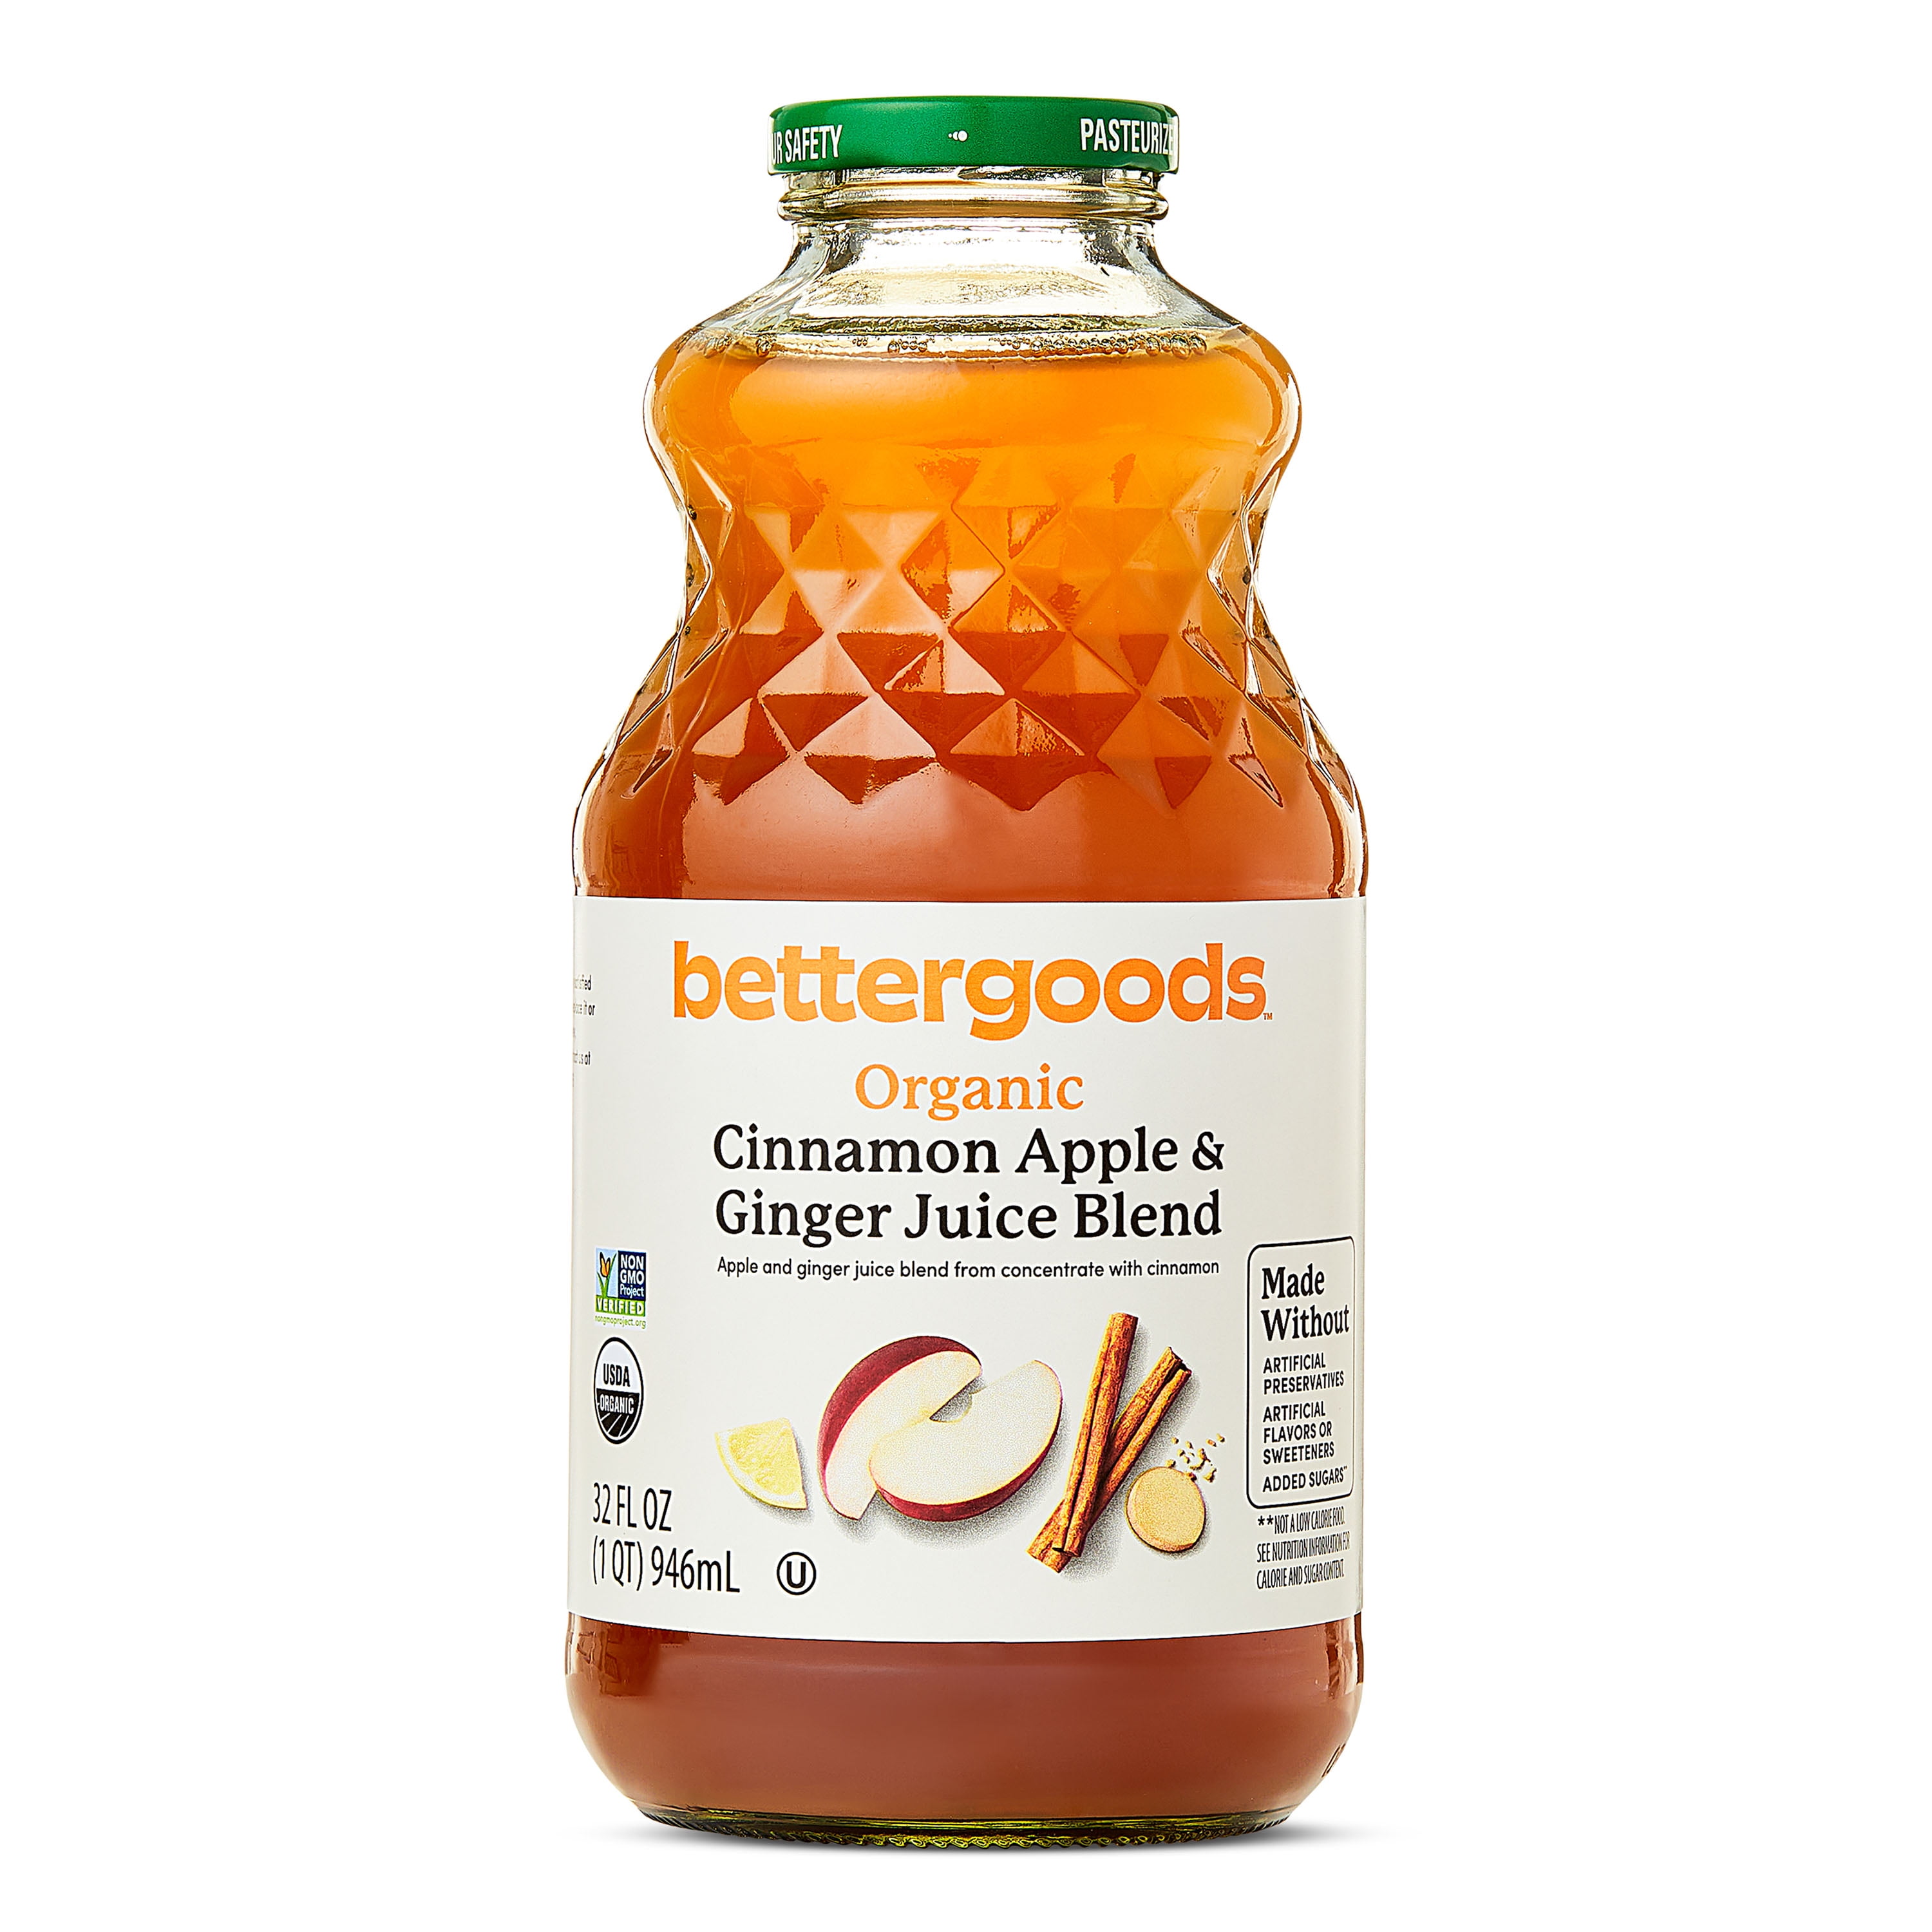
Skip post-strain additions that cause separation. Instead, add spices directly during blending: a 1-inch ginger knob for zing, 3 fresh mint sprigs for summer coolness, or a vanilla bean pod for dessert-like depth. For spice blends (cinnamon + nutmeg), use pre-ground in tiny pinches—whole spices won’t strain cleanly. Citrus lovers: replace blending water with fresh orange juice for vitamin C synergy that stays perfectly emulsified.
Create Nutrient-Dense Green Apple Fusion
Sneak spinach into apple juice without green sludge. Blend 1 cup spinach with apples and ½ cup cold water first until completely smooth, then add remaining apples. Strain twice through nut milk bags—this removes all leaf particles while keeping chlorophyll benefits. The result? A subtly sweet juice with 3x the iron of plain apple juice, undetectable to kids. Pro tip: add 1 tsp lemon juice to the blend to lock in vibrant color.
Build Zero-Waste Flavor Layers
Use pulp remnants creatively: freeze strained pulp with cinnamon sticks for instant “apple pie” ice cubes, or dehydrate thin layers into fruit leather. For cocktail-ready syrup, simmer 1 cup strained juice with 2 tbsp honey until reduced by half—it becomes a versatile glaze for pancakes or bourbon cocktails. Every element becomes an ingredient, not trash.
Preserve Freshness for Up to Two Weeks
Refrigeration Rules That Prevent Spoilage
Store juice in amber glass bottles—light degrades nutrients faster than air exposure. Fill containers to the brim to minimize oxygen contact, leaving only ½ inch headspace. The critical move: press plastic wrap directly onto the juice surface before sealing—this creates an oxygen barrier that doubles shelf life. Properly stored, your apple blender juice stays vibrant for 7 days (vs. 24 hours unprotected). Always check for carbonation bubbles before drinking—any fizz means fermentation has begun.
Freeze for Perfect Texture Revival
Portion juice in silicone ice cube trays, then transfer frozen cubes to vacuum-sealed bags. This method prevents freezer burn and preserves flavor integrity for 3 months. When thawing, place cubes in a sealed jar in the fridge overnight—never microwave, which destroys enzymes. For instant slushies, blend 3 frozen cubes with 2 oz sparkling water. The texture stays silky because ice crystals form uniformly during slow freezing.
Maximize Nutrition While Minimizing Sugar
Retain Antioxidants Commercial Juices Destroy
Pasteurization zaps heat-sensitive compounds like quercetin. Your raw apple blender juice retains 92% of these antioxidants by skipping heat entirely. For maximum benefit, drink within 2 hours of making—it takes that long for oxidation to degrade key nutrients. Add a squeeze of lemon during blending; the citric acid slows enzymatic browning while boosting vitamin C absorption by 30%.
Smart Sugar Management for All Ages
A single serving contains 24g natural sugars—fine for adults but intense for kids. Dilute 1:1 with sparkling water for a refreshing spritzer that cuts sugar load while adding effervescence. For diabetics, blend with ½ cup unsweetened almond milk before straining; the fat content slows sugar absorption. Never remove fiber intentionally—residual pulp provides 1g per serving that regulates blood sugar spikes.
Quick-Reference Cold-Press Recipe
Yield: 1 serving (1¼ cups)
Time: 8 minutes
- 2 firm apples (unwaxed preferred)
- ⅓ cup ice-cold filtered water
- Core and chunk apples (peel only if waxed)
- Blend with water until perfectly smooth (45 sec)
- Strain twice through nut milk bag, pressing gently
- Store in amber glass bottle with surface-sealed wrap
Pro Move: Batch-make and freeze in cube trays—thaw one cube overnight for instant morning vitality. Your blender isn’t just for smoothies; it’s your passport to pure, unadulterated orchard essence. Every glass proves that the simplest tools often create the most extraordinary results.

