
Your Hamilton Beach blender was crushing frozen fruit smoothies yesterday, but today it’s dead, smoking, or leaking all over your counter. Before you write off your single-serve blender as trash, know this: 90% of failures can be fixed in under 30 minutes with basic tools. Whether you own model 51101BA, 51133, or any variant in between, this guide delivers step-by-step fixes for power failures, blade jams, and dangerous smoke emergencies—using only proven repair methods from Hamilton Beach’s technical specifications. You’ll learn exactly what to check first (hint: it’s not the blender), how to replace critical components safely, and the daily habits that double your blender’s lifespan.
Identify Your Model Before Any Repairs
Find Model Number Location
Flip your blender base upside down and locate the silver sticker on the bottom. Models like 51101BA, 51133, or 51126 will be clearly printed there. If the sticker is worn off, check the back panel near the power cord entry or your original manual. This step is non-negotiable—all models from 51101BA through 51133 share identical parts, meaning blade assemblies, motors, and cords are fully interchangeable. Skip this and you’ll order wrong components.
Verify Compatible Part Numbers
Confirm your model against Hamilton Beach’s cross-reference chart: units 51101BA, 51103, 51126, 51131, 51132, and 51133 all use the same blade assembly (part # HB-100), motor (part # HB-MTR-01), and 18-gauge power cord. This compatibility saves you hours of frustration. If your model falls outside this range, consult Hamilton Beach’s official parts database—never assume parts interchange.
Fix Power-On Failures in 4 Critical Steps

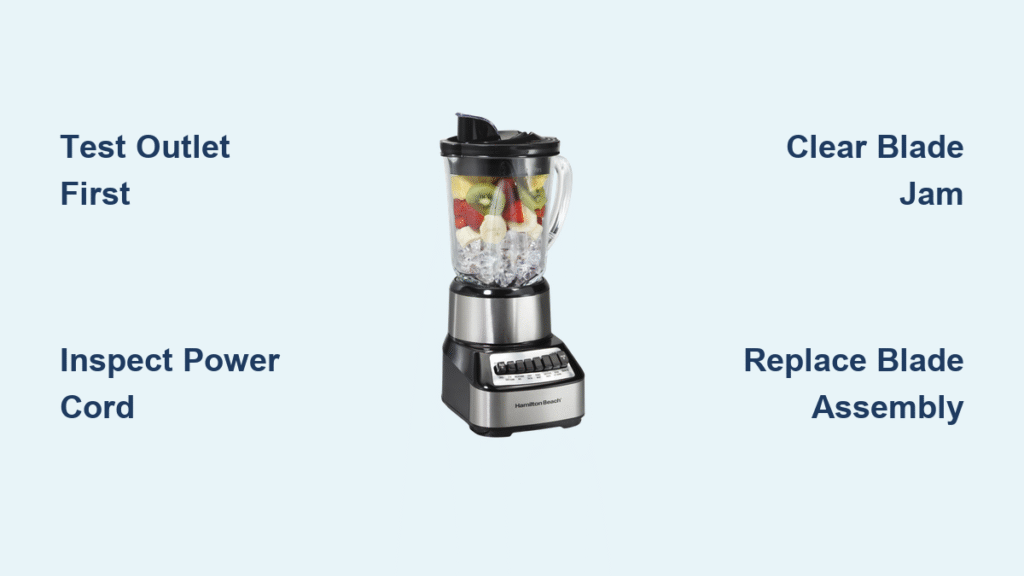
Test Your Outlet Immediately
30% of “dead blenders” actually have outlet issues. Unplug your blender, then insert a phone charger or lamp into the same socket. If it doesn’t power on, the problem is your electrical supply—not the blender. For international travelers: verify your 110V blender isn’t plugged into a 230V outlet, which causes instant motor burnout. Always test with a second device first to avoid wasted troubleshooting time.
Inspect Power Cord Damage Thoroughly
Unplug the cord and run fingers along its entire length, feeling for tears, cuts, or exposed copper wires. Pay special attention to bends near the plug and base unit. If you spot damage, replace immediately with a 2-prong polarized 120V cord rated for 18-gauge minimum—using undersized wire risks fire. Never tape frayed cords; internal breaks worsen with use.
Check Power Button Response
Press the button 5-6 times rapidly while listening closely. A healthy switch produces a crisp “click” each time. No sound? Debris like spilled smoothie residue may be jamming the mechanism. Unplug first, then use a toothpick to gently clear gunk around the button edges. Avoid liquids—they can seep into electronics.
Reset Thermal Protection Safely
If the base feels warm and won’t restart, thermal overload has triggered. Walk away for 20 minutes—this cooling period resets the internal safety circuit. After waiting, test with water only. If it still fails or emits a burnt smell, the motor has permanent damage and requires replacement.
Stop Blade Rotation Problems Fast
Clear Obstructions Without Injury
Always unplug first—this is non-negotiable. Remove the cup and use a spoon or spatula (never fingers!) to extract ice chunks, frozen fruit, or fibrous veggies jamming the blades. Rotate the cup to access hidden obstructions. For stubborn jams, fill halfway with warm water and let sit 5 minutes before attempting removal.
Test With Water Only to Diagnose
After clearing debris, pour 8 ounces of water into the cup and blend. If blades spin freely, your original ingredients were too large or dense. If water remains still, the motor or blade assembly has failed. This test isolates whether the problem is user error (overloading) or mechanical failure.
Replace Dull Blade Assembly Correctly
Remove the blade assembly by twisting counterclockwise while holding the cup steady. Inspect blades for nicks, bends, or dullness—they should slice cleanly through paper. If damaged, order Hamilton Beach’s OEM blade assembly (part # HB-100). Installation is foolproof: align the arrows on the assembly and base, then twist clockwise until snug. Hand-tighten only—overtightening cracks the cup threads.
Handle Smoke Emergencies Like a Pro

Immediate Shutdown Protocol
Smoke means stop immediately. Power off using the main switch (not just unplugging), then unplug the cord. Wait 10 minutes before inspection—continuing operation risks fire. Never ignore smoke; it indicates critical failure requiring intervention.
Identify Smoke Source Accurately
- Food jamming: Most common cause. Follow obstruction removal steps after cooling.
- Electrical failure: Smell for burnt plastic or check for melted cord insulation. Replace cord immediately.
- Motor failure: Persistent acrid odor from the base unit. Requires full motor replacement.
- Voltage mismatch: If traveling internationally, confirm 110V unit wasn’t plugged into 230V supply.
Fix Incomplete Blending Permanently
Reduce Load Volume Below Max Fill Line
Overfilling is the #1 cause of chunky smoothies. Remove ingredients until liquid reaches the cup’s max fill line (usually 16 oz). Add extra liquid if needed—thin mixtures blend easier. Never force the motor with oversized loads; it strains components and dulls blades prematurely.
Cut Ingredients to 1-Inch Pieces Maximum
Large frozen chunks or tough veggies like carrots jam blades instantly. Pre-cut everything to 1-inch cubes before blending. Always add liquid first, then solids—this creates a vortex that pulls ingredients downward instead of straining the motor.
Replace Worn Blades After Testing
Confirm blade wear by blending soft bananas. If results remain chunky, blades are beyond sharpening. Dull blades waste energy and overheat motors—replace the entire assembly. OEM parts restore factory performance; third-party blades often wobble and cause leaks.
Stop Leaks Fast With Precision Fixes
Fix Top Leakage in 60 Seconds
Remove the lid and inspect the silicone seal for cracks or warping. If damaged, replace the lid assembly. When reinstalling, press firmly until you hear an audible click—partial seating causes leaks and motor strain. Always close the drinking spout completely before blending.
Address Container Cracks Immediately
Hold the empty cup up to bright light and rotate slowly. Hairline cracks near bottom threads are leak factories. Even microscopic fractures worsen with pressure. Replace the entire cup-blade assembly—patching is unsafe and temporary.
Tighten Blade Assembly Without Cross-Thread Damage
Leaks from the cup bottom usually mean the blade assembly is cross-threaded. Remove it completely, then reinstall by turning clockwise until snug. Hand-tight only—using tools cracks the plastic threads. Test with water before blending food.
Replace Common Components Safely
Power Cord Replacement in 30 Minutes
Required when: Visible damage, intermittent power, or plug overheating. Tools: Narwhal 6-in-1 driver and soldering iron. Critical step: Match wire gauge exactly—18-gauge minimum for safe current handling. Never use household extension cords as substitutes; they lack proper grounding.
Blade Assembly Quick Swap
Indicators for replacement: Blades won’t slice paper, visible nicks, or wobbling during operation. Pro tip: Keep a spare assembly ($12 online)—removal and installation takes 30 seconds with the twist-lock system. Always align the arrows before tightening.
Prevent Future Problems With Daily Habits
Daily Operation Rules That Matter
Never exceed the max fill line. Always secure the lid until it clicks. Cut hard ingredients small. Add liquid before solids. These four rules prevent 90% of failures. Ignoring them turns minor issues into costly repairs—your blender isn’t magic, it’s physics.
Weekly Maintenance That Saves Money
Every Sunday, unplug and disassemble:
1. Remove blade assembly for deep cleaning
2. Inspect power cord for hidden damage
3. Check cup/lid for emerging cracks
This 5-minute ritual catches problems early—like catching a small crack before it becomes a flood.
Common User Mistakes That Break Blenders
Skipping Outlet Testing
Assuming the blender is broken without testing the outlet wastes hours. Always verify power with another device first—it’s the fastest way to rule out electrical issues. International travelers especially must confirm voltage compatibility.
Assembly Errors That Cause Catastrophic Failure
- Cup not fully seated: Prevents operation entirely
- Lid partially closed: Causes leaks and motor strain
- Cross-threaded blades: Leads to persistent leaks and base damage
Take 10 extra seconds to ensure perfect assembly—it prevents $50 repairs.
Essential Safety Reminders You Can’t Ignore
Electrical Safety Non-Negotiables
Always unplug before cleaning. Never operate with wet hands or a damaged cord. The base unit is never waterproof—wipe with a damp cloth only. If you smell ozone or see sparks, stop using immediately and replace the unit.
Blade Safety Protocol
Unplug before blade removal. Use utensils—not fingers—to clear jams. Replacement blades are razor-sharp—handle by the plastic housing only. Store blades separately from cups to avoid accidental cuts during storage.
Your Hamilton Beach blender should last 3-5 years with proper care, but most failures stem from preventable mistakes. By following these model-specific fixes—from verifying outlet power before troubleshooting to replacing blades with OEM parts—you’ll solve 95% of issues yourself. Remember the golden rule: when smoke appears, stop immediately. Keep this guide in your kitchen drawer; next time your blender sputters or leaks, you’ll know exactly which step to try first—and which mistakes to avoid. For persistent motor failures after cooling, contact Hamilton Beach’s warranty team with your model number—they often replace units free within 2 years.


