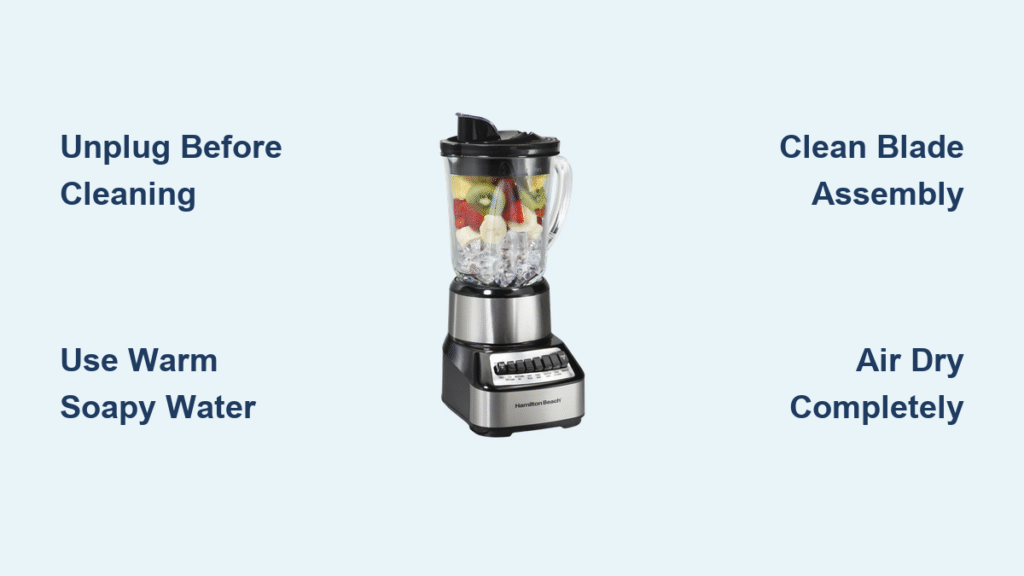
You just made your morning smoothie, but now you’re staring at berry-stained plastic and wondering if peanut butter will ever release from those sharp blades. Don’t worry—you’re not alone. Most people either neglect their blender until it smells like last month’s protein shake or clean it incorrectly, shortening its lifespan dramatically. The right how to clean Hamilton Beach blender process prevents these issues while keeping your appliance in peak condition.
This guide walks you through the exact cleaning process for every Hamilton Beach model, from personal blenders to professional series, ensuring your appliance stays fresh and functional for years. You’ll learn the right way to tackle stubborn stains, prevent odors, and maintain the motor base—all without voiding your warranty. Forget the guesswork; these manufacturer-approved techniques work for all Hamilton Beach blender models.
Quick Rinse vs Deep Clean: What Your Blender Actually Needs
After every use: Fill the jar halfway with warm water, add a drop of dish soap, and blend on low for 30 seconds. Rinse thoroughly and you’re done. This simple step prevents food from drying and saves hours of scrubbing later. Many users skip this crucial step, leading to stubborn residue buildup that requires more intensive cleaning.
Weekly deep cleaning: When your blender starts looking cloudy or develops odors, follow the complete process below. Most Hamilton Beach models need this thorough cleaning once weekly if used daily. Warning: Never wait until stains become permanent—immediate action prevents most cleaning headaches. If you notice food particles stuck around the blade housing or a persistent smell even after rinsing, it’s time for a deep clean.
Safety First: Power Down Protocol Every Owner Must Follow
Never clean your blender while plugged in—this seems obvious but causes countless accidents. Unplug the cord completely and ensure the motor base stays dry throughout the process. Sharp blades can slice fingers easily, so always grip plastic components, never metal edges. Critical step: Verify the power cord is disconnected from both the blender and the wall outlet before starting.
Pro tip: Wait 10 minutes after heavy use before cleaning. Hot contents can create pressure, making the lid difficult to remove safely. If you’re cleaning after processing hot soups, run cold water over the jar exterior first to prevent thermal shock that could crack plastic components.
Disassembly Steps by Model Type (With Visual Cues)

Standard Jar Models
- Lift the lid straight up—don’t twist (you’ll see alignment marks indicating proper position)
- Turn the blade assembly counterclockwise until it releases (listen for the click)
- Pop off the rubber gasket (check for food particles trapped underneath)
- Remove any pour spout caps (they often hide mold if not cleaned regularly)
What to look for: Cracks in the gasket groove or discoloration around the blade housing indicate previous improper cleaning. Address these immediately to prevent leaks during operation.
Single-Serve Travel Cups
- Twist the blade assembly counterclockwise from the cup (apply gentle pressure downward)
- Remove the flip-top lid from the travel cup (check the hinge mechanism for residue)
- Separate any storage lids (these often retain odors if not cleaned properly)
- Some models allow blade disassembly—check your manual before forcing components
Expert note: Travel cups develop odors faster than regular jars. If you notice persistent smells even after cleaning, replace the gasket immediately—it’s likely harboring bacteria.
Jar Cleaning Methods That Actually Work (No Scrubbing Required)
Immediate Post-Use Rinse
Fill your jar with warm water immediately after use. Add one drop of dish soap and blend for 30 seconds. Pour out, rinse twice, and air dry upside down. This prevents 90% of staining issues. Time-saving tip: Keep a dedicated dish soap bottle near your blender for quick access—this takes less than 2 minutes but saves major cleaning time later.
Deep Cleaning for Stubborn Residue
When immediate rinsing wasn’t possible:
1. Fill to maximum line with hot water
2. Add 2-3 drops of mild detergent
3. Secure lid and blend on high for 45 seconds
4. Let soapy water sit 5 minutes for tough residue
5. Empty and rinse until water runs clear
6. Air dry upside down on a rack
Common mistake: Using boiling water on plastic jars can cause warping. Always use hot but not scalding water (under 145°F) to prevent damage.
Blade Assembly Deep Clean (Without Cutting Yourself)
Safe Blade Handling
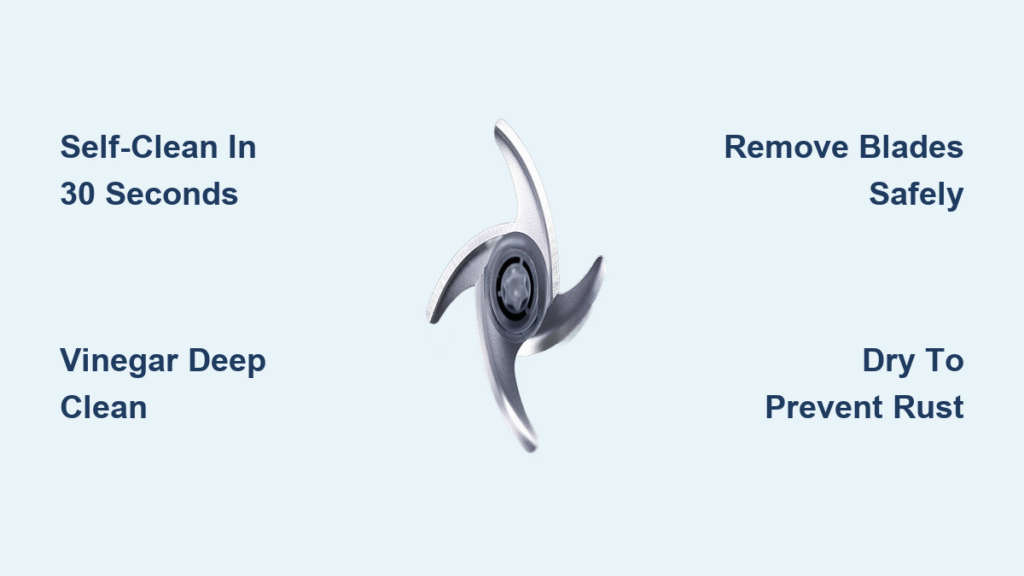
Hold the blade assembly by the plastic base only—never touch the metal blades directly. Rinse under warm water immediately after use. Use a baby bottle brush to clean between blades thoroughly. For stuck particles, soak in warm soapy water for 10 minutes first. Visual cue: If you see food particles wedged where the blades meet the housing, your blender isn’t getting fully clean during regular use.
Bearing Maintenance Check
After cleaning, check blade rotation by spinning it with your finger. Smooth spinning means healthy bearings. Grinding or catching indicates it’s time for replacement. Dry the bearing area completely—moisture here causes most motor failures. Pro tip: Apply one drop of food-grade mineral oil to the bearing monthly on models that allow it. Your manual will specify if this is recommended for your specific model.
Motor Base Cleaning Without Causing Electrical Damage

Safe Surface Cleaning
Unplug and cool the motor base completely. Wipe with a barely damp cloth—never wet. For stubborn spots, use mild soapy water on the cloth only, then dry immediately with a lint-free towel. Clean ventilation slots with a soft brush to prevent overheating. Warning: Never use abrasive cleaners on the motor base—they scratch the surface and make it harder to clean in the future.
Spill Emergency Protocol
If liquid spills onto the motor base:
1. Unplug immediately
2. Blot excess liquid with paper towels
3. Air dry for 24 hours minimum
4. Test functionality before full use
5. Use cotton swabs with rubbing alcohol for sticky residue on contact points
Critical reminder: Moisture inside the motor base causes 70% of blender failures. If your blender stops working after a spill, don’t try to force it—allow proper drying time first.
Dishwasher Guidelines: What Goes Where (And What Doesn’t)
Top rack safe: Blender jar (non-thermal models), lids, gaskets, measuring cups
Hand-wash only: Motor base, blade assemblies, food processor discs, any electronic components
Temperature limits: Maximum 145°F water, skip high-heat drying cycles that warp plastic. Expert note: Dishwasher heat can melt plastic components over time—remove items immediately after washing to prevent warping from residual heat.
Troubleshooting Common Cleaning Issues
Persistent Odors
Fill the jar with warm water and 2 tablespoons baking soda. Let sit overnight, add lemon juice, blend 30 seconds, then rinse thoroughly. This eliminates garlic, fish, and spice odors effectively. When to worry: If odors persist after two cleaning cycles, your gasket likely needs replacement—bacteria has probably penetrated microscopic cracks.
Cloudy Plastic Restoration
Create baking soda paste and rub gently with a soft cloth. For severe cloudiness, use plastic polish designed for kitchen appliances—avoid generic polishes that may contain harmful chemicals. Visual indicator: If light doesn’t pass clearly through your jar, cloudiness has compromised the plastic integrity.
Maintenance Schedule That Works Long-Term
Daily: Quick rinse cycle, motor base wipe-down
Weekly: Complete disassembly, thorough cleaning, blade inspection, gasket check
Monthly: Full sanitization, bearing lubrication (if applicable), seal and gasket inspection
Pro tip: Set phone reminders for weekly and monthly cleaning tasks—consistency prevents most blender problems. Your Hamilton Beach blender will last 3-5 years with proper maintenance versus 1-2 years with neglect.
Proper Storage Techniques to Prevent Mold Growth
Pre-Storage Prep
Ensure every component is bone-dry. Store with the lid slightly ajar to prevent moisture buildup. Keep the blade assembly separate from the jar to avoid odor transfer and potential damage. Critical step: Never store your blender assembled—this traps moisture between components, creating perfect conditions for mold.
Long-Term Storage
For storage over one month, lightly oil gaskets with food-grade mineral oil. Wrap the blade assembly in paper towels and store in the original box with silica gel packets to prevent moisture damage. Warning: Storing near heat sources like ovens or dishwashers accelerates plastic degradation.
Replacement Part Guide: When to Upgrade Components
When to Replace
- Gaskets: Every 6-12 months or when leaking (check for water seepage during use)
- Blade assemblies: Every 2-3 years or when dull/damaged (noticeable slowing when processing ice)
- Lids: When cracked or warped (prevents proper sealing)
- Jars: When cracked or severely scratched (harbors bacteria)
Where to Buy
Order directly from Hamilton Beach’s website for guaranteed compatibility. Authorized appliance parts retailers offer authentic parts—avoid generic replacements that may not fit properly or could void warranties. Pro tip: Keep spare gaskets on hand—they’re inexpensive and critical for immediate replacement when needed.
Model-Specific Cleaning Notes You Can’t Ignore
Personal Blenders
Travel cups retain odors more than glass jars. Clean immediately after protein shakes. Some models have permanently attached blades—focus on thorough rinsing rather than disassembly. Special tip: Add mint leaves to your cleaning cycle to neutralize strong odors from daily use.
Professional Series
Larger capacity means more cleaning solution needed. Heavy-duty blades require brush cleaning. Some components are dishwasher-safe—verify in your manual. Warning: These models often have more crevices where food hides—spend extra time inspecting the blade housing.
Bottom line: Clean your Hamilton Beach blender correctly, and it’ll serve you faithfully for years. Skip the shortcuts, follow this guide, and you’ll never face mystery odors or cloudy plastic again. Proper maintenance takes just minutes but prevents hours of frustration—and keeps your warranty intact. Your morning smoothie deserves a clean blender, and now you know exactly how to clean Hamilton Beach blender components the right way every time.

