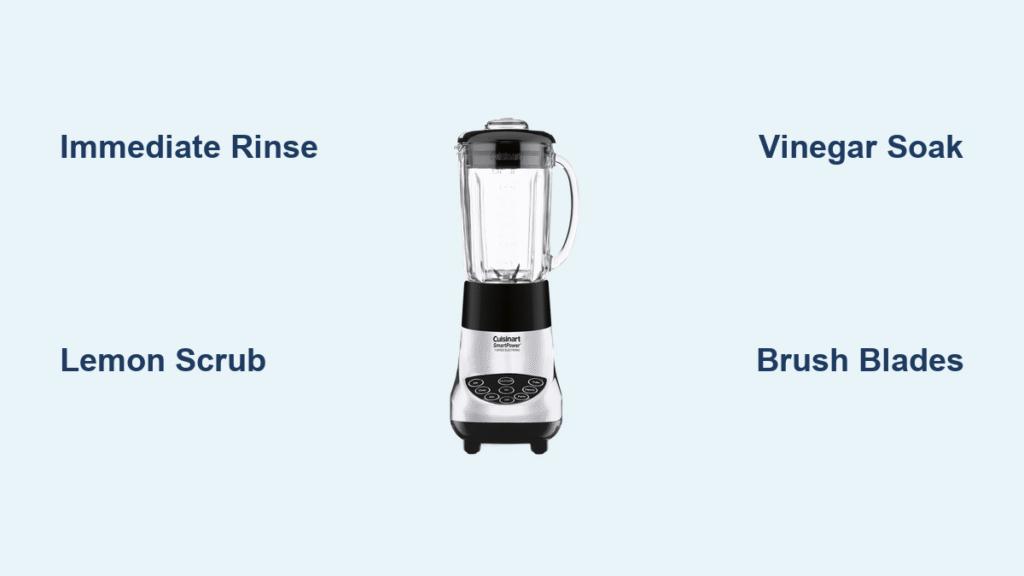
Your Cuisinart blender just pulverized frozen berries into silky smoothie perfection—now you’re staring at purple-stained blades and a jar that smells suspiciously like yesterday’s turmeric latte. Unlike cheaper blenders with removable parts, Cuisinart’s sealed blade assembly traps residue in hidden crevices where mold and odors thrive. When dried-on almond butter cements itself under the blades or spinach stains turn plastic jars permanently green, you’re facing a repair bill—not a quick wipe-down. This guide delivers the exact methods appliance technicians use to keep Cuisinart blenders spotless for decades, starting with a daily ritual that takes less time than brewing coffee.
Most users make the critical mistake of walking away after pouring their smoothie. Letting residue sit for just 20 minutes transforms soft food particles into concrete-like buildup around the non-removable blade housing. Within hours, berry pigments etch into plastic permanently, while fats and proteins decompose into rancid odors no surface rinse can fix. The good news? Following the professional cleaning sequence we’ll detail prevents 90% of deep-cleaning emergencies. You’ll learn how to neutralize stubborn turmeric stains with lemon, dissolve mineral deposits without harsh chemicals, and safely scrub blade assemblies without slicing your fingers.
Daily Self-Cleaning Method That Takes 60 Seconds
Execute the Immediate Rinse Cycle Before Residue Hardens
Don’t wait until your blender sits crusted on the counter—start cleaning while the jar is still warm from blending. Grab a rubber spatula to scrape out thick leftovers like nut butters or frozen fruit chunks. Fill the jar halfway with warm (not hot) water—1 cup for 48-oz models, 2 cups for larger jars. Add precisely 2-3 drops of dish soap; more creates stubborn suds that won’t rinse clean. Snap the lid on tight, place it on the base, and blend on high for exactly 30-60 seconds. Watch the vortex pull every speck from blade crevices and jar walls. Pour out the soapy water, rinse under running water for 15 seconds, then invert the jar and lid on a drying rack. This entire process takes less time than washing a single coffee mug but stops stains before they form.
Expert Note: Run this cycle before emptying thick blends like hummus or ice cream. The residual liquid helps dislodge heavy buildup during blending.
Why Waiting 10 Minutes Ruins Your Blender Long-Term
Delaying cleaning by even a short time triggers irreversible damage. Dried fruit fibers become sandpaper that scratches plastic during scrubbing, while pigmented compounds like beetroot or matcha penetrate microscopic pores in the jar. Within 4 hours, oils from nuts or avocados oxidize into rancid films that cling permanently to blade housings. Worst of all, bacterial colonies establish themselves in the warm, moist environment under the blades—causing odors no surface cleaning can eliminate. Performing the 60-second self-clean immediately after every use prevents these issues entirely. Make it non-negotiable: blend, clean, dry—never skip the cycle.
Deep Clean Stubborn Stains Without Damaging Plastic
:max_bytes(150000):strip_icc()/how-to-remove-berry-stains-2147084_03-75f9afa4110f48eebf868891a69236e1.jpg)
Eliminate Berry Stains with Lemon-Baking Soda Scrub
When your jar looks like a crime scene after blending blackberries, this natural method lifts discoloration without bleaching. Juice one fresh lemon directly into the stained jar (discard rinds—they’ll scratch). Add 2 tablespoons baking soda and 1 cup warm water. Blend on high for 30 seconds, then let it sit for 5 minutes while the effervescence breaks down pigments. Use a soft sponge to gently scrub the interior—focus on the bottom inch where blades meet the jar. Rinse until water runs clear. For severe stains, repeat with a baking soda paste (2 tbsp soda + 1 tsp water) applied directly to problem areas with a toothbrush. This combo neutralizes acidity while lifting stains—never use undiluted bleach on Cuisinart plastic.
Dissolve Mineral Deposits with Vinegar Soak
Hard water leaves chalky white rings around blades that mimic mold but won’t scrub off. Combine 3/4 cup white vinegar with 1/4 cup baking soda and 1/4 cup warm water in the jar. The violent fizzing reaction loosens mineral bonds—let it foam for 60 seconds before blending on low for 10 seconds. Allow the mixture to sit for 15 minutes (set a timer—vinegar degrades plastic if left too long). Empty, then scrub blade crevices with a bottle brush. Rinse thoroughly under running water until the vinegar smell disappears. For recurring deposits, run this monthly after your self-clean cycle.
Clean Non-Removable Blade Assembly Safely

Scrub Hidden Crevices with Specialized Brushes
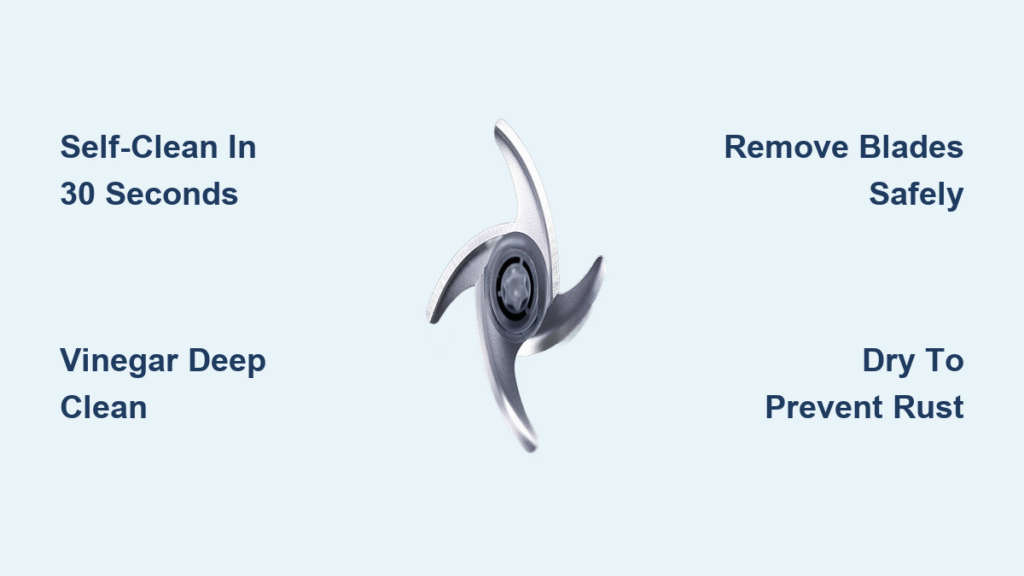
Cuisinart’s sealed blade design means you can’t unscrew the assembly—so residue accumulates where blades meet the jar base. After your self-clean cycle, dip a small bottle brush in soapy water and work it under the blade housing in circular motions. Pay special attention to the rubber gasket ring; trapped spinach fibers here cause persistent odors. For the tiny gap between blade posts, thread a pipe cleaner through and wiggle it side-to-side. ALWAYS unplug the base before handling the jar near the motor coupling. Rinse your brush every 30 seconds to avoid smearing debris. If you see black specks, they’re mold—not dirt—requiring the vinegar soak method.
Apply Baking Soda Paste for Gunked-Up Blades
When blades feel sluggish due to sticky buildup, create a thick paste with 2 tablespoons baking soda and 1 teaspoon water. Using a soft toothbrush, apply it only to the blade area—avoid the motor coupling at the jar’s base. Let it sit for 10 minutes (no longer—paste dries hard), then scrub with the bottle brush under running water. The mild abrasion lifts gunk without scratching. Rinse for 30 seconds while rotating the brush to flush out dislodged particles. Water pooling under blades after drying means residue remains—repeat until water drains cleanly.
Eliminate Persistent Odors That Linger for Days
Neutralize Rancid Smells with Lemon Overnight Soak
If your blender reeks of spoiled milk even after cleaning, odors have penetrated the plastic. Cut one lemon into quarters, add to the jar with 1/2 cup water, and blend 30 seconds. Pour out the mixture and fill the jar completely with fresh water. Add 2 tablespoons baking soda, seal with the lid, and let it sit overnight. The baking soda absorbs deep odors while lemon acid breaks down rancid oils. In the morning, empty and run one self-clean cycle. For extreme cases (like forgotten soup left for days), repeat with activated charcoal powder instead of baking soda.
Clean Motor Base Without Electrical Damage
Wipe Base Weekly Using the Damp-Cloth Method
Critical rule: NEVER submerge the base or spray liquids directly on it. Unplug the blender, then dampen a microfiber cloth with warm water mixed with 1 drop of dish soap. Wipe all surfaces, focusing on control buttons where spills seep in. For grime around speed settings, use a dry toothbrush dipped in vinegar to scrub crevices. Check the cord for fraying and wipe the base underside—dust buildup here causes overheating. Finish with a dry cloth to prevent moisture traps. Do this weekly; sticky bases attract more spills that lead to electrical hazards.
Prevent Future Problems with Proactive Habits
Implement the 30-Second Post-Blend Ritual
After pouring your drink, spend 30 seconds scraping the jar with a silicone spatula—before residues cool and harden. Immediately run the self-clean cycle while you wash your glass. Store the jar inverted on the base (without the lid) to prevent musty air pockets. Once monthly, disassemble the rubber gasket (if your model allows) and clean it separately with vinegar. These tiny habits prevent 95% of deep-cleaning emergencies. Never put plastic jars in the dishwasher—heat warps them, causing leaks around the blade assembly.
Identify When to Replace Parts
Blade assemblies wear out after 3-5 years of heavy use. Signs include: blades wobbling during blending, cloudy plastic that won’t clear with vinegar soaks, or persistent odors after deep cleaning. Replace the entire jar assembly (not just blades) since Cuisinart parts aren’t interchangeable. Order genuine Cuisinart replacements—third-party jars often leak due to imperfect seals.
Troubleshoot Common Cleaning Failures
Fix Cloudy Plastic That Won’t Clear
Hazy jars mean micro-scratches from ice or seeds have trapped oils. Soak in equal parts vinegar and water for 20 minutes, then gently polish with baking soda paste using a microfiber cloth (not sponge). Rinse and dry. If cloudiness remains, it’s permanent—but doesn’t affect performance. Prevent future haze by crushing ice after adding liquid and avoiding abrasive scrubs.
Stop Blades From Sticking During Blending
If blades suddenly stop spinning mid-blend, dried residue has cemented the assembly. Fill the jar with hot water and 2 tbsp vinegar, let sit 30 minutes, then gently twist the blade counterclockwise while submerged. If it won’t budge, replace the jar assembly—forcing it damages the motor.
Final Maintenance Tip: Your Cuisinart blender will outlast cheap models by 10+ years—if you treat cleaning as part of blending, not an afterthought. That 60-second daily self-clean cycle is the single most important habit: it prevents stains before they set, stops odors before they penetrate, and saves you from monthly deep-cleaning marathons. Keep vinegar and baking soda under your sink for emergency stains, but rely on immediate action after every use. Within two weeks, you’ll notice brighter jars, fresher smells, and blades that spin freely—proof your routine is working. When in doubt, remember: if you can’t clean it in 2 minutes, you waited too long. Start now, not tomorrow.

