
Your blender transforms plain peanuts into velvety-smooth, additive-free peanut butter faster than you can drive to the grocery store. Skip the $10 jars loaded with palm oil and preservatives—this method uses just peanuts and your countertop appliance to create customizable nut butter that costs pennies per serving. Whether you need a quick breakfast spread or crave crunchy texture with zero mystery ingredients, how to make peanut butter at home with a blender solves your craving in under five minutes of active time. Forget complicated equipment; your Vitamix, Blendtec, or Ninja unlocks restaurant-quality results without specialty tools.
Imagine cracking open a jar of warm, freshly blended peanut butter that smells like a bakery—no separation, no gritty texture, just pure nutty richness. Store brands often force you to choose between “natural” separation or hydrogenated oils for stability. But when you control the process, you dictate salt levels, sweetness, and texture. This guide reveals exactly how to leverage your blender’s power to bypass common pitfalls like overheating motors or grainy results. You’ll master the critical oil-release phase and troubleshoot texture issues before they ruin your batch.
Choose the Right Blender to Prevent Motor Burnout

Using the wrong appliance risks permanent damage while yielding disappointing results. High-powered blenders like Vitamix, Blendtec, or Ninja dominate this task because their motors handle dense peanut loads without stalling. If you attempt this with a standard 600-watt blender, expect overheating within 90 seconds—peanuts generate intense friction that cheaper motors can’t sustain. Food processors work as backups but require the S-blade attachment and yield thicker, less pourable butter. Never fill beyond ¾ capacity; overloading strains motors and creates uneven textures.
Critical equipment notes:
– Vent the lid during blending if the jar warms significantly—trapped heat accelerates motor stress
– Use the tamper constantly with high-speed blenders to push peanuts toward blades
– For food processors, scrape sides every 45 seconds since blades can’t penetrate thick paste
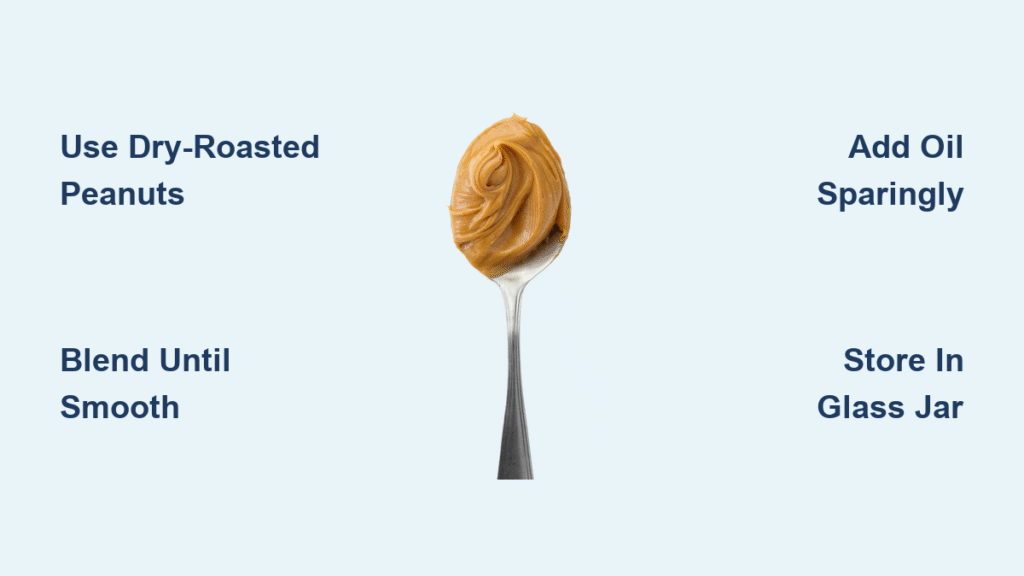
Dry-Roasted Unsalted Peanuts: The Secret to Creamy Texture
Skip salted peanuts unless you want to battle excessive sodium—unsalted varieties give you complete flavor control. Dry-roasted peanuts release oils 50% faster than raw ones because their cellular structure is already broken down by heat. If starting with raw peanuts, you’ll add 20-25 minutes of roasting time (see next section). Bulk bins at grocery stores offer the best value: 2 cups raw peanuts yield 1¼ cups finished butter, making large batches economical. Honey-roasted peanuts create naturally sweet butter without added sugars—ideal for energy bars.
Pro tip: Roast raw peanuts at 350°F until golden (20-25 minutes), then cool completely. Warm peanuts steam in the blender, creating gummy textures. Remove skins by wrapping cooled nuts in a towel and rubbing vigorously—this prevents papery bits in your final butter.
Oven-Roasting Raw Peanuts for Maximum Flavor Release
Preheat your oven to 350°F and spread raw peanuts in a single layer on a sheet pan. Roast for 20-25 minutes, stirring once halfway through, until fragrant and golden brown. Over-roasting creates bitter notes, while under-roasting leaves raw flavors. Immediately transfer to a cooling rack—residual heat continues cooking them. For skin removal, wrap warm nuts in a clean kitchen towel and rub for 30 seconds; the skins will slough off effortlessly. Never skip the 10-minute cooling period before blending—warm peanuts release steam that turns your butter into cement.
The 4 Critical Stages of Blending Peanuts into Butter
Blending isn’t linear—it progresses through distinct phases where patience prevents premature oil additions. Most beginners quit during Stage 2 when the mixture resembles dry, crumbly paste. Resist adding oil; natural fats will release if you persist. High-powered blenders complete this in 3-5 minutes; food processors take 5-7.
Stage 1: Crumble Breakdown (0-30 seconds)
Peanuts shatter into coarse meal. Your blender sounds like a woodchipper—this is normal. Stop immediately if the motor strains.
Stage 2: Paste Formation (30-90 seconds)
Meal clumps into a thick, dry ball that sticks to the sides. Do not add oil—this is the make-or-break phase where most quit. Scrape down sides and continue.
Stage 3: Smooth Transition (90-180 seconds)
The paste suddenly loosens as oils emerge. Color deepens to caramel, and the mixture becomes glossy. Keep blending—under-processing causes graininess.
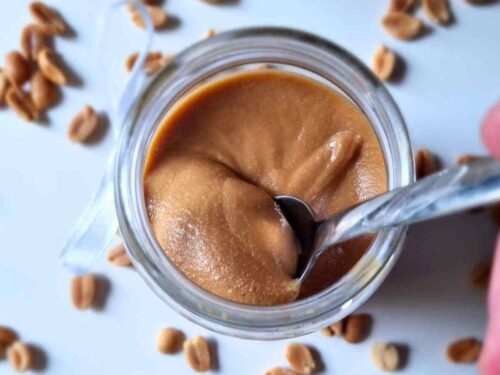
Stage 4: Final Consistency (180+ seconds)
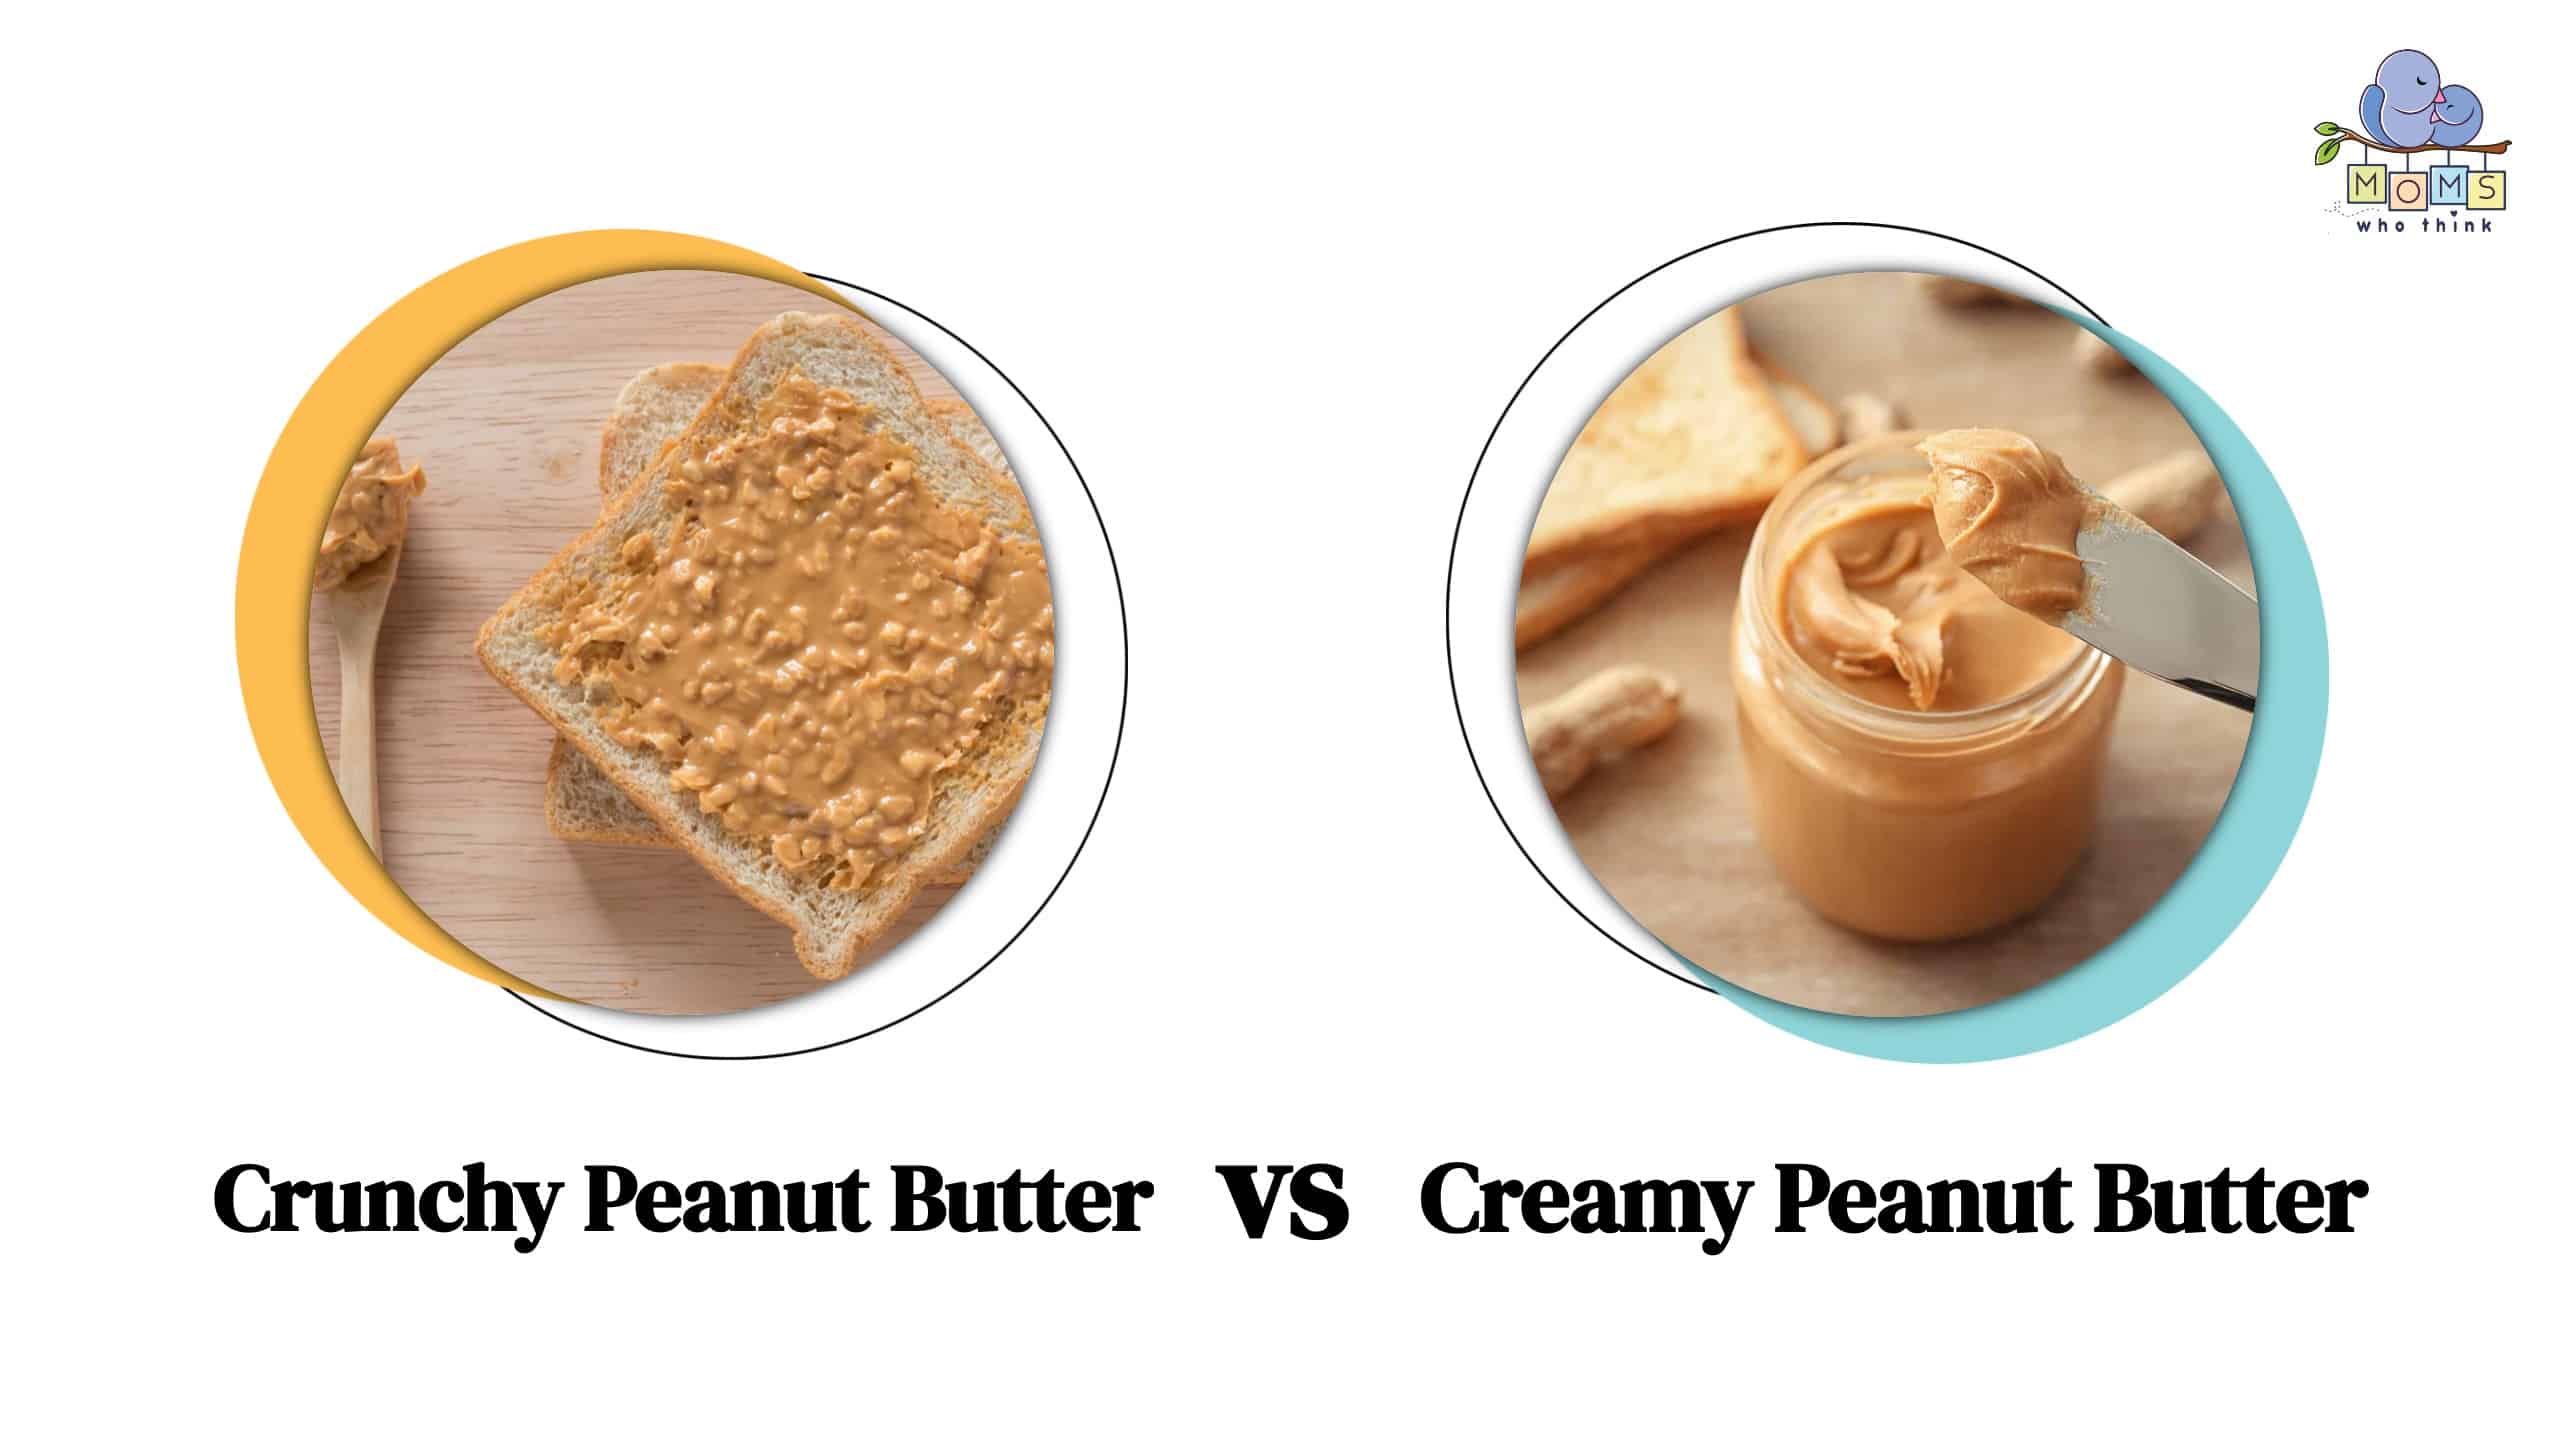
Butter flows like warm honey. For ultra-smooth texture, blend 30 seconds longer. Add reserved peanuts now for crunchy style.
Blending Techniques to Avoid Overheating Your Machine
Start on low speed for 2-3 minutes to gradually break down peanuts—this reduces motor stress. Then increase to medium-high while using the tamper to push nuts toward blades. Blend in 30-45 second bursts with 15-second pauses to vent heat. If your blender smells hot or stops, unplug it immediately. Let it cool 15 minutes before resuming; overheating can melt plastic components. Never add liquid—peanuts release enough oil naturally. If the mixture seems too dry during Stage 2, keep blending; adding oil too early creates separation.
Add Salt, Honey, or Cocoa Without Ruining Your Butter
Timing matters for perfect flavor integration. Add salt (¼ teaspoon at a time) during Stage 3, blending 20 seconds between additions. Taste carefully—flavors intensify as butter cools. For sweetness, never blend honey or maple syrup directly into the mixture; the high-speed action crystallizes sugars, causing grittiness. Instead, stir in 2-3 teaspoons by hand after blending. Chocolate lovers: add 1-2 tablespoons cocoa powder during Stage 4 for dessert-worthy spread. To make crunchy butter, reserve ½ cup roasted peanuts and pulse them in during the final 10 seconds.
Why Your Homemade Peanut Butter is Too Thick (And How to Fix It)
Thick, dry butter means you stopped blending too soon—oils hadn’t fully released. Return to Stage 3 and blend 60-90 seconds longer before considering oil additions. If still stubborn, add only 1 teaspoon of neutral oil (peanut, avocado, or melted coconut) during Stage 4. Runny butter is normal when warm; refrigerate 8+ hours for traditional thickness. Grainy texture indicates under-processing—blend 1-2 minutes more. If your blender overheats, stop immediately, cool for 15 minutes, then resume in shorter bursts with better lid ventilation.
Refrigerate or Freeze? Storing Homemade Peanut Butter Correctly
Store in glass mason jars with tight lids to prevent oxidation. Refrigeration extends freshness to 3 months but thickens butter significantly—warm jars 5 minutes in hot water for easy spreading. For long-term storage, freeze portions in plastic containers (glass may crack) for up to 6 months; thaw overnight in the fridge. Room temperature storage works for 1 month in cool, dark pantries, but monitor for rancidity—fresh butter smells nutty, never sour or paint-like. Critical tip: Stir separated oil back in before each use; this is natural with additive-free butter.
How Much You Save Making Peanut Butter vs. Store Brands
Skip $10 specialty jars: bulk peanuts cost $3-4 per pound, yielding nearly 2 cups of butter. A 2-cup batch costs under $2 versus $8 for organic store brands. You also avoid palm oil, excess sugar, and preservatives. For families, doubling the recipe saves time—larger batches blend more efficiently than small ones. Even with premium add-ins like honey or cocoa, homemade costs 70% less than commercial alternatives.
Nutrition Facts: Why Homemade Peanut Butter Beats Store-Bought
Each 2-tablespoon serving delivers 8g protein, 16g healthy fats, and essential minerals like magnesium and vitamin E—without sodium overload. Control salt completely by starting with unsalted peanuts. Store brands often pack 150-200mg sodium per serving; yours can be nearly sodium-free. You also avoid added sugars—unless you choose to include them. The natural oils in homemade butter provide sustained energy, making it ideal for pre-workout snacks or school lunches.
10 Unexpected Ways to Use Homemade Peanut Butter
Beyond sandwiches, swirl warm butter into oatmeal for protein-packed breakfasts. Freeze dollops for instant smoothie thickeners—no ice dilution needed. Swirl into brownie batter before baking for marbled desserts. Drizzle over apple slices with cinnamon for healthy snacks. Stir a spoonful into chili for depth of flavor. Make satay sauce by thinning with lime juice and soy sauce. Fold into cookie dough for double-chocolate bites. Blend with banana for post-workout shakes. Or enjoy straight from the jar—no judgment here.
Final reminder: 2 cups peanuts yield 1¼ cups butter. Double batches for best results—your blender runs more efficiently with fuller loads. Master these steps, and you’ll never buy store-bought again. The rich aroma of fresh peanut butter filling your kitchen is worth every second of blending time.


