
Your Breville juicer suddenly stops working in the middle of making your morning green juice. The motor cuts out, the display shows an error code you don’t recognize, or worse—it won’t even power on. You’re left standing at your counter with a pile of fresh produce and no way to process it. If you’re searching for “Breville juicer not working,” you’re not alone. Thousands of users face these frustrating issues monthly, often during their most important juice-making moments. This guide provides actionable solutions to get your Breville juicer running again without needing professional repair—saving you time, money, and the disappointment of wasted ingredients.
Breville juicers represent a significant investment in your health and kitchen, so when they malfunction, it’s more than just an inconvenience—it disrupts your entire wellness routine. Whether you own the Breville Juice Fountain, Breville JE98XL, Breville BJE200XL, or another model, electrical appliances can develop issues that seem mysterious but often have simple fixes. In this comprehensive troubleshooting guide, you’ll discover specific solutions for common Breville juicer problems, including motor failures, error codes, overheating issues, and assembly problems. By the end, you’ll know exactly which components to check, how to safely diagnose the problem, and whether you can fix it yourself or need professional service.
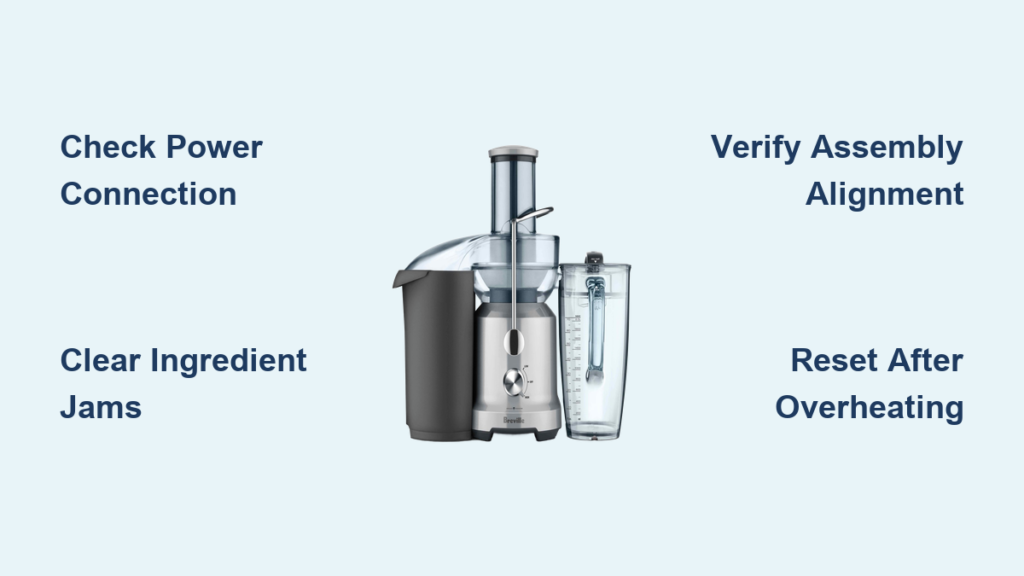
Immediate Checks for Breville Juicer Power Problems
Before diving into complex repairs, verify these basic but often overlooked issues that cause most “Breville juicer not working” scenarios. Many users panic when their juicer stops functioning, not realizing the solution could be as simple as checking the power connection.
Why Your Breville Juicer Won’t Turn On
When pressing the power button yields no response, follow this diagnostic sequence:
- Verify electrical connection – Ensure the plug is fully inserted into both the juicer and wall outlet (not a power strip)
- Test the outlet – Plug in another device to confirm the outlet is functioning
- Check circuit breaker – Locate your home’s electrical panel and verify the circuit hasn’t tripped
- Examine power cord – Look for visible damage, fraying, or bent prongs that prevent proper connection
Pro tip: Breville juicers have internal safety mechanisms that prevent operation if components aren’t properly assembled. Triple-check that the pitcher, pulp container, and juicing screen are correctly locked into position—these must engage safety switches before the motor will activate.
Resetting Your Breville Juicer After Overheating
Breville juicers automatically shut down when they overheat—a common occurrence during extended juicing sessions. If your juicer suddenly stops with no error code:
- Unplug immediately and allow the unit to cool for at least 15-20 minutes
- Empty all components including pulp container and juice pitcher
- Disassemble completely for thorough cleaning before restarting
- Restart with smaller ingredient batches to prevent immediate overheating
Warning: Never bypass the thermal protection system by holding the power button continuously. This can permanently damage the motor and void your warranty.
Decoding Breville Juicer Error Messages
Breville’s digital models display specific error codes that pinpoint problems. Understanding these codes transforms confusing malfunctions into targeted fixes rather than guesswork.
Interpreting Common Breville Error Codes
E1 Error: Indicates motor overload or jamming
– Immediate action: Turn off and unplug juicer
– Check for: Hard ingredients stuck in auger or feed chute
– Solution: Use the cleaning brush to dislodge blockages before restarting
E2 Error: Signals thermal protection activation
– Cause: Extended operation without breaks or insufficient ventilation
– Fix: Allow complete cooling cycle (20+ minutes) before attempting restart
– Prevention: Juice in 15-minute intervals with 5-minute cooling periods
E3 Error: Relates to improper assembly
– Troubleshooting steps:
1. Disassemble all components
2. Verify each piece clicks securely into place
3. Ensure pulp container and juice pitcher are correctly positioned
4. Confirm the safety interlock mechanism engages
Pro tip: For models without digital displays, listen for specific sounds—continuous clicking often indicates assembly issues, while a humming motor that doesn’t turn suggests jamming.
Fixing Breville Juicer Motor Issues Step-by-Step
Motor problems represent the most serious “Breville juicer not working” scenarios, but not all require professional repair. Many motor-related issues stem from preventable causes that you can address yourself.
Clearing Ingredient Jams That Disable the Motor
When hard ingredients like apple cores or carrot chunks jam the juicing mechanism:
- Immediately power off and unplug the unit (never attempt to clear jams while powered)
- Remove the feed chute cover and inspect for visible blockages
- Use the included cleaning brush (never metal utensils) to gently dislodge material
- Rotate the auger manually (if accessible) to verify free movement before restarting
Critical warning: Forcing ingredients through a jammed juicer can burn out the motor. If resistance feels significant, disassemble completely for thorough cleaning rather than attempting to power through the blockage.
Testing Motor Function Without Overloading
After clearing jams, verify proper motor operation:
- Run the juicer empty for 10-15 seconds to confirm smooth operation
- Start with soft ingredients like leafy greens before processing harder produce
- Monitor for unusual sounds—grinding or screeching indicates remaining issues
- Check motor housing temperature—excessive heat during initial testing suggests deeper problems
Breville Juicer Assembly Problems That Prevent Operation
Many “not working” issues actually stem from improper assembly—a frustrating but easily correctable problem. Breville’s safety interlocks prevent operation if components aren’t perfectly aligned.
Correct Pitcher and Pulp Container Alignment

The most common assembly mistake involves the juice pitcher and pulp container:
- Position the pulp container first, ensuring it clicks securely into the base
- Align the juice pitcher with the spout directed away from the motor housing
- Verify both containers are fully seated—you should hear distinct clicks
- Check the safety tab on the pulp container engages with the base mechanism
Visual cue: Properly assembled units will have no gaps between containers and base, with all alignment markers matching perfectly.
Auger and Screen Installation Verification
Incorrect installation of the juicing screen or auger prevents operation:
- Screen must be inserted with the smooth side facing outward
- Auger should drop freely into position without resistance
- Locking mechanism must fully engage with an audible click
- Feed chute cover requires firm pressure to secure properly
Pro tip: Place a drop of food-safe lubricant on the auger shaft annually to prevent binding—a common cause of intermittent operation issues.
Preventing Future Breville Juicer Malfunctions
The best troubleshooting is preventing problems before they occur. Implement these maintenance practices to avoid future “Breville juicer not working” emergencies.
Daily Cleaning Protocol That Extends Lifespan
Proper cleaning prevents 80% of common malfunctions:
- Disassemble completely after each use—never just rinse components
- Use the included brush to clean mesh screens thoroughly (clogged screens cause overheating)
- Soak stubborn residue in warm, soapy water for no more than 10 minutes
- Dry all components completely before storage to prevent mold and corrosion
Critical mistake to avoid: Never immerse the motor base in water or run it under the tap—moisture damage accounts for 30% of premature Breville failures.
Monthly Maintenance for Long-Term Reliability
Schedule these tasks monthly to catch developing issues:
- Inspect power cord for wear or damage
- Check auger bearings for smooth rotation
- Examine screen mesh for tears or clogs
- Lubricate moving parts with food-grade mineral oil
- Test safety interlocks by attempting operation with components slightly misaligned
When to Seek Professional Breville Juicer Repair
Some issues require professional attention—knowing when to stop DIY troubleshooting prevents further damage and safety risks.
Signs Your Breville Juicer Needs Professional Service
Seek authorized repair if you notice:
- Burning smells during operation
- Visible smoke from the motor housing
- Electrical arcing or sparking
- Persistent error codes after multiple reset attempts
- Unusual vibrations that weren’t present originally
Important: Breville’s warranty typically covers motor and electrical components for 1 year. Attempting DIY repairs on covered components may void your warranty.
Finding Authorized Breville Service Centers
Locate certified technicians through:
– Breville’s official website repair locator
– Your original purchase retailer
– Authorized small appliance repair shops (verify certification)
Cost consideration: Major repairs often approach 50% of a new unit’s cost. For juicers over 3 years old, replacement may be more economical than repair.
Final Checklist for Breville Juicer Troubleshooting Success
When your Breville juicer stops working, follow this sequence before considering replacement:
- Verify power source and connections
- Check for proper assembly and safety interlock engagement
- Clear any ingredient jams completely
- Allow adequate cooling time after overheating
- Decode and address specific error messages
- Perform thorough cleaning of all components
- Test with appropriate ingredients in proper sequence
By methodically working through these steps, you’ll resolve most “Breville juicer not working” issues without professional help. Remember that regular maintenance prevents most problems—clean thoroughly after each use, avoid overloading with hard ingredients, and give your juicer adequate rest between batches. With proper care, your Breville juicer can deliver years of reliable service, making your investment well worth the effort to troubleshoot and maintain.


