
Discovering how to make nut milk in a juicer revolutionizes your plant-based milk production with minimal effort and maximum yield. Unlike traditional blender methods requiring tedious straining, your juicer simultaneously extracts liquid while separating pulp, delivering smooth, creamy milk in minutes. This efficient process eliminates the messy cheesecloth straining step and provides dry, usable pulp for other recipes. Whether you’re dairy-free, health-conscious, or simply tired of store-bought versions filled with additives, mastering juicer nut milk gives you complete control over ingredients, flavor, and texture—without the extra cleanup.
Select the Best Nuts for Juicer Extraction
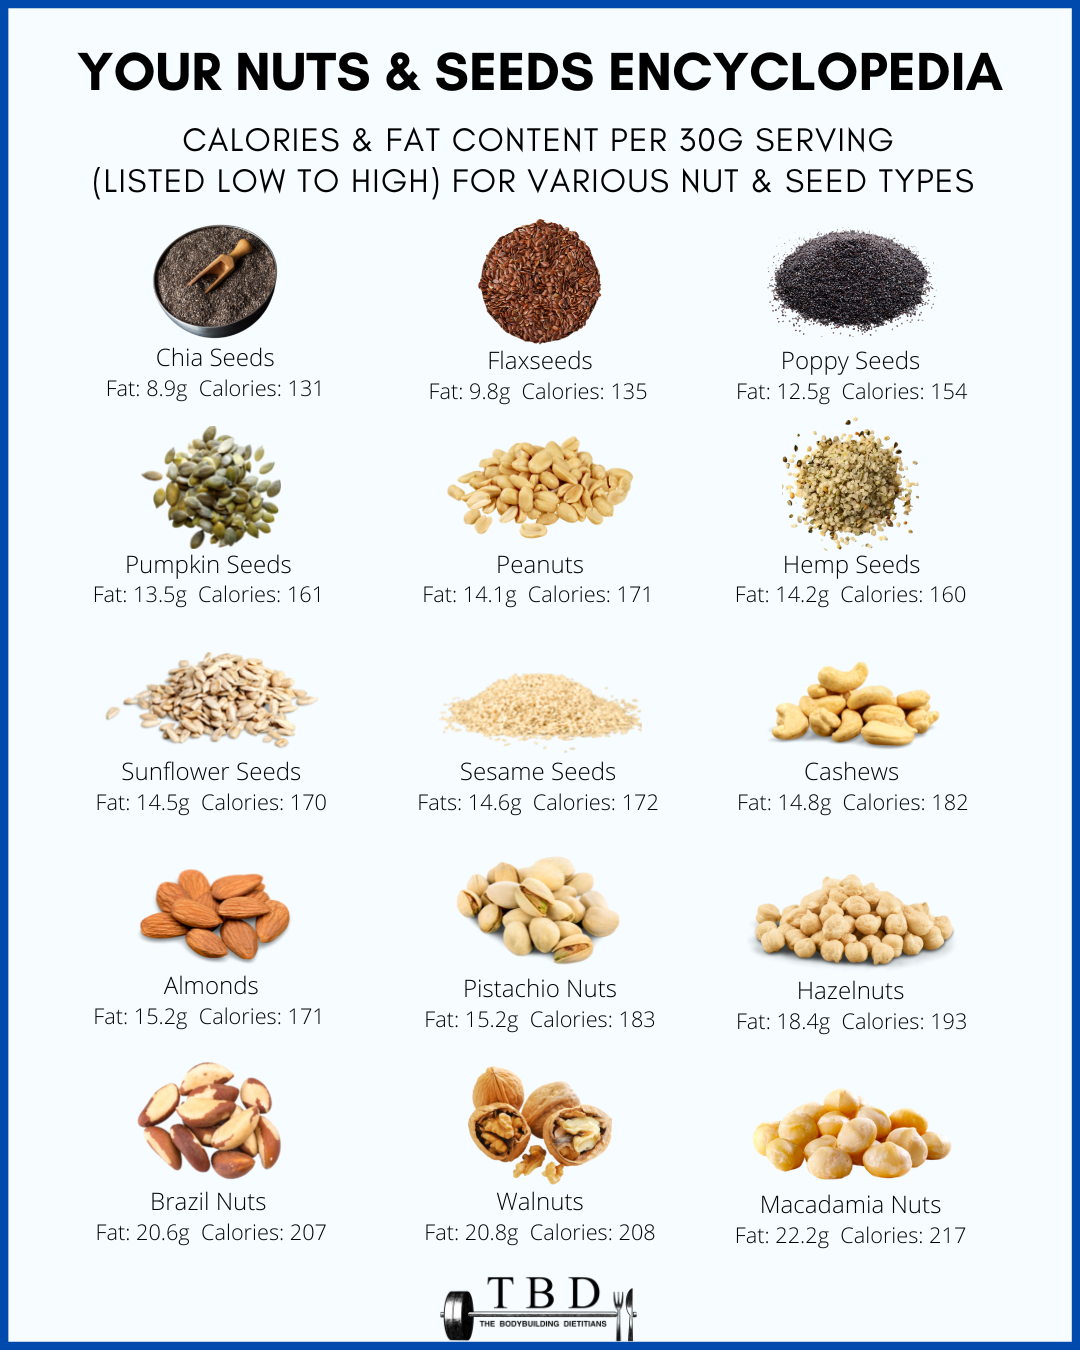
Choosing the right nuts determines your milk’s creaminess, flavor profile, and extraction efficiency. Each variety offers distinct characteristics that affect both yield and culinary applications.
Raw almonds deliver the most versatile nut milk with their mild flavor and excellent creaminess. They produce approximately 3-4 cups of milk per cup of soaked nuts, making them the most economical choice for daily use. Almond milk’s neutral profile works perfectly in coffee, cereal, and baking without overpowering other ingredients.
Cashews create luxuriously thick milk with natural oils that blend into an exceptionally smooth texture. They require minimal additional straining and produce a decadent mouthfeel ideal for creamy sauces, desserts, and coffee drinks. Cashew milk yields slightly less than almonds but offers superior richness.
Macadamia nuts produce a premium milk with high fat content that mimics whole dairy creaminess. Though more expensive, macadamia milk offers a rich, slightly sweet flavor that coffee enthusiasts particularly appreciate. Expect 2-3 cups of milk per cup of nuts with this luxurious option.
For best results, always use raw, unsalted nuts. Lightly roasted nuts can add depth but may produce stronger flavors that don’t work in all applications. Avoid oil-roasted or seasoned varieties as they compromise milk quality and can damage your juicer.
Prepare Your Equipment and Ingredients Properly
Proper preparation ensures efficient extraction and extends your juicer’s lifespan. Not all juicers handle nut milk equally—masticating (cold-press) models outperform centrifugal juicers by operating at slower speeds that produce smoother milk with less foam and heat.
Before starting, disassemble and clean your juicer thoroughly, ensuring the strainer basket is free of debris. Run a cup of water through the juicer to clear any residue from previous use. Position your juicer on a stable surface with containers properly placed under both the milk and pulp outlets.
Soak your nuts for 8-12 hours in room temperature water to soften them for easier processing. Drain and rinse thoroughly before juicing. For quicker results, use the quick-soak method: cover nuts with boiling water for 1-2 hours. Properly soaked almonds should squish easily between your fingers.
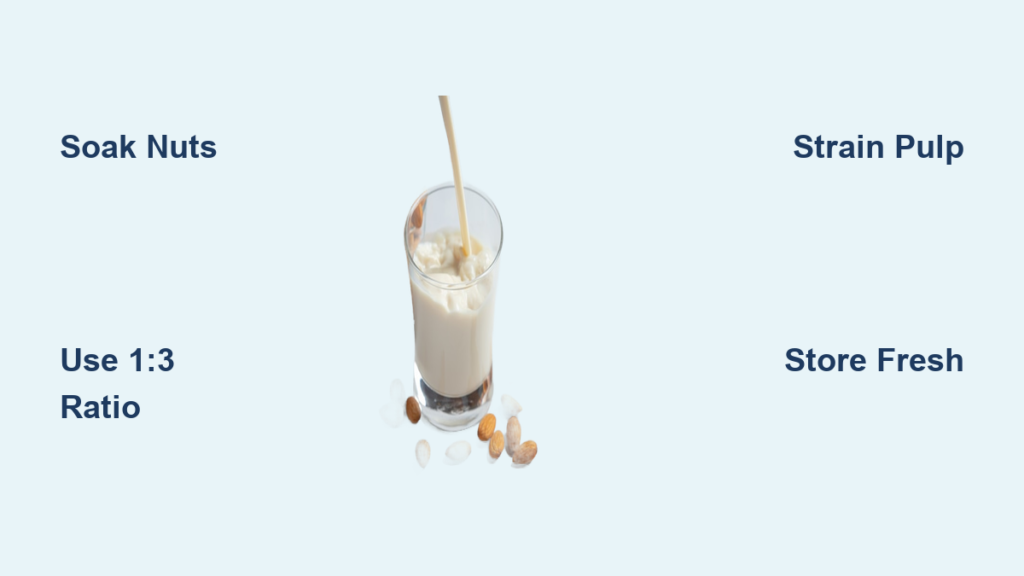
Execute the Juicer Nut Milk Process in Four Steps

Follow this streamlined process to create perfect nut milk with minimal effort and maximum yield.
Measure and Feed Your Nuts Correctly
Use a 1:3 nut-to-water ratio—one cup soaked nuts to three cups water—for standard milk. For creamier results, try 1:2; for lighter milk, use 1:4. Begin by feeding soaked nuts into the juicer slowly, using the pusher to guide them without forcing. Add water gradually through the feed tube as needed to help extraction—this prevents clogging and ensures smooth processing.
Monitor Extraction Quality
Listen to your juicer’s motor—if it strains or slows, reduce the amount of nuts you’re feeding or increase water flow. Quality masticating juicers produce pulp with a texture similar to wet sand, indicating efficient extraction. Centrifugal models may require more water and produce slightly wetter pulp.
Strain for Ultimate Smoothness
While quality juicers produce drinkable milk immediately, straining through a nut milk bag for 15-30 minutes creates the smoothest texture, especially for almond and hazelnut milk. Cashew and macadamia milk often don’t require additional straining if your juicer is working properly.
Customize Flavor Before Storage
Enhance your fresh nut milk with natural flavorings: add 2-4 pitted Medjool dates for caramel sweetness, one teaspoon pure vanilla extract for warmth, or a pinch of salt to balance flavors. Blend these additions directly into the milk container before storing. Avoid overpowering the delicate nut flavor—start with small amounts and adjust to taste.
Troubleshoot Common Nut Milk Problems Quickly

Even with proper technique, issues can arise. Knowing how to fix them ensures consistent results.
Grainy texture typically indicates insufficient soaking or inadequate processing. Extend soaking time to 12-24 hours or ensure your juicer’s strainer basket is clean and properly installed. If the problem persists, strain through a nut milk bag for longer periods.
Bitter flavors often come from rancid nuts, over-roasted varieties, or using hot water during processing. Always smell nuts before use—rancid nuts have a paint-like odor. Use cool or room-temperature water and avoid over-processing, which can heat the mixture and alter flavors.
Low yield suggests nuts weren’t soaked sufficiently or your juicer is misaligned. Verify nuts are fully softened and check your juicer’s assembly. Store nuts properly in the refrigerator or freezer to maintain quality and maximize extraction.
Juicer clogging indicates your nut-to-water ratio is too thick. Process smaller batches and add water more gradually. If complete clogging occurs, disassemble and clean the strainer basket thoroughly before continuing.
Store Your Nut Milk Properly for Maximum Freshness
Without preservatives, homemade nut milk spoils faster than commercial versions but offers superior taste and nutrition. Store in clean, airtight glass containers filled to the top to minimize air exposure. Properly stored nut milk remains fresh for 3-5 days in the refrigerator.
Always shake vigorously before use as separation is natural and harmless. For longer storage, freeze in portion-sized containers for up to 3-4 months—though texture may change slightly upon thawing, making it better for cooking than drinking.
Discard nut milk showing signs of spoilage: sour or off odors, chunky texture, visible mold, or bitter taste. When in doubt, throw it out—spoiled nut milk can cause digestive discomfort.
Utilize Every Bit: Creative Uses for Nut Pulp
Don’t waste the dry pulp left after juicing—transform it into valuable ingredients that offset your nut milk costs.
Incorporate damp pulp into cookies, muffins, and breads for added nutrition and moisture. Add 1-2 tablespoons to smoothies for extra fiber without significantly altering flavor. Use almond pulp in facial scrubs with honey and coconut oil for gentle exfoliation.
For savory applications, blend cashew pulp into vegan cheese sauces or creamy soups. Almond pulp works beautifully in sauces for vegetables or pasta. If other uses aren’t appealing, compost the pulp to return nutrients to your garden.
Maintain Your Juicer for Optimal Nut Milk Production
Regular maintenance ensures consistent performance and extends your juicer’s lifespan. Disassemble and rinse all parts immediately after use to prevent buildup. Soak components in warm, soapy water for 10-15 minutes before gently scrubbing with a soft brush, paying special attention to the strainer basket.
Weekly, deep clean the strainer basket by soaking in a 50/50 mixture of warm water and white vinegar for 30 minutes to dissolve mineral deposits and oils. Ensure all components are completely dry before reassembling or storing to prevent mold growth.
Replace worn parts as needed—strainer baskets typically wear first as fine mesh can break or clog permanently. Signs needing replacement include decreased extraction efficiency, visible damage to the mesh, or parts that no longer fit securely.
Making nut milk in a juicer transforms an expensive store-bought staple into an affordable, customizable, and fresher homemade alternative. With these techniques, you’ll consistently create delicious nut milk tailored to your exact preferences while maximizing your juicer’s capabilities. Start with almonds for ease, then experiment with cashews for creaminess, and track your results to discover your perfect recipe. The initial investment in nuts pays off quickly compared to store-bought versions, while giving you complete control over ingredients and reducing packaging waste.


