
Your juicer is gathering dust in the pantry while you’re paying premium prices for sugary store-bought punches that lack fresh flavor. When you fire up your juicer to make homemade fruit punch, you’re not just saving money—you’re unlocking vibrant flavors that disappear in commercial processing. This guide reveals exactly how to transform ordinary fruits into extraordinary punches using your countertop juicer, with five winning recipes that serve crowds or solo sippers. You’ll learn which fruits juice best, how to balance sweet and tart naturally, and why your juicer creates smoother blends than blenders ever could.
Why Your Juicer Makes Superior Fruit Punch Compared to Blenders
Juicers extract pure liquid goodness while leaving behind fibrous pulp that blenders incorporate into your drink. This fundamental difference creates fruit punch with cleaner texture and brighter flavor profiles. Centrifugal juicers work fastest for punch preparation, processing multiple fruits in minutes without cooking off delicate flavor compounds. Masticating juicers yield slightly more liquid with better nutrient retention, ideal for vitamin-packed punches you’ll sip slowly.
How Juicing Preserves Natural Flavors Better Than Bottled Alternatives
Commercial fruit punches undergo pasteurization that degrades volatile flavor compounds responsible for fresh fruit aroma. When you juice at home, those delicate top notes remain intact—think the floral hints in watermelon or citrus blossom notes in oranges. Store-bought punches often contain high-fructose corn syrup that masks rather than enhances fruit character, while your homemade version lets each fruit’s personality shine through.
Choosing Between Centrifugal and Masticating Juicers for Punch Making

Centrifugal juicers (spinning basket type) work best when you need large quantities quickly for parties. They process 3-5 pounds of fruit in under 10 minutes but yield slightly less juice. Masticating (slow juicers) extract 20% more liquid from leafy greens and tough fruits like beets, making them ideal for nutrient-dense specialty punches. If you primarily make citrus-heavy punches, a dedicated citrus press attachment often delivers better results than either juicer type.
Essential Fruit Combinations That Guarantee Perfect Punch Every Time

Not all fruits play nicely together in punch form. Some overpower others, while certain combinations create unpleasant chemical reactions that dull flavors. Successful punch making depends on understanding fruit flavor profiles and their juice yields.
The 3-2-1 Punch Formula for Balanced Flavor Every Time
Professional mixologists use this simple ratio for foolproof punches: 3 parts base fruit (high yield, mild flavor), 2 parts accent fruit (medium yield, distinct flavor), 1 part zinger fruit (low yield, intense flavor). For a standard 64-ounce pitcher, this means 24 ounces base juice (like apple or white grape), 16 ounces accent juice (such as orange or pineapple), and 8 ounces zinger juice (pomegranate or lemon). This mathematical approach prevents any single fruit from dominating your blend.
Fruits That Juice Poorly and What to Do Instead
Strawberries and blueberries have low juice yields and clog most juicers. Rather than wasting precious produce, macerate these berries with sugar to draw out their liquid, then strain through cheesecloth. Melons juice well but separate quickly—add a splash of lemon juice to stabilize the mixture. Bananas don’t juice at all; blend small amounts into finished punch for creaminess instead.
Step-by-Step Juicing Process for Flawless Fruit Punch
Preparing Your Fruit for Maximum Juice Yield
Wash all produce thoroughly, removing stickers and wax coatings that affect flavor. Cut fruits into juicer-feed sizes (typically 1-inch chunks), removing large pits but keeping nutrient-rich peels on apples and cucumbers. For citrus, roll firmly on the counter before cutting to break down internal membranes. Freeze citrus segments for 20 minutes before juicing to increase yield by up to 15%.
Juicing Sequence That Prevents Flavor Contamination
Start with mild-flavored fruits like apples or white grapes to prime your juicer. Follow with medium-intensity fruits such as pears or carrots. Finish with strongly flavored items like beets or ginger to avoid cross-contamination. Run a wedge of lemon through your juicer between flavor transitions to clean residue from previous fruits. This sequence ensures each juice maintains its distinct character when blended.
Blending Juices Without Oxidation or Separation
Combine juices in a large pitcher over ice to halt enzymatic browning. Stir rather than shake to minimize air incorporation. For punches containing melons or watery fruits, add 1 tablespoon chia seeds per quart and let sit for 15 minutes to create natural viscosity that prevents separation. Chill completed punch for at least one hour before serving to allow flavors to marry properly.
5 Must-Try Juicer-Optimized Fruit Punch Recipes
Tropical Sunrise Punch (Serves 8)
Juice 2 pounds pineapple chunks, 4 oranges, and 1 inch fresh ginger. Add 1 cup freshly squeezed mango puree (from macerated frozen mango). Stir in ½ cup coconut water for electrolyte balance. Garnish with edible flowers and serve over ice. This punch maintains perfect texture for 24 hours refrigerated—unlike blender versions that separate within hours.
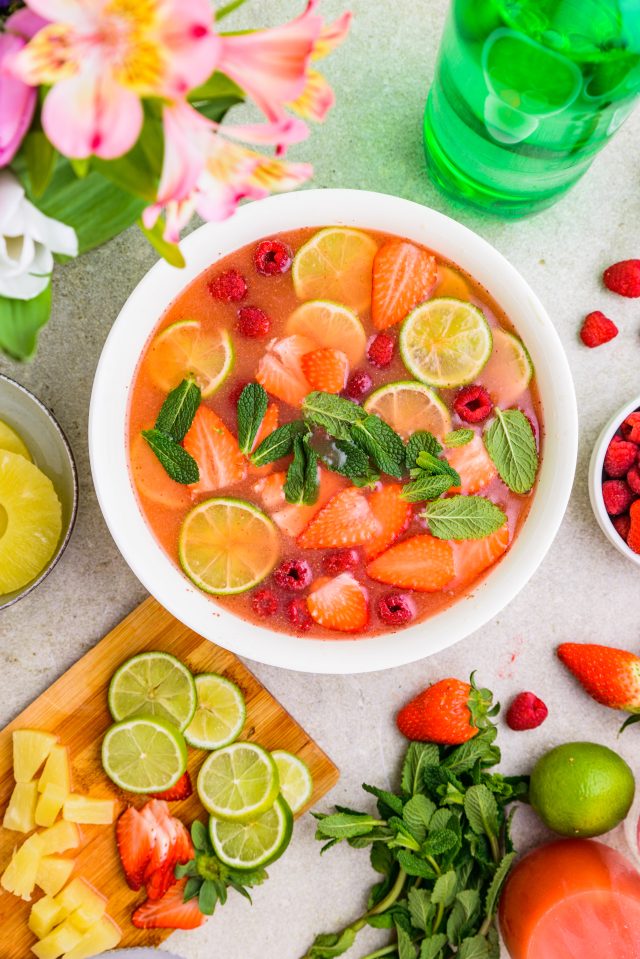
Berry Medley Refresher (Serves 6)
Juice 3 pounds red apples. Macerate 2 cups mixed berries with 2 tablespoons honey for 30 minutes, then strain. Combine apple juice with berry liquid and 1 cup freshly juiced watermelon. Add 2 tablespoons lemon juice to stabilize color. This method yields 50% more liquid than attempting to juice berries directly, with superior clarity.
Citrus Garden Elixir (Serves 10)
Juice 6 grapefruits, 4 blood oranges, and 2 ruby red grapefruits. Add 1 cup fresh mint juice (blend mint with water, then strain). Stir in ½ cup elderflower liqueur for adult version (omit for kids). The triple citrus approach creates layered complexity that single-fruit punches lack, while mint adds aromatic dimension without pulp.
Autumn Harvest Blend (Serves 8)
Juice 4 pounds sweet apples, 2 pounds carrots, and 1 small beet. Add 1 teaspoon ground cinnamon and ½ teaspoon nutmeg. Stir in 1 cup freshly juiced pomegranate. The beet adds natural coloring without earthy flavor when balanced properly. This nutrient-dense punch stays vibrant for 72 hours refrigerated.
Cucumber-Lime Cooler (Serves 4)
Juice 3 English cucumbers and 6 limes. Add ½ cup fresh basil juice (blend basil with water, strain). Stir in 2 tablespoons agave nectar. This ultra-hydrating punch has 70% less sugar than commercial versions while delivering superior refreshment. Best consumed within 12 hours for peak flavor.
Pro Tips for Punch Presentation That Impresses Guests
Freeze punch components into decorative ice cubes—layer watermelon juice, then citrus, then berry juices in ice trays for rainbow effects. Serve in clear dispensers with built-in fruit infusion chambers that keep ingredients submerged without making the punch cloudy. For outdoor events, add frozen fruit chunks directly to the punch bowl as natural ice cubes that enhance flavor as they melt.
Storage Secrets for Maximum Freshness and Flavor Retention
Store homemade punch in airtight glass containers with minimal headspace to reduce oxidation. Press plastic wrap directly onto the punch surface before sealing to create an oxygen barrier. Most fruit punches maintain peak flavor for 24-48 hours refrigerated, though citrus-heavy blends last up to 72 hours. Never freeze juice-based punches as ice crystals permanently alter texture upon thawing.
Troubleshooting Common Homemade Punch Problems
When Your Punch Tastes Too Tart
Balance with natural sweeteners rather than sugar—stir in small amounts of apple juice or coconut water which add sweetness without overpowering fruit flavors. A pinch of salt often counteracts excessive tartness more effectively than added sugar.
When Separation Occurs Within Hours
Add natural thickeners like chia seeds or a small amount of pureed banana. For immediate correction, vigorously stir with a whisk to temporarily recombine ingredients. Prevention works best—always finish blending with an acidic component like lemon juice which acts as natural emulsifier.
When Flavor Seems Flat After Chilling
Cold temperatures mute flavor perception. Before serving, let punch sit at room temperature for 10-15 minutes. Add a splash of freshly squeezed citrus juice just before serving to revive bright notes that chilled temperatures suppress.
Final Note
Mastering homemade fruit punch with your juicer transforms ordinary gatherings into memorable experiences with minimal effort. You’ve learned the science behind perfect flavor balancing, discovered which fruits shine brightest through juicing, and gained five professional recipes that outperform store-bought alternatives. Start with the Tropical Sunrise Punch for your next event—its vibrant color and layered flavors consistently impress guests while requiring less sugar than commercial versions. Remember to juice mild fruits first, blend strategically to prevent separation, and serve with decorative frozen fruit instead of traditional ice cubes. Within weeks, you’ll develop your own signature blends that become family favorites, all while saving money and avoiding artificial ingredients. Your juicer isn’t just for morning juices anymore—it’s your secret weapon for creating crowd-pleasing punches that taste unmistakably fresh.


