
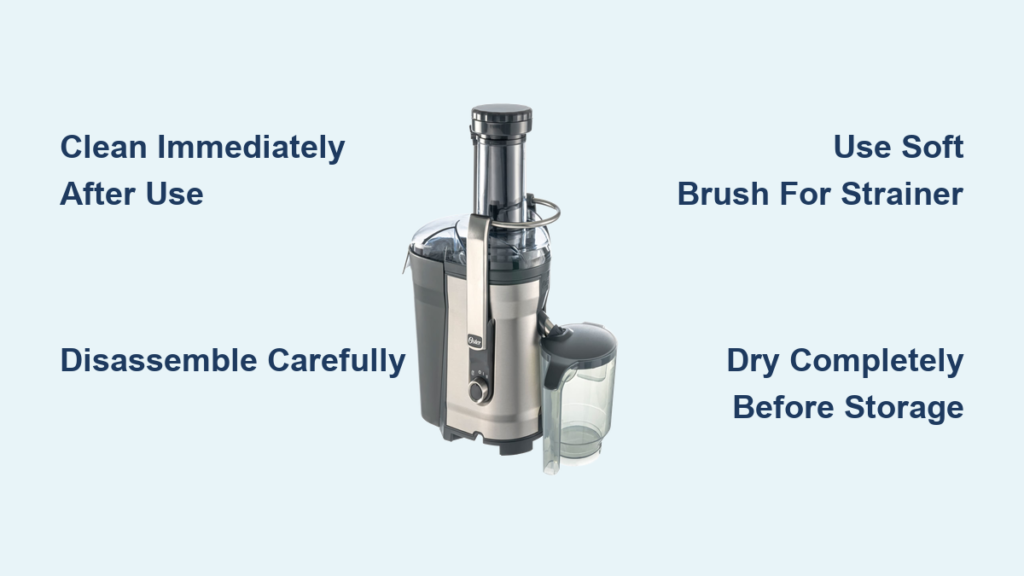
Nothing ruins the joy of fresh-squeezed orange juice faster than a grimy Oster juicer that leaves pulp residue in your morning glass. Whether you’re reviving a vintage Model ON12A citrus juicer passed down from your grandmother or operating a modern self-cleaning juice extractor, proper cleaning techniques are essential for maintaining performance and food safety. Residue buildup from citrus acids and pulp can corrode components over time, while dried-on juice creates breeding grounds for bacteria that compromise your health and the taste of your beverages. This guide delivers specific, actionable steps to clean every Oster juicer model effectively—no generic advice, just proven techniques that work.
Understanding your specific Oster juicer model is the critical first step toward effective maintenance. Vintage citrus juicers require hands-on disassembly and careful component handling, while modern models with self-cleaning features still demand manual attention to certain parts. Both types share one non-negotiable rule: cleaning must happen immediately after use before pulp dries and hardens into stubborn residue. Waiting even an hour makes the cleaning process exponentially more difficult and less effective.
Clean Vintage Oster Citrus Juicer ON12A Components Properly
Vintage Oster citrus juicers like the ON12A model represent durable engineering from earlier decades, but their age-specific designs demand careful handling during cleaning. These appliances feature a distinctive blade assembly that must be approached with proper technique to avoid damage during disassembly. Taking extra time with vintage components pays dividends in preserving functionality and appearance for years to come.
Gather Essential Cleaning Supplies Before Starting
Before beginning any cleaning session, assemble these specific tools to ensure smooth progress without interruptions:
- Mild dish soap (harsh chemicals damage aged plastic and metal finishes)
- Warm water (never use boiling water that could warp vintage components)
- Soft sponge or non-abrasive cloth (prevents surface scratching)
- Toothbrush with soft bristles (reaches tight spaces around blade assemblies)
- White vinegar and baking soda (natural solutions for stubborn stains)
- Clean towels or drying rack (ensures thorough drying before reassembly)
Avoid steel wool, abrasive pads, or bleach-based cleaners that compromise vintage materials. The right tools make cleaning vintage juicers efficient rather than frustrating.
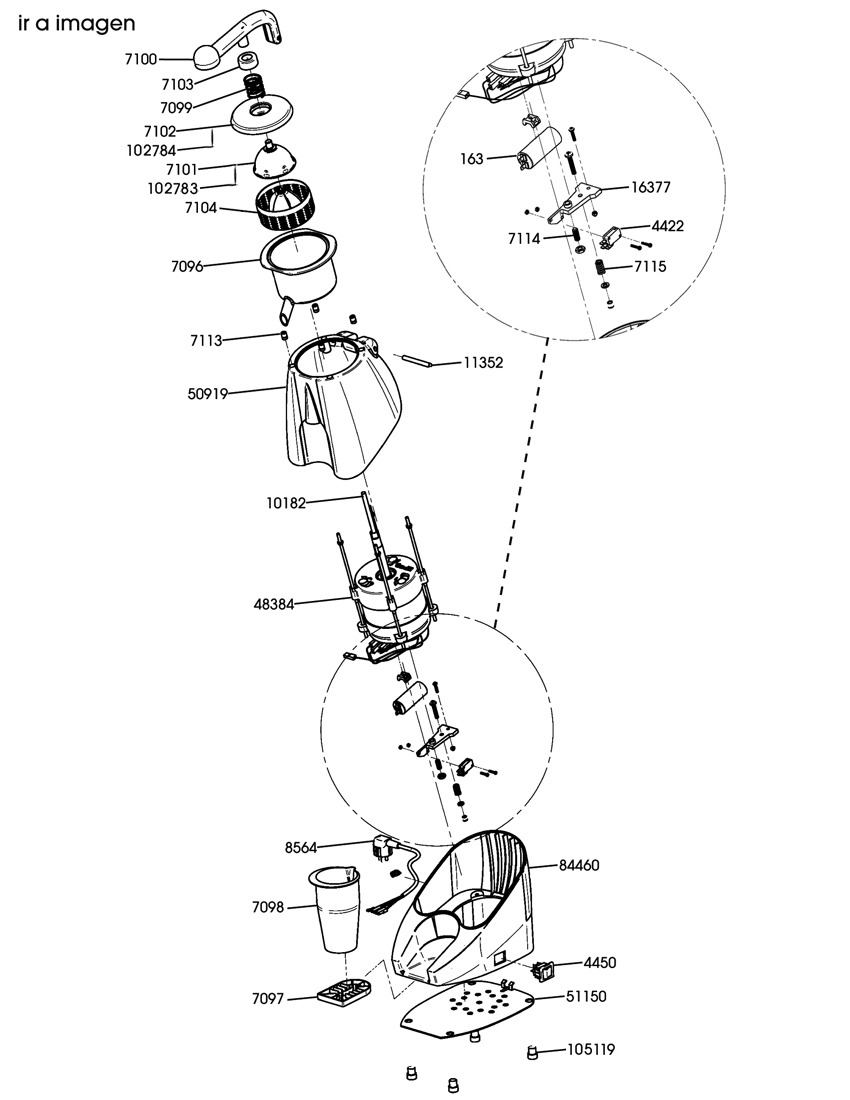
Disassemble Juicer Components Without Damage
Begin every cleaning session by disconnecting the juicer from its power source—safety always comes first. Remove all detachable components systematically, starting with the uppermost elements:
- Carefully twist off the reamer (cone-shaped citrus press)
- Remove the juice container or pitcher
- Detach the strainer or filter assembly
- Empty and remove the pulp collection components
Pay special attention to the blade assembly, which typically twists off the juicing cone with gentle, consistent pressure. If resistance occurs, wrap a soft cloth around the assembly to improve grip rather than forcing separation. Vintage components with accumulated residue may require patience—never use metal tools that could permanently damage these irreplaceable parts.
Clean Each Component with Targeted Techniques
After disassembly, rinse all parts under warm running water to remove loose pulp before deeper cleaning. Prepare a basin with warm water and mild dish soap, then soak components for several minutes to loosen dried residue. Clean each part systematically:
- Use a soft sponge on the juice container interior and exterior surfaces
- Work a toothbrush into the strainer’s tiny holes where pulp embeds
- Gently scrub around the blade assembly edges with soft-bristled brush
- Apply baking soda paste to stubborn stains, letting it sit 5 minutes before scrubbing
For mineral deposits from repeated citrus use, soak affected areas in white vinegar for 10 minutes before gentle scrubbing. Never soak electrical components or motor housings—these require only careful wiping with a damp cloth.
Dry Components Completely Before Reassembly
Moisture trapped in crevices causes mold growth and component damage over time. Hand-dry each piece with a clean towel, focusing on problem areas:
- Interior of the strainer where water pools
- Base of the blade assembly
- Recessed areas in the juice container
Allow components to air-dry on a clean rack for 30 minutes before reassembly to ensure complete moisture evaporation. Verify dryness by feeling for cool spots on plastic surfaces—any remaining moisture indicates incomplete drying.
Reassemble Juicer in Correct Sequence
Reassemble components in reverse order of disassembly, starting with lower elements:
- Position the pulp collector base
- Attach the strainer assembly with proper alignment
- Place the juice container securely
- Gently twist the reamer onto the blade assembly
The blade should engage with minimal resistance—if force is required, check alignment to prevent cross-threading. Test assembly by gently wiggling components to confirm secure attachment before storage or next use.
Use Self-Cleaning Feature on Modern Oster Extractors Correctly
Modern Oster juice extractors like the Self-Cleaning Professional model offer convenience through automated filter-rinsing technology, but understanding proper usage prevents disappointment and maintains hygiene standards.
Activate Auto-Clean Cycle with Proper Technique
To maximize the self-cleaning feature’s effectiveness:
- Remove the food pusher from the food chute
- Twist open the food pusher lid and fill the internal water compartment to “MAX” level
- Securely close and lock the lid by turning clockwise
- Reinsert the food pusher, ensuring the tab aligns with the mechanism top
- Turn control knob to auto-clean position
- Press and hold food pusher for the full 25-second cycle
The auto-clean mechanism operates automatically for exactly 25 seconds before shutting off. Never interrupt the cycle prematurely, as incomplete cleaning leaves residue that hardens during downtime.
Manual Cleaning Still Required After Auto-Cycle
Despite the “self-cleaning” label, three critical components require manual washing after every use:
- The juice collection jar (where liquid residue pools)
- The pulp collector container (retains fibrous material)
- The exterior housing (accumulates splatter during operation)
After the auto-clean cycle completes, empty both containers immediately and wash them with mild soap and warm water. The self-cleaning feature only targets the filter assembly—relying solely on automation creates unsanitary conditions in other juice-contacting areas.
Avoid Dangerous Auto-Clean Mistakes
Three safety hazards commonly occur with self-cleaning models:
- Operating without water: Never activate the auto-clean cycle dry—water lubricates the mechanism and prevents motor strain
- Misaligned components: Incorrect food pusher placement causes water leakage during cleaning
- Delayed cleaning: Residue hardens within hours, making even auto-clean cycles less effective
Always verify proper assembly before starting any cleaning cycle, and never leave the juicer unattended during auto-clean operation.
Extend Oster Juicer Lifespan with Strategic Maintenance

Regular maintenance preserves performance and extends your juicer’s operational life significantly, regardless of model type. Implement these proven practices to maximize your appliance’s value.
Follow This Model-Agnostic Cleaning Schedule
After every use (5 minutes):
– Rinse all juice-contacting components immediately
– Perform quick scrub of strainer and blade areas
– Hand-dry all parts before storage
Weekly deep clean (15 minutes):
– Soak all removable parts in warm, soapy water
– Target hidden areas around blade assemblies
– Inspect for wear on seals and gaskets
Monthly maintenance (20 minutes):
– Soak stained components in vinegar solution
– Check electrical cord for damage
– Lubricate moving parts with food-safe mineral oil
This tiered approach prevents the difficult buildup that requires hours of scrubbing later. The five minutes you invest after each use saves hours of intensive cleaning down the road.
Store Your Juicer to Prevent Damage
Proper storage prevents moisture accumulation and environmental damage:
- Store completely disassembled with components separated
- Place in a covered cabinet away from direct sunlight
- Avoid stacking other kitchen items on top of components
- Use original storage containers if available
Never store your juicer while components are still damp—this creates ideal conditions for mold growth and component warping.
With consistent care using these specific techniques, your Oster juicer will deliver fresh, clean juice for years to come. The vintage ON12A models from decades past still operate today thanks to proper maintenance, and your modern extractor can achieve similar longevity with the same attention to detail. Remember: immediate cleaning after each use, gentle tools for delicate components, and thorough drying before storage form the holy trinity of Oster juicer maintenance. Your morning glass of orange juice will taste noticeably purer when your equipment stays properly clean.


