

Imagine harvesting a bumper crop of tomatoes from your garden or scoring a great deal on seasonal berries at the farmers market—only to face the dilemma of preserving all that bounty before it spoils. Commercial juicers can cost hundreds of dollars, but you don’t need expensive equipment to extract fresh juice. The steam juicing method transforms basic kitchen tools into an efficient homemade juicer that processes large quantities with minimal hands-on time. This guide shows you exactly how to make a homemade juicer using equipment you likely already own, so you can preserve your harvest without breaking the bank.
Unlike electric juicers that require constant feeding and cleanup, a steam juicer operates with remarkable simplicity—steam rises through your fruit, gently breaking down cells to release juice that drips directly into sterilized bottles. The heat pasteurizes your juice during extraction, eliminating the need for additional processing while maintaining maximum flavor. Whether you’re preserving summer berries or canning fall apples, this DIY approach delivers professional results without the professional price tag.
Build Your Own Steam Juicer

The magic of steam juicing happens through a clever three-tiered system that works continuously with minimal supervision. This setup uses steam pressure to extract juice while naturally pasteurizing it—meaning your juice flows directly from the juicer into bottles ready for sealing and storage. The process requires no electricity beyond your stove burner, making it perfect for off-grid homesteaders or anyone looking to simplify their preservation routine.
Unlike traditional juicing methods that involve grinding, pressing, or straining, steam juicing works with the fruit’s natural structure rather than against it. As steam rises through the fruit, it gently breaks down cell walls without oxidizing the juice or incorporating bitter compounds from seeds and pulp. This results in exceptionally clear, flavorful juice that stays shelf-stable for months when properly bottled.
Gather Essential Juicer Components

You don’t need specialized equipment to make a homemade juicer—just three standard kitchen items that nest together to create the complete system. Start with a large stainless steel stock pot (8-12 quarts works best) as your base. This pot holds the water that generates steam and must have a flat bottom for even heat distribution on your stove.
Your middle layer requires a standard kitchen colander or steam basket that fits inside the stock pot without touching the water. The colander holds your fruit and must allow steam to pass through its perforations while containing solid pieces. Look for one with a flat bottom rather than a domed shape for optimal juice drainage.
For the top layer, you’ll need a catch basin that resembles an angel food cake pan—shallow with angled sides that direct juice toward a central drainage point. This component sits inside the colander and collects juice as it drips from the fruit. Crucially, it must have a small tube or spout that allows you to tap off juice directly into bottles without interrupting the process.
Set Up Your DIY Juicer
Proper assembly makes the difference between a smooth juicing session and frustrating leaks or poor extraction. Begin by adding 2-3 inches of water to your stock pot—enough to generate steam for several hours but not so much that boiling water might splash into the upper chambers. For most standard pots, 4-6 cups provides sufficient water for processing 10-15 pounds of fruit.
Place your colander inside the stock pot, ensuring it sits securely above the water level. If gaps exist between the colander and pot walls, wrap kitchen twine around the colander rim to create a better seal that forces steam upward through the fruit rather than escaping sideways. This simple trick dramatically improves extraction efficiency.
Position the catch basin inside the colander, centering it over any central support. Check that the drainage tube hangs freely outside the pot where you can easily access it with your bottling funnel. Before adding fruit, verify that all components sit level—any tilt could cause uneven juice collection or spillage.
Steam Juicing Process Explained
Once assembled, the steam juicing process requires surprisingly little intervention. Add washed, cored fruit to the colander (whole berries work fine; quarter larger fruits), leaving space between pieces for steam circulation. Overpacking restricts steam flow and reduces juice yield.
Bring the water to a boil over high heat, then reduce to maintain a steady but gentle simmer. Within 10-15 minutes, you’ll see juice beginning to drip into your catch basin. The juice emerges near boiling temperature—hot enough to safely fill sterilized bottles immediately. As juice accumulates, simply open the tube clamp to fill bottles one after another without stopping the process.
This continuous operation lets you process 20+ pounds of fruit with minimal effort. When the current batch finishes, refresh the colander with new fruit while the system remains hot—no cooling down or restarting required. The entire process typically takes 3-4 hours for a full harvest, with most of that time requiring no active participation beyond occasional water level checks.
Alternative Stovetop Juicing Method
If specialized components prove hard to source, you can make a functional homemade juicer using just your stock pot and straining equipment. Start by adding chopped fruit to the pot with ½ cup water (just enough to prevent scorching). Cook over medium-low heat, stirring frequently as the fruit releases its natural juices.
Continue simmering for 30-60 minutes until the fruit completely breaks down into a pulpy mixture. The key is maintaining gentle heat—too high causes scorching, while too low prolongs cooking unnecessarily. As liquid accumulates, you’ll notice clear separation between solids and juice.
Strain the hot mixture through a fine-mesh sieve, cheesecloth, or jelly bag to separate juice from pulp. Apply gentle pressure with a spoon to extract maximum liquid, but avoid pressing too hard which forces bitter compounds from seeds into your juice. This method requires more active time but achieves similar results with basic equipment.
Bottle and Store Fresh Juice
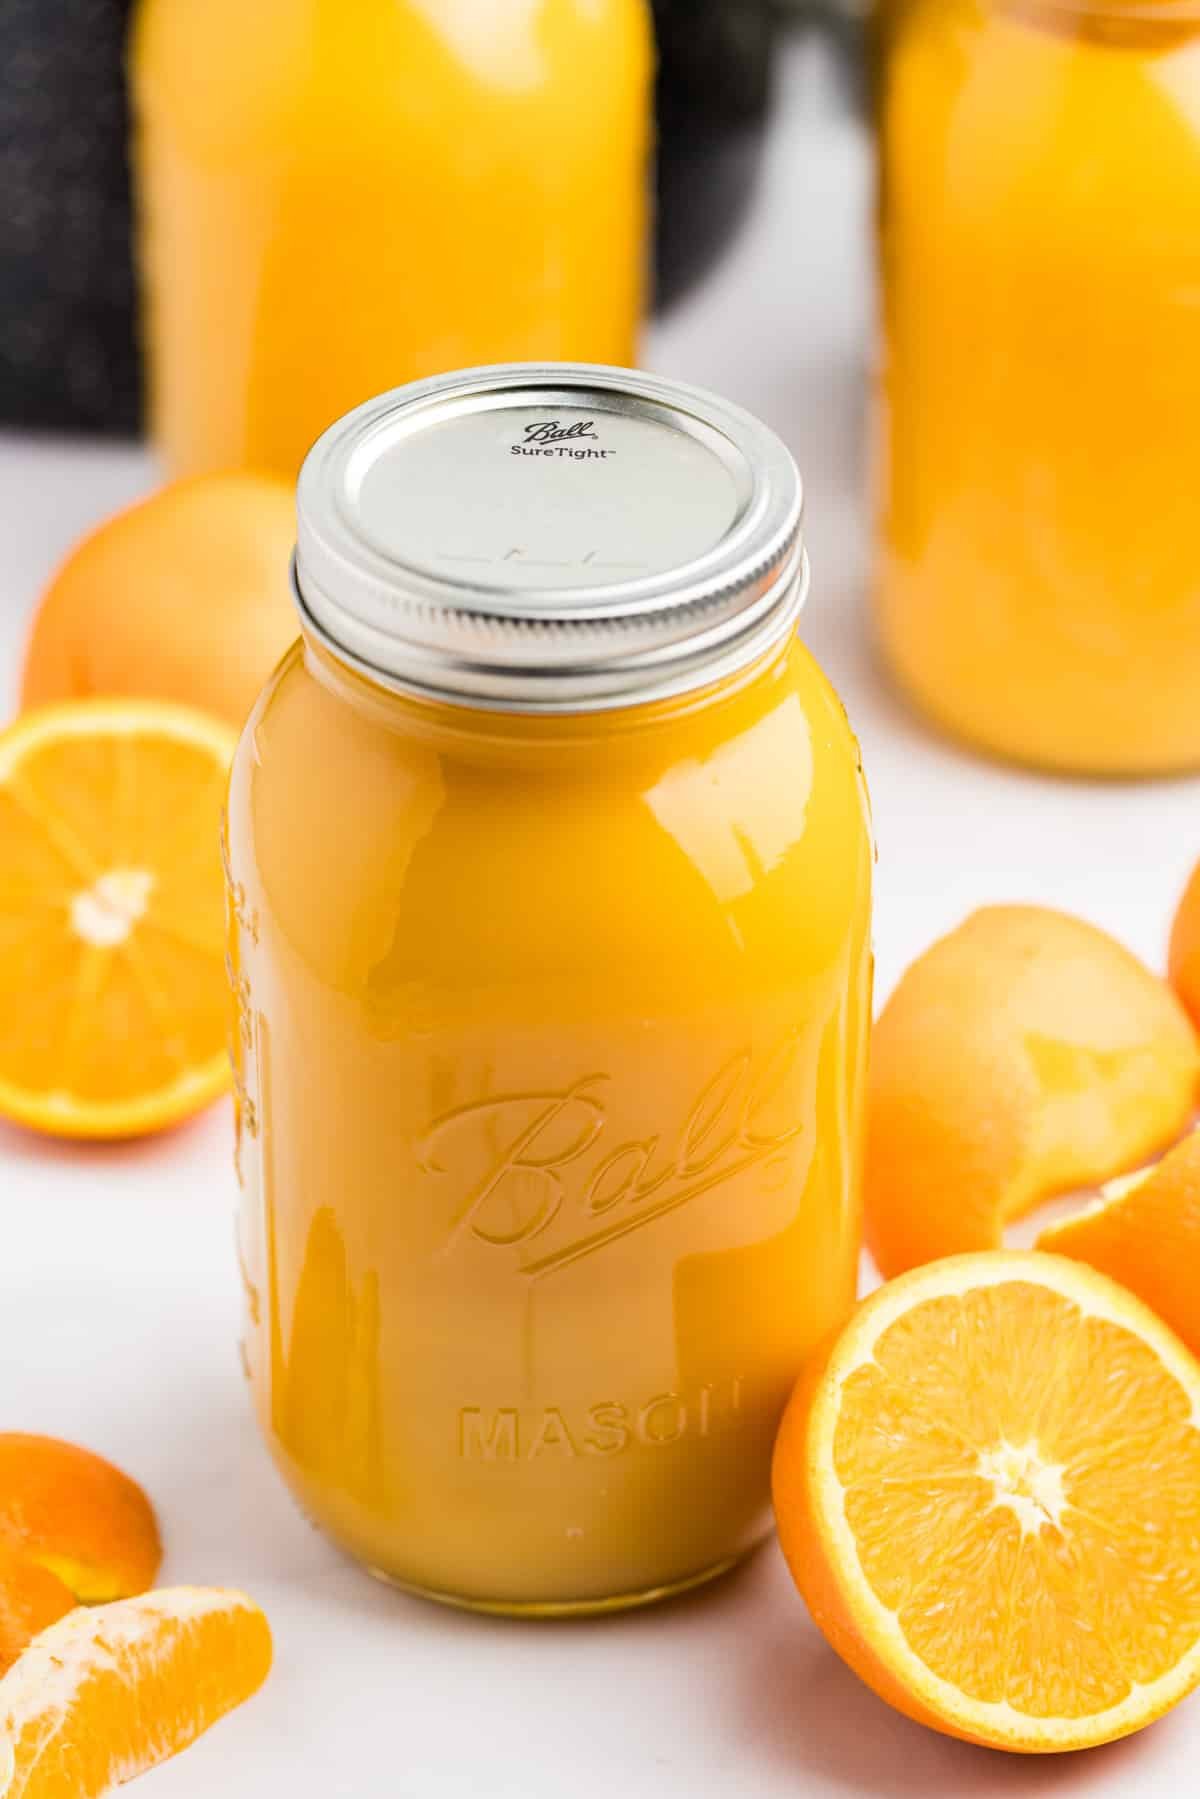
Proper bottling ensures your homemade juice remains safe and flavorful for months. Sterilize glass mason jars by boiling for 10 minutes, running through a dishwasher sanitize cycle, or heating in a 225°F oven for 20 minutes. Warm jars prevent thermal shock when filled with hot juice.
Fill sterilized jars with juice, leaving ¼-inch headspace. Wipe rims clean with a damp cloth before applying sterilized lids. For steam-extracted juice, the natural pasteurization means jars can be sealed immediately without additional water bath processing—though a 10-minute boil provides extra security for long-term storage.
Label each jar with contents and date, then store in a cool, dark place. Properly processed juice remains good for 12-18 months. Once opened, refrigerate and consume within 2 weeks. The heat of freshly extracted juice creates a vacuum seal as it cools, providing visual confirmation of successful preservation.
Safety Tips for DIY Juicing
Working with steam requires specific precautions to prevent burns and ensure food safety. Always use heavy-duty oven mitts when handling any component of your homemade juicer—metal parts become extremely hot, and escaping steam can cause severe burns even from several inches away.
Never leave your operating juicer unattended for more than 20-30 minutes. Check water levels regularly to prevent the pot from boiling dry, which could damage your cookware or create a fire hazard. Keep children and pets away from the workstation, and position the setup away from high-traffic areas to prevent accidental bumps.
If using glass jars, avoid placing them directly on cold surfaces while hot—use a towel or wooden board to prevent thermal shock. Allow all components to cool completely before disassembly, as residual steam can cause sudden scalding when separating parts.
Maximize Juice Extraction Results
For optimal yield, choose fruit that’s ripe but still firm—overripe produce breaks down too quickly, while underripe fruit yields less juice. Process in manageable batches rather than overloading the colander; leave at least 1 inch of space between fruit pieces for proper steam circulation.
Cut larger fruits into uniform quarters before juicing to expose maximum surface area to steam. Remove cores, stems, and any bruised sections that could affect flavor. For berries, a light rinse and quick drain is sufficient—excess water dilutes your juice and prolongs processing time.
When bottling, work efficiently to maintain juice temperature. Have sterilized jars, funnels, and lids organized in sequence before starting extraction. This assembly-line approach prevents heat loss that could compromise your seal. For continuous operation, prepare twice as many jars as you anticipate needing—running out of containers mid-process interrupts your workflow.
Final Note: With your homemade juicer operational, you’ve gained a valuable tool for preserving seasonal abundance year-round. The steam method’s gentle extraction preserves more nutrients than high-speed electric juicers while requiring minimal active time. As you become comfortable with the process, experiment with fruit combinations—apples with cranberries, pears with ginger, or mixed berry blends—to create signature juices that capture your garden’s unique character. Each season presents new opportunities to refine your technique and enjoy the satisfaction of transforming fresh harvests into shelf-stable goodness using nothing but basic kitchen equipment and steam power.


