
Nothing ruins your morning juicing routine faster than struggling to open your Kuvings juicer after a fresh batch of green juice. Whether you’re cleaning up after juicing celery and ginger or troubleshooting a clog, knowing exactly how to open Kuvings juicer properly saves time and prevents damage to your expensive appliance. Many users accidentally force components or miss critical alignment points, potentially cracking plastic parts or voiding their warranty. This guide gives you the precise, model-specific techniques to safely disassemble any Kuvings juicer in under five minutes.
Kuvings juicers, particularly the popular AUTO10 model, are designed with user-friendly disassembly in mind—featuring just five main components that snap together with intuitive locking mechanisms. Unlike cheaper juicers that require tools or complicated maneuvers, Kuvings engineered their system for quick cleaning with simple hand movements. Before you begin the disassembly process, understand that forcing components is never necessary; if something resists, you’ve likely missed a critical alignment point or safety step. By the end of this guide, you’ll confidently open your Kuvings juicer every time without damaging seals or misaligning critical components.
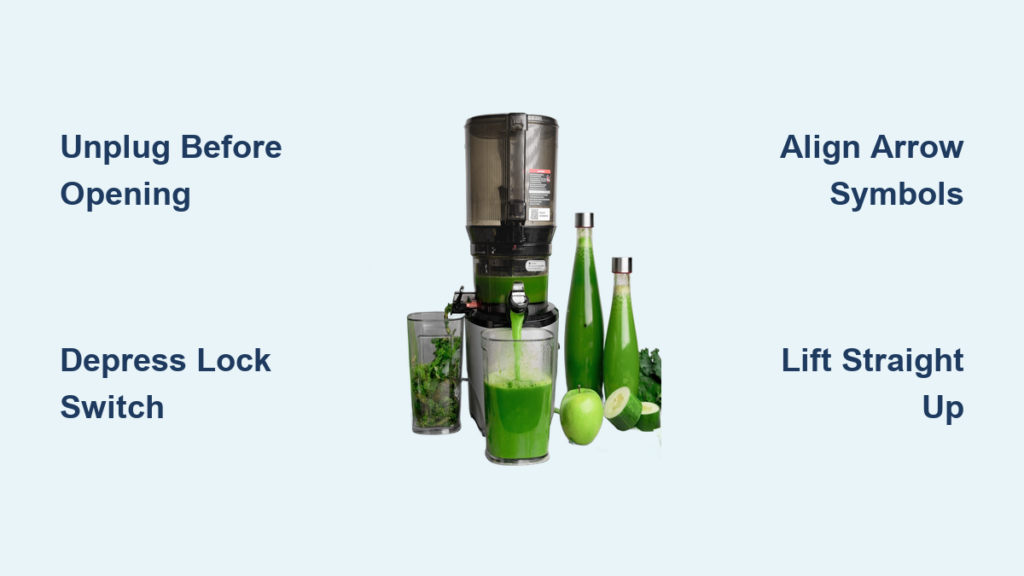
Safety Steps Before Opening Your Kuvings Juicer
Never skip this critical step: Unplug your Kuvings juicer from the electrical outlet before attempting any disassembly. The motor will not operate unless all components are correctly assembled, but electrical safety should always be your top priority. Even a momentary power surge could activate the motor if components are partially assembled, creating serious pinch or cut hazards near the juicing screw.
Position your unplugged juicer over the sink or on a stable counter with a towel underneath to catch drips. The juicing bowl often retains pulp and liquid that will spill when lifted off the motor base. Wait at least 30 seconds after turning off the juicer to ensure all moving parts have completely stopped—rushing this step risks contact with the still-rotating juicing screw.
Why Forcing Components Damages Your Juicer
Kuvings’ locking mechanisms are engineered to release smoothly when operated correctly, but many users damage their juicers by applying excessive force. The plastic components can develop hairline cracks that compromise seals, leading to leaks during future use. If you encounter resistance, double-check that you’ve fully depressed the lock switch or aligned the arrow symbol properly—never use tools to pry components apart as this almost always causes irreversible damage.
Open the Auto Hopper Lid Without Triggering Safety Shutdown
The auto hopper lid features a spring-loaded locking tab designed to prevent accidental opening during operation. To release it safely: place your thumb firmly on the center of the handle’s locking tab and push upward with steady pressure until you feel it click. You’ll know you’ve done it correctly when the lid lifts off easily without resistance—forcing it indicates you haven’t fully released the mechanism.
Never Open Lid During Operation Warning
Critical safety note: Attempting to open the lid while the motor runs triggers an automatic shutoff that stops the juicer instantly. While this safety feature prevents accidents, it can startle new users who expect the motor to keep running. Always wait 5-10 seconds after the motor stops before opening the lid—residual momentum may keep internal components moving briefly. If you regularly need to add ingredients mid-juicing, plan to pause the machine completely before opening.
Kuvings Juicer Disassembly: 7-Step Breakdown
Follow this exact sequence to avoid misalignment or damage during disassembly. Complete disassembly should take 2-3 minutes once you’ve mastered the technique.
Release the Auto Hopper Lock Correctly
Hold down the handle’s lock switch firmly with your thumb while stabilizing the juicer base with your other hand. Apply pressure directly to the center of the switch—not the edges—for complete release. You should feel the switch depress about 1/8 inch with moderate pressure; if it feels stuck, check for pulp residue around the switch mechanism.
Rotate Counterclockwise to Unlock Position
While holding the lock switch down, rotate the auto hopper counterclockwise in a smooth motion. Continue until the arrow symbol on the hopper aligns precisely with the unlock symbol on the juicing bowl. This takes about a quarter-turn on most models. Pro tip: Rotate slowly and watch the symbols—stopping too soon leaves the mechanism partially engaged, making the hopper difficult to remove.
Remove Components in Proper Sequence
Lift the auto hopper straight up and set it aside. Next, grasp the juicing bowl firmly on both sides and lift it vertically off the motor base—tilting it could damage the silicone seal. The juicing bowl contains three nested components: the rotation wiper (top), juicing strainer (middle), and juicing screw (bottom). Lift these out as a single assembly to prevent dropping individual parts.
Separate the Juicing Screw Properly
Pull the juicing screw straight upward from the strainer. If resistance occurs, push it out from the bottom through the pulp outlet while supporting the screw from above. Common mistake: Trying to twist the screw out rather than lifting straight up can deform the connection point. The screw should release smoothly with gentle, steady pressure when aligned correctly.
Remove the Rotation Wiper Without Damage
Work the rotation wiper upward from the strainer by gently rocking it side-to-side while applying upward pressure. Never pull straight up with excessive force—this flexible component is designed to slide off with patient manipulation. If stuck from dried pulp, soak both parts in warm water for 2 minutes before attempting removal.
Decoding Kuvings’ Symbol Locking System

Kuvings eliminated guesswork with their visual alignment system, but many users misread the symbols during disassembly.
Arrow and Unlock Symbol Alignment Explained
The arrow on the auto hopper must align exactly with the unlock symbol (usually a curved arrow or open padlock icon) before components separate. When reassembling, rotate clockwise until the arrow aligns with the lock symbol (typically a straight arrow or closed padlock). If the arrow sits between symbols, the mechanism isn’t fully engaged—either for operation or disassembly.
Red Dot Alignment for Perfect Reassembly
The juicing strainer and bowl feature matching red dot markers that must align during reassembly. When properly seated, the strainer won’t rotate freely in the bowl—it should feel fixed in position. Misaligned red dots cause wobbling during operation and improper juice flow. Pro tip: Note the red dot position before disassembly by placing your finger on it—this saves time when putting components back together.
Fix Common Disassembly Problems in Minutes

Even with proper technique, you may encounter resistance. These quick fixes solve 95% of disassembly issues.
Handle Switch Stuck From Residue
If the lock switch won’t depress, pulp residue has likely dried around it. Dampen a paper towel with warm water (no soap) and wipe around the switch mechanism. Press the switch repeatedly while wiping to work out any sticky buildup. Never use sharp objects to clean around the switch—this can damage the internal spring mechanism.
Rotation Wiper Stuck to Strainer
This commonly happens after juicing fibrous greens or ginger. Soak both components in a bowl of warm water for 3-5 minutes to soften dried pulp. Then, place the strainer on a stable surface and grip the wiper’s outer edge with a rubber glove for better traction. Rock it gently while pulling upward—never twist, as this can tear the flexible wiper edges.
Juicing Screw Won’t Release
If the screw resists removal, first ensure the rotation wiper is completely detached. Then try this alternative method: place the strainer upside down over your sink, insert your finger through the pulp outlet, and push the screw upward while supporting it from above. The dual-direction pressure breaks any seal formed by dried juice without risking damage.
Post-Disassembly Inspection and Maintenance Checklist

After opening your Kuvings juicer, perform these critical checks before cleaning:
Inspect the silicone pulp outlet seals for cracks or deformation—these small pieces create the pressure needed for efficient juicing. If damaged, replace them immediately using Kuvings’ official parts. Check the juicing screw’s teeth for excessive wear, which reduces extraction efficiency over time. Finally, examine the strainer mesh for clogs in the tiny holes—use a soft-bristle brush (never metal) to clear stubborn particles.
Before reassembling, ensure all components are completely dry, especially the motor base connection points. Moisture trapped between the juicing bowl and motor base can cause electrical issues or mold growth. Critical reassembly tip: When reinstalling the juicing screw, press it firmly until it’s flush with the strainer top—any gap will prevent the auto hopper from seating properly. The entire reassembly process should take less than 2 minutes once you’ve mastered the alignment points.
Regular disassembly after each use prevents pulp buildup that makes future cleaning difficult. With this precise technique, your Kuvings juicer will maintain peak performance for years while avoiding the common pitfalls that lead to costly repairs or replacement.


