
Your juicer suddenly refusing to turn on during your morning routine can derail your entire day and make you question whether replacement is necessary. Before you rush to buy a new appliance, understand that most juicer problems have straightforward solutions you can implement yourself. Knowing how to fix a juicer properly saves you money and extends your appliance’s lifespan significantly. Many common issues—from electrical failures to motor stalling—can be resolved with basic troubleshooting techniques that require minimal tools and expertise.
Whether you own a centrifugal model like the Breville JE98XL Juice Fountain Plus or a masticating cold-press juicer, understanding the specific symptoms your machine exhibits guides you toward the correct repair path. This comprehensive guide walks you through diagnosing and resolving the most frequent juicer malfunctions, helping you restore functionality without unnecessary expense. By following these systematic approaches, you’ll gain confidence in your ability to troubleshoot and repair your juicing appliance effectively.
Diagnose Your Juicer’s Specific Failure Mode
Before attempting any repairs, accurately identifying your juicer’s problem prevents wasted effort and unnecessary part replacements. Juicer malfunctions typically present through distinct symptoms that point directly to particular underlying causes.
Why Your Juicer Won’t Turn On at All
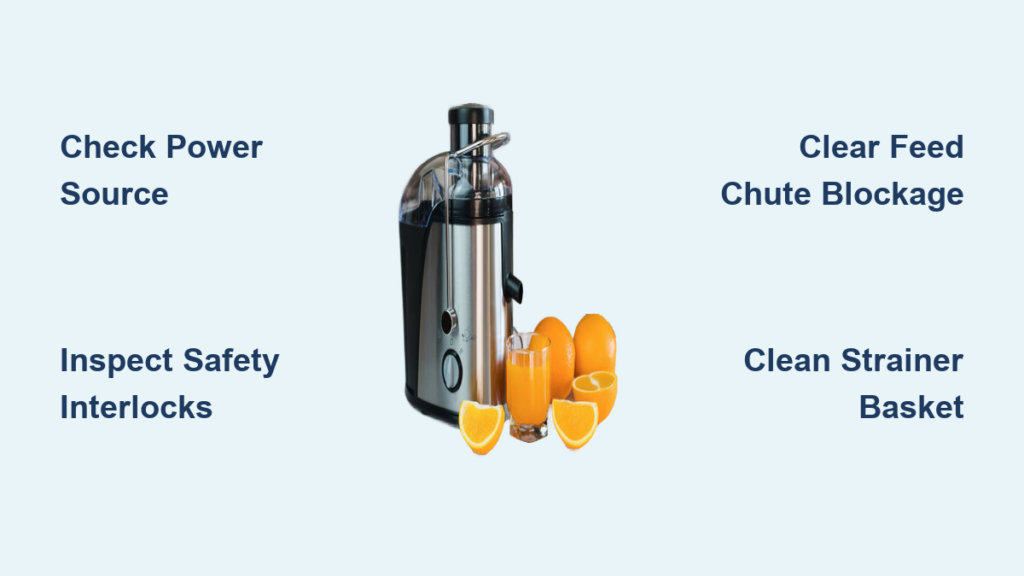
When your juicer shows no signs of life, electrical issues, power supply failures, or complete motor burnout are typically responsible. Begin by verifying the power source—ensure the cord is securely connected to both the juicer and outlet. Test the outlet with another appliance to confirm it’s functional, and try plugging the juicer directly into the wall rather than using a power strip.
If power supply checks out, inspect internal electrical connections after unplugging the unit. Many juicers have micro-switches that only engage when components are properly assembled—check that your pulp container and feed chute are correctly positioned. Forum data shows the Breville JE98XL Juice Fountain Plus commonly experiences startup failures due to these safety interlocks rather than actual motor problems.
Recognizing Motor Overload and Burning Smell
Smoke emerging during operation signals serious motor distress that requires immediate unplugging to prevent complete failure. This typically occurs when you overload the juicer with too much produce at once, run it continuously beyond recommended limits, or attempt to juice frozen materials. Allow the motor to cool for at least 30 minutes before inspection, then check for obstructions in the blade area that might have caused the strain.
Identifying Blockage-Related Juice Flow Problems
When the motor runs but juice doesn’t flow properly, blockages in the feed chute, strainer basket, or internal pathways are almost always the culprit. Check for large pieces of produce stuck in the feed chute and inspect the strainer basket for pulp buildup that restricts juice flow. In masticating juicers like the Nama J2, fibrous materials like celery often wrap around the auger shaft, binding it against the housing.
Fix a Non-Starting Juicer in 5 Critical Steps
When your juicer fails to turn on, follow this systematic diagnostic process to identify and resolve the issue before considering replacement.
Verify Power Delivery with Alternate Outlets
Plug your juicer into a different outlet known to work with other appliances. If you’re using an extension cord or power strip, connect directly to the wall outlet to eliminate these potential failure points. Voltage fluctuations in your home can prevent motor startup, so confirm other household appliances are operating normally.
Inspect Internal Safety Interlocks
Most modern juicers incorporate safety switches that prevent operation if components aren’t properly assembled. Remove and reassemble the pulp container, feed chute, and strainer basket according to your manual’s specifications. For centrifugal models like the Black and Decker JE2200B, ensure the locking mechanism fully engages before attempting to start.
Check Motor Overload Protection
Continuous operation can trigger thermal protection that temporarily disables the motor. Allow your juicer to cool for 30-60 minutes before attempting to restart. If it operates normally after cooling, you’ve been overloading the machine—feed produce in smaller quantities and take breaks during extended juicing sessions.
Examine Electrical Connections Inside Housing
With the unit unplugged, remove the housing to inspect motor connections for damage or disconnection. Pay special attention to the power switch assembly, a common failure point that can prevent startup even when the motor itself is functional. Test switches with a multimeter to confirm continuity when activated.
Assess Motor Condition Without Special Tools
Check for signs of overheating like discoloration, melting components, or a burnt smell. If the motor shaft turns freely by hand, the problem likely isn’t the motor itself. If bearings feel dry but intact, applying food-grade lubricant may restore operation. Significant motor damage usually requires professional repair or replacement.
Eliminate Blockages That Reduce Juice Output

When your juicer runs but produces less juice than expected, these targeted steps will restore proper flow.
Clear Feed Chute Obstructions Immediately
Turn off and unplug your juicer, then use the cleaning brush (often included with your model) to dislodge any stuck produce pieces from the feed chute. Never use metal utensils that could damage internal components—opt for the plastic tamper that came with your machine.
Deep Clean the Strainer Basket Thoroughly
Soak the strainer basket in warm, soapy water for 10 minutes to loosen pulp buildup, then scrub with a soft brush. For centrifugal juicers, pay special attention to the fine mesh screen where pulp accumulates most heavily. Rinse completely before reassembly—residual pulp can quickly re-clog the system.
Address Auger Binding in Masticating Models
For stuck augers in models like the Nama J2 Juicer, disassemble the juicing chamber according to manufacturer instructions. Remove any fibrous materials wrapped around the auger shaft, then clean all components thoroughly before reassembly. Regular cleaning after each use prevents this common issue.
Prevent Future Juicer Failures with Proper Maintenance
Implementing these maintenance practices significantly extends your juicer’s lifespan and prevents most common problems.
Clean Components Immediately After Each Use
Disassemble your juicer right after juicing while components are still moist—dried pulp becomes much harder to remove. Focus cleaning efforts on the strainer basket, auger or blade assembly, and juice outlets where residue accumulates most heavily. Some parts may be dishwasher safe, but hand washing ensures thorough cleaning of intricate components.
Follow Proper Usage Guidelines to Avoid Overload
Feed produce gradually in appropriately sized pieces according to your model’s specifications. Never force large chunks through the feed chute—this strains the motor and causes jams. For fibrous vegetables like celery, alternate with softer fruits to help push material through the system.
Schedule Regular Component Inspections
Monthly, inspect the power cord for fraying or damage that could create electrical hazards. When disassembling for cleaning, check internal components for signs of wear, corrosion, or damage to wires and connections. Lubricate motor bearings as recommended in your manual if your model allows user-accessible lubrication points.
Determine When Professional Repair Is Necessary
Some issues require expertise beyond DIY troubleshooting. Seek professional help when you notice:
- Burned or melted electrical components inside the housing
- Persistent motor failure after completing all troubleshooting steps
- Complex electrical issues requiring soldering or specialized tools
- Visible damage to internal motor windings or brushes
For warranty-covered units, contact the manufacturer first—self-repair attempts may void your coverage. High-end juicers often justify professional repair costs, while budget models may be more economical to replace.
Model-Specific Fixes for Popular Juicers

Resolve Black and Decker JE2200B No-Juice Issues
When no juice flows from this centrifugal model, thoroughly clean the strainer basket and juice outlets where pulp commonly accumulates. Ensure the pulp container is correctly positioned, as improper placement activates safety switches that restrict juice flow.
Fix Breville JE98XL Startup Failures
This popular model frequently experiences startup problems due to safety interlock issues. Remove and fully reseat all components, paying special attention to the locking mechanism on the pulp container. If problems persist, allow the motor to cool completely after overheating before attempting restart.
Unstick Nama J2 Juicer Augers
For this masticating model, disassemble the juicing chamber and remove fibrous materials wrapped around the auger shaft. Clean all components thoroughly with a soft brush, then reassemble ensuring proper alignment. Regular cleaning prevents this recurring issue.
Knowing how to fix a juicer properly transforms what seems like appliance failure into manageable maintenance tasks. By accurately diagnosing symptoms, following systematic troubleshooting steps, and implementing proper maintenance routines, you’ll extend your juicer’s lifespan significantly. When problems arise, approach them methodically—most common issues have straightforward solutions that restore full functionality without replacement costs. Remember that prevention through proper usage and immediate post-use cleaning remains your most effective strategy for avoiding repair needs altogether.


