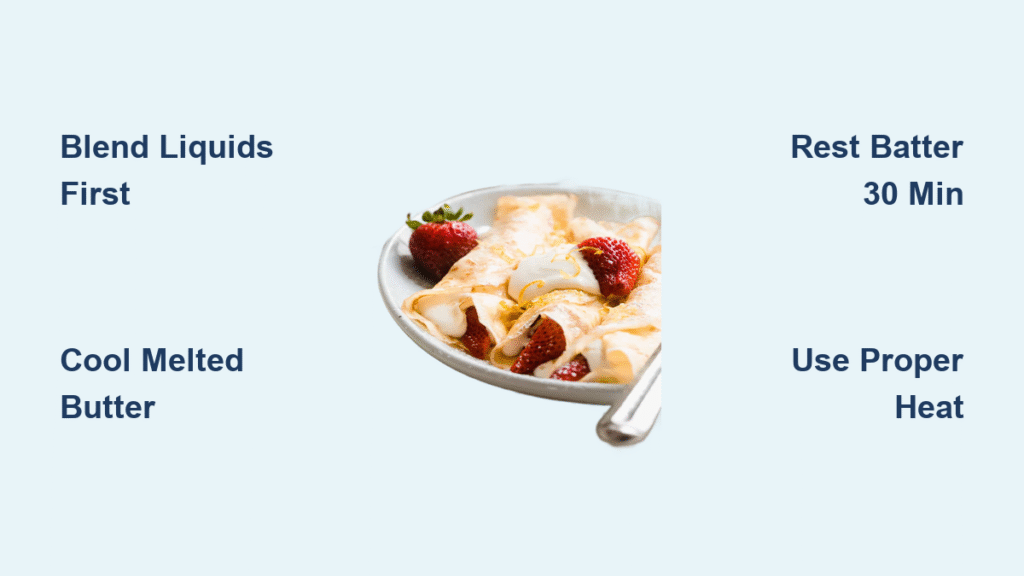
Your Sunday morning craving for delicate French crepes hits hard, but the thought of hand-whisking lumpy batter makes you reach for cereal instead. What if your blender could transform this seemingly complex breakfast into a 2-minute prep wonder that rivals any Parisian café? This crepe recipe blender method eliminates whisking struggles while delivering paper-thin, golden results every time. No culinary degree required—just cold ingredients, 20 seconds of blending, and the confidence to flip your first crepe.
Forget messy mixing bowls and stubborn flour clumps. The blender’s vortex creates perfectly emulsified batter that flows like silk across your skillet. Whether you’re feeding a hungry crowd or planning a romantic breakfast for two, this technique guarantees consistent results from your very first attempt. You’ll discover why professional chefs swear by this method and how it turns crepe-making from a chore into your favorite weekend ritual.
Essential Blender Crepe Ingredients
Simple Sweet Base Recipe
This foolproof formula creates versatile crepes ready for any filling. Combine 1 cup milk (whole, 2%, or non-dairy alternatives like almond or oat milk), 1/4 cup water, 2 large eggs, 1 cup all-purpose flour, 2 tablespoons melted butter, 1/2 teaspoon sugar, and 1/4 teaspoon salt. For sweeter applications, boost sugar to 2-3 tablespoons—ideal for dessert crepes with Nutella or fresh berries. The water addition prevents rubbery texture by moderating gluten development.
Richer Weekend Version
Elevate your brunch with this restaurant-quality batter. Blend 2 cups 2% milk, 4 large eggs, 3 tablespoons melted butter, 1 1/3 cups flour, 1-2 tablespoons sugar, 1/4 teaspoon salt, and 1/2 teaspoon vanilla extract. The extra egg and milk create luxurious thickness perfect for holding generous fillings like mascarpone or scrambled eggs. This version yields 18-20 crepes from a 10-inch pan—ideal for crowd-pleasing brunches.
Light and Airy Variation
Achieve cloud-like texture with effervescence. Process 1 1/2 cups whole milk, 2 eggs, 3 tablespoons melted butter, 1 cup flour, 1 tablespoon sugar, 1/4 teaspoon salt, and 2-3 tablespoons club soda. The carbonation creates microscopic air pockets for unprecedented tenderness. Pro tip: Add club soda after blending other ingredients to preserve bubbles—overmixing deflates the magic.
Blender Sequence That Prevents Lumps
Liquid First Method
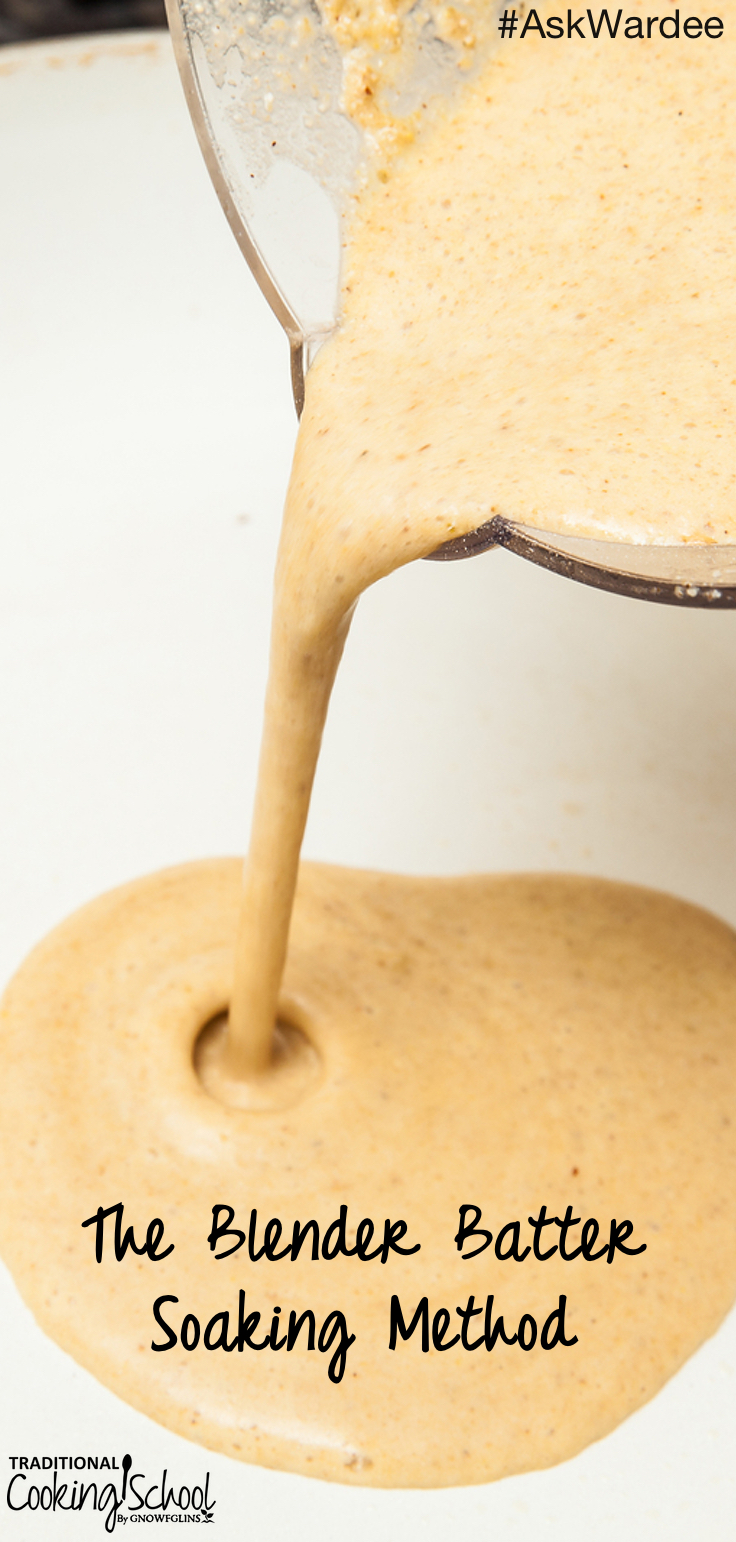
Always start with cold liquids—milk, water, and eggs—in your blender. This creates a vortex that pulls in dry ingredients smoothly. Room-temperature liquids cause butter to seize into grainy clumps. The blender’s blades need liquid to circulate properly; adding flour first creates dry pockets that never fully incorporate. For non-dairy milks, shake the carton well before measuring—separated almond milk causes uneven hydration.
Dry Ingredients Next
Pour flour, sugar, and salt directly into the liquid base. Modern blenders eliminate the need for pre-sifting—15-20 seconds of processing dissolves all lumps. For savory crepes, increase salt to 1/2 teaspoon and reduce sugar to a pinch. If using gluten-free flour, add 1/4 teaspoon xanthan gum to mimic wheat’s binding properties. Critical mistake: Never add baking powder—it creates bubbles that ruin the paper-thin texture.
Butter Goes Last
Melt butter first, then cool 2 minutes before adding. Hot butter (over 140°F) partially cooks eggs, creating scrambled specks in your batter. Pour it through the blender lid’s feed tube while running on low speed for the final 5 seconds. This emulsifies fats into the mixture without over-aerating. Using ghee? Its higher smoke point prevents sticking during cooking—apply with a silicone brush for even coverage.
Resting Time That Transforms Texture
Minimum 30-Minute Rest
Skip this step and face chewy, rubbery crepes. Resting allows gluten strands to relax and flour to fully hydrate. Room-temperature batter works for immediate cooking, but you’ll notice dramatic improvement after 30 minutes. Store in the blender pitcher with lid slightly ajar—trapped CO2 from resting creates tiny bubbles that enhance texture. Warning: Longer than 2 hours at room temperature risks bacterial growth.
Overnight Magic
Refrigerate batter up to 48 hours for next-level results. The extended rest develops complex flavors and creates ethereally tender crepes. Before cooking, let chilled batter sit at room temperature for 10 minutes—cold batter won’t spread properly in the pan. Pro tip: Label containers with “sweet” or “savory” since resting intensifies salt/sugar perception.
Quick Fix Shortcut
When pressed for time, blend 5 extra seconds after adding butter, then cook immediately. Your crepes will still outperform pancakes but lack ultimate tenderness. Visual cue: If batter separates during resting, pulse 5 seconds to recombine—never add extra liquid.
Perfect Skillet Temperature
Visual Heat Test
Medium-low heat (setting 3.5/10 on electric stoves) is ideal. Hold your palm 6 inches above the pan—you should feel gentle warmth, not stinging heat. Test with a water droplet: it should skitter and evaporate in 2-3 seconds. Too hot? Your first crepe becomes a brittle sacrifice. Too cool? Batter pools unevenly creating thick, doughy centers.
Butter Application Technique
Brush between every crepe with melted butter or ghee using a silicone brush. Paper towels work but leave fibers that burn. Apply just enough to create a light golden sheen—excess causes fried edges. For savory crepes, use 1/2 teaspoon butter per crepe; sweet versions need only 1/4 teaspoon. Critical: Never pour butter into the pan—it pools unevenly.
The First Crepe Rule
Your initial crepe will likely fail—it’s a heat calibration tool, not your fault. Adjust based on cooking time: 90 seconds per side is the sweet spot. If it browns in under 60 seconds, reduce heat. If it takes over 2 minutes, increase slightly. Pro tip: Save imperfect first crepes for “cook’s treats” filled with jam.
Portion Control for Uniform Crepes
Standard 8-Inch Pan Method
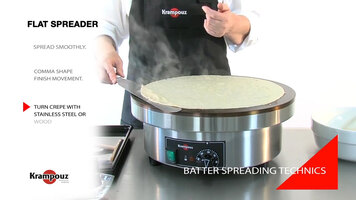
Use 3-4 tablespoons batter per crepe. Pour off-center, then immediately tilt and rotate the pan in sharp circles to spread batter paper-thin. This motion takes 3-4 crepes to master—don’t panic if early attempts tear. Visual cue: Perfect batter coats the back of a spoon like heavy cream. Too thick? Add milk 1 tablespoon at a time while blending.
Size Variations
- 6-inch pans: Yield 12-14 delicate crepes using 2 tablespoons batter each—ideal for appetizers
- 10-inch pans: Create 18-20 crepes with 1/3 cup batter—best for stacked “crepe cakes”
- Mini crepes: Use 1 tablespoon in an 8-inch pan for party bites that cook in 45 seconds
Troubleshooting Common Problems
Batter Consistency Fixes
Too thick? Add milk 1 tablespoon at a time while blending. Too thin? Sprinkle in flour 1 teaspoon at a time. For stubborn lumps, blend 10-15 extra seconds—your blender hasn’t failed you. Warning: Over-thinned batter creates large bubbles that pop during cooking, leaving holes.
Cooking Challenges
Batter won’t spread? Heat is too high or batter too thick—reduce temperature and add 1 tablespoon milk. Sticking? Insufficient butter between crepes—always reapply. Tearing when flipping? Batter is over-thickened or pan is too hot—adjust both immediately. Pro tip: Use a thin metal spatula to lift edges before flipping.
Temperature Solutions
Electric stove users: Start at 3.5/10 and adjust in 0.5 increments. Gas stoves: Medium-low should produce steady sizzle without violent bubbling. Critical indicator: Crepes should release from pan edges when ready to flip—if they cling, wait 15 seconds longer.
Pro Storage Tips
Refrigeration Method
Stack cooled crepes between parchment sheets in an airtight container. They’ll stay fresh for 3 days—perfect for weekday breakfasts. Never store warm crepes—they steam and become soggy. For best results, separate layers with wax paper when freezing.
Freezing Protocol
Wrap stacks tightly in plastic wrap, then foil, labeling with date and type (sweet/savory). Freeze for 2-3 months. Thaw overnight in the refrigerator or microwave 30 seconds on defrost setting. Pro tip: Freeze individual crepes flat on a baking sheet first to prevent sticking.
Reheating Perfection
Microwave: 20 seconds covered with damp paper towel. Skillet: 30 seconds per side with 1/4 teaspoon butter for fresh-cooked flavor. Oven method: Layer in dish, cover with foil, warm at 250°F for 10 minutes—ideal for serving crowds.
Nutritional Breakdown
Each standard crepe contains 60-115 calories depending on size and ingredients. You’ll get 2-4g protein, 6-13g carbohydrates, and 2-6g fat per serving. Compared to traditional pancakes (170+ calories each), blender crepes save 50+ calories per portion while delivering superior texture. The high-speed blending process creates finer gluten structure, making them easier to digest than hand-mixed versions.
Variations for Every Diet
Gluten-Free Adaptation
Substitute all-purpose flour with 1:1 gluten-free blend. Add 1/4 teaspoon xanthan gum if your blend lacks it. Critical: Measure by weight (125g) rather than cups for accuracy. Results are surprisingly close to wheat versions—ideal for crepes filled with goat cheese and roasted vegetables.
Dairy-Free Modifications
Use almond or oat milk and replace butter with melted coconut oil. Pro tip: Add 1/4 teaspoon apple cider vinegar to non-dairy milk—it mimics buttermilk’s tenderizing effect. Savory versions with smoked salmon and vegan cream cheese become effortless.
Protein-Powered Version
Add 2 tablespoons unflavored protein powder while reducing flour by 2 tablespoons. These crepes deliver 8-10g protein per serving—perfect rolled around scrambled eggs and spinach for post-workout recovery. Warning: Over 3 tablespoons protein powder creates dry, crumbly crepes.
Master this crepe recipe blender technique once, and you’ll never dread brunch again. The real magic happens in that 30-second blend—transforming humble ingredients into Parisian perfection while you prep fillings. Whether you’re making lemon-sugar classics for lazy Sundays or savory caprese rolls for impromptu dinners, your blender becomes the secret weapon for effortless elegance. Next time cravings strike, skip the takeout menu and reach for your blender—you’ve got 90 seconds to breakfast bliss.

