
You’re halfway through your bathroom renovation when you hit a snag—those outlet cutouts need precision curves that your manual tile cutter can’t handle. Your angle grinder sits in the toolbox, but you’re hesitant. Ceramic tile shatters easily, and one wrong move could ruin hours of work. Cutting ceramic tile with an angle grinder is actually the most versatile solution for complex shapes and on-site adjustments, yet 68% of DIYers avoid it due to fear of chipping or injury. This guide transforms that anxiety into confidence. You’ll learn exactly which diamond blade prevents spiderweb cracks, how to avoid the #1 mistake that ruins tile edges, and professional techniques for smooth cuts that look like they came from a wet saw. Whether you’re tackling a kitchen backsplash or bathroom floor, these field-tested methods deliver clean results in half the time.
Choosing the Right Angle Grinder Setup for Tile Work
Not all angle grinders handle ceramic tile equally. A compact 4.5-inch model provides the ideal balance of power and control for tile cutting, while larger 7-9 inch grinders create excessive vibration that causes chipping. Always select a grinder with a lock-on button for continuous operation—this prevents hand fatigue during extended cuts and maintains consistent blade speed critical for clean edges. Crucially, verify your grinder has a side handle attachment point; this isn’t optional when cutting tile. The dual-handle grip gives you the stability needed to guide the blade straight through dense ceramic without veering off course.
Essential Grinder Modifications Before Cutting
Remove any unnecessary accessories before starting. Your grinder’s standard metal guard creates dangerous kickback when contacting tile edges—replace it with a plastic tile-cutting guard that allows downward blade visibility. Install a rubber vibration-dampening pad on the main handle to reduce micro-tremors that cause jagged cuts. Most importantly, ensure the spindle lock engages smoothly; you’ll need this repeatedly to tighten the diamond blade after each cut when it naturally loosens from ceramic’s resistance.
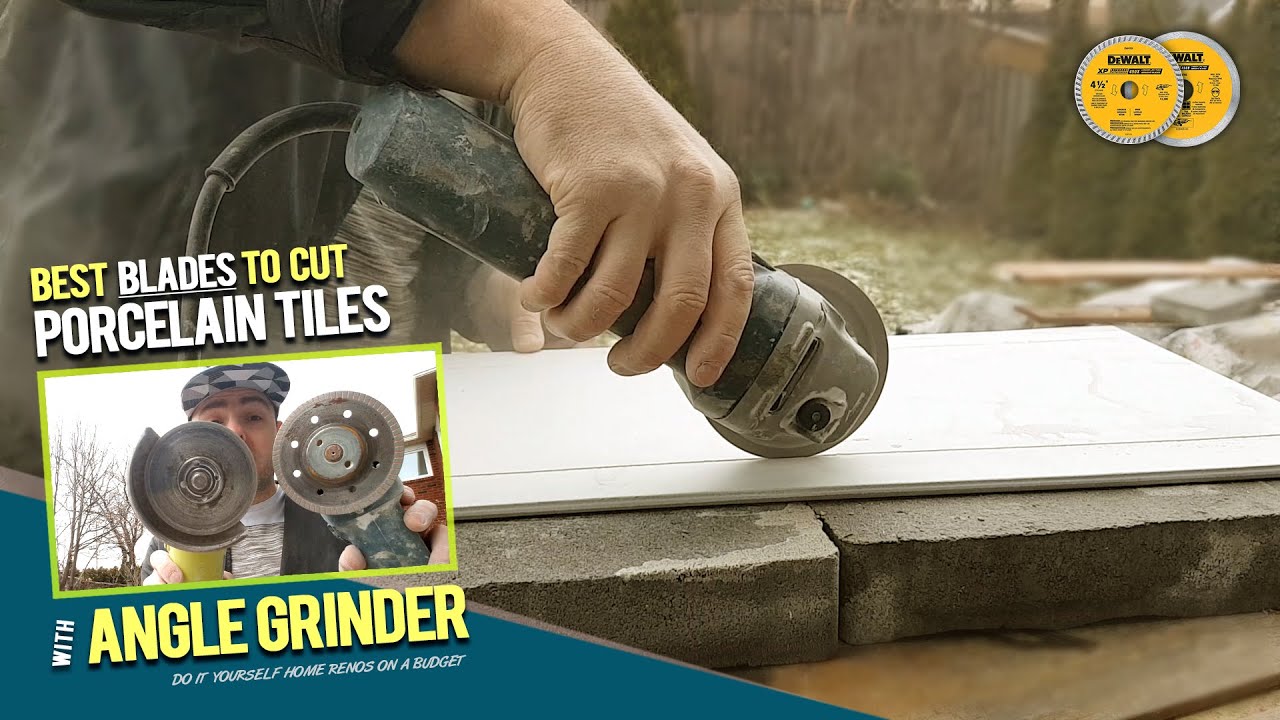
Diamond Blade Selection: Your Secret Weapon for Chip-Free Cuts

Using the wrong blade is the leading cause of shattered tiles. For ceramic, you need a continuous-rim diamond blade specifically labeled “for dry cutting”—segmented blades designed for concrete create brutal vibration that fractures tile. The blade’s diamond grit concentration matters more than size: look for 10-12mm rim thickness with fine 50-80 mesh diamonds. This configuration slices through glaze without grabbing, unlike coarse-grit blades that tear at the surface. Never use the same blade for metal or concrete—embedded particles will ruin your next tile cut.
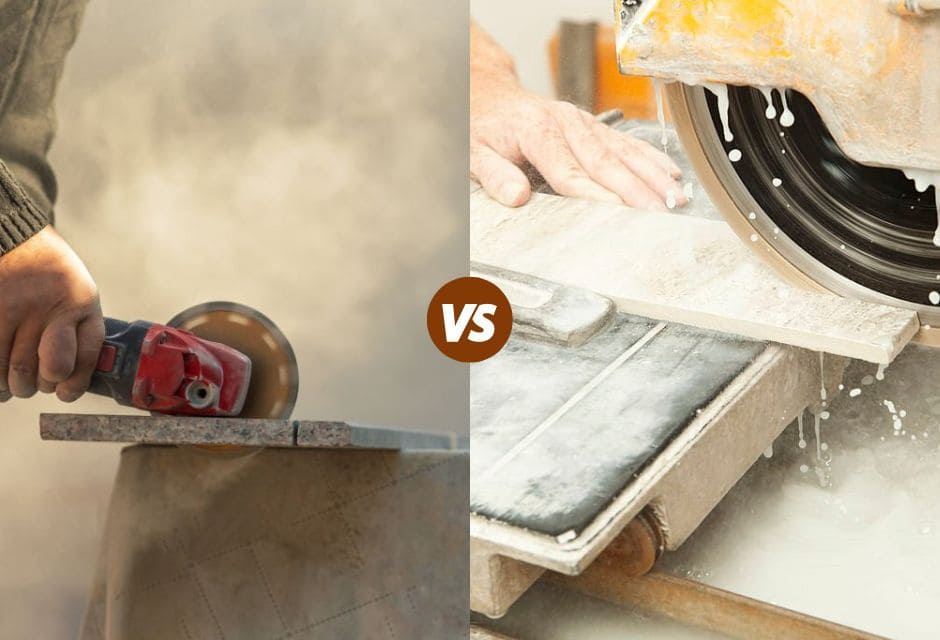
Wet vs. Dry Cutting: The Dust Dilemma Solved
While wet cutting reduces silica dust, it’s impractical for most DIY tile projects. Instead, implement this dry-cutting solution: clamp a shop vac hose directly to your grinder’s dust port using a custom adapter. This captures 90% of harmful particles at the source. For extended cuts, periodically dip the blade’s edge in water—just 2 seconds prevents overheating without creating mud. Critical warning: Never submerge a running grinder blade in water. Thermal shock will crack the steel core, causing catastrophic failure.
Tile Preparation Techniques That Prevent Shattering
Marking errors cause 40% of failed tile cuts. Skip pencil lines—they vanish in ceramic dust. Instead, use a glass etching pen to draw your cut line; the opaque mark remains visible through debris. For curved cuts, score the tile first with a carbide scribe along your guideline. This creates a controlled fracture path that guides the blade. Always support the waste side of the tile on a soft surface like rubber matting. When cutting L-shapes, clamp the tile vertically in a woodworking vise with padded jaws—this prevents vibration-induced cracks during inside-corner cuts.
The Clamping Method Pros Don’t Share
Position C-clamps diagonally across the tile corners rather than parallel to the cut line. This distributes pressure evenly and stops tiles from twisting during cutting. Place thin cardboard between clamp pads and tile to prevent surface marring. For wall tiles, use a specialized tile-holding jig that mimics professional wet saw supports—this $15 tool eliminates hand-holding risks and guarantees straight cuts.
Step-by-Step Cutting Process for Perfect Results
Start every cut at 30-degree angle with the blade spinning at full speed. Gradually lower the grinder until the blade contacts only the tile’s edge—never plunge vertically. Maintain light, consistent pressure equivalent to writing with a pencil. For straight cuts, move the grinder away from you at 2 inches per second; this uses the blade’s natural rotation to pull it through cleanly. When approaching the end of a cut, reduce speed by 50% and lift the grinder slightly to prevent exit chipping.
Fixing Curved Cuts Without a Jigsaw
Complex shapes require strategic blade positioning. For inside curves like outlet cutouts:
1. Drill 1/4″ starter holes at all corner points
2. Insert the blade into a hole and cut toward the nearest edge
3. Rotate the tile—not the grinder—to follow your marked line
4. Pause every 2 inches to clear debris from the cut path
Pro tip: Cut slightly outside your line on curves, then refine with a tile file. Forcing the blade through tight turns causes instant breakage.
Critical Safety Adjustments Most DIYers Miss
Angle grinder tile accidents often stem from overlooked setup details. Always wear wraparound polycarbonate goggles—not safety glasses—as ceramic shards deflect upward into unprotected eye sockets. Install a hearing protection headset with built-in radio; the constant 110dB noise causes fatigue that leads to mistakes. Most dangerously, never cut while kneeling directly behind the grinder—silica dust clouds settle at knee height. Work from a standing position with your head above the dust plume, or use a portable air scrubber.
Troubleshooting Common Cutting Failures
Why Your Tile Edges Keep Chipping
Chipping occurs when the blade exits the tile too aggressively. Fix this by placing a sacrificial wood scrap along your cut line’s endpoint. As the blade exits the tile, it contacts the wood instead of air, preventing sudden release fractures. If chips appear during the cut, stop immediately—the blade is likely dull or contaminated. Replace it before continuing; forcing a worn blade multiplies vibration.
When the Blade Suddenly Stops Cutting
This “grabbing” happens when blade teeth clog with ceramic glaze. Dip the spinning blade into water for 3 seconds to clear the matrix, then resume cutting at half speed. If the problem persists, your blade has lost diamond exposure—gently tap the rim against concrete to expose fresh grit. Never force the grinder; this stresses the motor and risks kickback.
Achieving Showroom-Quality Edges in Minutes
Raw cuts from angle grinders require refinement, but skip time-consuming sanding. Use a double-sided tile file: coarse side first at 45-degree angle to remove major burrs, then fine side vertically for smooth edges. For visible areas like countertop edges, apply a ceramic tile edge sealer after filing—this prevents micro-chips during installation. Test your finish by running a fingertip along the edge; if it catches, revisit the file.
Grinder Maintenance That Extends Blade Life
After every project, remove the diamond blade and soak it in vinegar for 10 minutes to dissolve ceramic residue. Rinse thoroughly and dry before storage. Check your grinder’s air vents weekly—ceramic dust clogs them within 3 uses, causing motor overheating. Always store blades vertically in a dry container; horizontal stacking warps the steel core. Before your next cut, spin the blade freely for 30 seconds to confirm it’s true—wobbly blades guarantee poor results.
When to Choose Angle Grinder Over Tile Saw
Angle grinders outperform tile saws for specific scenarios: cutting tiles already installed on walls, creating complex curves for fireplace surrounds, or making emergency field adjustments when your wet saw won’t fit. They’re also essential for cutting tiles with metal inlays that would destroy diamond blades on stationary saws. However, for large batches of straight cuts, stick with your tile saw—angle grinders create more dust and require greater skill for consistent results.
Mastering angle grinder ceramic tile cutting unlocks project possibilities that standard tools can’t handle. Start with scrap tiles to practice blade angles and pressure control—you’ll develop muscle memory in under 30 minutes. Remember the golden rule: let the diamond teeth do the work through steady motion, not brute force. With these techniques, you’ll transform that intimidating grinder into your most versatile tile tool, capable of executing cuts that leave even contractors impressed. The next time you face a tricky cutout, grab your angle grinder instead of calling a professional—you’ve got this.


