
If your brilliant cut grinder isn’t performing at its best, a thorough cleaning is likely the solution you need. Professional gem cutters know that residue buildup from metal dust, polishing compounds, and gemstone particles can significantly reduce cutting precision and damage expensive equipment. When abrasive materials accumulate in your grinder’s mechanisms, you’ll notice decreased performance, inconsistent cuts, and potentially costly damage to both your tool and gemstones. This guide provides verified cleaning procedures specifically designed for brilliant cut grinders, helping you maintain peak performance while extending your equipment’s lifespan. You’ll learn the exact steps to safely disassemble, clean, and reassemble your precision tool without compromising its delicate calibration.
Why Regular Brilliant Cut Grinder Cleaning Prevents Costly Damage
Neglecting your brilliant cut grinder’s maintenance leads to more than just reduced performance—it creates conditions for permanent damage. Metal swarf and abrasive compounds accumulate in the spindle housing, causing premature wear on precision bearings that maintain your grinder’s critical alignment. When these microscopic particles work their way into moving components, they act like sandpaper on high-precision surfaces, gradually degrading the tool’s ability to produce consistent brilliant cuts. Many professionals report a 30-40% decline in cutting accuracy after just three months of regular use without proper cleaning. The good news is that following a consistent maintenance schedule prevents this deterioration while keeping your tool operating at factory specifications.
How Abrasive Buildup Directly Impacts Your Cutting Quality
The telltale signs of insufficient cleaning include visible scoring on gemstone surfaces, inconsistent facet angles, and increased vibration during operation. These issues stem from contaminated coolant systems and particulate matter interfering with the grinding wheel’s true rotation. When metal particles embed themselves between the wheel and spindle, they create microscopic high spots that translate directly to your gemstone work. This not only wastes valuable material but also forces you to spend additional time correcting errors that proper maintenance could have prevented. Pay attention to any unusual noise or resistance during operation—these are early warning signs that cleaning is urgently needed.
What Happens When You Skip Essential Maintenance Steps
Professionals who neglect regular cleaning often face expensive consequences beyond reduced cutting quality. Contaminated coolant systems develop bacterial growth that produces unpleasant odors and can cause skin irritation. More critically, accumulated debris creates thermal hot spots during operation, potentially warping precision components. One survey of lapidary workshops revealed that tools receiving proper maintenance lasted 2.3 times longer than those cleaned only when problems appeared. The financial impact is significant—replacing a damaged spindle assembly costs substantially more than implementing a simple weekly cleaning routine.
Required Tools and Materials for Safe Brilliant Cut Grinder Cleaning
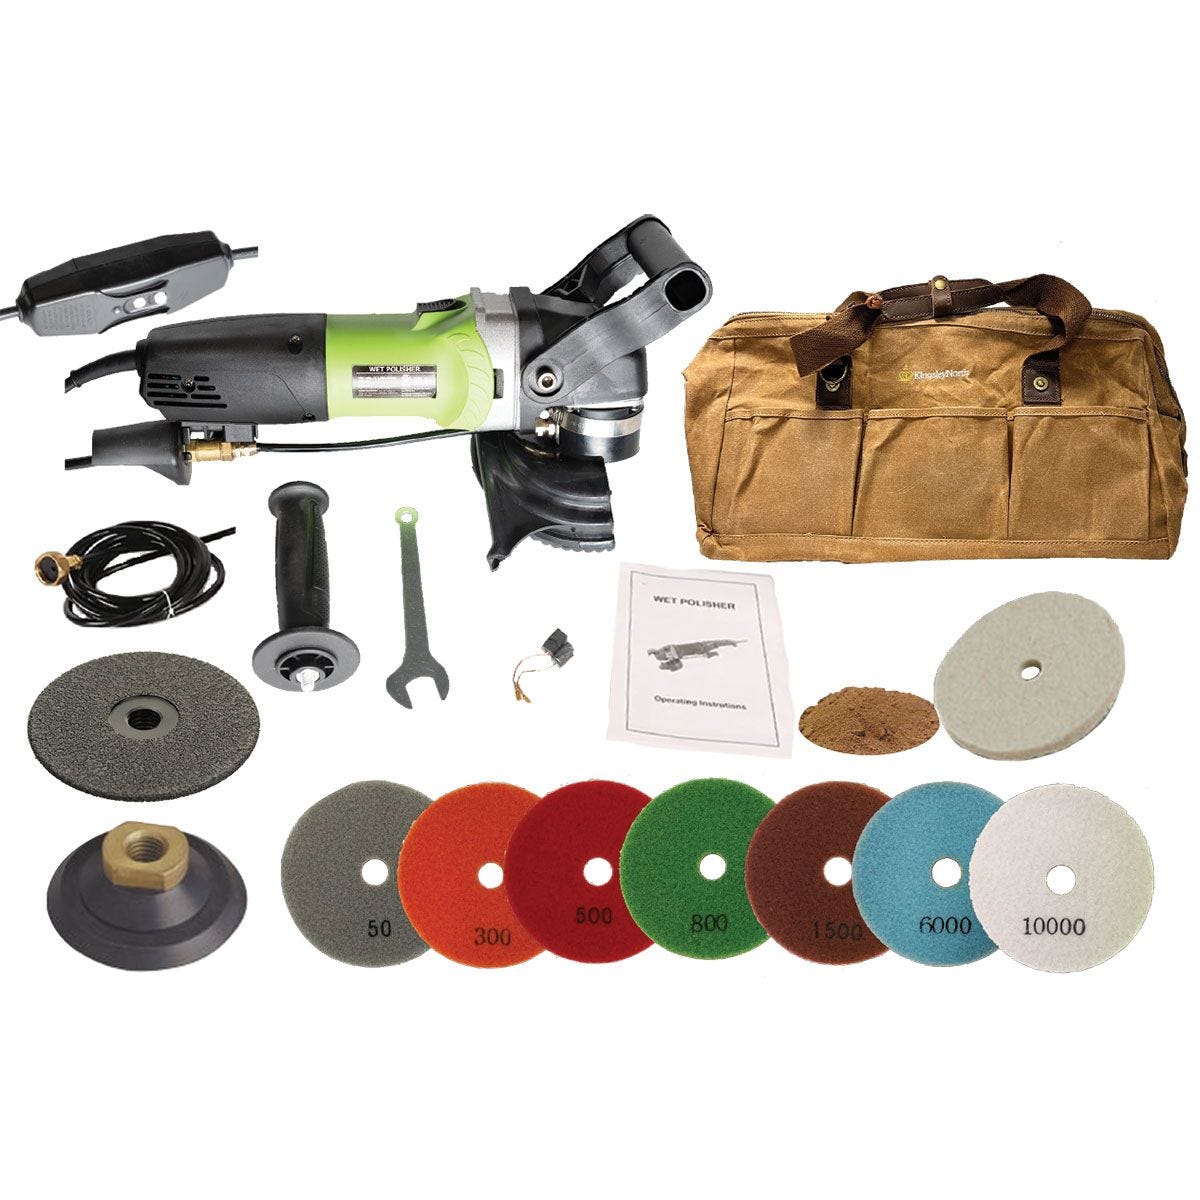
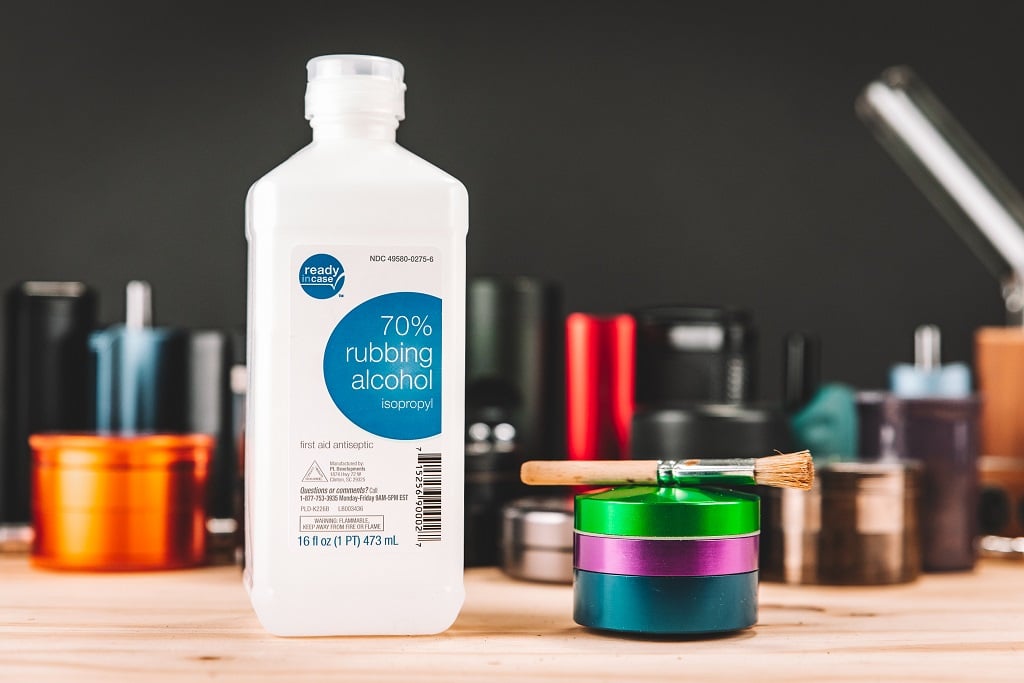
Before beginning any cleaning procedure, gather these essential items to ensure both effectiveness and safety. You’ll need isopropyl alcohol (90% or higher concentration), lint-free microfiber cloths, soft-bristled nylon brushes of various sizes, cotton swabs, compressed air (oil-free), and appropriate personal protective equipment including safety glasses and nitrile gloves. Never use standard household cleaners or solvents as they can damage precision coatings and leave residues that attract more contamination. For spindle cleaning, a dedicated spindle cleaning kit with precision swabs designed for optical equipment works best to reach tight spaces without causing damage.
Safety Precautions That Must Never Be Skipped
Always disconnect power completely before beginning any maintenance—never rely solely on the power switch. Brilliant cut grinders contain capacitors that can retain dangerous electrical charges even when unplugged. Allow the unit to sit disconnected for at least 15 minutes before handling internal components. Work in a well-ventilated area when using solvents, and keep flammable materials away from your workspace. Most importantly, never force any components during disassembly—precision tools require gentle handling, and resistance usually indicates you’re missing a securing mechanism rather than requiring additional force.
Step-by-Step Brilliant Cut Grinder Cleaning Process
Begin by removing all external components including the grinding wheel, coolant reservoir, and any accessory attachments. Carefully document the disassembly sequence with photos to ensure correct reassembly. Use compressed air to remove loose debris from all accessible surfaces, holding the nozzle at least 6 inches away to prevent forcing particles deeper into mechanisms. For the grinding wheel hub, apply isopropyl alcohol with a microfiber cloth and gently clean all contact surfaces—never immerse electrical components in liquid. Pay special attention to the spindle shaft, which requires careful cleaning with precision swabs to remove embedded particles without affecting critical tolerances.
How to Properly Clean the Coolant System Without Damage
The coolant system requires special attention as it’s prone to bacterial growth and sludge accumulation. Completely drain the existing coolant and rinse the reservoir with clean water. For stubborn deposits, create a cleaning solution of 1 part isopropyl alcohol to 3 parts distilled water and circulate it through the system for 5-10 minutes. Never use bleach or strong detergents as they corrode metal components and degrade seals. After cleaning, thoroughly flush the system with distilled water until runoff is completely clear. When refilling, use manufacturer-recommended coolant at the proper dilution ratio—typically 5-10% concentration depending on your specific model.
Critical Spindle Cleaning Techniques for Optimal Performance
The spindle assembly demands the most careful cleaning as it directly affects cutting precision. After removing the grinding wheel, examine the spindle for visible contamination. Apply a small amount of isopropyl alcohol to precision cleaning swabs and gently work around the spindle shaft, rotating it slowly to access all surfaces. Use compressed air between cleaning passes to blow out loosened particles. Never insert metal tools into spindle bearings as this can cause permanent damage to the precision-ground surfaces. For severe contamination, some manufacturers recommend specialized spindle cleaning fluids—always consult your specific model’s documentation before proceeding.
Post-Cleaning Verification and Performance Testing
After reassembly, conduct a series of verification tests before resuming regular work. First, perform a visual inspection to ensure all components are properly seated and secured. Then, run the grinder at low speed without a wheel to check for unusual vibration or noise. Gradually increase speed while monitoring performance. Once satisfied with mechanical operation, install a test wheel and run the grinder at operating speed while observing for any wobble or irregularities. Many professionals use a dial indicator to verify runout remains within manufacturer specifications—typically less than 0.001 inches for precision brilliant cut grinders.
How to Identify and Correct Common Post-Cleaning Issues
If you notice vibration after cleaning, the most likely causes are improper wheel mounting or residual contamination in the spindle. Double-check that you’ve thoroughly cleaned all mating surfaces and that the wheel is properly seated and secured. Uneven coolant flow usually indicates air trapped in the system—run the pump for several minutes to purge air pockets. If performance doesn’t return to expected levels, don’t continue using the tool; disassemble again to verify all components are correctly installed. Remember that precision tools require exacting standards, and minor assembly errors can significantly impact performance.
Establishing an Effective Brilliant Cut Grinder Maintenance Schedule
Create a cleaning schedule based on your usage patterns—daily light cleaning for professional workshops, with deeper maintenance every 40-50 hours of operation. Keep a maintenance log noting cleaning dates, observed issues, and performance changes. This documentation helps identify developing problems before they become serious. For most professionals, this means wiping down external surfaces after each use, checking coolant levels daily, and performing complete cleaning and inspection weekly. High-volume operations may require more frequent maintenance to maintain consistent cutting quality.
Professional Tips for Extending Your Brilliant Cut Grinder’s Lifespan
Store your grinder with all protective covers in place to prevent dust accumulation when not in use. Always allow the unit to reach room temperature before operating if it has been stored in varying environmental conditions. Use only manufacturer-recommended wheels and accessories as incompatible components create additional vibration and stress. Consider installing a coolant filtration system for high-volume operations to reduce contamination between cleanings. Most importantly, never skip the manufacturer’s recommended maintenance intervals—these schedules are based on extensive testing and represent the minimum requirements for reliable performance.
When to Seek Professional Service Instead of DIY Cleaning
Certain situations require professional intervention rather than DIY maintenance. If you notice persistent vibration after proper cleaning and reassembly, this may indicate bearing damage that requires specialized tools to address. Electrical issues, unusual burning smells, or inconsistent speed control should never be ignored as these indicate potentially dangerous conditions. Significant coolant leaks often point to failed seals that need professional replacement. Remember that precision grinding equipment represents a substantial investment—when in doubt about your ability to properly maintain your tool, consult a certified technician rather than risking further damage.
Final Note: Consistent, proper cleaning of your brilliant cut grinder preserves the precision that makes these tools invaluable to gem cutters. By implementing these verified cleaning procedures into your regular workflow, you’ll maintain optimal cutting performance while significantly extending your equipment’s service life. Remember that each minute spent on proper maintenance saves multiple minutes correcting avoidable problems during actual cutting work. For model-specific procedures, always consult your manufacturer’s documentation as cleaning requirements can vary between different brilliant cut grinder models.


