
A clogged commercial coffee grinder doesn’t just slow down service—it destroys coffee quality, frustrates customers, and costs you money with every shot pulled. When coffee oils oxidize inside your grinder, they create rancid flavors that transfer to fresh beans, turning premium espresso into bitter disappointment. This guide delivers exactly how to clean a commercial coffee grinder properly, with step-by-step protocols that prevent flavor contamination, ensure consistent extraction, and extend your equipment’s lifespan. You’ll learn daily touch-ups that take less than five minutes, weekly deep cleaning procedures, and monthly maintenance that avoids costly repairs—keeping your café operating at peak performance.
Commercial grinders in high-volume settings process dozens of pounds of coffee daily, creating massive buildup that most baristas underestimate. Residual grounds and oils infiltrate bearings and burrs, increasing friction that strains motors and accelerates wear. The result? Inconsistent particle size, channeling during extraction, and wasted coffee that directly impacts your bottom line. Learning how to clean a commercial coffee grinder isn’t optional for serious coffee operations—it’s fundamental to delivering the quality customers expect while protecting your significant equipment investment.
Why Dirty Grinders Ruin Espresso Quality and Damage Equipment
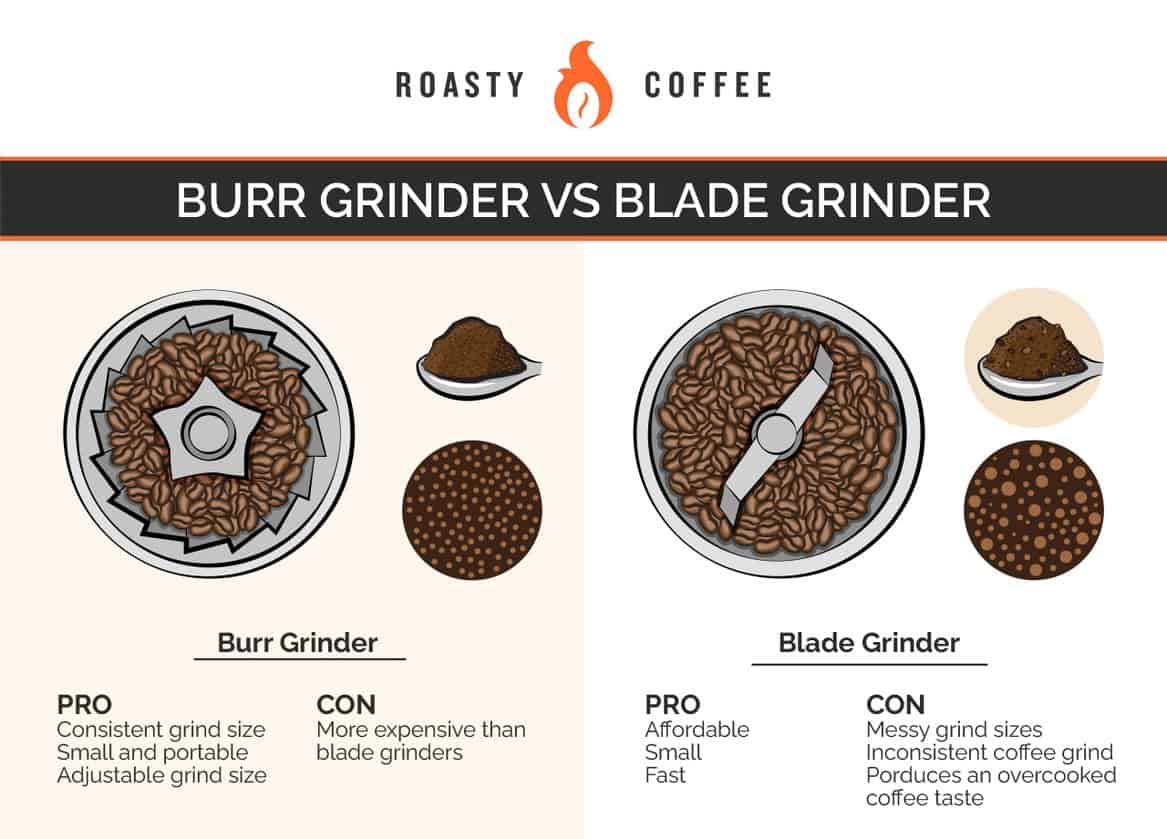
Coffee oils left to oxidize inside your grinder create off-flavors that customers immediately notice in their espresso. These rancid compounds transfer from old residue to fresh beans, producing bitter, stale-tasting shots that damage your reputation. The problem worsens with each passing hour as more coffee flows through contaminated components. Beyond flavor degradation, accumulated residue disrupts grind consistency—particles clump together and interfere with burrs’ precision cutting action. This inconsistency causes channeling during extraction, where water finds paths of least resistance through uneven grounds, creating unbalanced shots with both over- and under-extracted elements.
Mechanical damage occurs equally when neglecting grinder maintenance. Coffee grounds infiltrate bearings and drive mechanisms, increasing friction that generates excessive heat. This heat accelerates wear on motor components, leading to premature failure that costs hundreds in repairs. Most commercial grinder manufacturers mandate daily cleaning for high-volume operations precisely because the damage accumulates faster than owners realize. The financial impact extends beyond repair costs—each inconsistent shot represents wasted coffee and dissatisfied customers who won’t return.
Essential Cleaning Supplies: What You Actually Need (Not Just Brushes)
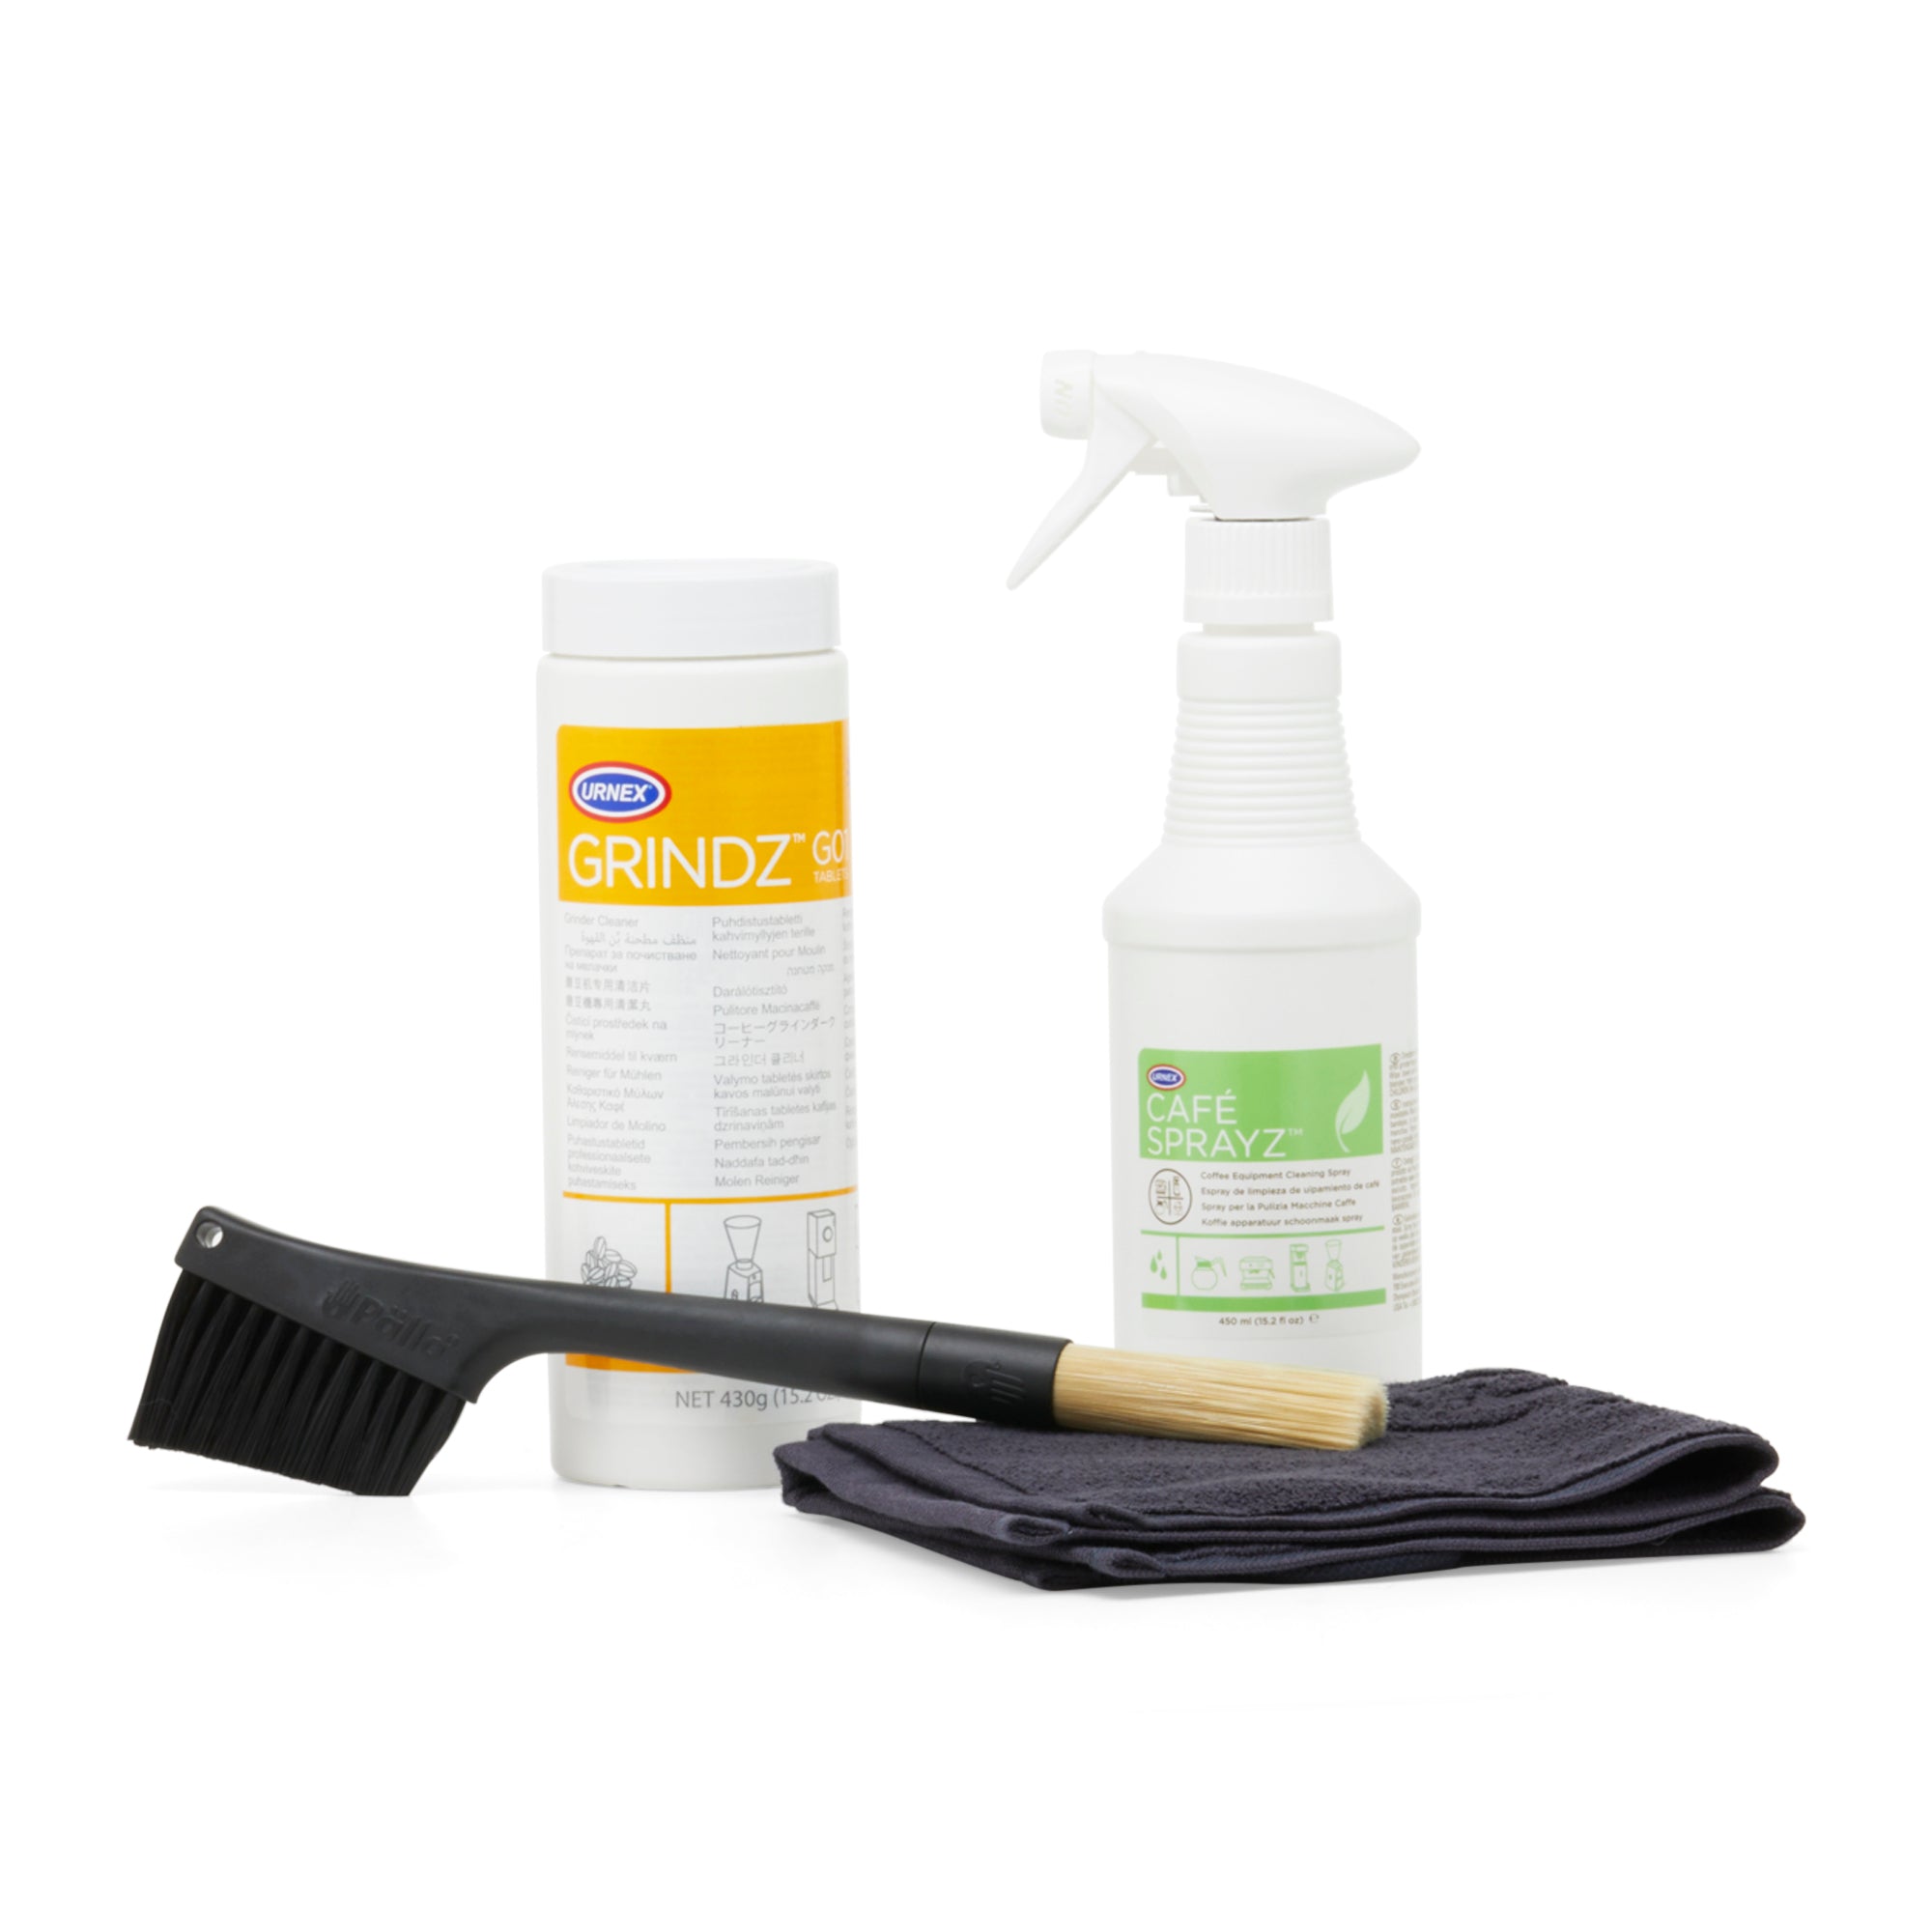
Commercial-Grade Brushes That Won’t Damage Components: Standard household brushes ruin precision burrs—use commercial-specific tools instead. A large hopper brush (2-3 inches diameter) with stiff synthetic bristles reaches deep into bean paths without shedding fibers. Pair it with a precision 1/2-inch brush for burr carrier areas and anti-static models that prevent grounds from clinging during cleaning. Replace brushes when bristles bend or fray, as damaged tools leave residue behind and may scratch sensitive surfaces.
Professional Cleaning Tablets with Exact Dosage: Generic cleaners risk damaging equipment—use food-safe tablets like Urnex Grindz designed specifically for commercial grinders. Measure precisely 30-40 grams per treatment cycle (typically 3-5 tablets) to effectively bind coffee oils without leaving residue. Never substitute with household cleaners, which contain chemicals that corrode metal components and create off-flavors in subsequent shots.
Specialized Vacuum and Air Systems for Complete Debris Removal: Standard shop vacuums lack the precision needed for grinder maintenance. Use a wet/dry vacuum with crevice attachments to extract loose grounds from hard-to-reach areas, followed by food-safe compressed air at 90-100 PSI to dislodge stubborn residue from burr chambers. CO2 air blowers prevent moisture damage in humid environments, while electrostatic discharge (ESD) safe models protect sensitive electronic components.
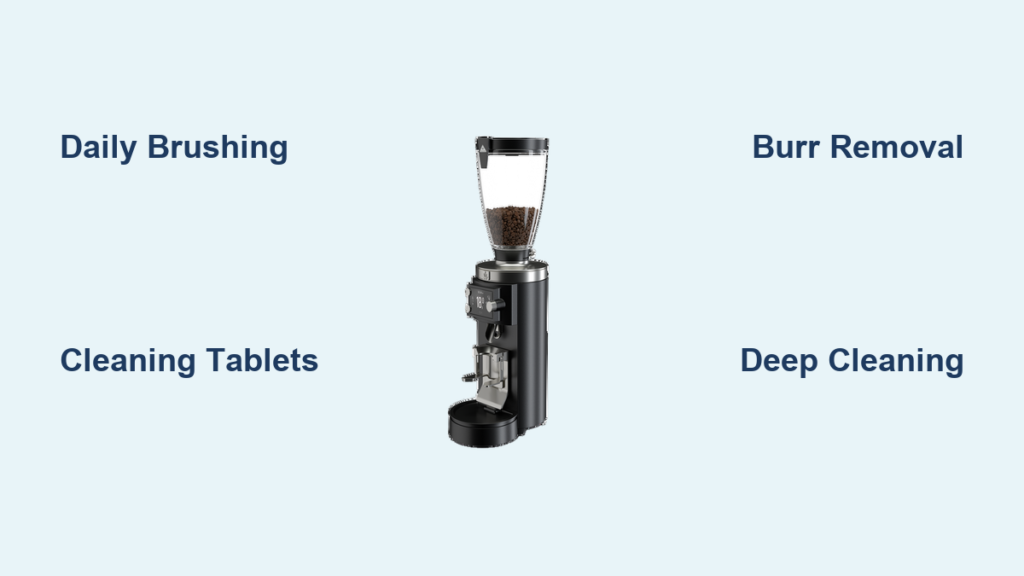
Daily 5-Minute Cleaning Protocol for Busy Cafés
Immediate Post-Service Brushing Before Residue Hardens: Perform this critical step right after closing while components are still warm but the grinder is unplugged. Insert your precision brush into the grinding chamber and rotate clockwise (following burr direction) with firm pressure against all surfaces. Work methodically around the entire burr circumference, focusing on areas where grounds accumulate most heavily. Run short bursts (1-2 seconds) between brushing cycles to expel loosened debris—repeat until no visible grounds exit the chute.
Cleaning Tablet Treatment with Zero Flavor Residue: After mechanical brushing, drop measured cleaning tablets into the hopper and run continuously until fully processed. For complete residue removal without off-flavors, follow with 50 grams of fresh beans to flush the system. Discard these initial grounds—never serve coffee that might contain cleaning residue. Taste-test the next double shot before resuming service to ensure no chemical aftertaste remains.
Exit Pathway and Chute Maintenance That Prevents Clogs: Use a narrow cleaning pick to scrape compacted residue from chute walls where regular brushing won’t reach. If your model allows chute removal (check manufacturer specs), wash it in warm soapy water, inspect for cracks or wear, and reinstall only when completely dry. Pay special attention to the fork and portafilter holder area—these customer-contact points require thorough sanitization to prevent bacterial growth.
Weekly Deep Cleaning: Burr Removal Without Damage
Safe Burr Extraction Process That Prevents Dropping: Unplug the grinder and allow complete cool-down before starting. Remove the bean hopper and locate the 4-6 mounting screws around the burr carrier plate. Support the burr assembly with one hand while removing the final screw to prevent it from falling into the housing. Place components on a clean surface in removal order for easier reassembly—note the position of any shims or spacers critical to proper calibration.
Proper Burr Cleaning That Preserves Precision Edges: Soak burrs in food-grade degreaser for 15-30 minutes depending on buildup severity. For stubborn residue, use a soft brush with dedicated burr cleaner applied gently to tooth edges—never use steel wool or abrasive pads that damage precision-machined surfaces. Rinse thoroughly with clean water until all cleaner residue disappears, then dry completely with compressed air. Moisture left on burrs causes rusting, particularly in humid café environments.
Critical Reassembly Steps That Ensure Consistent Grinds: Reinstall burrs in their original orientation with all shims in proper position. Torque mounting screws to manufacturer specifications using a calibrated wrench—under-tightening causes shifting and inconsistent grinds, while over-tightening strips threads. Apply food-grade silicone grease sparingly to worm gears and wipe away excess to prevent grounds accumulation. Verify burrs rotate freely by hand before plugging in the grinder.
Monthly Complete Disassembly Checklist
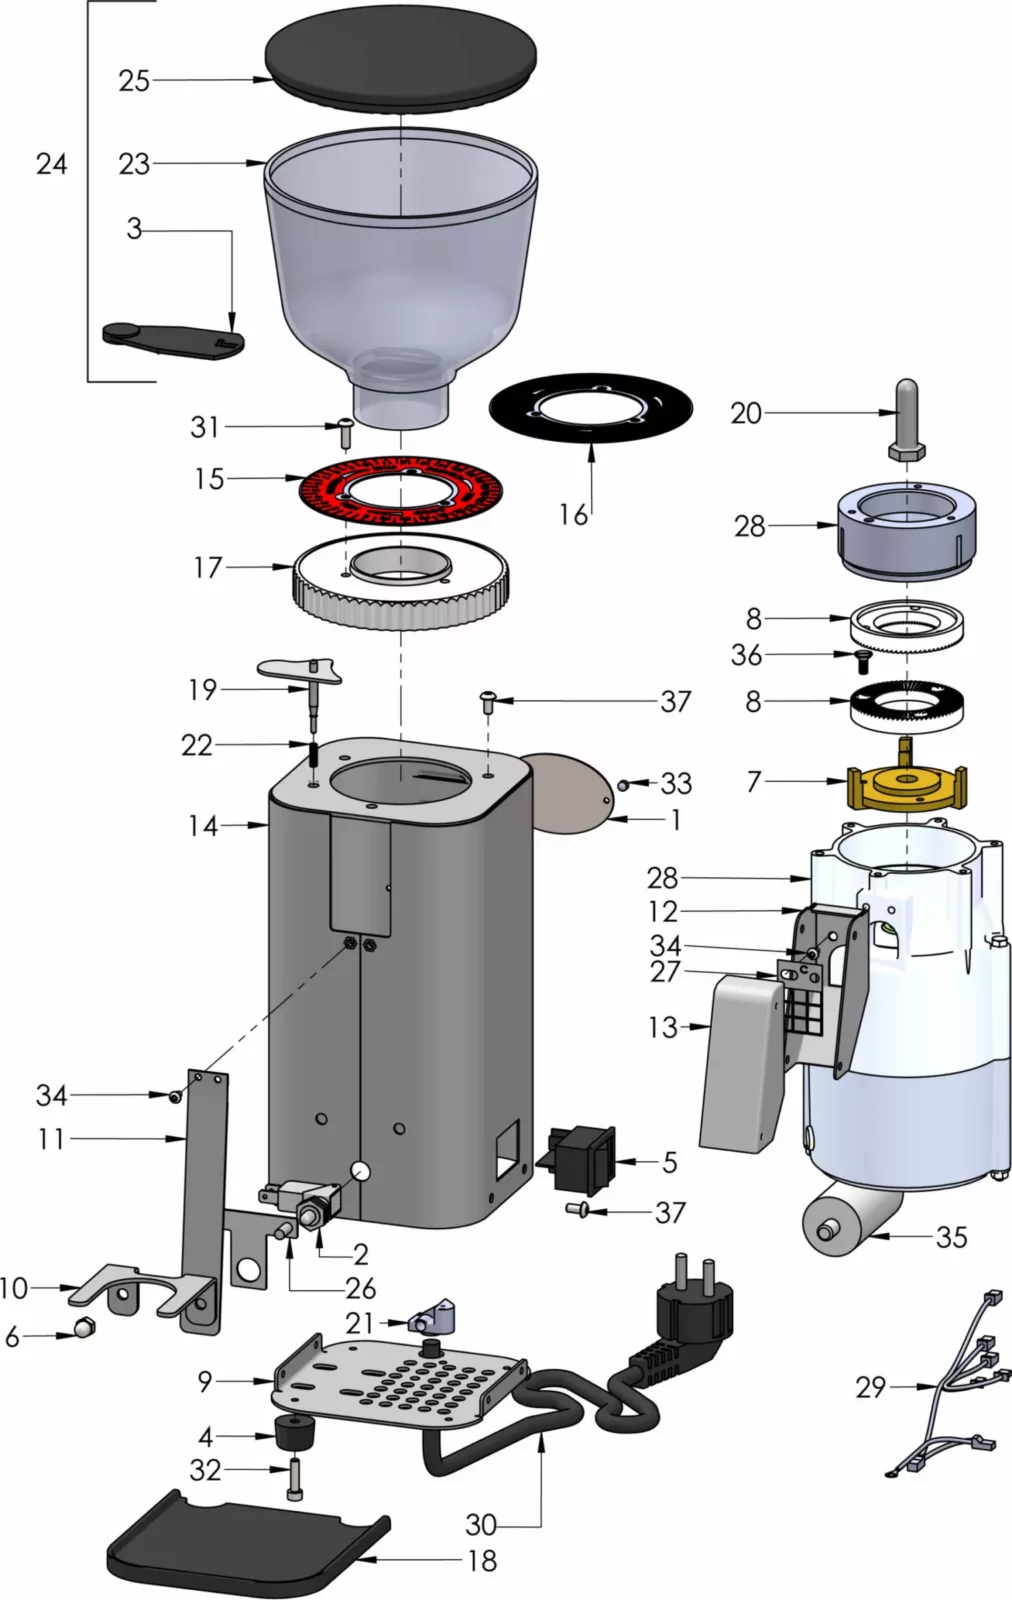
Disassemble all removable components according to your service manual: dosing chambers, grounds deflectors, and retention knuckles. Soak plastic and rubber parts in warm sanitizing solution for 30 minutes, then scrub with a soft brush. Inspect gaskets and O-rings for wear or cracking—replace any showing deterioration as damaged seals allow grounds to bypass intended pathways. With the grinder fully accessible, clear dust from motor cooling vents using compressed air and inspect power cords for damage.
Perform a particle size analysis using sieve testing to verify grind consistency. Compare results to your baseline measurements—if distribution has widened significantly, recalibrate according to manufacturer specifications. Document burr condition with photographs to track wear progression, especially if approaching the 500-1,000 pound replacement threshold for flat burrs.
Troubleshooting Common Cleaning Mistakes
Inconsistent Grind After Cleaning: This usually indicates improper burr reassembly. Check that shims haven’t shifted position and mounting screws are torqued correctly. Verify burrs rotate freely by hand—if resistance exists, disassemble and inspect for debris or misalignment. Many operators overlook that burrs must be reinstalled in their original orientation for optimal performance.
Residual Cleaning Flavor in Espresso: Prevent this by running additional fresh beans through the grinder after cleaning tablet use—discard the first 2-3 double shots. If chemical aftertaste persists, flush with food-grade citric acid solution (1 tablespoon per gallon) to neutralize residues. Never serve coffee that hasn’t been thoroughly flushed after cleaning.
Static Clumping After Cleaning: Combat this common issue by maintaining 40-50% relative humidity in your grinding area. Use anti-static brushes during cleaning and consider lightly misting the air around the grinder (never directly on equipment). Some baristas successfully reduce static by placing a damp cloth near—never on—the grinder during operation.
Safety Protocols Every Café Must Follow
Electrical Safety During Maintenance: Always disconnect power before component removal and use lockout/tagout procedures in commercial settings. Never spray liquids near motor housings or electrical connections. Inspect cords regularly for damage—remove any equipment showing fraying or exposed wiring from service immediately.
Chemical Handling Best Practices: Wear gloves and eye protection when handling concentrated cleaners. Never mix cleaning products—dangerous reactions can occur. Store all chemicals in original containers away from food products. Follow safety data sheets for proper ventilation requirements during use.
Mechanical Injury Prevention: Allow grinders to cool completely before cleaning heated components. Wear cut-resistant gloves when handling sharp burr edges. Support heavy components during removal to prevent dropping and injury. Use only manufacturer-recommended tools—improvised tools often cause damage.
Maintenance Schedule Based on Actual Usage (Not Calendar)
High-volume operations processing more than 10 pounds daily require daily brushing, weekly burr removal, and monthly complete disassembly. Medium-volume cafés (3-10 pounds daily) can typically follow daily brushing with weekly deep cleaning and monthly disassembly. Low-volume operations still need daily attention despite lighter use—coffee residue degrades flavor quality regardless of volume. Adjust schedules seasonally as humidity and temperature affect residue accumulation rates.
Document every cleaning session in a maintenance log recording date, type of cleaning performed, personnel involved, and any observations. This documentation supports quality control programs, aids warranty claims, and helps identify developing problems before they cause equipment failure. Track burr wear against poundage processed to anticipate replacement needs before quality degrades.
Final Maintenance Tips for Peak Grinder Performance
Consistent daily cleaning prevents the stubborn buildup that requires extensive disassembly later. Train all staff on proper techniques—not just what to do but why each step matters for coffee quality. Keep supplies well-stocked and easily accessible to prevent shortcuts during busy periods. Most importantly, taste-test espresso after cleaning to verify your procedures maintain flavor integrity.
The time invested in proper grinder maintenance pays dividends through reduced repair costs, consistent coffee quality, and equipment that lasts years longer than neglected counterparts. By implementing these how to clean a commercial coffee grinder protocols, you protect your investment while delivering the exceptional coffee experience customers expect and deserve. Remember: clean grinders equal happy customers and a healthier bottom line.


