
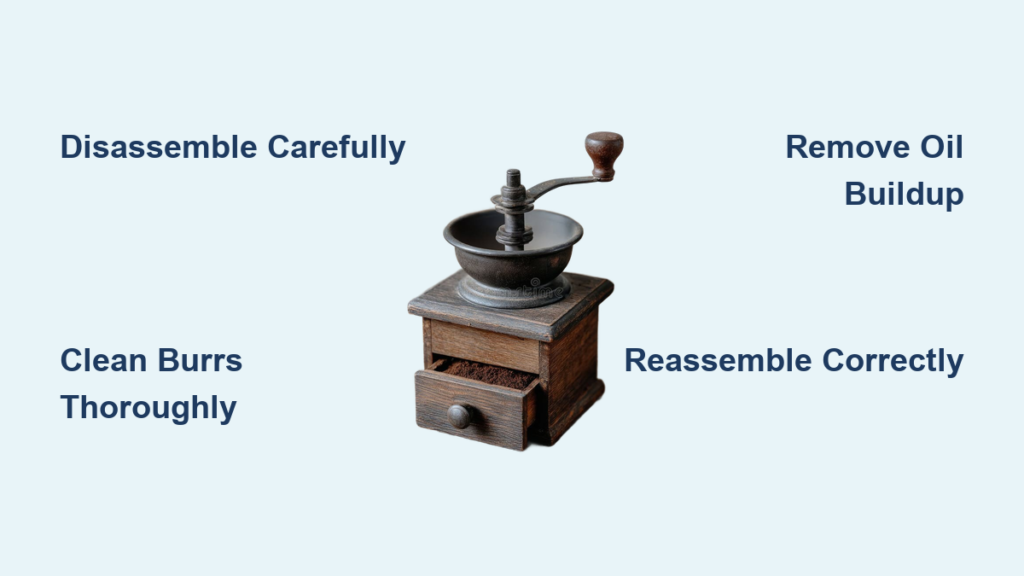
That vintage coffee grinder sitting in your kitchen might be producing lackluster coffee not because it’s worn out, but because it’s never been properly cleaned. Old coffee grinders accumulate stubborn oil residues, stale coffee grounds, and mineral deposits that diminish flavor and clog mechanisms over decades of use. Whether you’ve inherited a family heirloom or rescued a neglected burr grinder from a thrift store, learning how to clean an old coffee grinder restores performance and extends its lifespan significantly.
This comprehensive guide walks you through disassembly, deep cleaning, and maintenance techniques for both blade and burr grinders. You’ll discover how to remove decades of buildup without damaging delicate components, identify common problems before they become expensive repairs, and establish a cleaning routine that keeps your grinder performing like new.
Gather Specialized Cleaning Tools for Vintage Grinders
Before attempting to clean your old coffee grinder, assembling the right tools prevents accidental damage to fragile vintage components. Older grinders often feature brittle plastics and delicate mechanisms that require specialized care compared to modern appliances.
Essential tools include soft-bristled brushes (never wire brushes), wooden picks, and compressed air—critical for removing stubborn residue without scratching surfaces. Avoid abrasive pads or metal scrapers that create microscopic grooves where future buildup will accumulate more quickly. A small Phillips head screwdriver set and possibly a wrench help with careful disassembly of burr grinders. For blade grinders, have replacement blades on hand as original models may be worn beyond cleaning effectiveness.
Choose cleaning solutions carefully: mild dish soap diluted in warm water, food-grade white vinegar, or specialized grinder cleaning tablets designed for coffee equipment. Never use harsh chemicals like bleach or ammonia that damage components and leave lingering odors. Some coffee enthusiasts swear by uncooked rice as a cleaning medium for blade grinders, but this method requires extreme caution to prevent rice particles from jamming the motor mechanism in older units.
Safely Disassemble Your Vintage Coffee Grinder

Proper disassembly separates a successful restoration from a broken heirloom. Vintage coffee grinders often contain decades of buildup in hidden compartments that routine cleaning never reaches, but accessing these areas requires meticulous attention to detail.
Begin by unplugging the unit completely and photographing each stage of disassembly—older grinders frequently have unique configurations that make reassembly challenging without visual references. For blade grinders, the grinding chamber typically twists off counterclockwise from the base. Work slowly, as vintage plastic components become brittle with age and may crack if forced. If resistance occurs, apply gentle heat with a hair dryer to soften aged adhesives before continuing.
Burr grinders require extra precision during disassembly, involving removal of the bean hopper, retaining ring, and burr carrier assembly. Most vintage burr grinders use either a threaded ring or specific screws to hold the burrs in place. Note the exact orientation of each component during removal—burr grinders are highly alignment-sensitive. Keep small parts organized in labeled containers; mixing up similar-sized screws is a common mistake that leads to improper reassembly and poor performance.
Clean Blade Grinder Components Without Damaging Motors
Blade grinders, while mechanically simpler than burr grinders, require special care during cleaning to protect aging motors and sharp cutting blades.
Handle the grinding blade with extreme caution as its sharp edges have likely dulled over time but can still cause injury. Clean visible surfaces with a damp cloth rather than submerging components, as moisture entering motor housings causes irreversible damage to vintage electrical systems. For stubborn residue, apply warm soapy water with a cloth, let it soften for five minutes, then wipe gently. Never soak the blade assembly—older adhesives holding blades in place may dissolve.
The grinding chamber accumulates the most stubborn residue in vintage blade grinders. After removing the blade, use a dry soft-bristled brush to sweep loose grounds from all surfaces, then follow with a vinegar-dampened cloth for remaining film. For decades-old baked-on residue, apply a baking soda paste, wait ten minutes, then scrub gently. Compressed air effectively removes debris from corners that brushes can’t reach. Pay special attention to the rubber gasket between the chamber and base—replace if hardened or cracked to prevent static buildup.
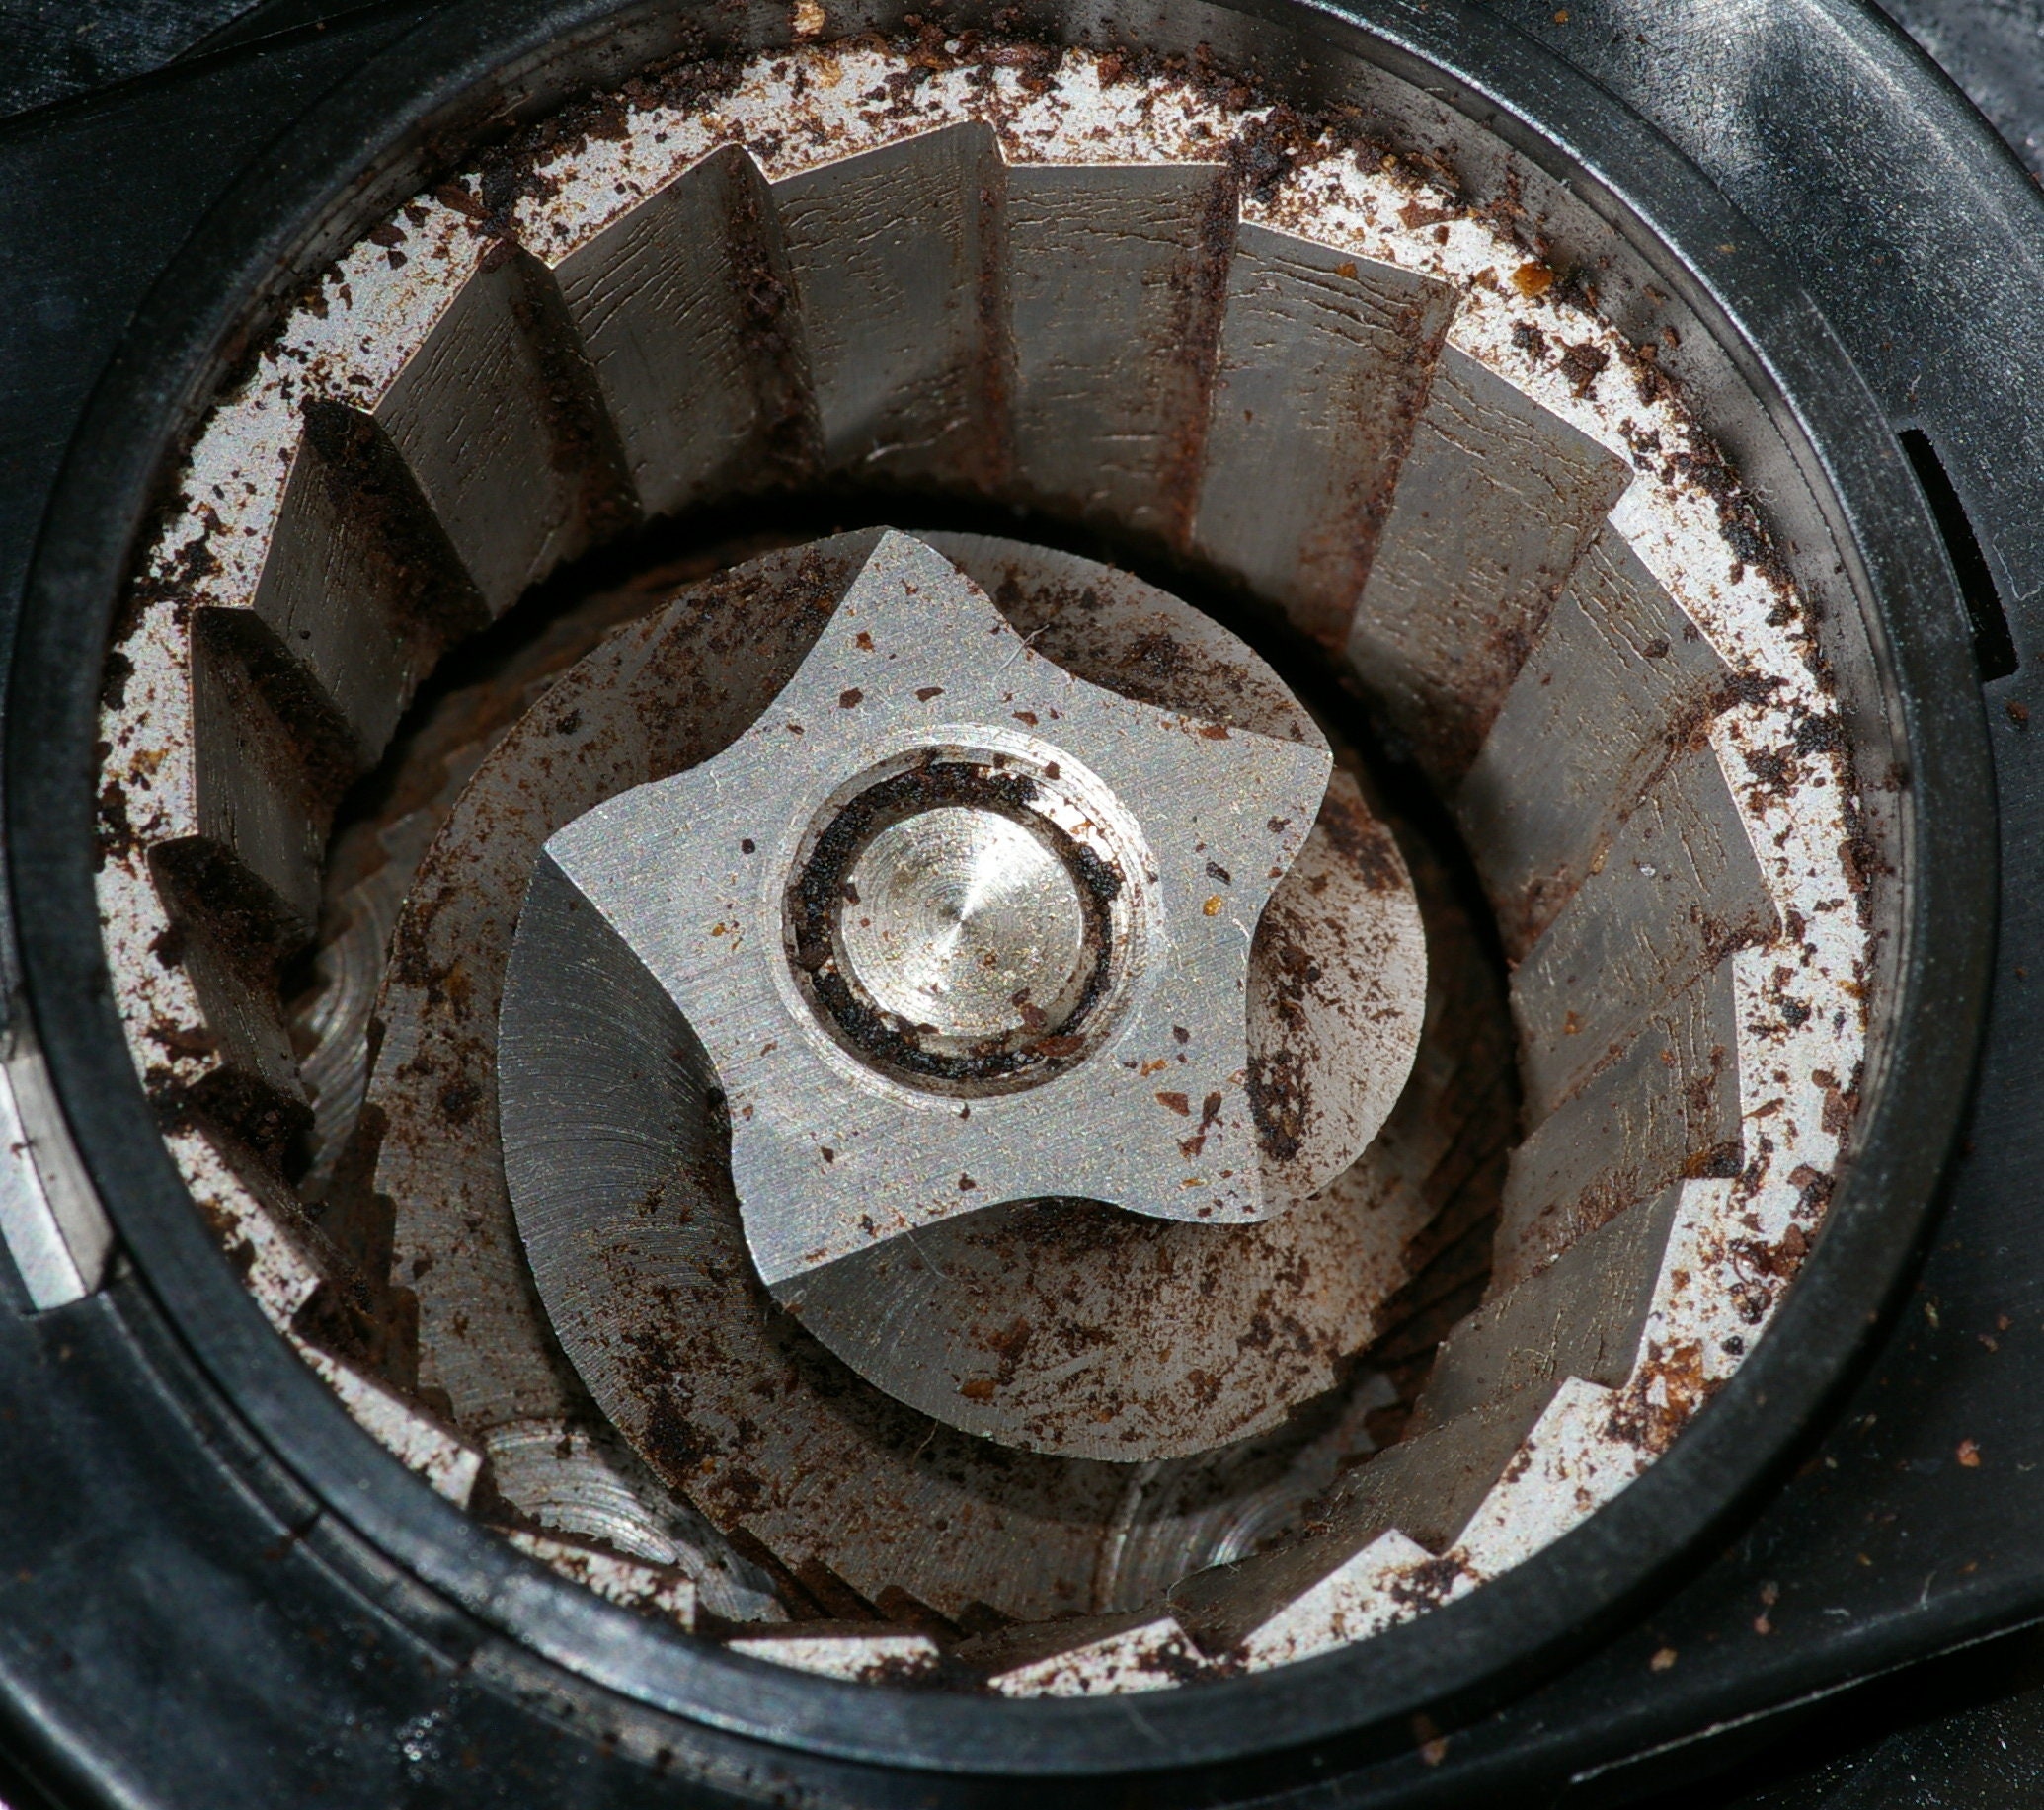
Deep Clean Burr Grinder Mechanisms Thoroughly
Burr grinders produce superior coffee but require more detailed cleaning to maintain precision. Vintage burr grinders often develop uneven wear patterns that affect grind consistency, making thorough cleaning essential.
Remove both burrs carefully, documenting their exact positions before cleaning. Vintage burrs are often made of softer steel that scratches easily, so handle only by the edges and place on soft surfaces. Wash in warm, soapy water using a soft brush to remove residue from the teeth and mounting surfaces—never use abrasive cleaners that alter the precise grinding surfaces. Rinse thoroughly and dry completely with lint-free cloths, as fibers left on burrs affect grind quality.
The burr mounting area typically harbors compacted coffee particles that cause inconsistent grinding. Use soft-bristled brushes to sweep loose debris, then follow with compressed air to clear remaining particles from crevices. For stubborn residue, apply a vinegar-dampened cloth, let it sit for five minutes to break down oils, then wipe clean. Inspect all rubber gaskets carefully—replace any showing signs of compression set (permanent flattening) as they no longer provide proper seals.
Remove Decades of Oil Buildup Safely
Old coffee grinders develop dark, gummy residue from accumulated coffee oils that standard cleaning cannot penetrate. This residue causes stale or rancid notes in fresh coffee and creates bacterial breeding grounds.
Create a degreasing solution using equal parts white vinegar and warm water with a few drops of dish soap. Submerge removable plastic components for thirty minutes to soften residue, but never soak electrical components. For non-removable parts, apply the solution with a cloth and allow it to sit for similar durations before wiping clean. The vinegar’s mild acidity breaks down coffee oils while being gentle on vintage materials.
For particularly stubborn buildup, use food-grade Diatomaceous Earth mixed with water into a gentle abrasive paste. Apply to affected areas, scrub with soft brushes, and rinse thoroughly. This works especially well on stainless steel components inside grinding chambers. For burr teeth, use a soft toothbrush to work the solution through each gap, then remove softened residue with wooden picks—never metal tools that could scratch precision surfaces.
Address Rust on Vintage Metal Components

Older coffee grinders often show rust on metal components from years of moisture exposure. Addressing corrosion properly prevents permanent damage while maintaining food safety.
Surface rust responds well to a paste of baking soda and water applied with soft cloths, scrubbing gently in the direction of the metal grain. For stubborn rust, apply white vinegar directly, wait fifteen minutes, then scrub and rinse thoroughly. Commercial rust removers designed for food equipment provide stronger action but require multiple rinses to eliminate chemical residues.
Burrs showing significant rust should be replaced rather than cleaned, as rust particles contaminate coffee and affect flavor. Light surface rust may be removable with baking soda paste, but heavily corroded burrs compromise grind quality. Apply a thin layer of food-grade mineral oil to cleaned metal components to provide temporary corrosion resistance during storage.
Reassemble Your Restored Grinder Correctly
Proper reassembly ensures cleaning efforts translate to improved coffee quality. Rushing this phase often leads to misalignment that damages vintage mechanisms.
Reference your disassembly photographs meticulously during reassembly, confirming each component returns to its original position. Hand-tighten all hardware first, then use appropriate tools for final tightening—over-tightening strips threads in brittle vintage plastics. Burr grinders require particular attention to alignment; components should slide into place without force, and burrs should rotate freely once assembled.
Test mechanisms before grinding coffee: run blade grinders with a small amount of uncooked rice to absorb residual moisture, or test burr grinders empty to check for smooth operation. Any grinding or scraping noises indicate misalignment requiring immediate correction. The first few coffee batches may have off-flavors from cleaning residue—discard these and run additional coffee through without brewing to finalize the cleaning process.
Establish a Maintenance Routine for Vintage Grinders
Consistent maintenance prevents severe buildup and keeps your restored grinder performing optimally. Vintage units often require more frequent attention than modern counterparts due to aging components.
Weekly maintenance includes wiping the bean hopper interior and brushing out the grinding chamber. Monthly routines should involve thorough cleaning of removable components and inspection of burrs or blades for excessive wear. Monitor grind quality closely—changes in particle distribution or strange noises indicate developing problems needing attention.
Storage practices significantly affect vintage grinder longevity. Always ensure complete dryness before storage and leave hoppers open for air circulation. Avoid storing in humid environments, and for seasonal use grinders, apply light oil to metal components before storage to prevent corrosion during idle periods.
Restoring an old coffee grinder rewards you with improved coffee flavor and preserves a functional piece of kitchen history. With proper care and regular maintenance, your restored vintage grinder will continue producing quality grounds for decades of service, connecting you to the daily ritual of coffee preparation while reducing waste from discarded equipment.


