

That once-sharp bench grinder suddenly feels sluggish, forcing you to push harder while generating excessive heat and minimal sparks. This frustrating experience happens when your grinding wheel becomes glazed or loaded with material—a common issue that dramatically reduces cutting efficiency. Learning how to dress a bench grinder wheel properly restores performance, extends wheel life, and prevents unnecessary replacements. Whether you’re sharpening chisels in your home workshop or preparing metal stock in a professional setting, mastering this essential maintenance technique transforms your grinder from a frustrating tool back into a precision instrument.
Neglecting wheel dressing leads to wasted time, increased energy consumption, and compromised work quality. A properly dressed wheel cuts cooler and faster with less operator effort, while also reducing the risk of workpiece damage from excessive heat. This guide provides everything you need to recognize when dressing is necessary, select appropriate tools, execute proper technique, and maintain optimal wheel condition for consistent performance.
Recognizing When Your Grinder Wheel Needs Dressing
A glazed grinding wheel develops a smooth, glass-like surface that prevents effective cutting. This condition occurs when the abrasive grains become rounded or covered with embedded material during use. Instead of cutting cleanly, the wheel polishes the workpiece while generating excessive heat. Visual inspection reveals a shiny surface rather than the expected dull, rough texture of a properly functioning grinding wheel.
Performance changes often signal dressing needs before visual cues appear. If you notice reduced spark production, altered spark patterns, or increased pressure requirements to achieve the same material removal rate, your wheel has likely glazed over. Unusual vibration during operation indicates the wheel has become out of true, while a burning smell suggests excessive heat buildup from inefficient cutting action. These symptoms waste time and energy while compromising your work quality.
Essential Tools for Effective Wheel Dressing
Star dressers provide the most practical solution for general workshop use. These tools feature a star-shaped cutter mounted on a sturdy handle with multiple cutting points that break up the wheel surface evenly. The multiple cutting edges distribute dressing action across the wheel face, making them ideal for aluminum oxide and silicon carbide wheels commonly found in bench grinders. When selecting a star dresser, choose one with a comfortable handle and replaceable cutter head to ensure longevity.
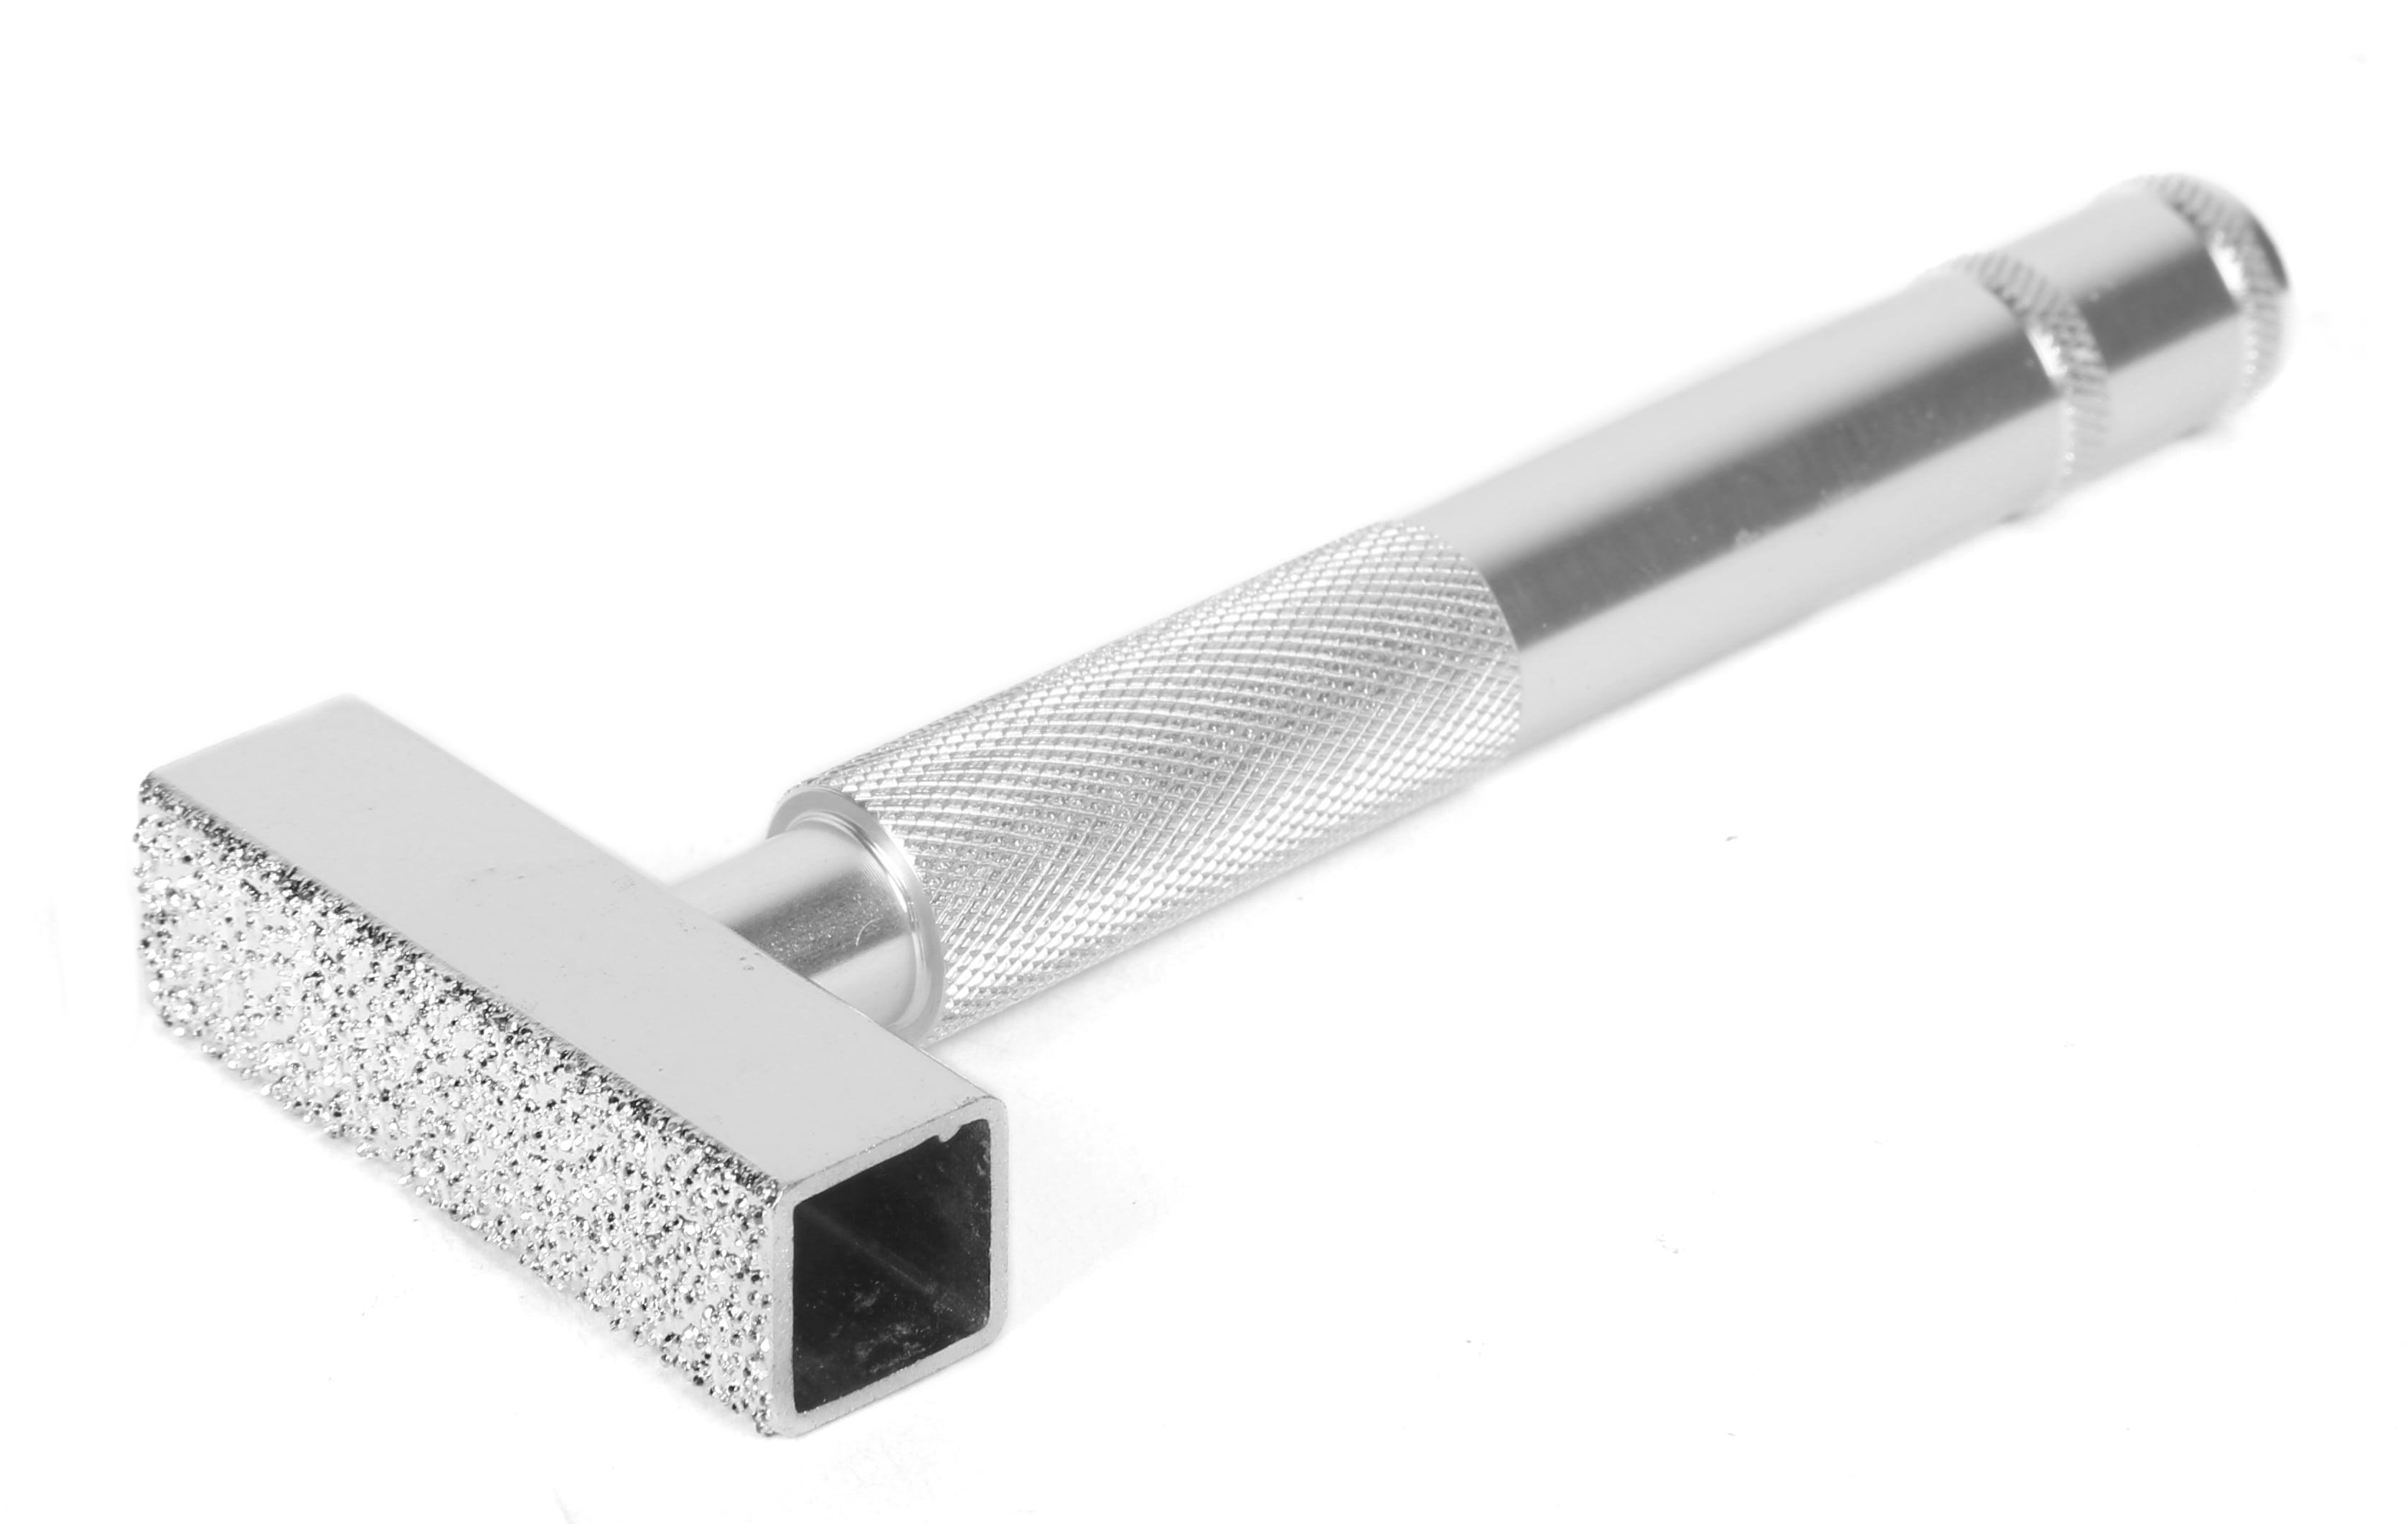
Diamond dressers offer superior precision for applications requiring exact wheel geometry. These tools use an industrial diamond mounted on a metal shank to precisely trim the wheel surface. While more expensive, diamond dressers maintain their profile indefinitely and produce exceptionally true wheel faces. They’re particularly valuable for precision grinding operations where exact wheel geometry matters.
Dressing sticks serve as versatile alternatives for specific situations. These rectangular blocks of coarser abrasive material effectively clean loaded wheels and establish desired surface finishes. Silicon carbide sticks work best for steel applications while aluminum oxide sticks suit non-ferrous metals. Wire brushes complement mechanical dressers by removing loose debris after primary dressing, with brass wire providing effective cleaning without being overly aggressive.
Critical Safety Measures Before Dressing
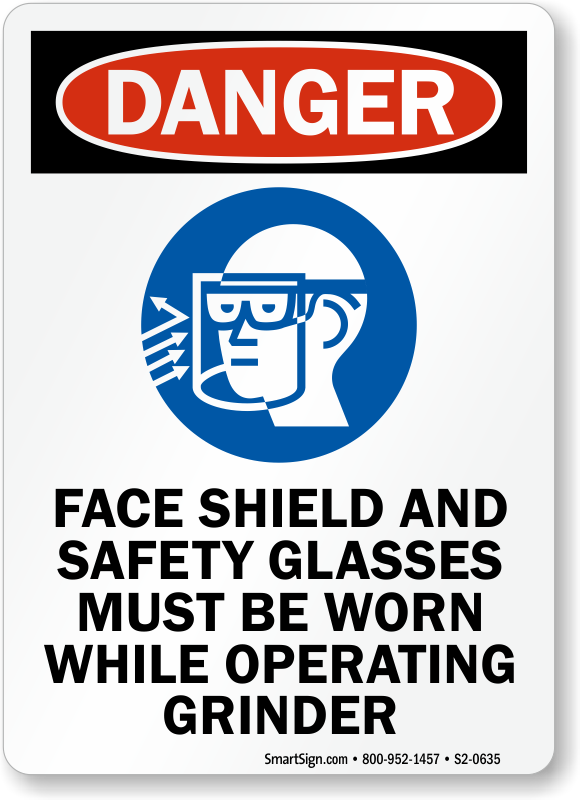
Eye protection represents the most crucial safety consideration during wheel dressing. High-velocity particles generated during the process can cause severe eye damage. Always wear safety glasses with side shields or, preferably, a full face shield rated for impact and spark resistance. Never rely on regular eyeglasses alone, and avoid wearing contact lenses during dressing operations due to the risk of particles becoming trapped beneath them.
Proper hand positioning prevents common injuries during dressing. Hold the dresser with both hands when possible, maintaining a firm grip well back from the dressing point. Position your hands to the side of the wheel’s rotation path rather than directly in front or behind it. Never reach across a rotating wheel for any reason, and ensure your dresser handle provides sufficient length to keep your hands safely distant from the wheel face.
Always inspect the wheel condition before dressing. Check for cracks, chips, or other damage that could cause wheel failure during the higher-stress dressing operation. A damaged wheel should be replaced rather than dressed. Verify the wheel is properly mounted and tightened according to manufacturer specifications, as a loose wheel can shift dangerously during dressing.
Executing Proper Dressing Technique
Begin by preparing the grinder safely—unplug it or ensure it cannot be accidentally started. Clean accumulated debris from the wheel guard and surrounding areas. Inspect your dresser tool for damage or excessive wear. Position yourself comfortably with good visibility of the wheel face and intended dressing path. Proper preparation prevents accidents and ensures effective dressing results.
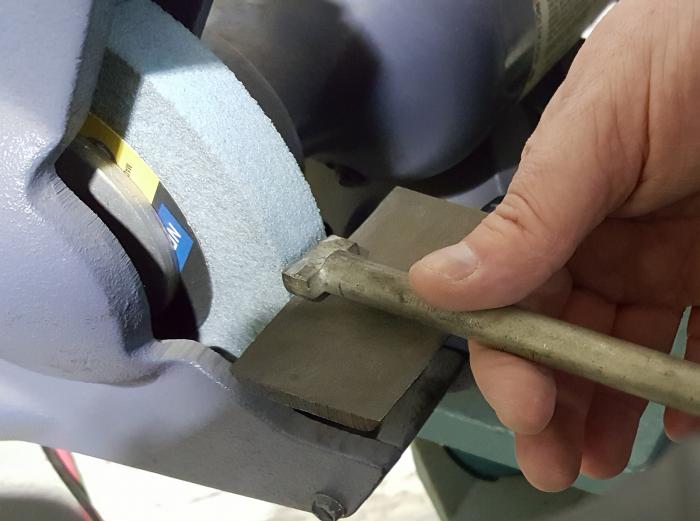
Set the correct dresser angle before making contact with the wheel. Hold the dresser at approximately 10 to 15 degrees relative to the wheel face, with cutting points aimed slightly downward into the surface. This shallow angle allows progressive engagement rather than aggressive impact. The exact angle may vary slightly based on wheel type and desired finish, but starting with this range produces optimal results.
Make dressing passes with controlled, consistent motion. Bring the dresser into contact with the rotating wheel while applying steady, moderate pressure. Move the dresser across the wheel face from side to side in smooth, sweeping motions—never hold it stationary. Complete two or three full passes across the entire wheel face, allowing brief cooling periods between passes if the wheel becomes excessively hot. Stationary contact creates dangerous grooves and hot spots that compromise wheel integrity.
Evaluate your results after initial passes by turning off the grinder and examining the wheel face. It should display a consistent, dull matte appearance across its entire width with no visible high spots or glazed sections. The surface should feel slightly rough to the touch. If wobbling persists when spinning the wheel by hand, additional passes on high spots will true it. Finish with a light pass using reduced pressure to smooth any remaining irregularities.
Avoiding Common Dressing Mistakes
Excessive pressure during dressing removes unnecessary wheel material and generates dangerous heat buildup. The dresser should glide with moderate, consistent pressure rather than being forced into the wheel. Multiple light passes prove safer and more efficient than one aggressive attempt. If you find yourself pushing hard, either your dresser needs sharpening or you’re trying to remove too much material at once.
Holding the dresser stationary creates deep grooves and hot spots that ruin wheel geometry. Even brief stationary contact can form pits requiring multiple subsequent passes to correct. Maintain continuous, controlled motion across the entire wheel face during each dressing pass. This practice ensures even material removal and prevents thermal stress that could crack the wheel.
Using a dull dresser wastes time and produces poor results. Dull cutting points smear rather than cut wheel material, leaving a glazed surface that defeats dressing’s purpose. Regularly inspect your dresser and replace or sharpen cutting elements when visible wear appears. Star dressers typically allow cutter head rotation to present fresh cutting points when one side becomes dull.
Never compromise wheel guard protection during dressing. Remove only as much guard material as absolutely necessary to access the wheel face. A grinding wheel without proper guarding poses severe injury risk from potential wheel fragmentation. Safety should never be sacrificed for convenience during maintenance operations.
Establishing an Effective Maintenance Routine
Develop a dressing schedule based on your usage patterns. Light hobby use typically requires dressing only when performance degradation becomes noticeable—perhaps monthly or less frequently. Regular workshop use generally calls for weekly inspection and dressing as needed, while heavy professional use often demands daily or weekly maintenance as part of routine equipment care.
Implement light cleaning between major dressing sessions to prevent severe loading. A quick pass with a dressing stick or wire brush after each use removes surface material before it becomes embedded. This simple habit dramatically extends intervals between full dressing operations and maintains consistent performance.
Select appropriate wheels for your applications to minimize maintenance frequency. Softer wheel grades cut faster but wear quicker, requiring more frequent dressing. Harder grades last longer between dressings but may need more aggressive dressing when they do glaze. Matching wheel specifications to your specific materials optimizes the balance between cutting performance and maintenance requirements.
Monitor environmental factors that affect wheel performance. Humid or corrosive environments accelerate wheel degradation. Store grinders in climate-controlled areas when possible and protect wheels from direct moisture exposure. A wheel that has absorbed moisture requires thorough drying before use, as wet wheels can crack under centrifugal forces.
Mastering bench grinder wheel dressing transforms a frustratingly inefficient tool back into a precision instrument that handles shaping, sharpening, and deburring tasks with ease. The few minutes invested in proper technique and regular maintenance return significant dividends through faster cutting, cooler operation, extended wheel life, and superior results on every project. By incorporating these practices into your workshop routine, your grinder will deliver reliable, high-performance service for years to come. Remember that consistent, light maintenance prevents the severe degradation requiring aggressive dressing—making wheel care an essential habit rather than an occasional chore in any well-run workshop.


