

Converting a drill into a grinder unlocks unexpected versatility in your workshop without requiring a dedicated grinding tool. Many DIYers and professionals discover that with the right attachments, a standard power drill handles light grinding tasks remarkably well. This practical approach solves the problem of needing occasional grinding capabilities without investing in specialized equipment that might sit unused for weeks.
Understanding how to use drill as grinder requires recognizing both its capabilities and limitations. While your cordless drill won’t replace an angle grinder for cutting through thick steel, it excels at precision grinding, rust removal, and detailed shaping tasks where control matters more than brute force. The key lies in selecting proper attachments and following safety protocols that protect both you and your workpiece while achieving professional results.
Selecting the Right Drill for Grinding Applications
Your drill’s specifications determine whether it can effectively function as a grinder. Not all drills perform equally when converted to grinding applications—power output, speed range, and chuck capacity all influence suitability for specific tasks. A 12V cordless drill works adequately for light sanding and polishing, but tackling metal requires at least an 18V model with sufficient torque to maintain speed under load.
Cordless drills have become surprisingly capable grinding tools, with modern brushless motors delivering power previously available only in corded models. However, battery capacity limits extended operation—high-draw grinding applications can deplete batteries in just 15-20 minutes of continuous use. For occasional light grinding, a quality cordless drill works well; continuous heavy use favors corded models that deliver consistent power without interruption.
Speed specifications matter critically for grinding applications. Drills offering variable speed triggers allow precise control essential for preventing material damage during delicate operations. Look for models with minimum speeds below 500 RPM for precision work requiring slow, careful material removal. High-speed models exceeding 2,500 RPM handle aggressive grinding tasks efficiently but sacrifice the fine control needed for detailed work on sensitive materials.
Matching Drill Power to Grinding Tasks
How much power do you really need when you use drill as grinder? For light sanding on wood or plastic, even a basic 10V drill suffices. Medium-duty metal grinding requires at least 18V with 300+ inch-pounds of torque, while aggressive stock removal on steel demands 20V MAX systems with brushless motors. The drill should maintain RPM under light pressure—if it boggs down immediately, it lacks sufficient power for meaningful grinding work.
Chuck Size Considerations
Chuck capacity determines which attachments you can use effectively. Most drills accept chucks ranging from 3/8 to 1/2 inch, with the larger size accommodating more robust adapter shafts. Heavy grinding tasks benefit from half-inch chucks that grip adapters more securely and resist vibration-induced loosening. Check your drill’s chuck size before purchasing attachments—using an adapter too large for your chuck creates dangerous wobble during operation.
Essential Grinding Attachments for Your Drill
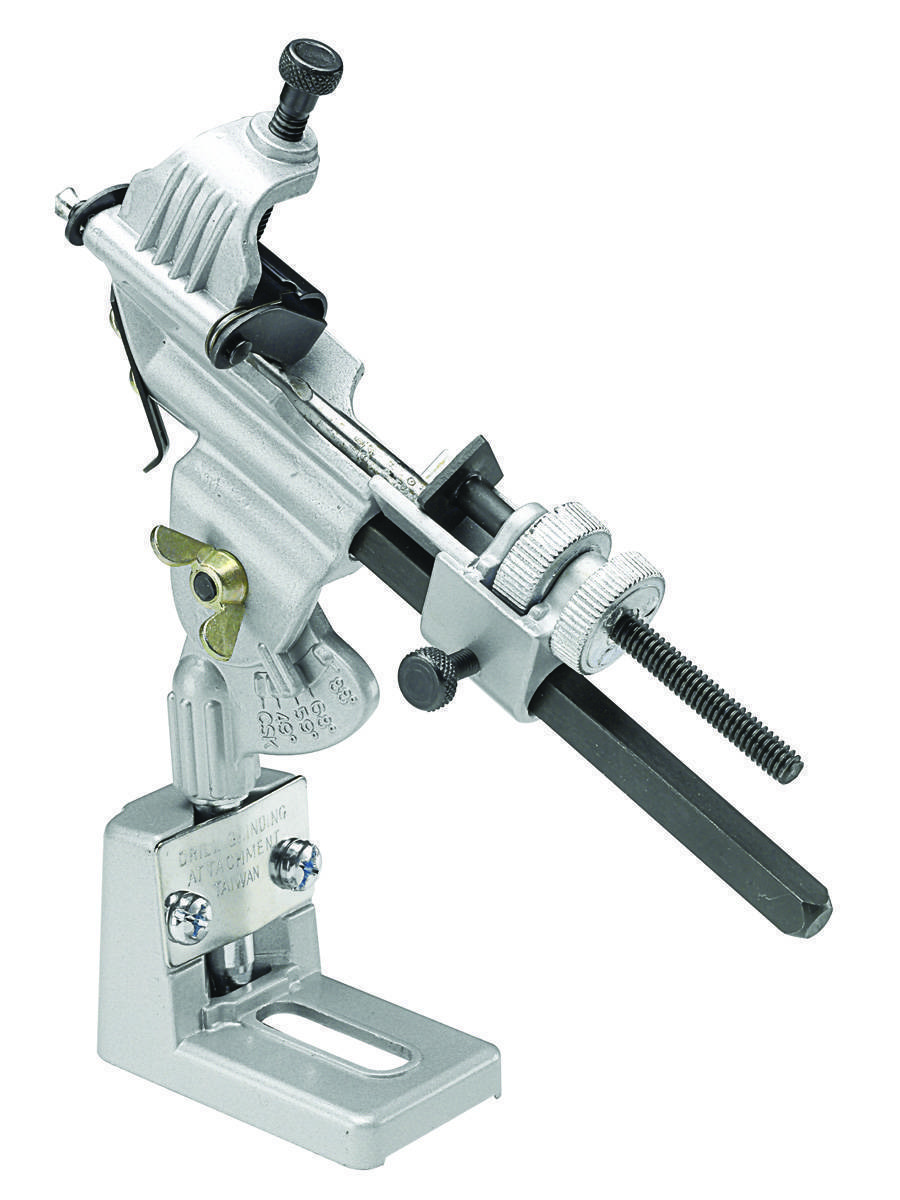
Selecting the right attachment determines your success when converting a drill into a grinder. The market offers several options, each designed for specific applications and drill specifications. Understanding these choices helps you match equipment to your intended task without wasting money on incompatible accessories.
Grinding Wheel Adapters for Precision Work
The most common solution involves a grinding wheel adapter that mounts directly to your drill’s chuck. These adapters typically feature a threaded shaft compatible with standard drill chucks, expanding to accommodate various wheel sizes from 2 to 4 inches in diameter. Smaller wheels (2-3 inches) provide better control for precision work on tight spaces, while larger wheels (3.5-4 inches) cover more surface area for faster material removal.
When selecting an adapter, verify chuck compatibility first. Keyed chucks accept adapters with corresponding shaft designs, while keyless chucks require adapters specifically designed for tool-free operation. Crucially, the adapter’s maximum RPM rating must exceed your drill’s highest speed setting—operating a grinding wheel beyond its rated speed creates serious safety hazards that could cause the wheel to shatter.
Flap Discs for Metal Finishing
Flap discs mounted on drill adapters deliver excellent results for metal finishing and rust removal. These layered abrasive tools consist of multiple overlapping sandpaper sections that wear evenly and maintain cutting efficiency longer than traditional grinding wheels. Coarse-grit flap discs (40-60 grit) handle material removal, while finer grits (80-120) excel at smoothing and finishing.
For most DIY metal grinding tasks, a 3-inch flap disc provides the best balance of control and coverage. Install these discs using the provided flange nut, hand-tightening initially then using a wrench to achieve proper torque—never overtighten, as this can crack the disc backing during operation.
Wire Brushes for Rust Removal
Wire brush attachments transform your drill into an effective deburring and cleaning tool. These brushes range from fine stainless steel wires for delicate work to coarse brass or steel filaments for aggressive rust removal. Cup-style wire brushes cover larger areas efficiently, making them ideal for cleaning flat surfaces, while end-style brushes reach into holes, corners, and tight spaces.
For automotive work, a 2-inch stainless steel cup brush mounted on a drill adapter removes rust from brake components without damaging underlying metal. Always start with light pressure and gradually increase as needed—excessive pressure bends wire filaments, reducing effectiveness and creating uneven cleaning patterns.
Critical Safety Precautions When Using Drill as Grinder

Operating a drill as a grinder introduces hazards requiring careful attention to safety protocols. The combination of high-speed rotation, abrasive materials, and metal fragments demands comprehensive protective measures that many DIYers overlook when first attempting this technique.
Essential Protective Gear
Eye protection ranks as the most critical safety requirement. Grinding operations generate high-velocity debris including metal shavings, abrasive particles, and fragmented wheel material. Safety glasses meeting ANSI Z87.1 standards provide basic protection, but for any serious grinding task, a full face shield worn over safety glasses offers superior coverage. Never perform grinding operations without adequate eye protection—metal fragments can cause permanent eye damage in milliseconds.
Respiratory protection becomes necessary when grinding generates dust or fumes. Metal grinding produces fine particulate matter that poses respiratory risks with extended exposure. For occasional hobbyist use, an N95 respirator provides adequate protection, while half-face respirators with appropriate filters serve better for frequent applications. Working outdoors or in well-ventilated areas reduces exposure regardless of respiratory protection used.
Workspace Preparation
Secure your workpiece properly before beginning any grinding operation. Clamp metal pieces firmly to prevent movement that could cause the attachment to catch or bind. Never hold small workpieces in your hand while grinding—a momentary slip could pull your fingers into the rotating attachment with devastating consequences.
Check your workspace for flammable materials before starting. Grinding sparks can travel up to 35 feet and ignite sawdust, solvents, or other combustibles. Keep a fire extinguisher rated for metal fires (Class D) nearby when working with reactive metals like magnesium or titanium.
Proper Grinding Technique with a Drill
Effective grinding with a drill requires technique adjustments from both standard drill operation and traditional angle grinding approaches. Understanding proper method ensures efficient material removal while protecting both workpiece and operator.
Angle the grinding attachment approximately 15-30 degrees relative to the workpiece surface for most applications. This beveled approach distributes heat across a larger contact area, preventing localized overheating that can warp metal or damage coatings. Flat contact concentrates heat and pressure at a single point, accelerating wheel wear and increasing material damage risk.
Maintaining Control During Operation
Keep the drill moving continuously across the workpiece surface. Holding the tool stationary creates heat buildup that can damage both the material and grinding attachment. Overlapping strokes ensure even material removal and prevent gouging from concentrated grinding in one spot. For precision work, use light passes and build results gradually rather than attempting aggressive single-pass material removal.
Maintain consistent, moderate pressure throughout the grinding stroke. Excessive force overloads the drill motor and causes stalling or premature wear, while insufficient pressure wastes time without achieving meaningful material removal. Let the abrasive do the work—apply steady pressure that maintains momentum without overwhelming the tool’s capacity.
Material-Specific Grinding Approaches
Different materials require different approaches when you use drill as grinder. Soft metals like aluminum clog grinding wheels quickly, requiring frequent cleaning or specialized wheel formulations. Hardened steel demands coarser abrasives and slower speeds to achieve efficient material removal without damaging the heat-treated surface.
Wood and composites work excellently with drum-style sanding attachments. The controlled speed range of drills allows aggressive material removal without the risk of burning that high-speed dedicated grinders pose. When sanding wood, keep the drill moving at all times to prevent creating swirl marks or removing too much material in one spot.
When Drill-Powered Grinding Isn’t Enough
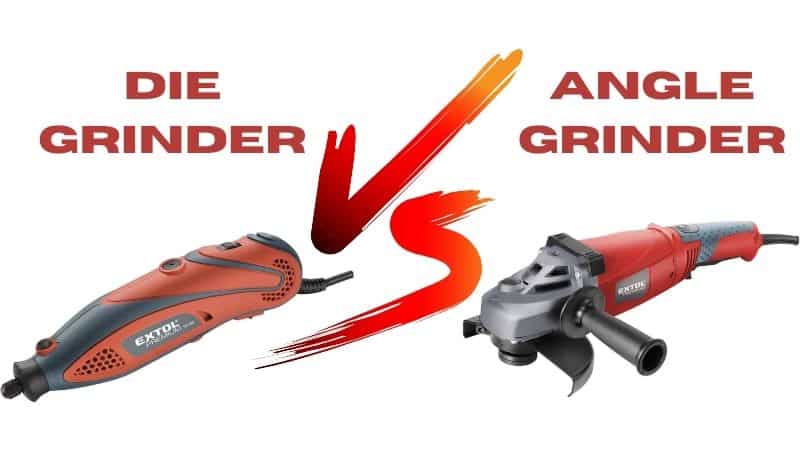
Understanding when to abandon the drill-as-grinder approach prevents frustration and ensures professional results. Several scenarios favor dedicated angle grinders over converted drills.
Heavy material removal tasks demand the sustained power and higher RPM ranges that dedicated grinders provide. Removing substantial weld material, cutting through rebar, or aggressive stock removal all exceed drill-powered grinding capabilities. Attempting these tasks with converted drills overheats motors, wears attachments rapidly, and delivers unsatisfactory progress that wastes time and money.
Continuous operation favors dedicated equipment designed for sustained use. Drills generate substantial heat during extended grinding sessions, with thermal protection shutting down motors after 5-10 minutes of continuous grinding. Professional grinders incorporate design features supporting continuous operation that drills simply cannot match without risking permanent damage.
Final Recommendations for Successful Drill Grinding
Using a drill as grinder works effectively for light to moderate applications when proper equipment and techniques are employed. Invest in quality attachments from reputable manufacturers rather than bargain options that compromise safety and performance. Maintain your equipment properly by inspecting grinding wheels for cracks before each use and cleaning adapter shafts periodically to prevent vibration.
Develop technique through practice on scrap materials before attempting precision work on valuable projects. Start with lower speed settings and gradually increase as you become comfortable with the tool’s behavior under load. Most importantly, never skip safety equipment regardless of how “quick” the job seems—permanent injuries happen in moments of complacency.
With proper approach and realistic expectations, your drill becomes a surprisingly capable grinding tool that handles many workshop tasks without requiring additional specialized equipment. The versatility gained from knowing how to use drill as grinder expands your capabilities while keeping your tool investment focused where it matters most.


