
Removing tree stumps from your property transforms an obstacle into a clean, usable landscape. A walk-behind stump grinder gives you the power to tackle this task yourself, but mastering this powerful machine requires proper technique and safety awareness. Whether you’re clearing a single stump after a storm or preparing an entire property for new landscaping, understanding how to operate a stump grinder safely and effectively saves you time, money, and potential injuries. This guide walks you through every step from preparation through completion, ensuring you have the knowledge to finish the job right.
Before you engage the cutting wheel, you need to understand that successful stump grinding involves far more than simply pushing a machine over wood. The process requires careful site assessment, the right protective gear, proper machine setup, and techniques that maximize efficiency while protecting both you and your equipment. Each section of this guide builds on the previous one, creating a complete framework for safe and effective operation.
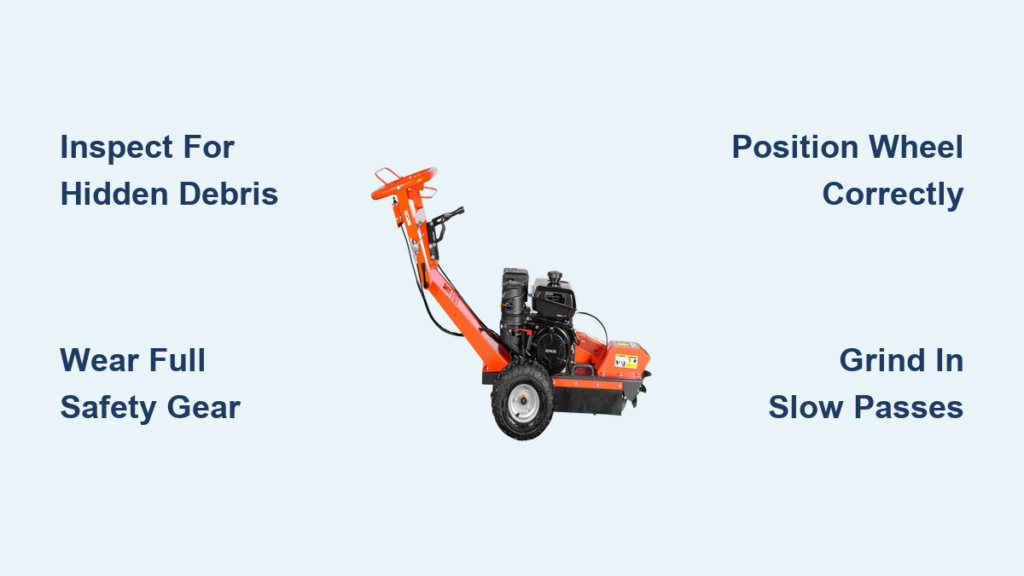
Identify and Remove Hidden Stump Hazards
Embedded objects in stumps cause catastrophic damage to cutting teeth and create dangerous flying debris. Before positioning your machine, conduct a thorough inspection of the stump surface and surrounding area. Use a metal detector or probe stick to locate nails, screws, bolts, wire, or stones that might be hidden beneath the surface. Never assume a stump is clean—even seemingly pristine stumps often contain metal remnants from previous tree care.
Carefully remove all visible hardware using pliers or a pry bar, taking time to extract even small fragments. For stumps near buildings or fences, assume that construction materials may have penetrated the wood. Clear a five-foot radius around the stump base of rocks, bricks, or other debris that could interfere with grinding operations or damage the machine during movement.
Gear Up with Critical Safety Equipment
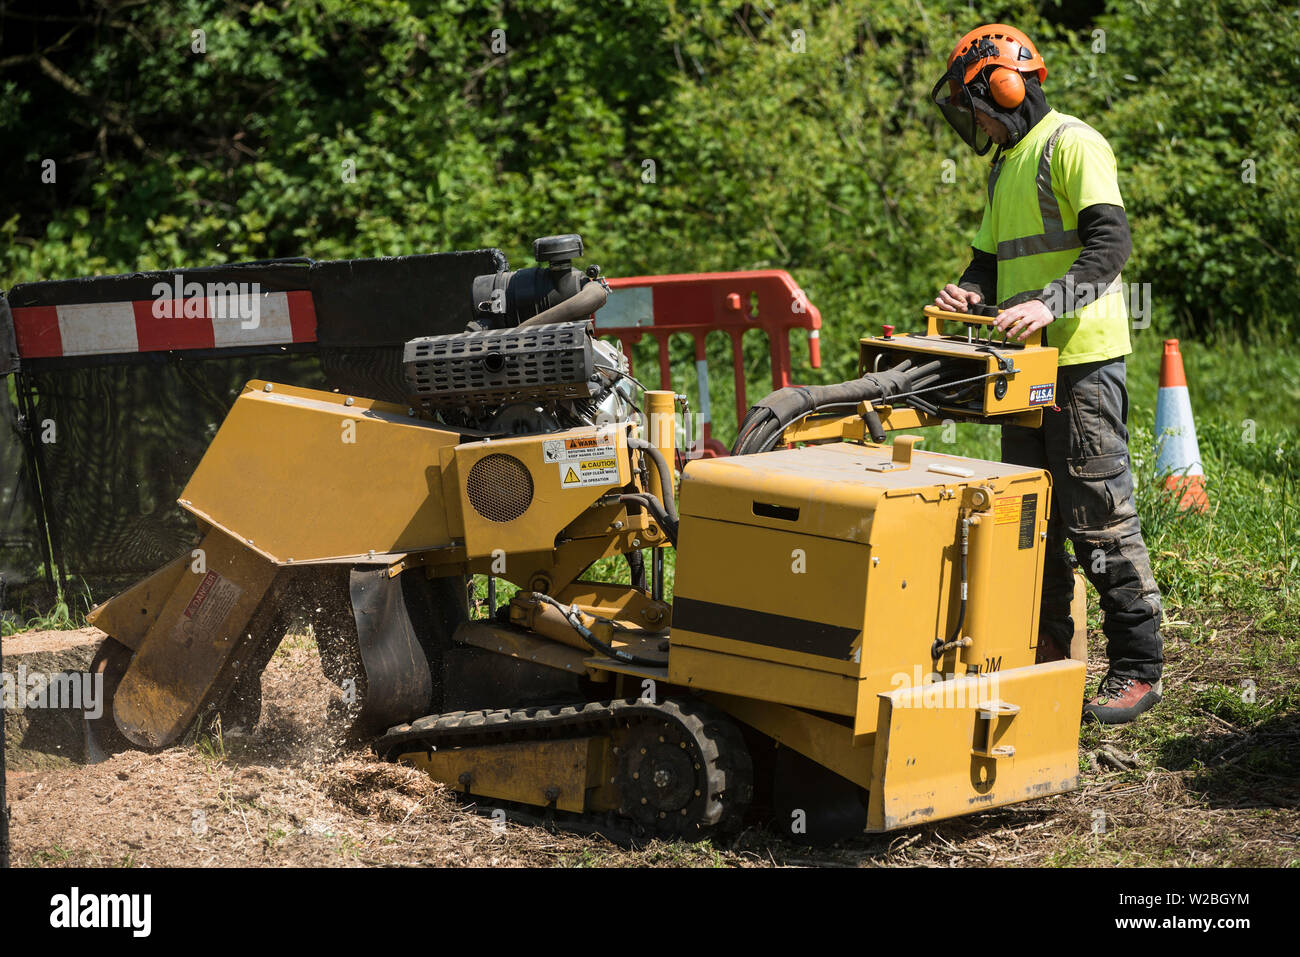
Your personal protective equipment (PPE) forms your only defense against high-speed wood projectiles and other hazards. Industrial-grade safety glasses with side shields or a full face shield must be worn at all times—standard sunglasses provide zero protection from wood chips traveling at 100+ mph. Add a N95 respirator or dust mask when working in dry conditions to prevent inhaling fine particulate matter.
Hearing protection is non-negotiable—stump grinders typically operate at 95-105 decibels, which causes permanent hearing damage with just 30 minutes of exposure. Choose between high-quality foam earplugs (properly inserted) or noise-canceling earmuffs. Heavy-duty work gloves with vibration dampening improve grip on controls while protecting hands from blisters and debris. Steel-toed boots with ankle support prevent foot injuries from dropped tools or accidental contact with the machine.
Perform Pre-Operation Machine Inspection

A systematic equipment check prevents dangerous failures during operation. Begin with the cutting wheel teeth—examine each one for cracks, excessive wear, or looseness. Replace any damaged teeth before starting; a single broken tooth can shatter upon impact, creating a dangerous projectile. For gas-powered units, check engine oil levels and ensure fresh fuel (less than 30 days old) is in the tank—old fuel causes starting problems and engine damage.
Verify that all safety guards remain properly installed and functional. The debris shield covering the cutting wheel prevents material from being thrown toward you, and operating without it creates unacceptable risks. Test the emergency stop mechanism by activating it while the engine idles—if it doesn’t work immediately, do not operate the machine. Check belts for proper tension and signs of cracking, as worn belts can snap during operation.
Start Your Stump Grinder Properly
Gas-powered units require specific starting procedures to prevent damage and ensure safety. Position the machine on level ground with the cutting wheel elevated clear of any material. Set the choke to closed for cold starts, move the throttle to idle, and press the primer bulb two to three times. Turn the ignition switch on and pull the starter rope with a smooth, controlled motion—never yank aggressively, which damages the starter mechanism.
Once the engine starts, allow it to warm for thirty seconds while gradually opening the choke. The engine should run smoothly at idle before engaging the cutting wheel. Electric models require connecting to a heavy-duty outdoor-rated extension cord and flipping the safety switch before activating the starting control. Never bypass safety interlocks—these exist for your protection.
Position for Maximum Grinding Efficiency
Correct positioning determines both grinding speed and operator safety. Roll the machine into place with the cutting wheel centered over the stump and handles at waist-to-chest height for optimal control. The front of the cutting wheel should extend past the stump edge by two to three inches, allowing you to grind from the perimeter inward—a technique that reduces machine strain and produces consistent results.
Engage the wheel positioning mechanism to lower the cutting head until teeth make initial contact with the stump surface. Ensure stable footing on solid ground, with clear visibility of the entire work area. Position the discharge chute away from structures, vehicles, and any potential bystanders—wood chips can travel 20+ feet during operation.
Execute Proper Grinding Technique
Mastering the grinding motion separates novice operators from professionals. Begin with the cutting wheel at idle speed, then gradually increase throttle to full RPM before lowering the wheel into the wood. Move in slow, sweeping side-to-side motions across the stump surface—each pass should remove only two to three inches of material to prevent machine strain.
Maintain consistent downward pressure but never force the machine—let the teeth do the work. After completing horizontal passes, raise the wheel slightly and repeat to create a stepped pattern that progressively removes material. Most stumps require grinding to four to eight inches below ground level for complete removal. Stop every few minutes to clear accumulated wood chips from around the cutting area using a rake or shovel—packed chips reduce efficiency and limit visibility.
Tackle Large or Hard Stumps Strategically

Large diameter stumps demand patience and technique rather than brute force. Begin by grinding the outer edges systematically, working inward rather than attempting to remove material from the center first. For hard, aged wood that quickly dulls teeth, make initial vertical cuts along the perimeter to create channels for the cutting wheel, then alternate between horizontal and vertical motions to expose fresh wood grain.
Allow the machine cooling breaks during extended operations on stubborn stumps—continuous grinding overheats components and reduces efficiency. Large stumps may require multiple sessions with the machine cooling completely between attempts. Follow major lateral roots away from the main stump body, grinding each root path for twelve to twenty-four inches beyond the stump center.
Maintain Strict Safety During Operation
Safety awareness must continue throughout the entire grinding process. Maintain a fifty-foot exclusion zone around the work area—post warning signs or use flagging tape to mark boundaries. Never allow bystanders, children, or pets within this zone, even for “just a moment.” If someone must approach, stop the machine completely before they enter the safety perimeter.
Keep all body parts well away from the cutting wheel at every moment. Never reach to clear jams while the engine runs—wait for complete shutdown, then use tools rather than hands to remove obstructions. Know how to stop the machine instantly: practice reaching the emergency stop mechanism so you can activate it automatically if needed. Keep a first aid kit accessible and know the location of the nearest emergency facility.
Perform Essential Post-Operation Maintenance
Proper maintenance extends equipment life and ensures consistent performance. After each use, clean the machine thoroughly—wood chips left in the cutting wheel housing attract moisture and accelerate corrosion. Inspect teeth for wear and replace dull sets before they damage the wheel. For gas-powered units, either run the fuel dry before storage or add stabilizer and run the engine for several minutes to circulate it.
Track maintenance intervals in a logbook: replace teeth every ten to twenty hours of operation, change oil every twenty-five to fifty hours, and clean or replace air filters regularly. Store the machine in a clean, dry location, and protect cutting wheel teeth with light oil to prevent corrosion during storage periods.
Determine When Professional Help Makes Sense
Some situations warrant calling professionals rather than attempting DIY grinding. Consider professional services when stumps are located near structures, utilities, or on steep slopes where machine stability becomes a concern. Very large diameter stumps may exceed rental equipment capacity, while multiple stumps often make professional services more economical than repeated rental fees.
Time-sensitive projects benefit from professional efficiency—what might take you an entire weekend, professionals complete in hours. Professional grinding services typically charge seventy-five to two hundred dollars per stump depending on size and complexity. When factoring in your time, equipment rental costs, and physical demands, professional help often represents better value for anything beyond one or two small stumps.
Stump grinding transforms your landscape by removing stubborn remnants that otherwise limit your property’s usability. With the techniques and safety awareness outlined in this guide, you can approach this project with confidence. Take time to prepare properly, respect the machine’s power, and maintain focus throughout the operation. When conditions exceed your comfort level or equipment capacity, remember that professional help is always a wise investment in safety and results.


