
Imagine reaching for your morning coffee only to find your grinder has stopped working—again. Or needing to process fresh herbs for dinner but lacking the right tool. Instead of buying expensive replacements, why not build your own grinder tailored exactly to your needs? Learning how to make a grinder unlocks endless possibilities, whether you need a coffee grinder for perfect morning brews, a spice grinder for culinary adventures, or an herb grinder for specialized applications. This guide reveals practical methods to construct reliable grinders using accessible materials and tools, saving you money while delivering superior performance matched to your specific requirements. You’ll discover how to create everything from simple hand-crank models to sophisticated electric versions, all with confidence that your DIY grinder will outperform store-bought alternatives.
Essential Components for Your DIY Grinder Build
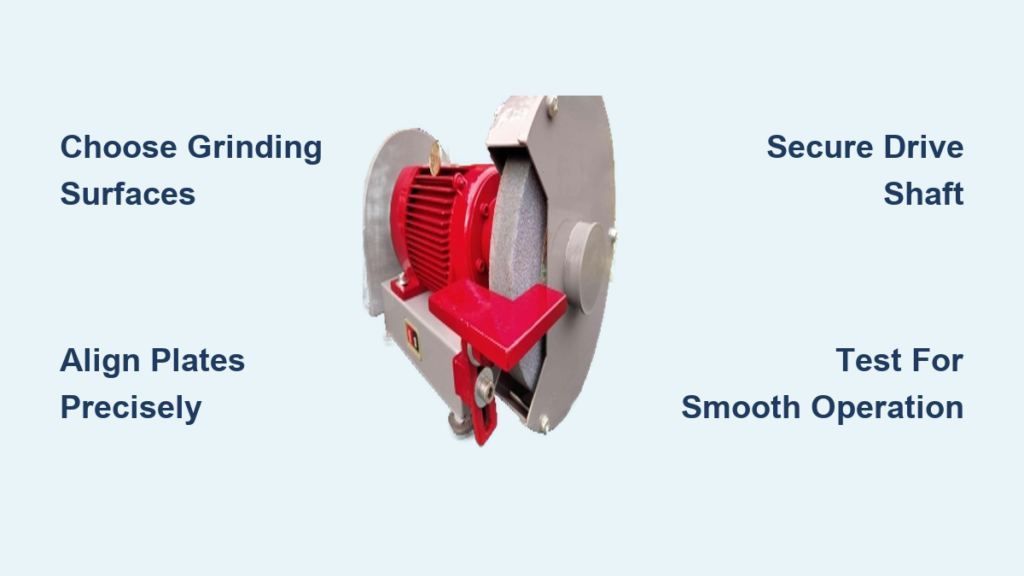
Selecting the Right Grinding Surfaces
The heart of any grinder consists of two precisely engineered surfaces that crush or cut materials into smaller particles. For coffee applications, ceramic burrs maintain consistent particle size without imparting metallic flavors that ruin delicate coffee notes. Stainless steel alternatives work better for herb processing due to their durability against fibrous materials, though they require thorough cleaning to prevent oxidation. When building spice grinders, consider hardened plastic components that resist staining from turmeric or paprika while providing sufficient grinding force. The gap between these surfaces—adjustable in quality grinders—determines your final grind consistency, with smaller gaps producing finer results ideal for espresso or Turkish coffee.
Must-Have Tools for Precision Construction
Skip the frustration of mid-project interruptions by gathering these critical tools before starting. A drill press creates perfectly perpendicular holes essential for proper alignment—borrow one if you don’t own it, as handheld drills rarely deliver the precision needed. Digital calipers measure critical dimensions down to 0.001 inches, ensuring components fit together without wobble. Files and sandpaper in multiple grits (80-600) smooth rough edges that would otherwise catch materials during operation. Safety equipment including impact-resistant glasses, cut-resistant gloves, and hearing protection belongs within arm’s reach before touching any power tools—grinder construction involves sharp edges and high-speed components that demand respect.
Building a Simple Hand-Crank Coffee Grinder
Creating Precision Grinding Plates
Start with two identical ceramic or stainless steel discs measuring 3-4 inches in diameter—available from specialty kitchen suppliers or online retailers. Center and drill a 1/2-inch hole through each disc using a diamond-tipped hole saw with constant water lubrication to prevent cracking. The hole must be perfectly perpendicular to the disc surface; test alignment by inserting your drive shaft and spinning it—if wobble occurs, refine the hole with a file until smooth rotation happens. Textured grinding surfaces work best: create concentric circles of small grooves using a Dremel tool with a fine cutting bit, spacing them 1/8 inch apart to provide consistent cutting action across the entire surface.
Assembling the Drive Mechanism
Cut a stainless steel rod to 8 inches for your drive shaft, threading both ends to accept securing nuts. Press the bottom grinding plate onto the shaft, followed by plastic or nylon spacers that determine your grind coarseness—typically 1/16 to 1/8 inch thick for coffee applications. Add the top grinding plate, then secure everything with a nut tightened just enough to allow smooth rotation without lateral movement. Attach a comfortable wooden crank handle using a setscrew through a cross-drilled hole, positioning it for ergonomic operation. Test your assembly by turning the crank slowly while checking for binding or uneven resistance—properly built, your grinder should rotate with consistent, smooth effort throughout each revolution.
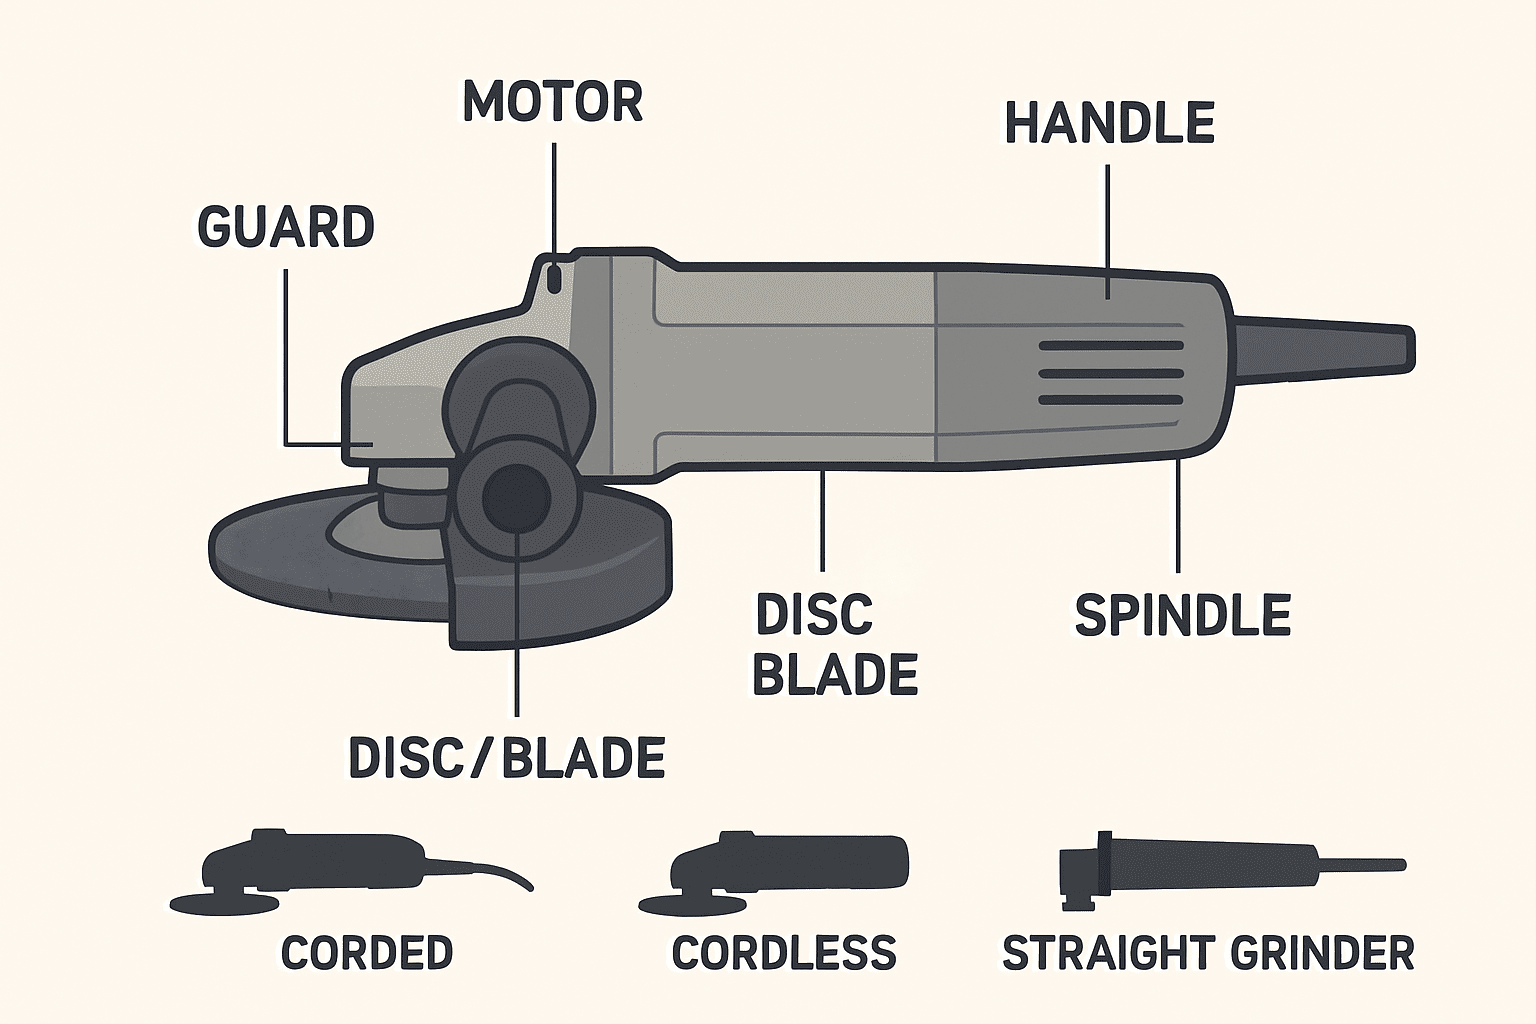
Converting a Power Drill into a High-Performance Grinder
Creating the Critical Adapter Shaft
Transform your cordless drill into a grinding powerhouse with this simple adapter. Cut a 6-inch length of 1/2-inch steel rod, threading one end to match your grinding assembly while leaving the other end smooth for the drill chuck. For quick changes, create a hex-shaped shank matching common drill bit sizes (5/16 inch works well for most models). Secure the adapter in your drill chuck at its lowest torque setting—this prevents stripping threads during operation while providing sufficient power for most grinding tasks. The magic happens when you connect this to your grinding assembly: the drill’s variable speed control lets you adjust from gentle spice crushing to aggressive herb processing with a simple trigger squeeze.
Implementing Safety-Critical Mounting Solutions
.jpg)
Never operate a drill-powered grinder handheld—secure mounting prevents dangerous movement during operation. Build a simple base from 3/4-inch plywood measuring 12×6 inches, attaching a vertical support that positions your grinding assembly directly above a collection container. Use pipe clamps to secure the drill in position, allowing quick height adjustments for different grind settings. Add a transparent polycarbonate shield between you and the grinder to protect against flying particles—this simple addition prevents painful eye injuries during unexpected material ejection. Always test your setup at lowest speed first, watching for vibration or wobble that indicates misalignment between the drill shaft and grinding assembly.
Expert Maintenance Strategies for Long-Lasting Performance
Cleaning Protocols That Prevent Common Failures
Coffee oils turn rancid within days, contaminating fresh grounds with bitter flavors—clean your coffee grinder after every 10 uses. Disassemble completely, removing all coffee residue with a stiff brush designed for grinder cleaning. For stubborn oil buildup, run specialized grinder cleaning pellets through the mechanism, followed by uncooked rice to absorb remaining residues. Herb grinders require different care: resin buildup causes sticking, so disassemble weekly and soak components in isopropyl alcohol for 15 minutes before brushing clean. Never submerge electric components in liquid—use compressed air to remove fine particles from motor housings and electrical connections.
Troubleshooting Inconsistent Grind Results
If your coffee grinder produces uneven particle sizes, worn burrs are likely the culprit. Check for visible wear patterns—consistent grinding creates uniform wear across the entire surface, while misalignment causes uneven wear concentrated in specific areas. Verify that all mounting hardware remains tight, as loose components allow burr movement during operation. For hand-crank models, inspect your spacers for compression or deformation that alters the critical gap between grinding surfaces. Electric grinders may suffer from motor issues—listen for unusual whining sounds that indicate failing bearings or worn brushes. Most problems resolve with proper cleaning and realignment, but remember that burrs eventually wear out and require replacement for consistent results.
Advanced Techniques for Specialized Grinding Needs
Optimizing Herb Grinder Design for Maximum Efficiency

Herb grinders need sharp, interlocking teeth that shear rather than crush delicate trichomes. Start with two identical acrylic discs, drilling a grid of 1/8-inch holes through which you’ll cut teeth using a fine saw blade. Create 30-40 teeth per disc with precise 45-degree angles that interlock perfectly when assembled. For the thread mechanism, epoxy brass inserts into pre-drilled holes—these withstand repeated tightening better than direct threading in softer materials. Add a pollen catcher chamber below the grinding teeth by incorporating a third disc with fine mesh screen, capturing valuable trichomes that would otherwise go to waste. The result? A grinder that processes material efficiently while preserving maximum potency.
Storage Solutions That Extend Grinder Lifespan
Proper storage prevents the most common causes of premature grinder failure. Keep your grinder in a dedicated container with silica gel packets to absorb moisture that causes metal components to corrode or wood to warp. For electric models, remove batteries before long-term storage to prevent corrosion from battery leakage. Disassemble grinders that won’t be used for more than two weeks, applying a light coat of food-safe mineral oil to wooden components and metal threads to prevent drying and galling. Store grinding plates separately with protective padding between them to prevent edge damage—chipped teeth create inconsistent grinding that ruins your results. These simple steps double your grinder’s operational life while maintaining peak performance.
Final Considerations for Successful Grinder Construction
Building your own grinder delivers satisfaction that store-bought models can’t match, along with customization options tailored to your specific needs. Start with the simplest design matching your requirements—most users find a well-built hand-crank grinder meets 90% of their needs without electrical complexity. Invest in quality grinding surfaces first; everything else supports this critical component. Verify perfect alignment before final assembly—spend extra time checking that grinding plates remain parallel throughout rotation. Test thoroughly at low speeds before processing valuable materials. Remember that your first grinder won’t be perfect, but each build teaches valuable lessons that improve your next project. With these techniques, you’ll create grinders that outperform commercial alternatives while saving significant money—truly the ultimate DIY success story.


