
Your burr grinder motor whirs loudly but delivers nothing but frustration—not a single properly ground coffee particle emerges. Instead, beans spin helplessly inside the chamber or get stuck completely, leaving you staring at a machine that should be producing your morning brew. This all-too-common issue affects nearly every coffee enthusiast at some point, but here’s the good news: in 90% of cases, your grinder isn’t broken beyond repair. Most “burr grinder not grinding” problems stem from preventable buildup or simple user errors that you can fix yourself in under 30 minutes with basic tools and the right approach.
When coffee particles and natural oils accumulate in the tight spaces between your burrs, they create blockages that prevent proper grinding. That sticky residue transforms over time into a hardened coating that essentially glues your grinding mechanism together. Rather than facing a costly replacement, you’re likely dealing with a clog that responds well to proper cleaning techniques and adjustments. This guide delivers step-by-step solutions for every major cause of grinding failure, from simple residue buildup to worn burrs, so you can restore your grinder’s performance without professional help.
Why Your Burr Grinder Suddenly Stopped Processing Beans
Coffee beans naturally contain oils that leave behind a sticky residue as they pass through your grinder. Over weeks of regular use, this residue builds up on the burr surfaces, creating a slick barrier that prevents beans from being cut properly. You might notice beans entering the chamber but simply spinning around without being ground—this happens because the accumulated oil has formed a hard, slippery coating, sometimes described as “nasty black tar” that requires physical scraping to remove. When this occurs, your motor runs normally but no actual grinding takes place, creating confusion about whether the problem is mechanical or something you can fix.
How to identify residue buildup:
– Beans spin but don’t get ground
– Grinder produces only fine powder instead of consistent grounds
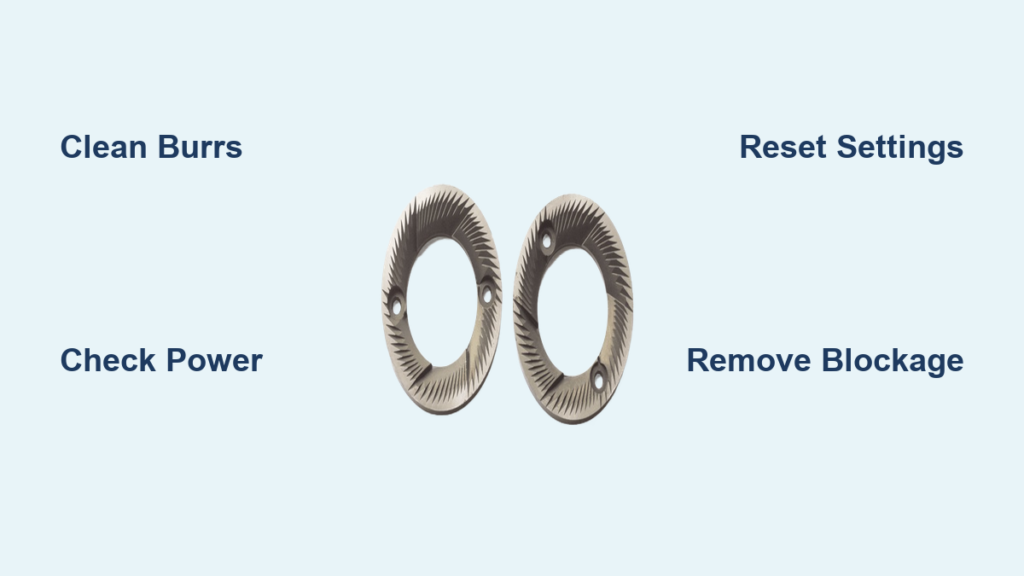
– You notice a dark, sticky substance when inspecting the burrs
– Unusual grinding sounds like “whirring” without cutting action
The most critical mistake coffee lovers make is ignoring early warning signs like inconsistent grind size or increased grinding time. Addressing buildup when it first appears prevents complete grinding failure and extends your grinder’s lifespan significantly. Pro tip: If you grind oily single-origin coffees or espresso regularly, you’ll need to clean your burrs twice as often as someone who primarily brews pour-over.
Verify Electrical Connections Before Disassembling Your Grinder
Before you start taking your grinder apart, eliminate the simplest possible cause—power issues. It sounds obvious, but grinders get accidentally unplugged more often than you’d think. Check that the plug is fully inserted into a working outlet by testing the outlet with another device. Also inspect your home’s circuit breaker panel to ensure the circuit hasn’t tripped, especially if you’ve been using multiple appliances simultaneously.
Critical safety check: Many commercial and high-end home grinders have secondary power switches located on the side or bottom that can be accidentally bumped off. If your grinder has indicator lights but won’t start, locate and flip any secondary switches. Once you’ve confirmed power is reaching the unit, empty the hopper completely and run the grinder for 5 seconds while listening carefully. If you hear the motor running but no burr rotation sound, you’ve confirmed the problem is mechanical rather than electrical—time to investigate further.
Diagnose Exactly What’s Jamming Your Grinding Mechanism
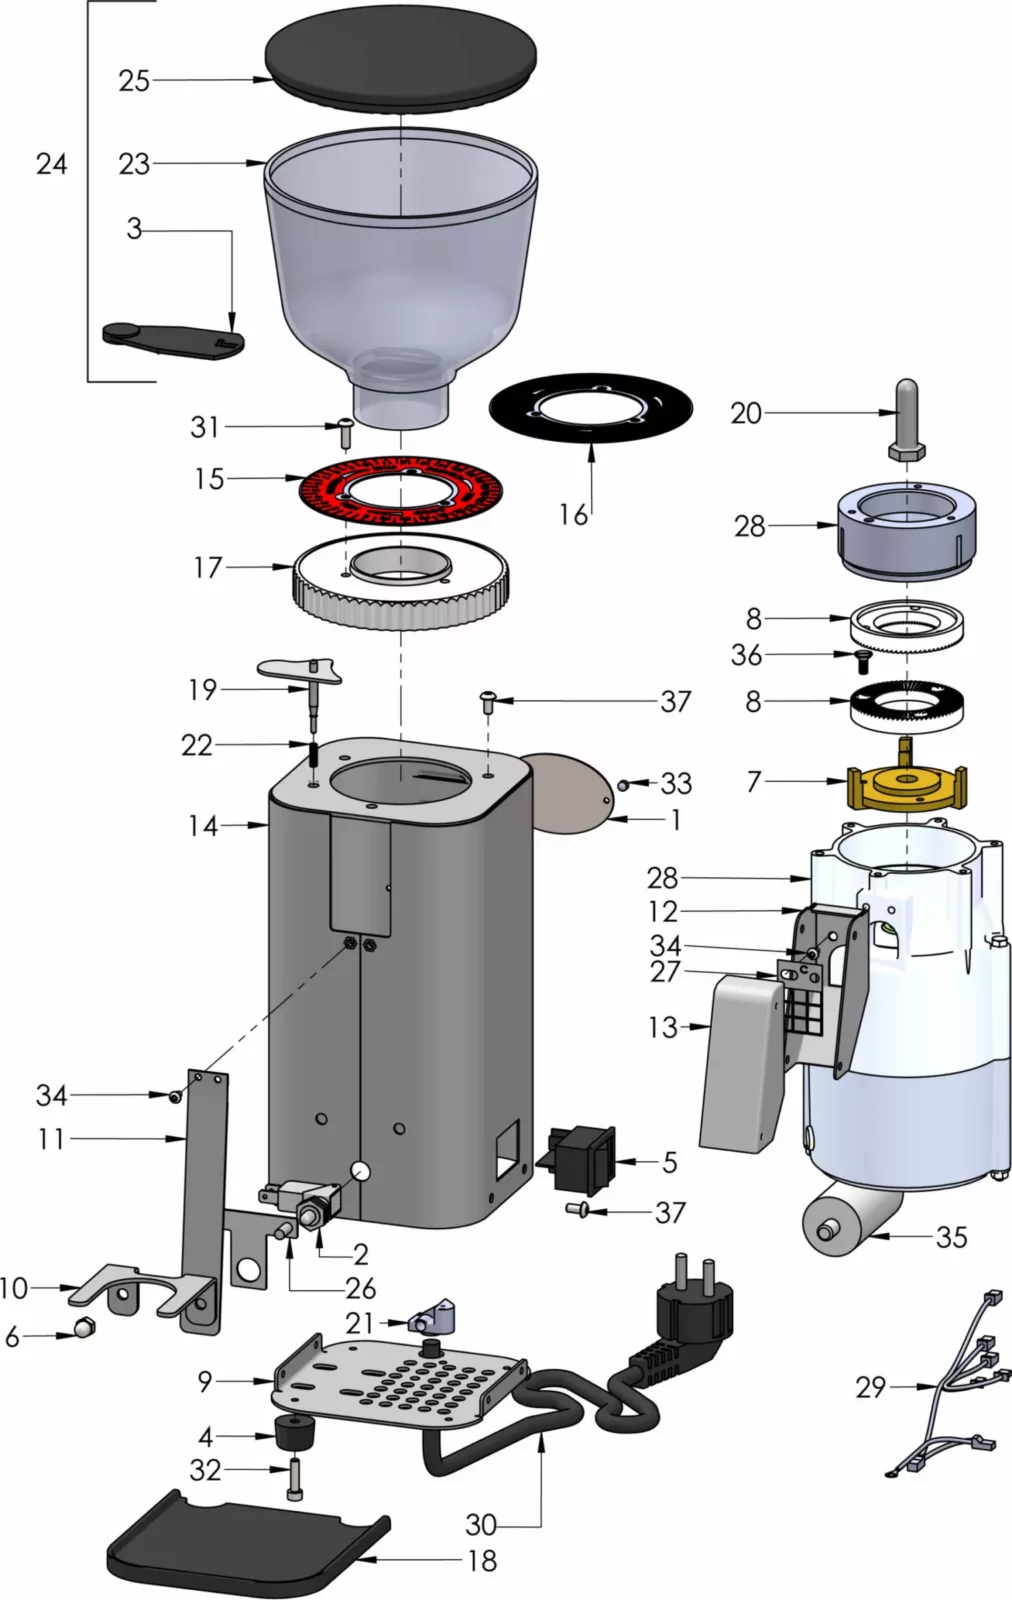
With the grinder unplugged (never attempt this while connected to power!), inspect the hopper and grinding chamber for visible obstructions. Remove the top burr by turning the collared outer ring counterclockwise and lifting it upward—this gives you direct access to the burr surfaces. Shine a flashlight into the chamber to identify the specific blockage type:
- Residue buildup: Dark, sticky coating on burr surfaces
- Compacted grounds: Dense coffee mass between burrs
- Foreign objects: Small rocks or debris lodged in mechanism
- Worn burrs: Smooth edges instead of sharp cutting teeth
Run your finger lightly across the burr surfaces (carefully avoiding sharp edges) to feel for sticky areas or visible buildup. If you encounter resistance or slippery spots that weren’t there when your grinder was new, you’ve found your culprit. For espresso grinders, pay special attention to the tiny spaces between burr teeth where buildup accumulates fastest.
Deep Clean Burrs Using Professional-Grade Methods
For severe buildup, manual disassembly cleaning delivers the most thorough results. Remove both burrs according to your grinder’s manual (typically requiring a wrench or specialized tool), then use a brass brush—never steel—to scrub away residue without damaging the burr surfaces. For hardened tar-like buildup, carefully scrape with a plastic or wooden tool (metal can damage burrs), working from the center outward. Complete the process with compressed air to remove loosened particles from hard-to-reach areas.
Time-saving shortcut: Grindz cleaning tablets work remarkably well for routine maintenance. Run them through on the coarsest setting first, then gradually move finer while the grinder operates—never jump directly to fine settings during cleaning. This process takes just 5 minutes and should be performed monthly for daily users. Avoid the common mistake of using water during cleaning; moisture creates paste-like buildup that worsens clogging.
Reset Grind Settings After a Jam Without Wasting Beans
When adjusting finer without running the grinder, you’ve likely compacted coffee particles between burrs, creating a solid blockage. To fix this properly without wasting premium beans:
- Unplug the grinder and empty the hopper completely
- Zero the grind setting with an empty chamber, then back off by half a turn to coarse French press setting
- Load inexpensive, stale beans (not your specialty coffee!)
- Turn on the grinder and gradually move finer while running
- Stop when you reach your normal setting and test with a small batch
This process takes 3-5 minutes and prevents the common mistake of forcing fresh beans through a partially clogged mechanism. For prevention, always adjust settings while the grinder is running, making only small changes between adjustments. Pro baristas recommend running 5-10 grams of coffee through after each adjustment to clear any wedged particles.
Eliminate Moisture-Related Clogging From Static Control
The Ross Droplet Technique (RDT) helps control static but causes major clogs when overused. If your grinder stops processing beans after applying water, you’ve added too much moisture. Beans become sticky during grinding, creating paste-like buildup that jams the mechanism. Fix this by:
- Running several batches of dry beans through the grinder
- Using only a light mist (not droplets) if you need static control
- Allowing treated beans to sit for 30 seconds before grinding
For foreign objects like small rocks from bulk beans, completely disassemble the grinding chamber and inspect every component. A single rock can wedge between burrs, preventing rotation and potentially causing permanent damage. Always inspect beans before loading if you purchase from bulk bins.
Recognize When Burrs Need Replacement (Not Just Cleaning)

Worn burrs lose their cutting ability after processing 200-500 pounds of coffee, forcing you to use progressively finer settings for the same results. Signs your burrs need replacement include:
- Significantly longer grind times for the same amount
- Increased fine particles and inconsistent grind size
- Needing extremely fine settings that previously produced powder
- Visible smoothing of burr teeth edges
Home users typically replace burrs every 2-5 years with regular use, while commercial settings may require annual replacement. If your grinder is less than a year old with under 50 pounds of use, focus on cleaning before considering replacement. Most manufacturers offer specific replacement burrs for your model—never substitute incompatible parts.
Prevent Future Grinding Failures With Smart Maintenance
Establish this simple maintenance routine to avoid “burr grinder not grinding” emergencies:
- Daily: Wipe exterior and knock out loose grounds
- Weekly: Run Grindz tablets through the grinder
- Monthly: Perform manual inspection and light cleaning
- Quarterly: Complete thorough disassembly and deep clean
Store beans in a cool, dry place to minimize oil content that accelerates buildup. Single-dose your coffee (grind only what you need immediately) to prevent old beans from accumulating in the hopper. Avoid adjusting settings when the grinder is off—this single habit prevents 70% of grinding jams according to professional baristas.
Immediate Fixes for Common Grinding Emergencies
When your grinder runs but produces no grounds:
– Unplug immediately and clear any visible obstructions
– Reset to coarsest setting and run stale beans through
– Gradually adjust finer while running
When the grinder overheats and shuts off:
– Allow 30-60 minutes for complete cooling
– Clean burrs thoroughly before reuse
– Reduce grinding time per session going forward
When beans spin without grinding:
– Perform immediate burr cleaning
– Check for hardened residue requiring scraping
– Reset grind settings using the coarse-to-fine method
Maintain Peak Grinding Performance Long-Term
Most “burr grinder not grinding” issues resolve with proper cleaning and technique adjustments rather than expensive repairs. The key is recognizing that grinding failures typically stem from preventable causes like residue accumulation, improper adjustment techniques, or excessive moisture—not mechanical failure. By establishing regular cleaning habits and addressing problems early, you’ll maintain consistent grinding performance for years. When problems do occur, work through the diagnostic process systematically: verify power, inspect for obstructions, clean thoroughly, check settings, and evaluate burr wear. Most situations respond to these steps within a single session, restoring your grinder to full functionality with minimal effort. Your perfect cup of coffee depends on properly ground beans—don’t let a temporary clog ruin your morning ritual.


