
Your Baratza grinder’s motor hums along normally, yet not a single coffee ground appears in your catch cup. This frustrating scenario leaves many coffee lovers staring at their seemingly functional grinder wondering what went wrong. When a Baratza grinder not grinding despite the motor running, it’s typically not an electrical failure but rather a mechanical obstruction preventing the burrs from doing their job. The good news? In 90% of cases, you can fix this problem yourself with basic cleaning tools and about 20 minutes of your time.
This deceptive issue occurs because coffee beans, oil residue, and compacted grounds create blockages that stop the grinding action while allowing the motor to spin freely. Unlike a complete motor failure, this problem develops gradually as buildup accumulates until it reaches a critical point where no grounds can pass through. This guide provides the exact steps to diagnose and fix your Baratza grinder, whether you’re dealing with a minor obstruction or a more stubborn mechanical issue.
Why Your Baratza Won’t Grind Despite Motor Running
When your Baratza grinder not grinding but motor running, the culprit is almost always a physical obstruction preventing the burrs from engaging with coffee beans. The upper burr spins in place without actually pulling material down to be processed, creating that confusing situation where everything seems to work but no grounds appear. This happens because coffee beans can jam for several specific reasons you might not expect.
Unusually dense or hard beans sometimes resist the grinder’s torque, becoming lodged before processing can begin. I’ve seen customers unknowingly grind beans that were improperly roasted or stored in humid conditions—these beans expand and bind tightly between the burrs. Foreign objects like small stones occasionally slip through quality control and create immediate blockages. Moisture-compromised beans absorb humidity from the air, causing them to swell within the chamber and compress against the burrs.
The insidious nature of coffee oil buildup creates equally problematic obstructions. Over just a few weeks of regular use, oils gradually coat the burrs, grind chamber walls, and exit chute. This sticky residue combines with old grounds to form hardened deposits that narrow critical pathways. Eventually, these narrowed channels reach a point where nothing can pass through, even though the motor and burrs continue operating normally. This gradual buildup often catches users by surprise—they don’t notice the declining performance until grinding stops completely.
Identify Your Specific Blockage Type

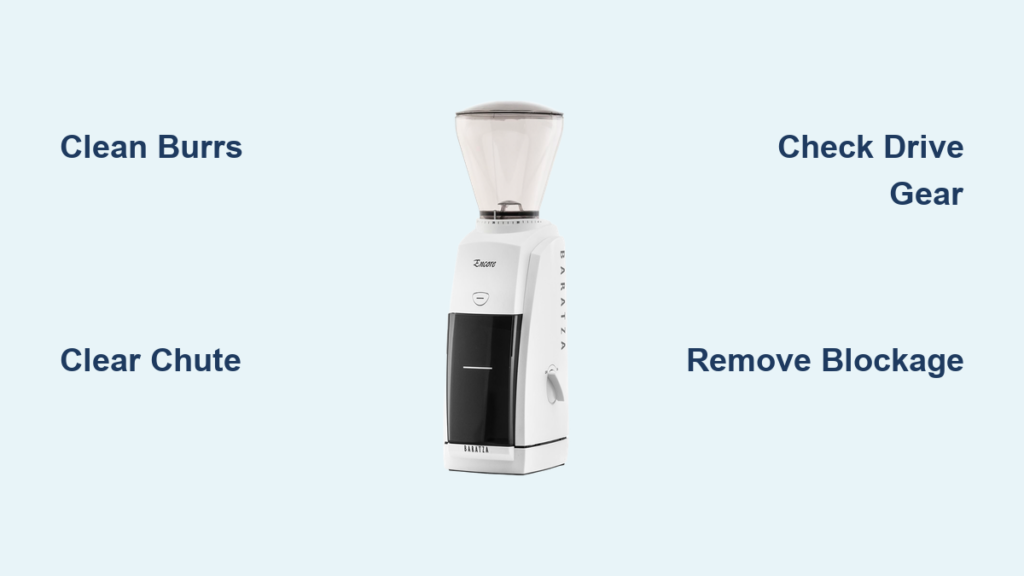
Pinpointing your exact blockage type saves time and prevents unnecessary disassembly. When your Baratza grinder not grinding, listen carefully to the motor sound and observe these telltale signs that reveal the underlying problem.
The silent jam occurs when beans sit motionless in the hopper without being drawn down toward the burrs. This indicates a severe blockage preventing beans from even entering the grinding chamber. If you see beans accumulating around the burr area without exiting properly, you’re likely dealing with chute obstruction—the most common issue where grounds build up in the exit pathway.
Listen for these critical sound cues:
– A consistent, steady whir with no grounds: classic blockage
– Irregular grinding noises or motor straining: severe jam causing resistance
– Complete silence when grinding: possible electrical issue (less common)
Visually inspect these areas before disassembly:
– Hopper: Are beans moving downward when grinding?
– Burr area: Can you see compacted grounds around the burrs?
– Catch cup: Is any material making it through, even in small amounts?
Essential Safety Steps Before Cleaning
Always unplug your Baratza completely before starting any cleaning procedure—this eliminates risk of accidental activation while your hands are near sharp components. Set your grinder to its coarsest setting (usually #40 on most models) to maximize clearance in the grind chamber. This simple step makes burr removal 50% easier and reduces the risk of damaging burr teeth during cleaning.
Gather these tools before beginning:
– The specialized brush that came with your grinder (essential for reaching tight spaces)
– A vacuum cleaner with a narrow hose attachment (for debris extraction)
– A long, thin pick tool (like a dental pick or unbent paperclip)
– Soft cloth for exterior cleaning
Work in a well-lit area with a towel beneath your workspace to catch debris. The entire cleaning process takes 15-25 minutes depending on blockage severity, so set aside adequate time. Never use water on burrs—moisture causes rusting that permanently damages the grinding mechanism.
Remove Hopper and Upper Burr Properly
Lift the hopper straight up and out of the grinder body—this should require minimal force. If resistance occurs, your grinder likely has significant buildup around the collar. With the hopper removed, locate the small black rubber collar surrounding the white burr plate. Gently lift this component straight up—never twist or pry, as this can deform the rubber.
The white top burr collar comes next—this should lift out easily when set to coarsest setting. If stuck, rotate it slightly while lifting to release tension. Finally, the upper burr itself can be lifted out. Handle burrs by their edges only—the teeth are extremely sharp. If the upper burr won’t budge, don’t force it; return to coarsest setting and try again after brushing visible debris.
Deep Clean Burrs and Grind Chamber
Clean the upper burr using the specialized brush with firm, circular motions around all teeth surfaces. Focus on the valley between the burr teeth where residue accumulates most heavily. For stubborn buildup, use a pick tool at a 45-degree angle to avoid damaging burr teeth while dislodging compacted material.
For the lower burr (which remains fixed in place), insert the brush into the grind chamber and work it systematically around the entire circumference. Pay special attention to the center hub area where grounds frequently accumulate. After brushing, use your vacuum immediately to extract dislodged debris before it resettles.
Critical cleaning areas often missed:
– The space between burr carrier and grinder housing
– The chute opening where grounds exit the burr chamber
– The underside of the upper burr carrier
– The bean exit path leading to your catch cup
Clear Stubborn Exit Chute Blockages
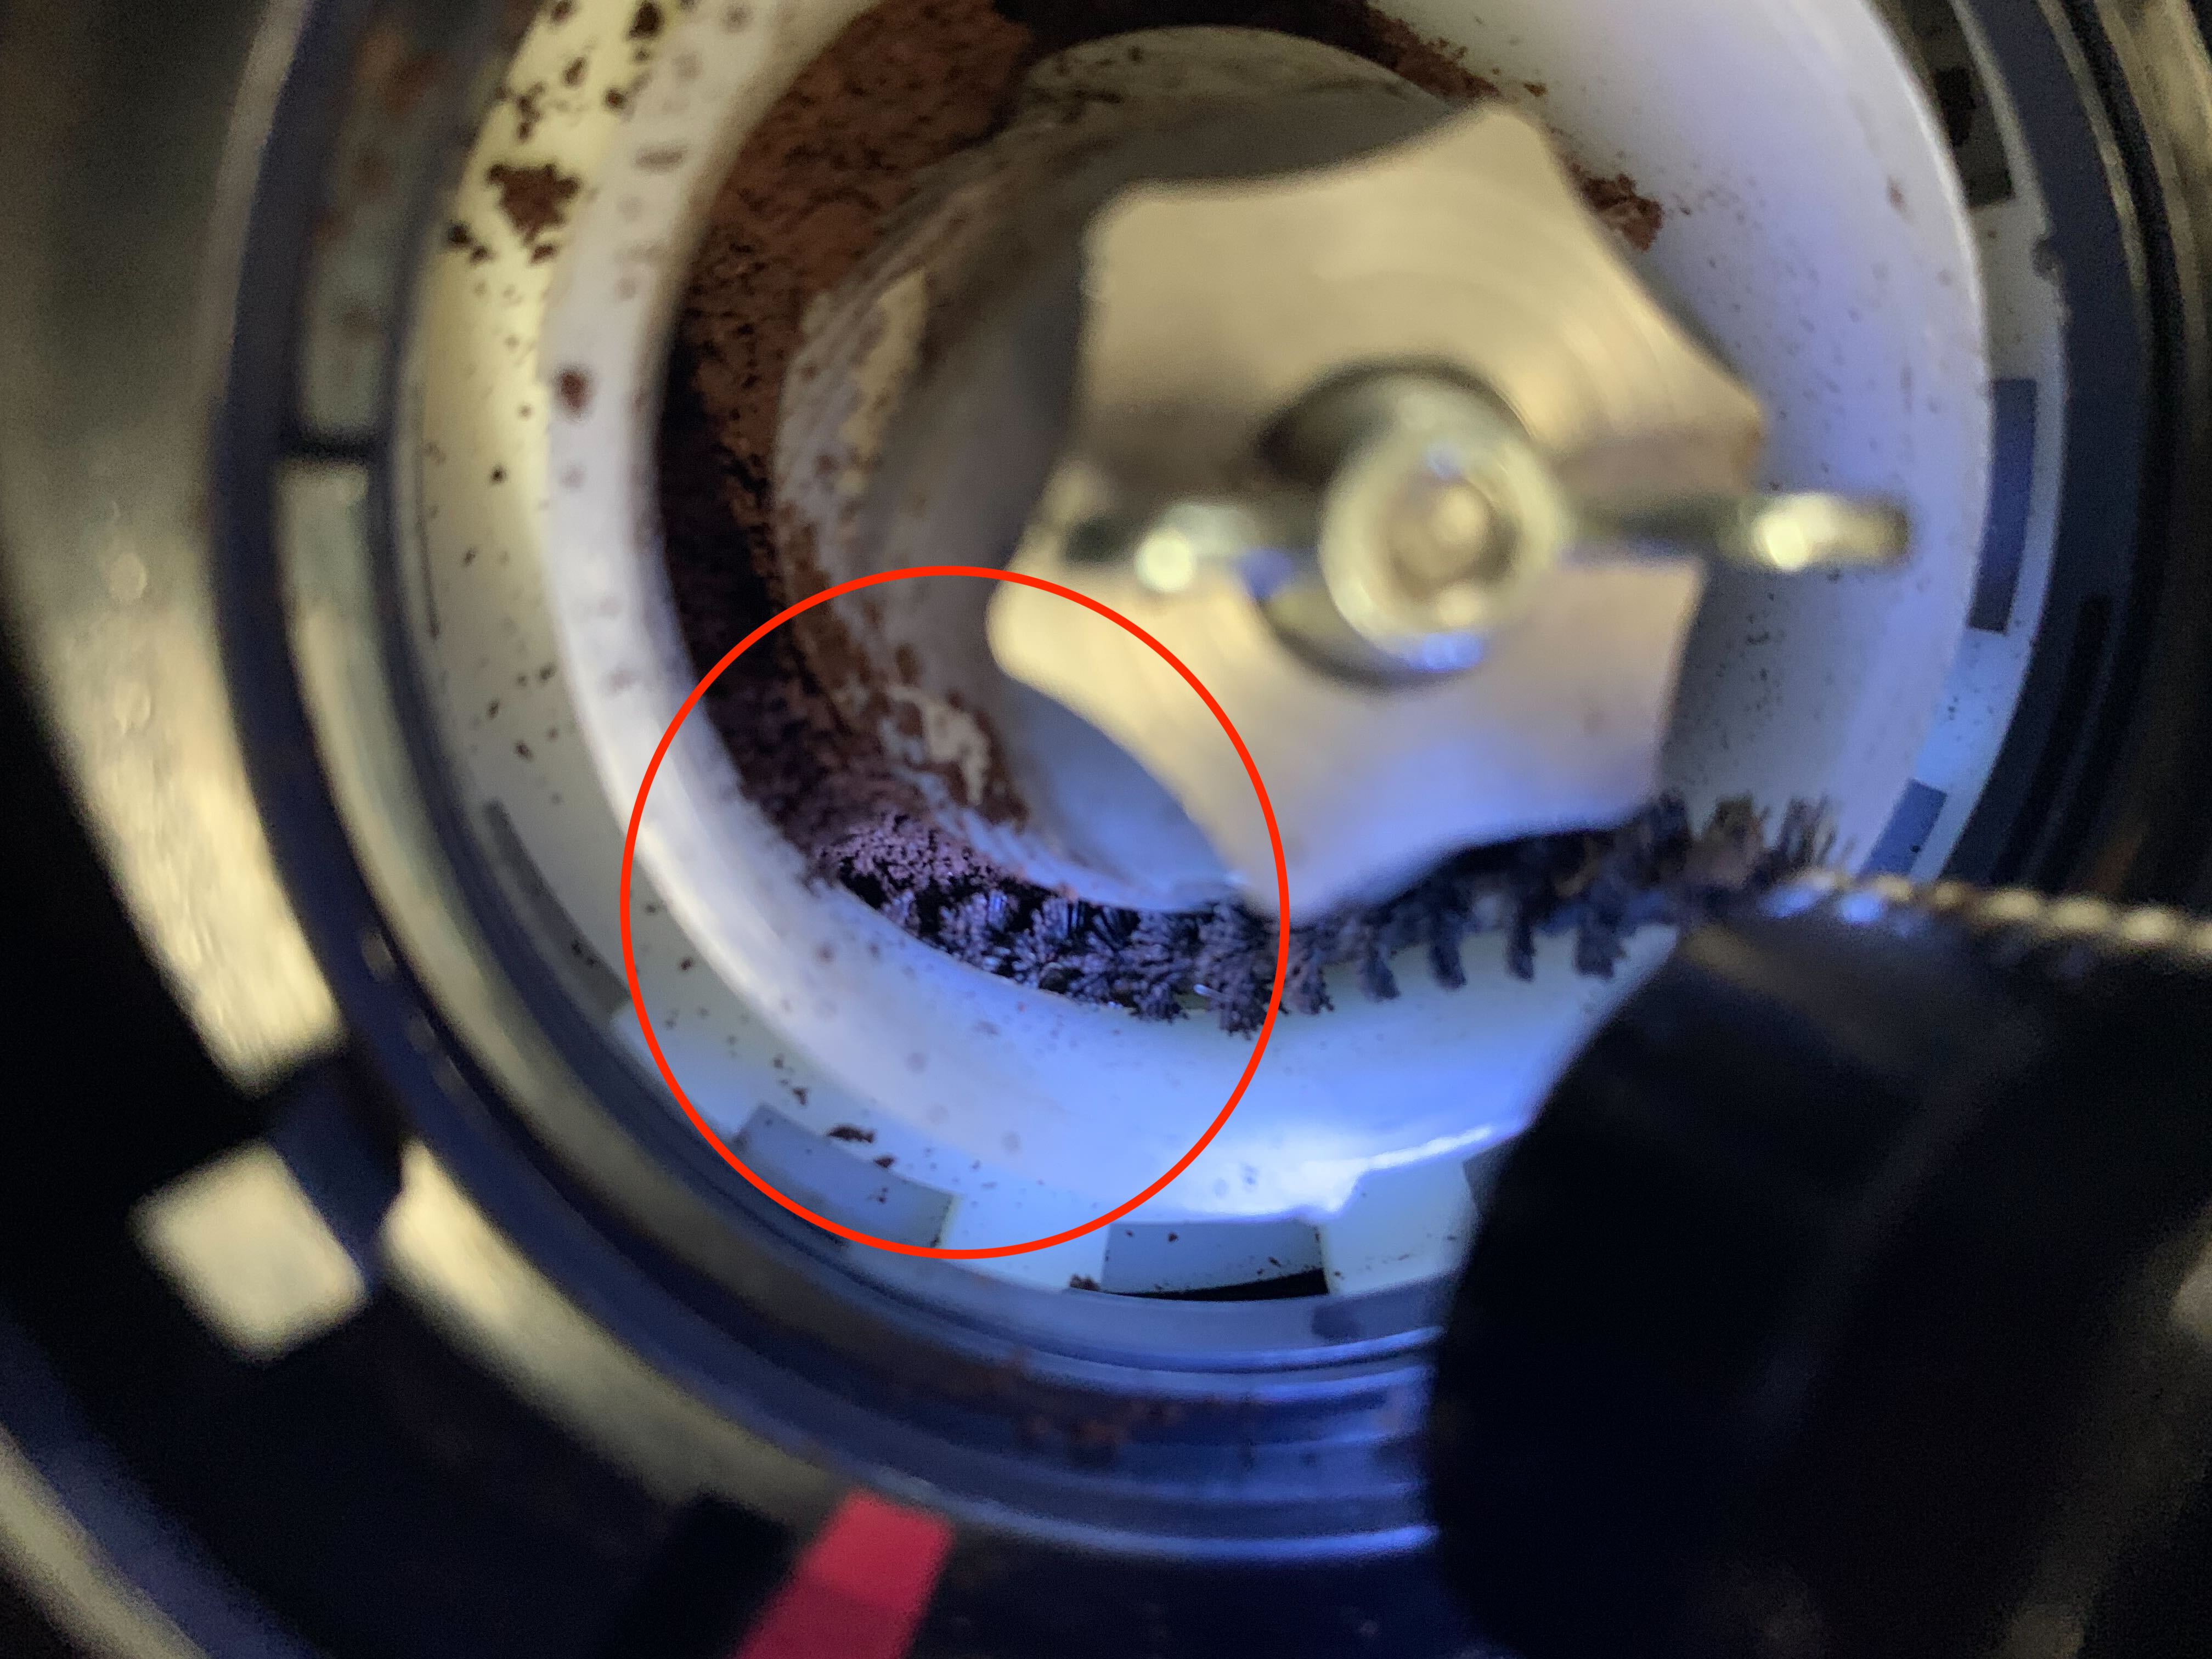
The exit chute requires special attention because even small obstructions here prevent all ground coffee from dispensing. Insert your brush into the chute opening from the burr chamber side and rotate it while applying gentle downward pressure. For severe blockages, use the pick tool to break up compacted material in small sections, vacuuming after each removal.
If accessible, clean from the catch cup side as well by inserting the brush upward through the chute. This two-direction approach clears the entire pathway. For extremely stubborn blockages, run the pick tool through the chute multiple times, then use short bursts of compressed air (if available) to blow remaining particles free.
Wash Removable Components Correctly
Wash the hopper, rubber collar, and catch cup in warm, soapy water using mild dish detergent. Never use abrasive cleaners that could scratch surfaces where coffee contacts the grinder. Pay special attention to the hopper’s bean pathway and the catch cup’s interior corners where oils accumulate.
Rinse thoroughly until water runs completely clear—any soap residue affects coffee flavor. Dry all components completely before reassembly; residual moisture can migrate into the grinder body. While waiting for components to dry, wipe the grinder’s exterior with a damp cloth to remove coffee dust.
Reassemble and Test Your Baratza Properly
Reassemble components in reverse order of removal, ensuring each part seats fully. The upper burr must sit flat and level—if it wobbles or feels uneven, remove and reposition it. Set the grind size to medium (#20) for your test run, as this setting provides optimal torque for initial testing.
Plug in the grinder and run 5-10 coffee beans through the system. Watch carefully for these success indicators:
– Beans visibly moving downward from the hopper
– Consistent grinding sound without straining
– Fresh grounds appearing in the catch cup within 5 seconds
If grinding still fails after proper cleaning, check if the upper burr rotates when the motor runs. If it doesn’t spin despite the motor running, you likely have a drive gear problem requiring professional attention.
Diagnose Drive Gear Problems Accurately
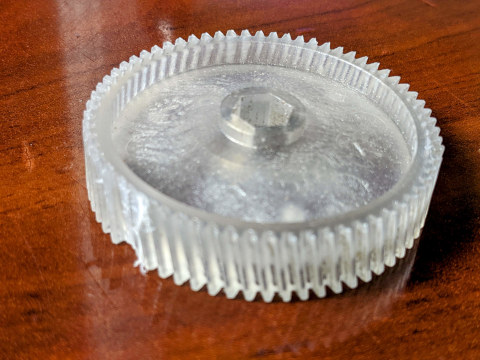
If thorough cleaning doesn’t resolve your Baratza grinder not grinding issue, inspect the drive gear system. On the Baratza Encore, this involves removing the two screws on the bottom to separate the case from the motor section. Only attempt this after exhausting all cleaning procedures, as improper reassembly can cause additional problems.
Look for these signs of gear failure:
– Visible cracks or stripped teeth on the plastic drive gear
– Excessive play between the motor shaft and drive gear
– Complete disconnection between motor and burr assembly
If you confirm gear failure, contact Baratza support directly for replacement parts. Many users find that professional repair costs approach 50% of a new grinder’s price, making replacement more economical for units over 3 years old.
Prevent Future Grinding Failures
Establish this simple maintenance routine to prevent recurrence:
– After each use: Brush burrs and chamber (30 seconds)
– Weekly: Deep clean burrs and inspect chute
– Monthly: Wash all removable components thoroughly
Pro tips to extend grinder life:
– Store beans in airtight containers away from humidity
– Avoid grinding stale or oily beans that accelerate buildup
– Run grinder empty on coarse setting when changing roast types
– Never grind at finest settings continuously—alternate with medium settings
Keep Your Baratza Grinding Perfectly
When your Baratza grinder not grinding but motor running, remember that blockages—not mechanical failure—cause 95% of these issues. By following these precise cleaning procedures, you’ve likely restored your grinder to full functionality without professional help. Regular maintenance prevents most problems before they start, protecting your investment in quality coffee equipment.
The relatively simple care routine outlined here ensures years of reliable service from your Baratza. When issues do occur, systematic troubleshooting following these steps will typically identify and resolve the problem quickly. Remember: consistent, proper maintenance transforms occasional grinding failures into rare exceptions rather than recurring frustrations in your coffee routine.


