
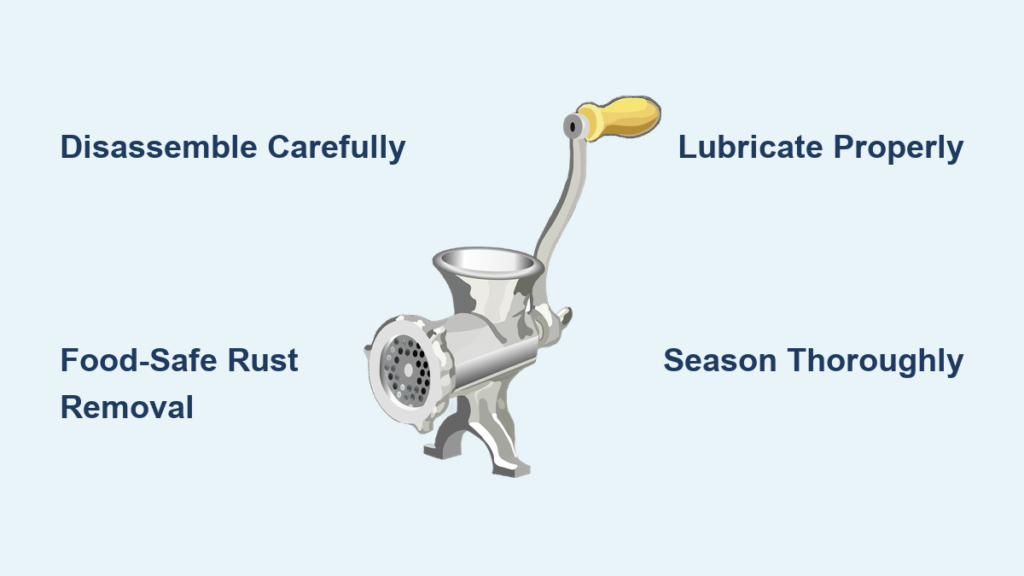
You’ve just inherited your grandmother’s old meat grinder or found a beautiful vintage model at a flea market. The cast iron body shows decades of use, with rust spots and worn components. You’re excited to restore it to working condition, but where do you begin? Meat grinder restoration is a rewarding process that preserves kitchen history while creating a functional tool for modern use. Without proper guidance, however, you risk damaging irreplaceable parts or creating a food safety hazard. This guide walks you through every step of properly restoring a vintage meat grinder, from initial assessment to final seasoning, so you can safely transform that rusty find into a kitchen heirloom.
Why Vintage Meat Grinders Need Special Restoration Approaches
Unlike modern electric models, vintage meat grinders require specific restoration techniques due to their materials and construction. Cast iron components can’t withstand aggressive cleaning methods, and original parts are often impossible to replace. Understanding these differences is crucial for successful restoration.
Identifying Your Grinder’s Age and Model
Before beginning restoration, determine your grinder’s era and manufacturer. Pre-1950s models typically feature all-metal construction with cast iron bodies, while 1950s-1970s units may incorporate Bakelite or early plastics. Check for manufacturer stamps on the base or crank handle—common brands include Enterprise, Star, and Challenge. Knowing your model helps identify authentic replacement parts and appropriate restoration methods.
Why Standard Rust Removal Methods Damage Vintage Grinders
Many DIY enthusiasts make the critical mistake of using vinegar soaks or electrolysis on vintage meat grinders. These methods remove protective seasoning from cast iron components and can damage delicate threading. The acidic nature of vinegar attacks metal at a molecular level, weakening structural integrity over time. For food-contact surfaces, this creates microscopic pits where bacteria can harbor, compromising food safety despite the grinder appearing clean.
Essential Safety Preparations Before Starting Restoration

Mandatory Protective Gear for Grinder Restoration
Your safety must come first when working with vintage tools. Always wear:
– Nitrile gloves (latex won’t protect against metal particles)
– Safety goggles with side shields
– Respirator mask rated for metal particles (N95 minimum)
– Long sleeves and pants made of natural fibers
Working with decades-old grease and rust creates airborne particles that can cause respiratory issues. Many vintage grinders contain lead-based paints or coatings that require special handling procedures.
Workspace Setup Requirements
Create a dedicated restoration area with:
– Waterproof covering for surfaces (multiple layers recommended)
– Proper ventilation system or outdoor workspace
– Magnetic tray for small parts organization
– Separate containers for different disassembly stages
– Food-grade mineral oil for immediate part protection
Never use kitchen spaces for restoration work. The metal particles and chemicals used in restoration create permanent contamination risks for food preparation areas.
Step-by-Step Disassembly Process
Proper Tool Selection for Stuck Components
Using improper tools damages vintage grinders during disassembly. For seized components:
– Start with penetrating oil specifically formulated for food-grade equipment
– Use brass or nylon hammers instead of steel
– Select wrenches that fit perfectly—never use adjustable wrenches on vintage parts
– Apply heat only as last resort (max 170°F to avoid warping)
For the critical main shaft connection, many restorers fail to recognize the reverse threading on vintage models. Always turn counter-clockwise to tighten and clockwise to loosen this component—opposite of standard threading.
Documenting Each Component’s Placement
As you disassemble, create a visual map of each part’s position:
1. Take photos at every disassembly stage
2. Sketch a simple diagram with part numbers
3. Store components in labeled containers by assembly stage
4. Note any unusual wear patterns or damage
This documentation prevents reassembly errors that could damage your grinder. Many vintage models have subtle variations between production years that affect proper assembly.
Rust Removal and Deep Cleaning Methods
Food-Safe Rust Removal Techniques
For food-contact surfaces like grinding plates and augers:
– Use fine steel wool (0000 grade) with food-grade mineral oil
– Apply gentle circular motions following metal grain
– Never use sandpaper—it creates deep scratches that harbor bacteria
– Finish with a baking soda paste for final cleaning
For non-food-contact areas like the mounting clamp:
– Try citric acid solution (1 tablespoon per cup of water)
– Soak for no longer than 30 minutes
– Neutralize with baking soda solution afterward
– Immediately dry and oil to prevent flash rusting
Proper Cleaning of Threaded Components
Threaded parts require special attention to maintain functionality:
1. Use a soft brass brush with food-grade mineral oil
2. Work the brush back and forth along the thread path
3. Never force the brush—let the oil do the work
4. Test fit components frequently during cleaning
Damaged threads are the most common reason for restoration failure. If threads show significant wear, consult a specialist before attempting repairs.
Reassembly and Testing Procedures
Critical Lubrication Points
Use only food-grade mineral oil on these specific areas:
– Main shaft bushing (3-4 drops)
– Gear teeth contact points (light coating)
– Crank mechanism pivot points
– Plate retention ring threads
Never use standard machine oil—it contains petroleum byproducts unsafe for food contact. Apply lubricant sparingly; excess attracts dust and debris.
Initial Testing Protocol
After reassembly, conduct these tests before food use:
1. Dry run with bread cubes to check smooth operation
2. Inspect for metal shavings in the output
3. Test different plate sizes for consistent performance
4. Check for unusual noises indicating misalignment
If your grinder binds or produces uneven grinding, disassemble and check plate alignment. Many vintage models require precise plate positioning for proper function.
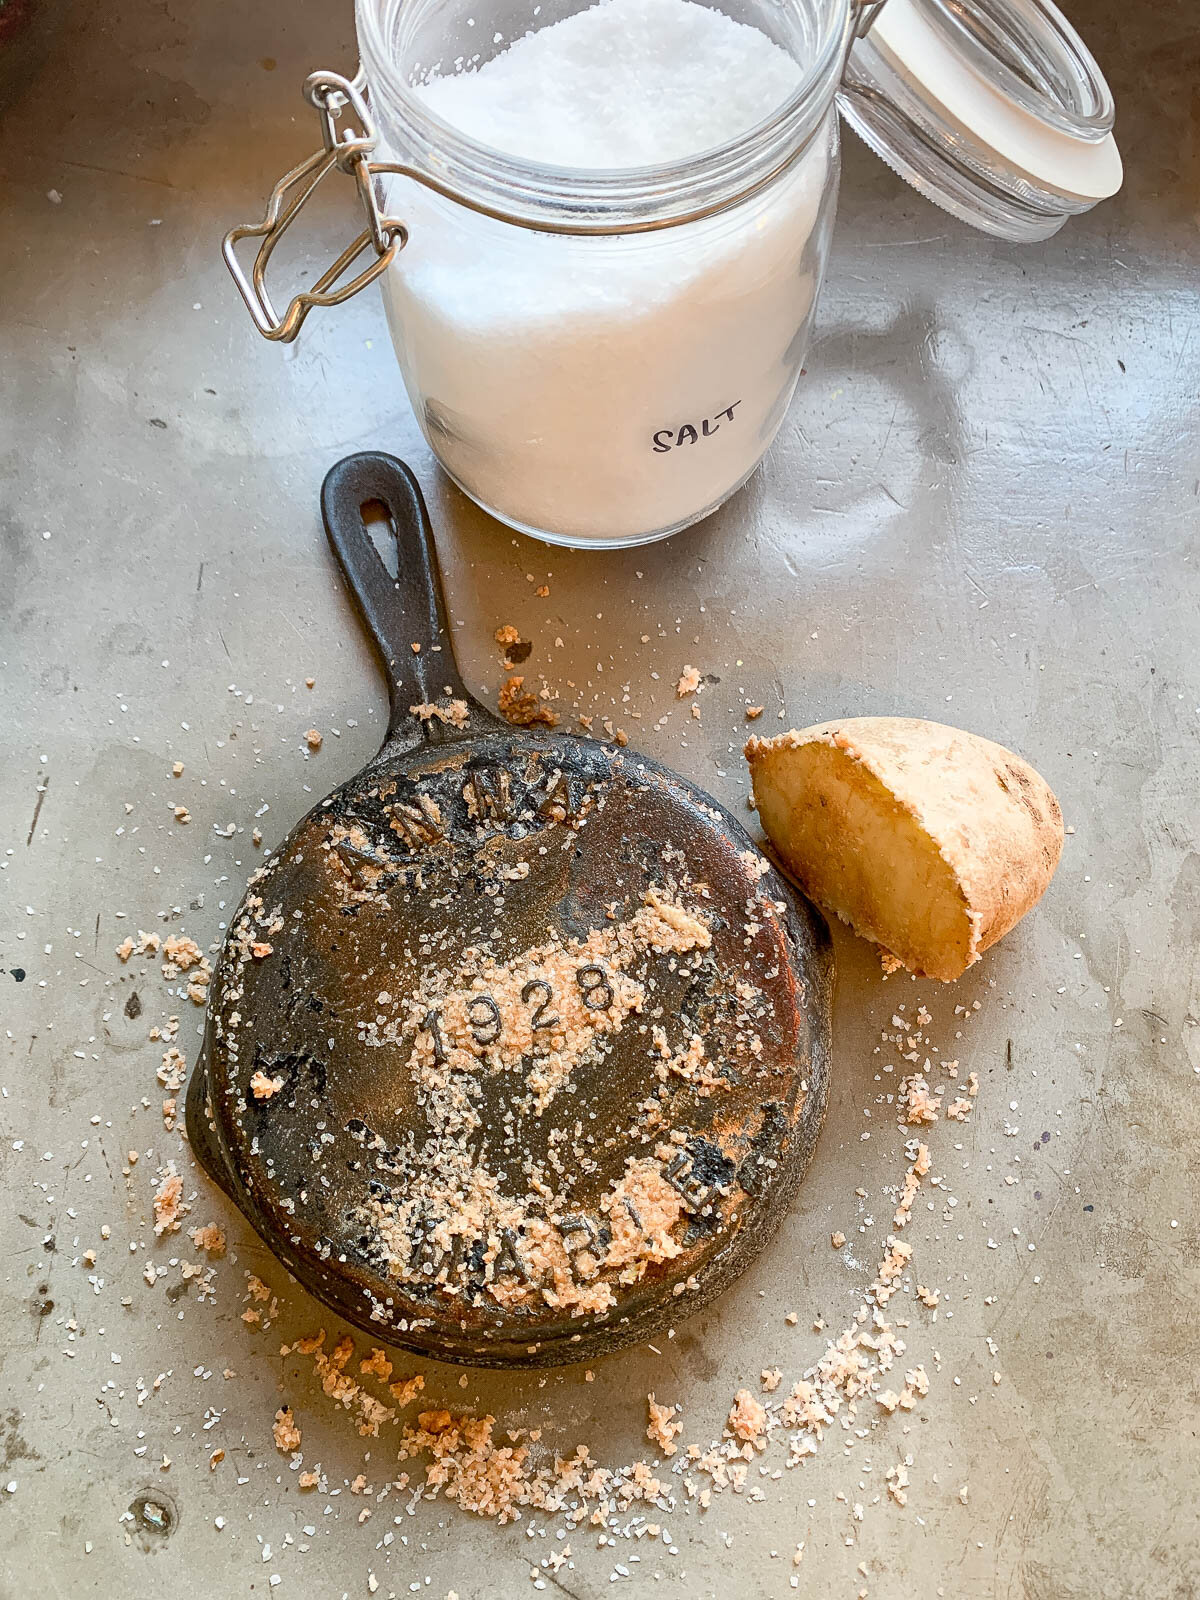
Seasoning and Maintenance for Long-Term Use
Proper Seasoning Procedure
Create a protective layer on cast iron components:
1. Apply thin coat of food-grade mineral oil
2. Wipe off excess with lint-free cloth
3. Place in warm area (80-90°F) for 24 hours
4. Repeat process 3-5 times for full protection
Unlike cast iron cookware, meat grinders require lighter seasoning to maintain precise tolerances between moving parts.
Ongoing Maintenance Schedule
For continued performance:
– After each use: Disassemble, rinse with hot water (no soap), dry thoroughly
– Monthly: Inspect for wear, reapply mineral oil
– Annually: Complete disassembly and re-seasoning
– Before storage: Apply protective oil coating and wrap in breathable cloth
Never store your restored grinder in airtight containers—trapped moisture causes rapid rust formation.
Final Note: Properly restored vintage meat grinders outperform modern counterparts in durability and grinding quality, but require specific care. By following these restoration guidelines, you preserve both a piece of culinary history and create a superior kitchen tool. Always prioritize food safety over cosmetic perfection—some patina adds character, but compromised sanitation risks are never worth taking. When in doubt about a restoration step, consult experienced vintage tool restorers rather than risking damage to your valuable find.


