
That frustrating moment when you press the grind button only to hear your coffee grinder straining without producing a single ground bean—this is the universal panic of every coffee lover facing a clogged grinder. Instead of the familiar whirring sound delivering your precious grounds, you get nothing but resistance and disappointment, derailing your entire morning ritual. Knowing exactly how to unclog a coffee grinder transforms this stressful situation into a manageable problem you can solve in minutes rather than resigning yourself to coffee-less despair. Most clogs result from compacted grounds, coffee oil residue, or stubborn blockages in the burrs—all completely fixable with the right approach. This guide delivers precise solutions from quick fixes to deep-cleaning procedures, ensuring you’ll have your grinder running smoothly again and learn how to prevent these frustrating interruptions to your coffee routine.
The good news is that most coffee grinder clogs require no special expertise—just understanding what causes these blockages, how to diagnose them properly, and which cleaning technique applies to your specific situation. Whether you own a basic blade grinder or a high-end espresso machine burr grinder, the principles of unclogging remain consistent. Let’s get your grinder back to delivering perfect grounds every time.
Diagnose Your Grinder’s Specific Clog Type

Before grabbing your cleaning tools, determine exactly what type of clog you’re dealing with—different blockages require different solutions, and proper diagnosis prevents wasted effort and potential equipment damage. Listen carefully as your grinder runs: a straining motor that sounds like it’s working harder than normal typically indicates a blockage in the burrs or chute where grounds must pass through. If the motor sounds normal but beans simply aren’t being processed, the issue may lie in the feed mechanism or upper burr chamber. Pay attention to whether grounds are partially exiting but in reduced quantities, or whether nothing emerges despite the grinder running.
Visual inspection provides crucial clues about your clog’s nature. Remove the hopper and examine the upper burr area—do you see compacted grounds pressed tightly between the burr teeth, or is the mechanism surprisingly empty? Check the grounds chute and exit pathway for visible blockages. Oily, tar-like residue indicates coffee oil accumulation rather than simple ground compaction, which signals the need for deeper cleaning beyond basic brushing. This “coffee tar” forms when coffee oils accumulate over time and becomes remarkably resistant to surface cleaning.
Why Your Grinder Suddenly Stopped Producing Grounds
Several specific scenarios cause grinding to stop completely. When you adjust grind settings to finer positions without actually running the grinder, coffee particles become compacted between the burrs until they form an impenetrable mass. Extremely oily beans contribute significantly to residue buildup that eventually bonds to burr surfaces. If you use the Ross Droplet Technique (RDT) with excessive moisture, this can accelerate clogging, particularly with fine espresso settings. Recognizing which scenario applies to your situation directs you to the most effective solution.
Gather Essential Tools Before Starting
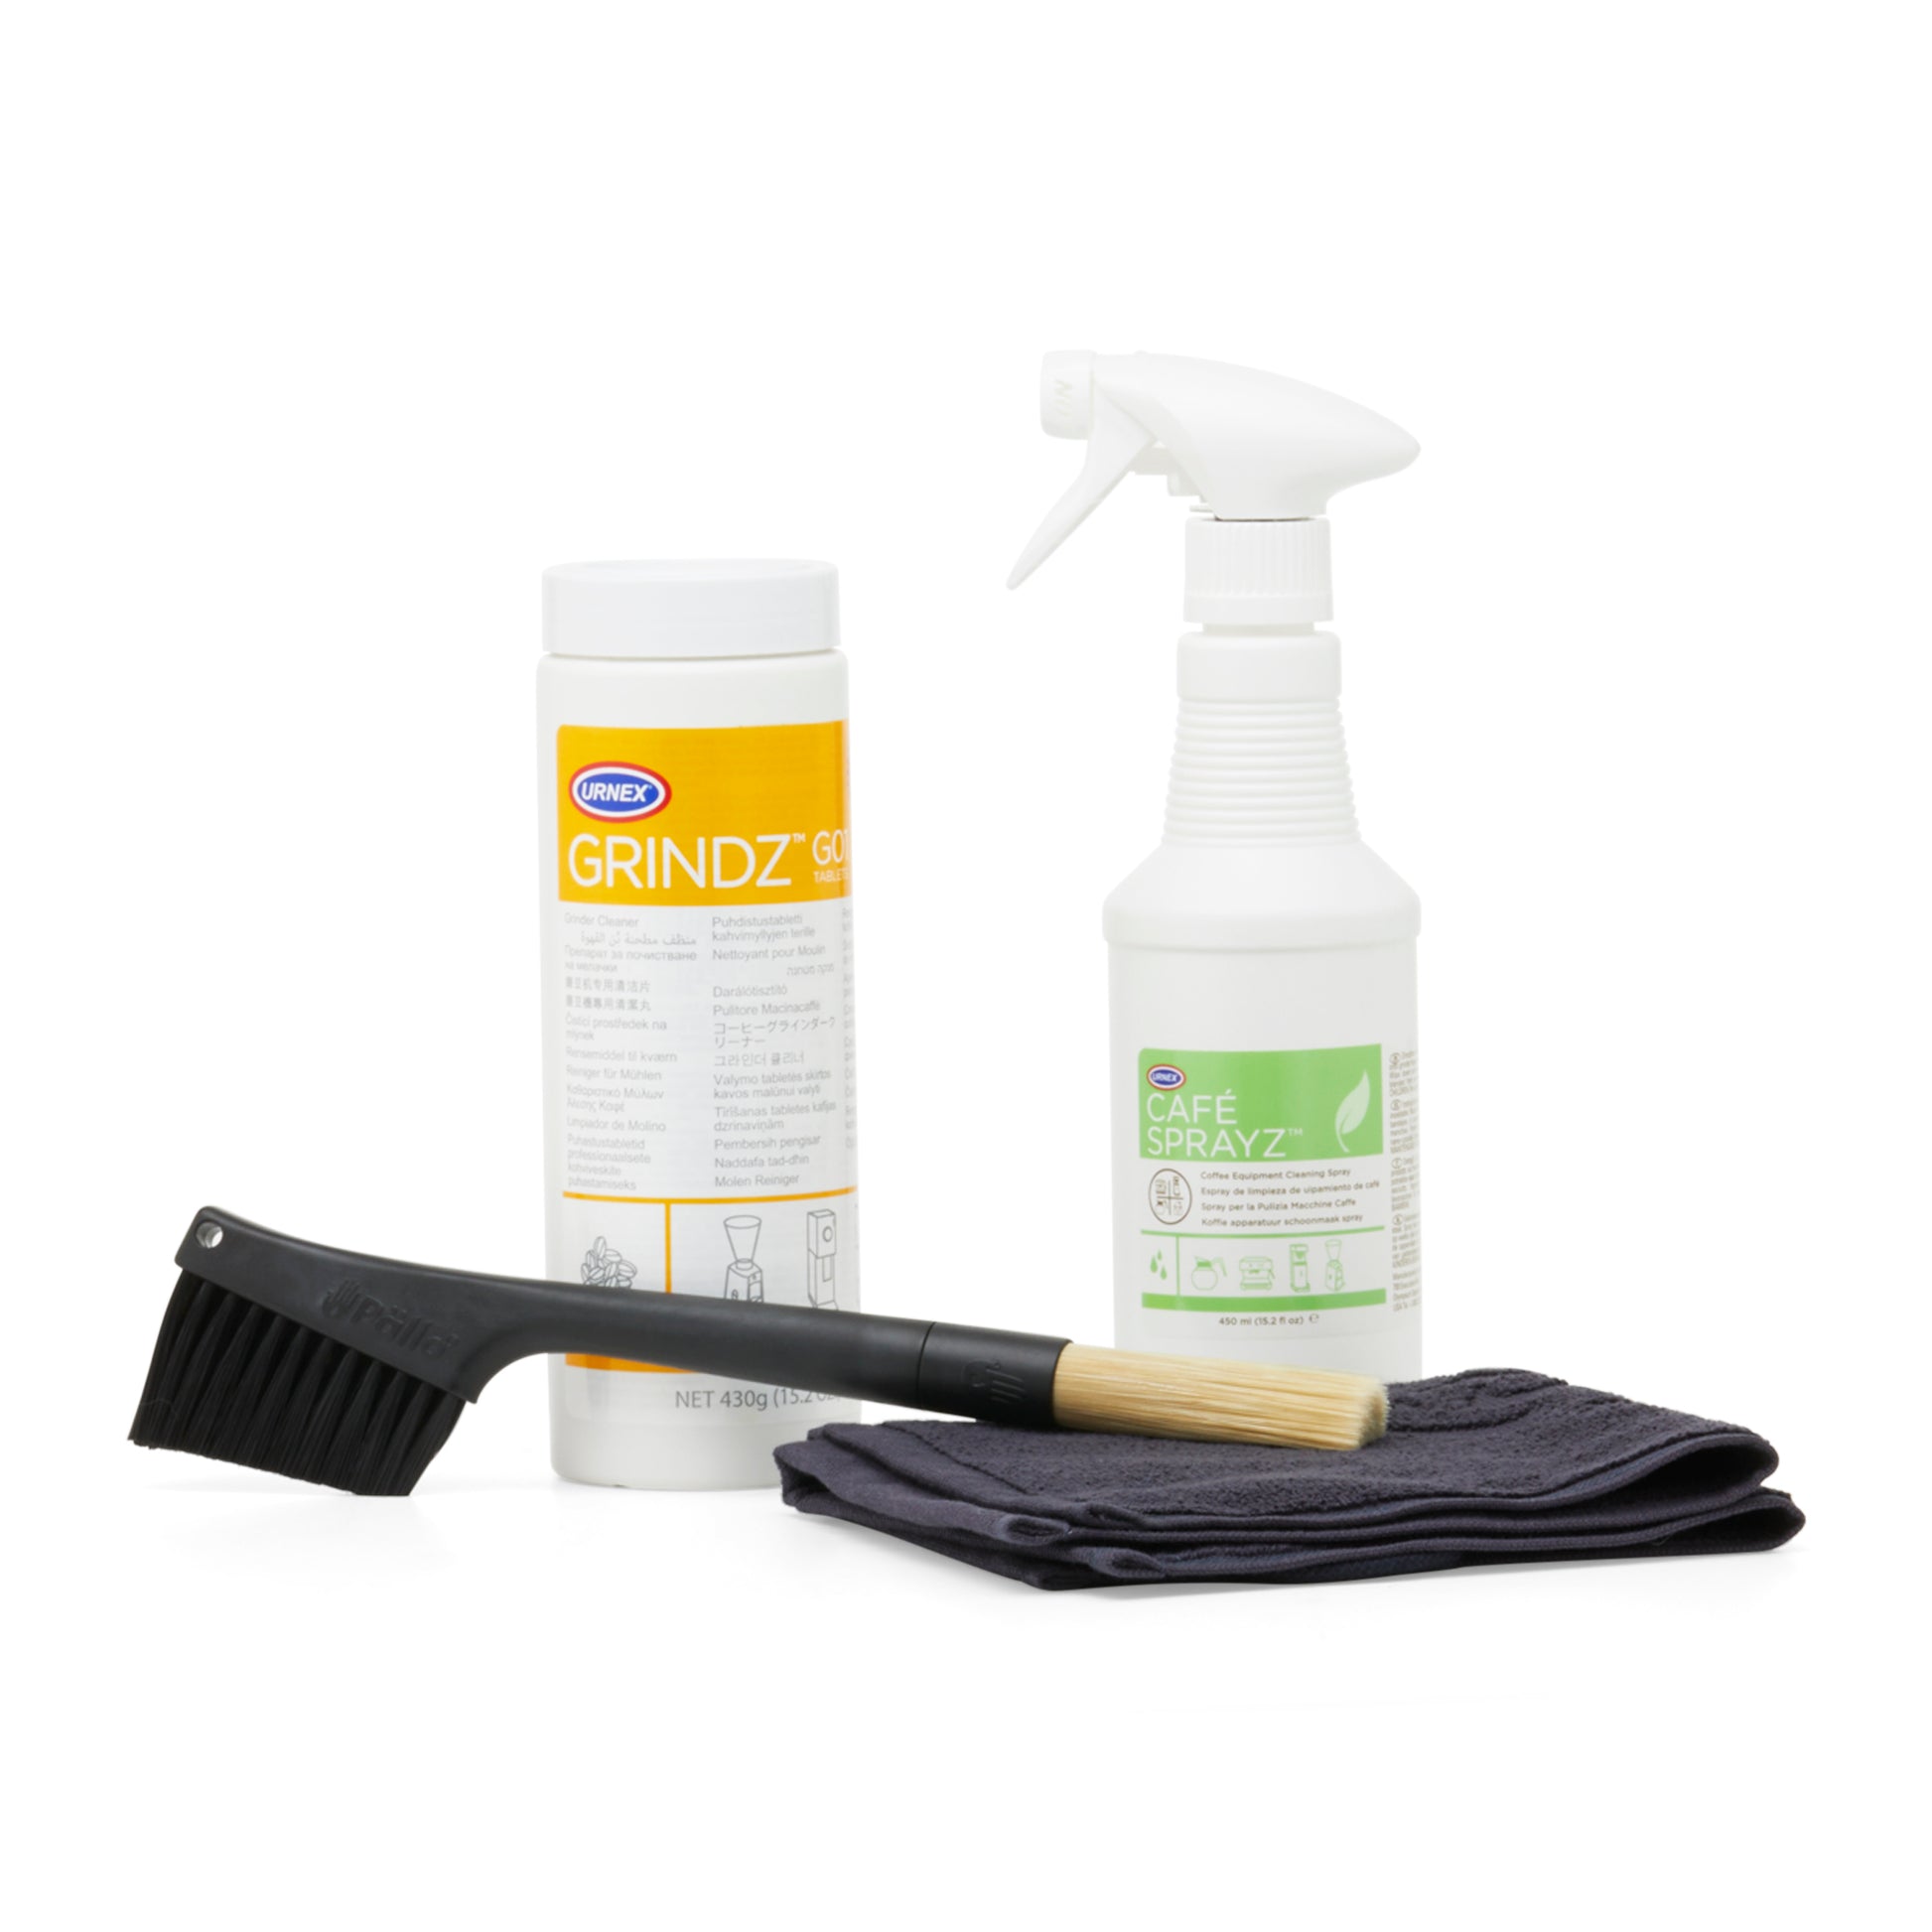
Having the right tools ready before you begin ensures efficient unclogging without interruption. While specialized grinder cleaning products exist, most effective cleaning requires items already found in most households.
Your essential unclogging toolkit should include:
– Stiff-bristled brushes (small paint brushes or dedicated pipe cleaners work well)
– Vacuum cleaner with crevice attachments
– Mild dish soap and warm water
– Wooden or plastic scraping tool (like a chopstick or skewer)
– Stale coffee beans for testing
Consider adding grinder cleaning pellets or raw rice to your toolkit for routine maintenance runs that help prevent future clogs. These materials act as abrasive agents that dislodge accumulated particles during operation. Never use metal tools for scraping burrs, as they can damage the precision surfaces and impact grinding performance permanently.
Clear the Grounds Chute and Exit Pathway
The chute represents the most accessible point of investigation and intervention for most clogging situations. This pathway carries ground coffee from the burrs to your catch cup or portafilter, and blockages here stop grinding output even when the burrs function perfectly.
Begin by inspecting the chute opening visually with a small flashlight. Use your stiff-bristled brush to sweep away any visible grounds or debris wedged along the chute walls or at the exit point. Work the brush in circular motions to dislodge material, then invert the grinder over a trash bin and brush downward to allow debris to fall free. For stubborn chute blockages, position your vacuum cleaner’s narrow attachment at the exit while the chute opening faces downward—the suction helps pull compacted material out rather than simply relocating it.
How to Disassemble Removable Components Safely
Many grinders feature removable grates, exit blocks, or grinds catchers that accumulate grounds over time. Before disassembling, take photographs as reference guides for reassembly. Gently remove these components and inspect them for blockages, using your brush to clean all surfaces. Pay special attention to corners and edges where grounds tend to accumulate. Reassemble only when all components are completely clean and dry.
Deep Clean the Burr Assembly for Stubborn Clogs
When routine chute cleaning fails to resolve your clog, the burrs themselves usually harbor the true obstruction. Coffee oils and fine particles accumulate on burr surfaces during every grinding session, eventually forming a slick, stubborn residue that interferes with normal operation. This “coffee tar” proves remarkably resistant to surface cleaning and typically requires complete burr removal for thorough treatment.
Consult your grinder’s user manual for specific burr removal instructions, as procedures vary significantly between manufacturers. Generally, you’ll need to remove the hopper, then access the burr assembly through the top of the grinder housing. Take photographs as you disassemble each component—these serve as reference guides during reassembly. Handle burrs carefully, as the sharp teeth can cause injury and the surfaces are easily damaged.
Complete Burr Cleaning Process
Once removed, examine the burrs for coffee oil residue and tar-like accumulations. Wash thoroughly with warm water and mild dish soap, using your brush to scrub all surfaces. For stubborn residue that resists soap and water, use a wooden or plastic implement to carefully scrape affected areas—never use metal tools that can scratch burr surfaces. Inspect all surfaces visually to confirm residue removal before proceeding. Drying requires complete attention, as any moisture remaining on burrs causes immediate re-clogging. Air dry on clean, dry cloths for several hours before reassembly.
Apply the Running Adjustment Technique for Resistant Clogs
A particularly effective technique for dislodging stubborn blockages involves manipulating grind settings while the grinder motor operates. This approach actively works material through the mechanism rather than relying solely on static cleaning.
Begin by zeroing your grind setting with an empty burr chamber, then mark this position. Move the adjustment dial to a substantially coarser setting—at least halfway toward your coarsest available setting. Add stale coffee beans to the hopper, then activate the motor while gradually moving the adjustment finer. As you progress through the adjustment range, the grinder actively works material through the mechanism while simultaneously refining particle size. Grounds should begin flowing freely as the blockage clears, and the motor sound should transition from strained to smooth.
Establish Preventive Maintenance Routines
The most effective strategy for dealing with coffee grinder clogs is preventing them from occurring in the first place. Understanding what causes blockages enables you to adjust your habits accordingly.
Always adjust grind settings while the grinder motor is running—adjusting when stationary allows grounds to become compressed between burrs, forming compacted masses that create stubborn clogs. When dialing in new settings, run the grinder briefly after each adjustment to verify material flows freely. Consider the role of bean moisture in clog prevention: while the Ross Droplet Technique (RDT) controls static, excessive moisture contributes to clogging, particularly with fine settings. Use the minimum water necessary for static control.
Schedule regular deep cleaning to prevent coffee oil accumulation. Monthly thorough cleaning works well for typical home use, though higher-volume users may need more frequent attention. Between deep cleanings, running small amounts of cleaning pellets or raw rice through the mechanism helps maintain optimal function.
Recognize When Professional Service Is Necessary
Some clogging situations resist even thorough home intervention. Signs indicating professional service needs include persistent problems despite multiple cleaning attempts, visible damage to burrs, sudden grinder failure without apparent cause, and unusual noises originating from the motor housing.
Before contacting professional service, gather relevant information about your grinder including model number, purchase date, usage patterns, and specific circumstances preceding the problem. Document all troubleshooting steps already attempted. Weigh professional repair costs against replacement costs, particularly for older grinders. Quality grinders often serve for decades with appropriate maintenance, making professional servicing a worthwhile investment.
Maintain Your Grinder for Long-Term Performance
A properly functioning coffee grinder produces consistent grounds without strain, and maintaining this performance requires ongoing attention. Store beans properly to minimize excessive oil development, as very oily beans contribute more readily to residue accumulation. Pay attention to how your grinder performs over time—changes in sound, output consistency, or required setting adjustments may signal developing issues before they become full clogs.
Understanding your specific grinder’s design also informs better maintenance practices. Conical and flat burr grinders present different cleaning challenges, and stepped versus stepless adjustment systems influence how grind setting problems manifest. The more familiar you become with your equipment’s particular behaviors and needs, the more effectively you can maintain optimal function and prevent frustrating clogs.
By mastering how to unclog a coffee grinder and implementing these preventive measures, you’ll ensure your morning routine remains uninterrupted and your coffee always reaches its full potential. The time invested in proper maintenance pays dividends in consistent performance and extended equipment life—keeping your grinder ready to deliver perfect grounds cup after cup.


