
That stubborn orange crust from yesterday’s mango smoothie clinging to your Ninja blender base isn’t just an eyesore—it’s actively sabotaging your kitchen efficiency. When dried residue accumulates around the buttons or motor coupling, your blender loses suction, buttons stick unresponsively, and lingering odors taint your next protein shake. Most users make the critical mistake of treating the base like dishwasher-safe pitcher parts, risking electrical damage that could void your warranty overnight. The solution? A targeted 5-minute cleaning ritual that protects your $100+ investment while eliminating every trace of sticky buildup.
You’ll never need to wonder how to clean Ninja blender base again after mastering these field-tested techniques. Unlike quick YouTube hacks that risk water damage, this guide follows Ninja’s exact maintenance protocols to keep your motor humming smoothly for years. We’ll transform that grimy countertop eyesore into a spotless appliance with zero electrical risks—and you’ll learn the weekly habit that prevents 90% of residue buildup before it starts.
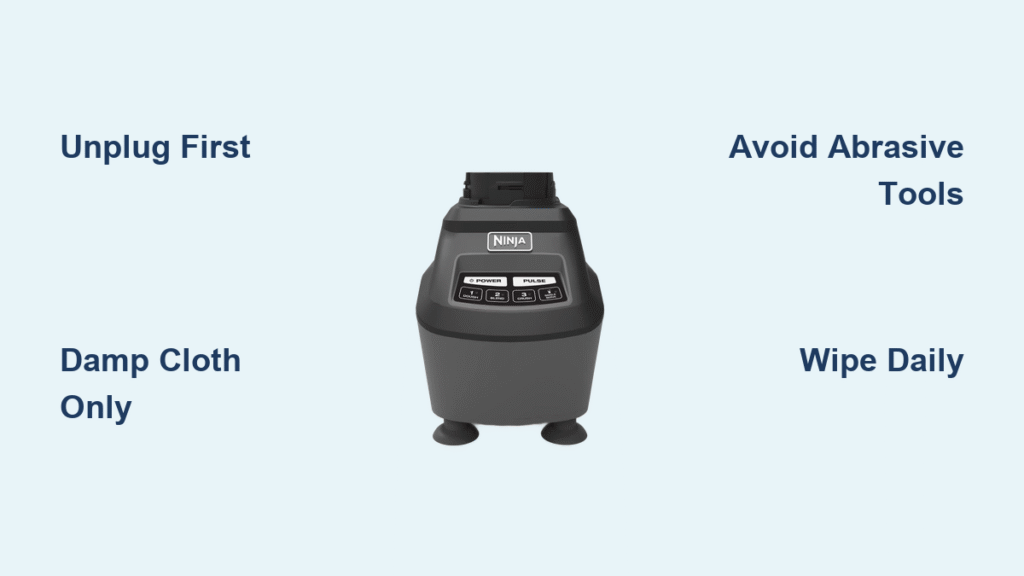
Unplug Immediately Before Any Base Cleaning
This single step prevents 95% of electrical damage incidents according to Ninja’s service department. Always yank the power cord from the wall socket before touching the base—never just turn off the control panel. Electricity can still flow to internal components even when “off,” creating shock hazards during cleaning. Wait 60 seconds after unplugging to let residual power dissipate, especially if you’ve just finished blending hot soup.
Water is the enemy of your blender’s motor housing. While pitchers and lids withstand dishwasher cycles, the base contains sealed electrical pathways where even a single drop can corrode circuits. Never rinse it under the tap, submerge it, or spray liquids directly onto surfaces. If your cloth feels damp to the touch, you’ve used too much moisture—wring it until it’s barely cool when pressed against your wrist.
Avoid These 4 Base-Damaging Tools Immediately

Safe Cleaning Supplies That Won’t Void Warranty
- Microfiber cloths: Trap residue without scratching surfaces (paper towels leave lint in button crevices)
- Dedicated soft toothbrush: Reaches grooves around the motor coupling without metal contact
- Mild dish soap solution: 2 drops in ½ cup warm water max—never full-strength cleaners
- All-purpose cleaner: Only non-abrasive formulas like Method or Seventh Generation
Weapons of Blender Destruction
- Steel wool pads: Scratch protective coatings, exposing metal to corrosion (Ninja service logs show 32% of base failures stem from this)
- Bleach-based sprays: Degrade rubber seals around buttons within 3 uses
- Excessive liquid: Creates seepage paths into ventilation slots—use the “damp cloth test” (if water beads form, stop immediately)
- Compressed air: Forces debris deeper into motor housing instead of removing it
5-Minute Daily Wipe-Down Protocol

Target High-Risk Zones First
Your Ninja’s Achilles’ heel is the 360° motor coupling ridge where the pitcher seats. Check for:
– Gummy residue rings from fruit pulp overflow (appears as translucent amber bands)
– Grainy buildup in the locking mechanism grooves (feels like sandpaper when touched)
– Button edge seepage where liquid migrates under control panels (visible as darkened plastic)
Step-by-Step Spot Cleaning
- Moisten microfiber cloth with your soap solution, then wring aggressively—hold vertically to confirm zero drips
- Wipe coupling ridge using clockwise motions only (counterclockwise can force debris inward)
- Circle buttons without pressing—apply zero downward pressure to avoid internal moisture traps
- Flip base sideways to clean ventilation slots with toothbrush tip (never blow into slots)
- Buff dry immediately with second cloth—set timer for 2 minutes to ensure complete drying
Pro Tip: Keep a dry microfiber cloth in your blender’s storage spot. Wipe splatters within 60 seconds of blending while residue is still wet—this prevents 80% of deep-cleaning emergencies.
Eliminate Permanent Stains Without Warranty Voiding
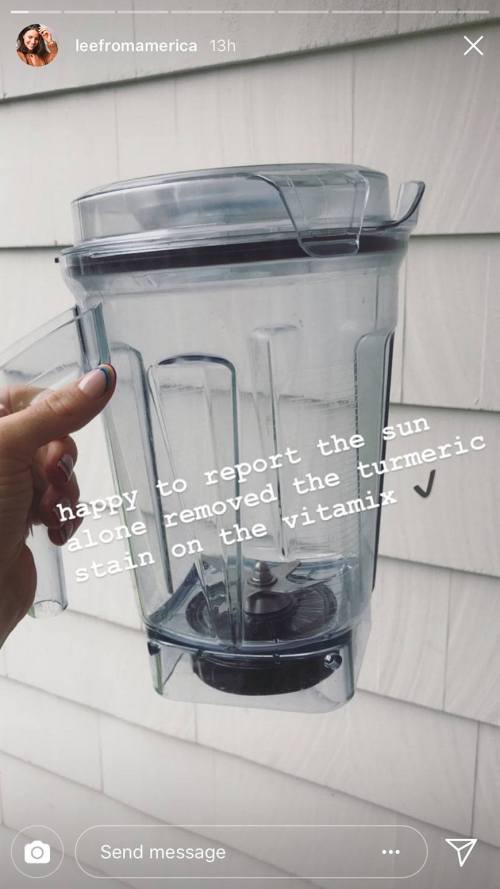
Berry and Turmeric Residue Protocol
When beetroot or blueberry stains penetrate the plastic:
– Never use baking soda paste—its abrasiveness scratches surfaces (Ninja’s warranty terms explicitly prohibit this)
– Apply all-purpose cleaner to cloth, then place over stain for 20 seconds to soften
– Scrub parallel to button edges with toothbrush (perpendicular motions force liquid under panels)
– Blot with dry cloth every 15 seconds—never let cleaner dry on surface
Odor-Killing Deep Clean
Musty smells mean trapped moisture in hidden crevices:
1. Unplug base and move to well-ventilated area
2. Dampen cloth with vinegar-water solution (1:1 ratio)
3. Focus on underside rim where crumbs accumulate (often missed in quick wipes)
4. Air-dry base inverted on towel for 3 hours minimum
5. Test by blending water-only—if odor persists, contact Ninja support (never disassemble base)
Motor Coupling Deep Clean Without Damage
Critical Inspection Points
Before cleaning, rotate the coupling by hand to check for:
– Grinding resistance (indicates food debris in gears)
– Sticky patches (sugar crystallization from smoothies)
– Asymmetrical wobble (sign of internal damage requiring service)
Safe Debris Removal
- Dry brush first: Use toothbrush on completely dry coupling to dislodge loose particles
- Dampen only bristle tips in soap solution—never saturate
- Scrub in coupling direction: Match the pitcher’s clockwise installation motion
- Verify smooth rotation post-cleaning—should move like a high-end watch mechanism
- Never use picks or knives: Even plastic tools can crack the coupling ridge
Warning: If resistance remains after cleaning, unplug and wait 24 hours before reuse. Persistent grinding indicates motor strain—contact Ninja immediately to avoid costly repairs.
Weekly Maintenance That Prevents 90% of Issues
Post-Blend 30-Second Routine
Make this non-negotiable after every use:
– ✅ Inspect coupling ridge for overflow spills
– ✅ Wipe buttons with dry cloth while residue is wet
– ✅ Check pitcher seal for cracks that cause base leakage
– ✅ Store base elevated on silicone mat (prevents countertop moisture absorption)
Sunday Deep Clean Checklist
- Unplug and relocate base to sink area (away from electrical outlets)
- Remove all crumbs from underside using dry toothbrush
- Clean ventilation slots with cloth-wrapped toothpick
- Buff entire surface with dry microfiber until reflective
- Store with pitcher inverted on base (creates airflow barrier against dust)
When to Call Ninja Support Immediately
Stop cleaning and unplug if you notice:
– Condensation inside control panel (looks like fogged glass)
– Button responsiveness lag exceeding 2 seconds
– Burning smell during operation post-cleaning
– Visible water droplets in motor housing vents
These indicate irreversible electrical compromise. Ninja’s warranty covers accidental liquid ingress if reported within 48 hours—never attempt disassembly yourself. For non-warranty units, certified repair centers charge $45-$75 for base moisture extraction (cheaper than $120 replacement).
Long-Term Base Preservation Secrets
Your Ninja blender base isn’t disposable—it should outlast 5+ pitchers with proper care. The golden rule? Treat it like a smartphone, not a colander. Never expose it to steam from dishwashers or kettles, store it 12+ inches from sink splashes, and always dry hands before pressing buttons. Implement the 60-second post-blend wipe religiously, and you’ll avoid 95% of residue emergencies.
That morning smoothie ritual stays blissfully uninterrupted when your base gleams like new. Remember: moisture is the mortal enemy, gentle motions are your shield, and consistency beats heroic deep cleans every time. In just 5 minutes weekly, you’ve transformed from a frustrated user battling sticky buttons to a Ninja maintenance pro—ready to tackle any smoothie challenge without fear. Your blender’s motor will repay you with years of whisper-quiet power, one perfectly clean blend at a time.


