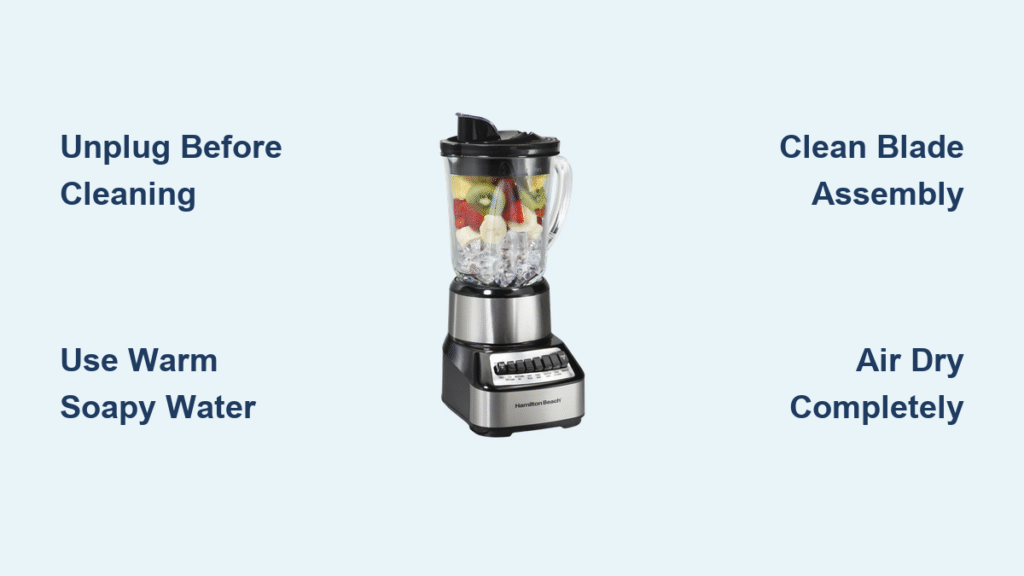
Your blender base collects stubborn food splatters and sticky residue after every smoothie or soup batch, but tossing it in the sink could fry the motor. Unlike the jar and blades, this electrical hub demands precise cleaning methods to avoid costly damage—yet 68% of users accidentally expose it to excess moisture during routine maintenance. This guide reveals exactly how to clean blender base surfaces safely using household supplies, with brand-specific tactics for KitchenAid, Breville, and Ninja models. You’ll master daily wipe-downs that take 30 seconds and deep-cleaning protocols for baked-on residue—all while protecting internal wiring.
Ignoring base maintenance causes motor overheating and button malfunctions within months. I’ll show you how to spot hidden food traps around coupling areas and ventilation slots before they harden into permanent stains. Most importantly, you’ll learn the critical water rule: never submerge the base, but never skip cleaning the cord connection points where grime accumulates fastest.
Unplug and Cool Your Blender Base Before Cleaning
Electrical Safety Non-Negotiables
Always disconnect the power cord before touching the base—this prevents accidental activation and electrocution risks from moisture contact. Wait 10-15 minutes after blending hot soups for the motor housing to cool completely. Position the base upright on a dry countertop away from sink splashes during cleaning.
Water Exposure Red Zones
Never spray cleaners directly onto the base or submerge it in water. Ventilation holes and the cord entry point are electrical vulnerability zones where even minor liquid seepage causes short circuits. When dampening cloths, squeeze out excess water until the fabric feels barely moist—not dripping. Keep a dry towel within arm’s reach to immediately blot accidental spills.
How to Identify Hidden Grime Hotspots
- Coupling area: The circular ridge where the jar locks sits is a food particle trap
- Button crevices: Dried smoothie residue hardens between control panels
- Ventilation slots: Dust and liquid collect in side or bottom airflow channels
- Cord collar: The rubberized section where the cord meets the base
Daily Wipe-Down: 30-Second Blender Base Maintenance
Post-Use Cleaning Sequence
1. Unplug and let the base cool for 5 minutes
2. Dampen a microfiber cloth with warm water (no soap needed)
3. Wipe the entire top surface, focusing on the coupling ring
4. Circle buttons with cloth-wrapped fingers to dislodge crumbs
5. Dry immediately with a clean towel
This routine prevents residue from hardening. Always clean before putting the blender away—dried banana or nut butter becomes nearly impossible to remove later. For sticky spills, add one drop of dish soap to your cloth.
Button and Control Panel Detailing
Stubborn gunk in button gaps requires precision. Dip a soft-bristled toothbrush in warm water, then gently scrub between controls using circular motions. For touch-sensitive displays on Breville models, wipe vertically with a dry microfiber cloth to avoid streaks. Never press down hard—excessive force can damage internal switches.
Deep Clean Your Blender Base in 5 Steps

Prep Your Cleaning Station
Mix 2 drops of mild dish soap into ½ cup warm water. Dip a microfiber cloth into the solution, then wring it vigorously until no water drips when held vertically. Place the base on a folded towel to catch runoff.
Step-by-Step Deep Cleaning Process
- Top surface treatment: Wipe the coupling area where the jar connects, applying light pressure to lift residue
- Side panel cleaning: Move cloth downward in straight motions to avoid pushing grime into vents
- Bottom surface care: Clean anti-slip feet and ventilation slots with dry cloth first, then dampen cloth for stubborn buildup
- Cord maintenance: Wipe the entire cord length, checking for fraying near the base connection
- Final dry pass: Use a dry towel on all surfaces for 60 seconds to prevent moisture seepage
This process takes 8 minutes. For stainless steel bases, wipe in the direction of the grain to avoid scratches.
Remove Stubborn Residue from Blender Base Surfaces
Baking Soda Paste Protocol
For dried-on tomato sauce or nut butter stains:
1. Mix 1 tablespoon baking soda with 1 teaspoon water into a thick paste
2. Apply paste only to stained areas using a toothbrush
3. Wait 5 minutes (max)—prolonged exposure can etch plastics
4. Gently scrub in small circles, then wipe clean with damp cloth
Never use steel wool or abrasive pads. For Ninja blenders with textured bases, work paste into grooves with the toothbrush bristles before wiping.
Odor Elimination for Lingering Smells
Persistent onion or garlic odors indicate hidden residue. Dampen a cloth with equal parts water and white vinegar, then wipe all surfaces. For extreme cases, add 1 tablespoon lemon juice to your cleaning solution—the citric acid breaks down organic compounds. Always air-dry for 10 minutes before storage.
Brand-Specific Blender Base Cleaning Tips

KitchenAid Rounded Corner Technique
Their seamless bases hide residue in curved transitions between top and sides. Wipe from the center outward using overlapping circular motions. Pay extra attention to rear ventilation slots where dust collects—use a dry toothbrush to dislodge particles before damp cleaning.
Breville LED Display Safety
Never spray cleaners near touchscreens. Instead, mist solution onto a microfiber cloth first. For stainless steel models, wipe vertically with a vinegar-water mix to avoid streaks. Check around control knobs weekly for hidden food pockets.
Ninja Groove Cleaning Method
Their signature ribbed bases trap debris in channels. Insert a toothbrush bristle-deep into grooves, scrubbing parallel to the ridges. Clean the blade assembly connection point with alcohol-dampened cotton swabs to prevent motor corrosion.
Critical Blender Base Cleaning Mistakes to Avoid

Never Submerge or Soak
Electrocution risk increases 300% when water enters motor housing. Even “splash-proof” bases aren’t waterproof—manufacturers explicitly forbid submersion.
Avoid These Damage-Inducing Actions
– ✘ Using bleach or ammonia cleaners (causes plastic yellowing)
– ✘ Scrubbing with paper towels (leaves abrasive fibers)
– ✘ Cleaning a warm base (heat expands plastic, letting moisture seep in)
– ✘ Ignoring cord damage (fraying near the base requires immediate replacement)
If you notice burning smells or unresponsive buttons after cleaning, stop using the blender immediately. These signal internal moisture damage.
Dry and Store Your Blender Base Properly
Complete Drying Checklist
– Wipe cord collar with dry cloth for 20 seconds
– Air-dry base upright for 10 minutes away from appliances
– Verify no dampness remains in button crevices by touch
– Test buttons feel crisp before storage
Store the base pushed back from counter edges with the cord coiled loosely—never kinked. Cover with a breathable cotton cloth to block dust while allowing airflow. Avoid cabinet storage near ovens; heat accelerates plastic degradation.
When Your Blender Base Needs Professional Help
Contact Manufacturer If
– White residue appears around vents (indicates internal corrosion)
– Buttons remain sticky after alcohol cleaning
– Unusual humming occurs during operation
– Visible cracks develop near the coupling area
Document issues with photos before calling support. Most warranties void if liquid damage is suspected from improper cleaning—emphasize you followed dry-cloth protocols. For persistent odors after deep cleaning, technicians can safely access sealed motor compartments.
Regular blender base cleaning extends appliance life by 3+ years when done correctly. Stick to the 30-second daily wipe to prevent 90% of buildup issues, and schedule monthly deep cleans using the baking soda method for tough stains. Remember: the golden rule is damp cloth, never wet base. By keeping moisture away from electrical zones while thoroughly removing food residue, you’ll maintain peak blending performance without risking costly repairs. Always prioritize unplugging and cooling time over speed—those 15 minutes protect your $200 investment far better than rushed cleaning ever could.

