
Struggling to make precise cuts through complex 3D models in Blender? Your workflow just got easier. The knife tool transforms tedious manual subdivision into intuitive, interactive cutting sessions that give you surgical control over your geometry. Whether you’re slicing architectural models or creating game-ready assets, mastering “how to use knife tool in blender” unlocks precise geometry control that basic editing simply can’t match.
This guide walks you through every aspect of the knife tool—from basic activation to advanced project techniques. You’ll learn how to create clean cuts without duplicate vertices, avoid common pitfalls that waste hours of modeling time, and leverage hidden features that most tutorials miss. By the end, you’ll slice through complex meshes with the precision of a professional 3D artist.
Access Knife Tool Instantly
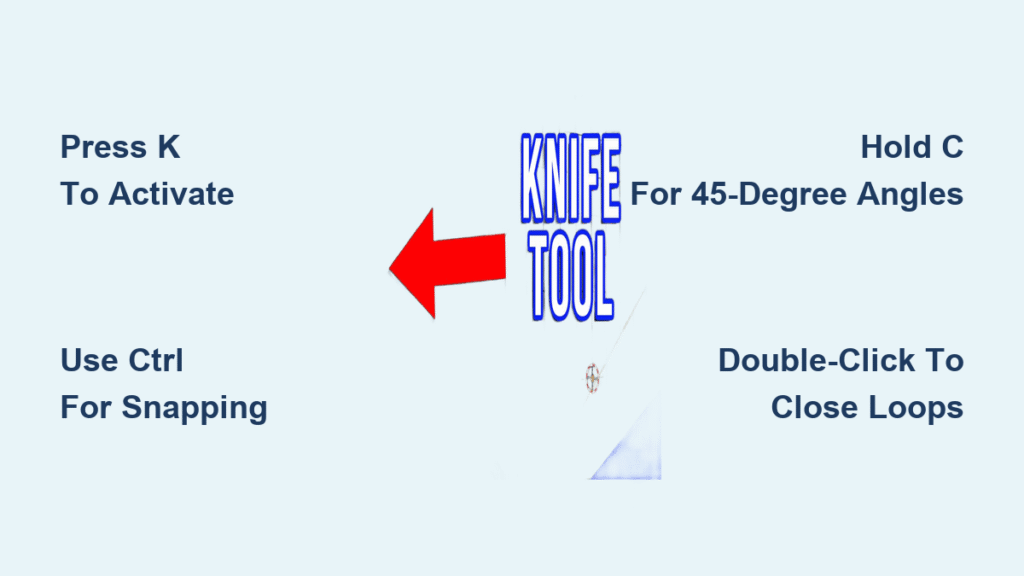
The knife tool sits ready in Edit Mode, waiting for your command. Press K for standard cutting or Shift-K for selection-specific operations. Your cursor transforms into a scalpel icon, signaling the tool is active and displaying real-time options in the header. This immediate feedback tells you exactly when you’re in cutting mode versus standard selection.
Alternative access paths exist through the toolbar pathway: navigate to Tools → Mesh Tools → Add: Knife/Select. However, the hotkey method proves dramatically faster for repetitive work, especially when making multiple cuts across complex geometry. Professional modelers rely on these keyboard shortcuts to maintain momentum during intensive modeling sessions.
Hotkey Efficiency Tips
- Practice muscle memory: Spend five minutes daily pressing
Kfollowed by simple cuts on a cube - Customize shortcuts: If
Kconflicts with your workflow, remap the knife tool in Blender’s preferences - Context awareness: Remember the tool only works in Edit Mode—attempting to use it in Object Mode yields no results
Create Basic Cut Lines
Point-to-Point Precision
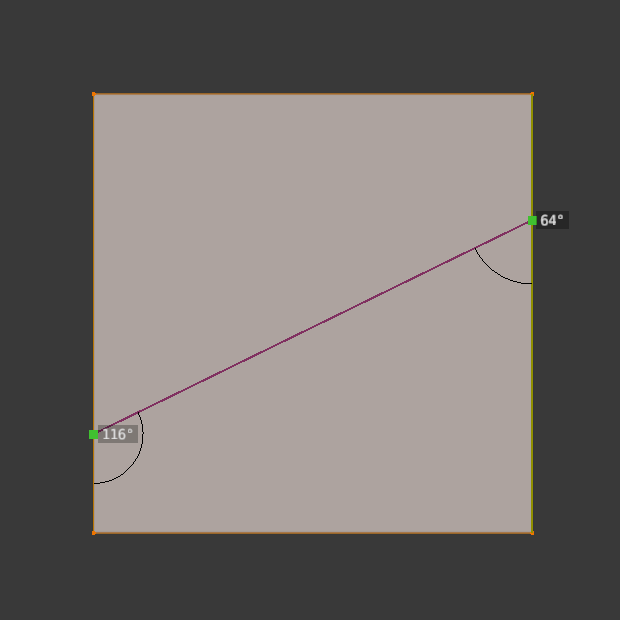
Click LMB at your starting point, then click again to establish your first cut segment. Continue clicking to extend the cut line across your mesh. The system marks active points with green squares while completed cuts appear as red squares, creating an intuitive visual workflow. This color coding prevents confusion about which segments you’ve finalized versus those still being defined.
Freehand Drawing Mode
Hold LMB and drag to draw free-form cuts across curved surfaces. This method excels for organic modeling where straight lines won’t suffice, like creating natural-looking fractures in rock formations. Release the button to finalize your cut path, and watch as Blender instantly subdivides your mesh along your drawn line.
Close Perfect Loops
Double-click LMB to automatically close cutting loops. This technique proves essential when creating windows, doors, or any feature requiring complete edge loops around cut areas. Without this feature, you’d need to manually connect your starting and ending points—a process prone to errors in complex models.
Leverage Advanced Modifiers
Midpoint Snap Control
Hold Ctrl while cutting to force your cursor to snap to exact edge midpoints. This ensures geometric precision for symmetrical cuts and technical modeling requirements. The snap indicator appears as a small magnet icon near your cursor, providing instant feedback about your snapping status. Pro tip: Use this for creating perfectly balanced architectural elements where symmetry matters.
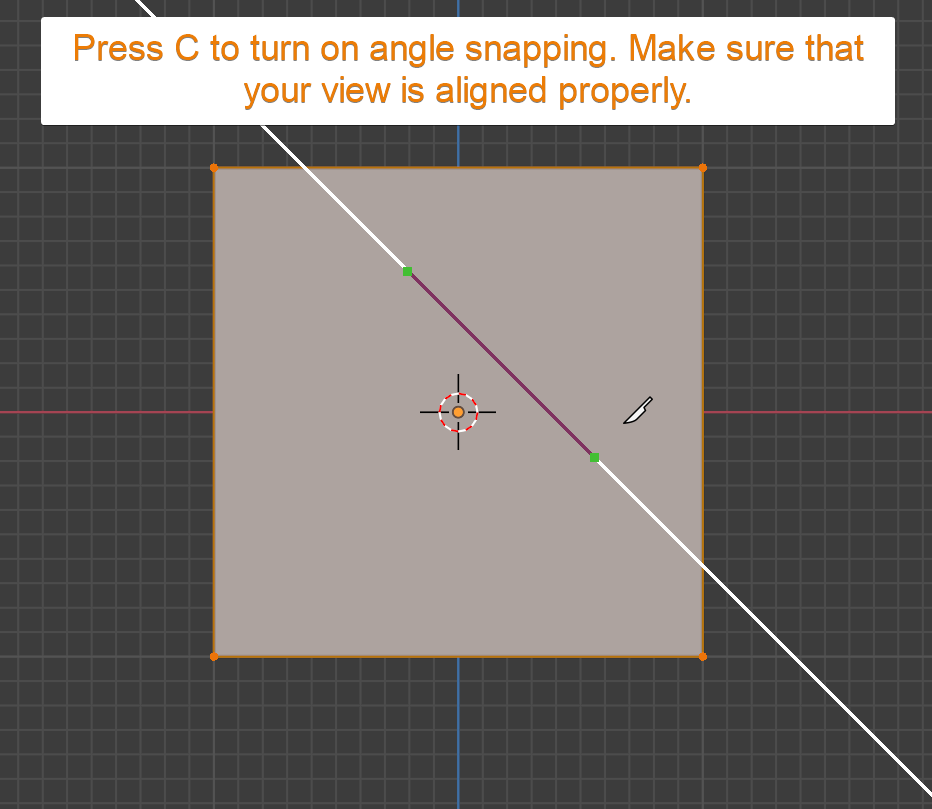
Angle Constraint Mastery
Press C to restrict cut angles to 45-degree increments. This constraint creates perfectly orthogonal or diagonal cuts essential for architectural work. The angle indicator displays in the header, showing your current constraint angle. This feature prevents accidental skewed cuts that would require time-consuming corrections later.
Cut Through Complex Geometry
Activate Z to extend cuts beyond visible surfaces. This mode proves crucial when working with overlapping elements or complex internal geometry. Without cut-through enabled, hidden faces remain untouched, forcing you to reposition your view repeatedly. Warning: Use this selectively—indiscriminate cut-through can create unintended geometry in dense models.
Switch Between Cut Modes
Multiple Cut Sessions
Press E to start fresh cut lines without exiting the tool. Each new cut operates independently, allowing complex subdivision patterns within a single tool session. Previous cuts remain visible as reference points for new geometry, enabling you to build intricate patterns efficiently. This feature saves valuable time compared to exiting and reactivating the tool for each cut.
Snap Override Freedom
Hold Shift to temporarily disable automatic edge snapping. This override lets you place cuts offset from existing geometry—perfect for creating inset details or custom edge spacing. Release the key to return to normal snapping behavior. Use this when you need precise positioning that doesn’t align with existing edges.
Execute Clean Cuts
Confirm Your Work
Press Return or LMB to execute cuts permanently. The selection behavior leaves all original edges selected while newly created cut edges remain unselected, streamlining post-cut operations. This intelligent selection pattern helps you immediately identify what changed versus what remained intact.
Cancel Without Changes
Press Esc or RMB to abort cutting sessions without modifying your geometry. This safety net prevents accidental cuts during complex modeling sessions. Critical tip: Develop the habit of pressing Esc when unsure—recovering from unwanted cuts often takes longer than restarting the operation.
Knife Project for Complex Patterns
Setup Cutting Templates
Switch to Object Mode and select your cutting object first. Add your target object to the selection using Shift-RMB, then enter Edit Mode with both objects highlighted. This selection order determines which object cuts which—getting this wrong reverses your intended operation. The cutting object must be selected first for proper functionality.
Execute Project Cuts
Navigate to Toolbar → Tools → Mesh Tools → Add: Knife Project. The projection occurs along your current view axis, using the selected object as a cookie-cutter template. This method excels for creating text cutouts or complex geometric patterns where freehand cutting would be impractical. Pro tip: Orthographic views yield cleaner results than perspective views for most projection work.
Template Object Options
Acceptable cutting templates include wire objects, boundary edges, mesh objects, text objects, or 3D curves. Each source type produces different cutting behaviors—text objects create letter-shaped cutouts while curves deliver mathematically precise edges. Experiment with different template types to discover which gives you the cleanest cuts for your specific project.
Avoid Common Pitfalls
Prevent Duplicate Vertices
Excessive clipping ranges often generate duplicate vertices during cuts. Increase your Clip Start value in view properties to eliminate this issue. Check for duplicates using mesh analysis tools after complex cutting sessions with Mesh → Clean Up → Merge By Distance. Ignoring duplicates leads to shading artifacts and topology problems down the line.
Respect Edge Boundaries
Cuts starting or ending mid-face are ignored—Blender’s geometric system requires cuts to connect to existing edges or vertices. Plan your cut paths accordingly, ensuring all endpoints terminate on valid geometry. When in doubt, add supporting edge loops before attempting complex cuts.
Optimize View Settings
Align Cutting Direction
Position your view orthogonally to intended cut planes before activation. This alignment ensures cuts occur exactly where visualized, especially important for technical modeling where precision matters. Use Numpad 1, 3, or 7 for perfect orthographic alignment before cutting.
Scale Considerations
Verify object scale before cutting—non-uniform scaling distorts cut directions and produces unexpected results. Apply scale transformations using Ctrl-A when necessary. Warning: Scaling issues cause the most frustrating “why isn’t this cutting right?” moments for Blender beginners.
Post-Cut Best Practices
Inspect New Geometry
Immediately check cut edges for proper connectivity. Use edge selection mode to verify all cuts connect to existing vertices. Look for floating vertices or incomplete cuts that might cause modeling issues later. A quick visual inspection saves hours of troubleshooting during rendering.
Leverage Automatic Selection
Knife Project automatically selects geometry inside cutter outlines. Use this selection to quickly extrude, delete, or modify cut regions without manual selection work. This intelligent selection behavior streamlines your workflow when creating complex cutouts.
Plan Next Operations
Consider how cuts affect downstream operations. Clean edge loops created by knife cuts often become starting points for extrusions, bevels, or subdivision surfaces. Think two steps ahead—each cut should serve your ultimate modeling goal rather than creating unnecessary geometry.
Master Complex Cutting Scenarios
Organic Surface Subdivision
Combine freehand drawing with angle constraints to create controlled cuts across curved surfaces. Use Shift-K mode to limit cuts to specific face groups, preventing unwanted geometry division. This technique creates natural-looking seams in character models without disrupting the underlying topology.
Technical Modeling Precision
Employ midpoint snapping and angle constraints for architectural work. Create multiple cut sessions (E) to build complex subdivision patterns while maintaining geometric accuracy. Pro tip: For window openings, use closed loops with double-click termination to ensure perfect frame geometry.
Game Asset Optimization
Use knife cuts strategically to add edge loops for subdivision or baking operations. Target areas requiring additional detail while preserving overall topology efficiency. Remember that each unnecessary cut increases polygon count—cut only where needed for your specific game engine requirements.
The knife tool rewards practice and planning. Start with simple cuts on basic geometry, then gradually tackle complex surfaces. Remember that clean edge flow from knife cuts often proves more valuable than brute-force subdivision methods. For immediate improvement, dedicate 15 minutes daily to practicing different cutting techniques on a simple cube—within a week, your precision will noticeably improve. When stuck, revisit these core principles: proper view alignment, strategic modifier usage, and respecting Blender’s geometric constraints.


