
Your blender isn’t just for smoothies—it’s a secret ice cream powerhouse hiding in plain sight. Skip the expensive machine and skip the icy, store-bought disappointments. In just minutes of active time, you can transform basic pantry staples into velvety, scoopable ice cream using only your blender. This isn’t a “nice-cream” compromise; it’s the real deal with authentic texture that rivals churned ice cream. You’ll master two professional techniques tonight and serve dreamy homemade dessert tomorrow.
Forget waiting for an ice cream maker to freeze or dealing with gritty textures. The blender method delivers creamy results through smart freezing science. Whether you’re craving classic vanilla at midnight or planning weekend sundaes, these techniques work with what’s already in your kitchen. Let’s turn your blender into your new favorite dessert appliance.
Why Your Blender Beats an Ice Cream Machine
Ice Cube Tray Method for Professional Smoothness
This technique mimics commercial churning by freezing your base first, then transforming solid cubes into silk. The science? Controlled freezing prevents large ice crystals that cause graininess.
Critical Steps for Success:
– Pour chilled vanilla base into silicone ice cube trays (plastic traps cubes)
– Freeze 8-12 hours until cubes clink like glass when tapped
– Pulse frozen cubes in 30-second bursts—DON’T use continuous blend
– Add only 1 tablespoon milk if blades stall (more liquid = icy texture)
– Serve immediately as soft-serve or freeze 1 hour for scoopable perfection
Pro Tip: Freeze cubes on a parchment-lined tray first for 1 hour, then transfer to trays. This prevents cubes from fusing together during blending.
Whipped Base Method for Instant Gratification
When cravings hit NOW, this 4-hour method delivers. Whipping air into the cream first creates the lightness traditional churning provides.
Blender-Specific Execution:
1. Chill heavy cream 15 minutes in freezer (cold = faster whipping)
2. Whip 2 cups cream to stiff peaks (3-4 minutes in blender on low)
3. Fold in 14 oz sweetened condensed milk with spatula—never blend!
4. Freeze mixture flat in zip-top bag (max 1-inch thick) for 3 hours
5. Break frozen slab into golf ball-sized chunks
6. Blend 60 seconds until smooth—stop before it melts
Warning: Over-whipping cream creates butter. Stop when peaks hold firm shape but still look glossy.
Required Blender Ice Cream Tools That Actually Work

Non-Negotiable Gear:
– High-powered blender (minimum 1000W)—weak motors overheat
– Silicone ice cube trays—releases frozen cubes effortlessly
– Metal loaf pan—freezes faster than glass/plastic
– Rubber spatula—scrapes every drop of precious base
Skip These “Essential” Tools:
– Ice cream scoop (warm metal spoon works better)
– Special molds (zip-top bags freeze faster)
– Thermometers (your freezer does the work)
Pro Tip: Place blender jar in freezer 10 minutes before blending. Cold container = less melting during processing.
Perfect Vanilla Ratio That Never Fails
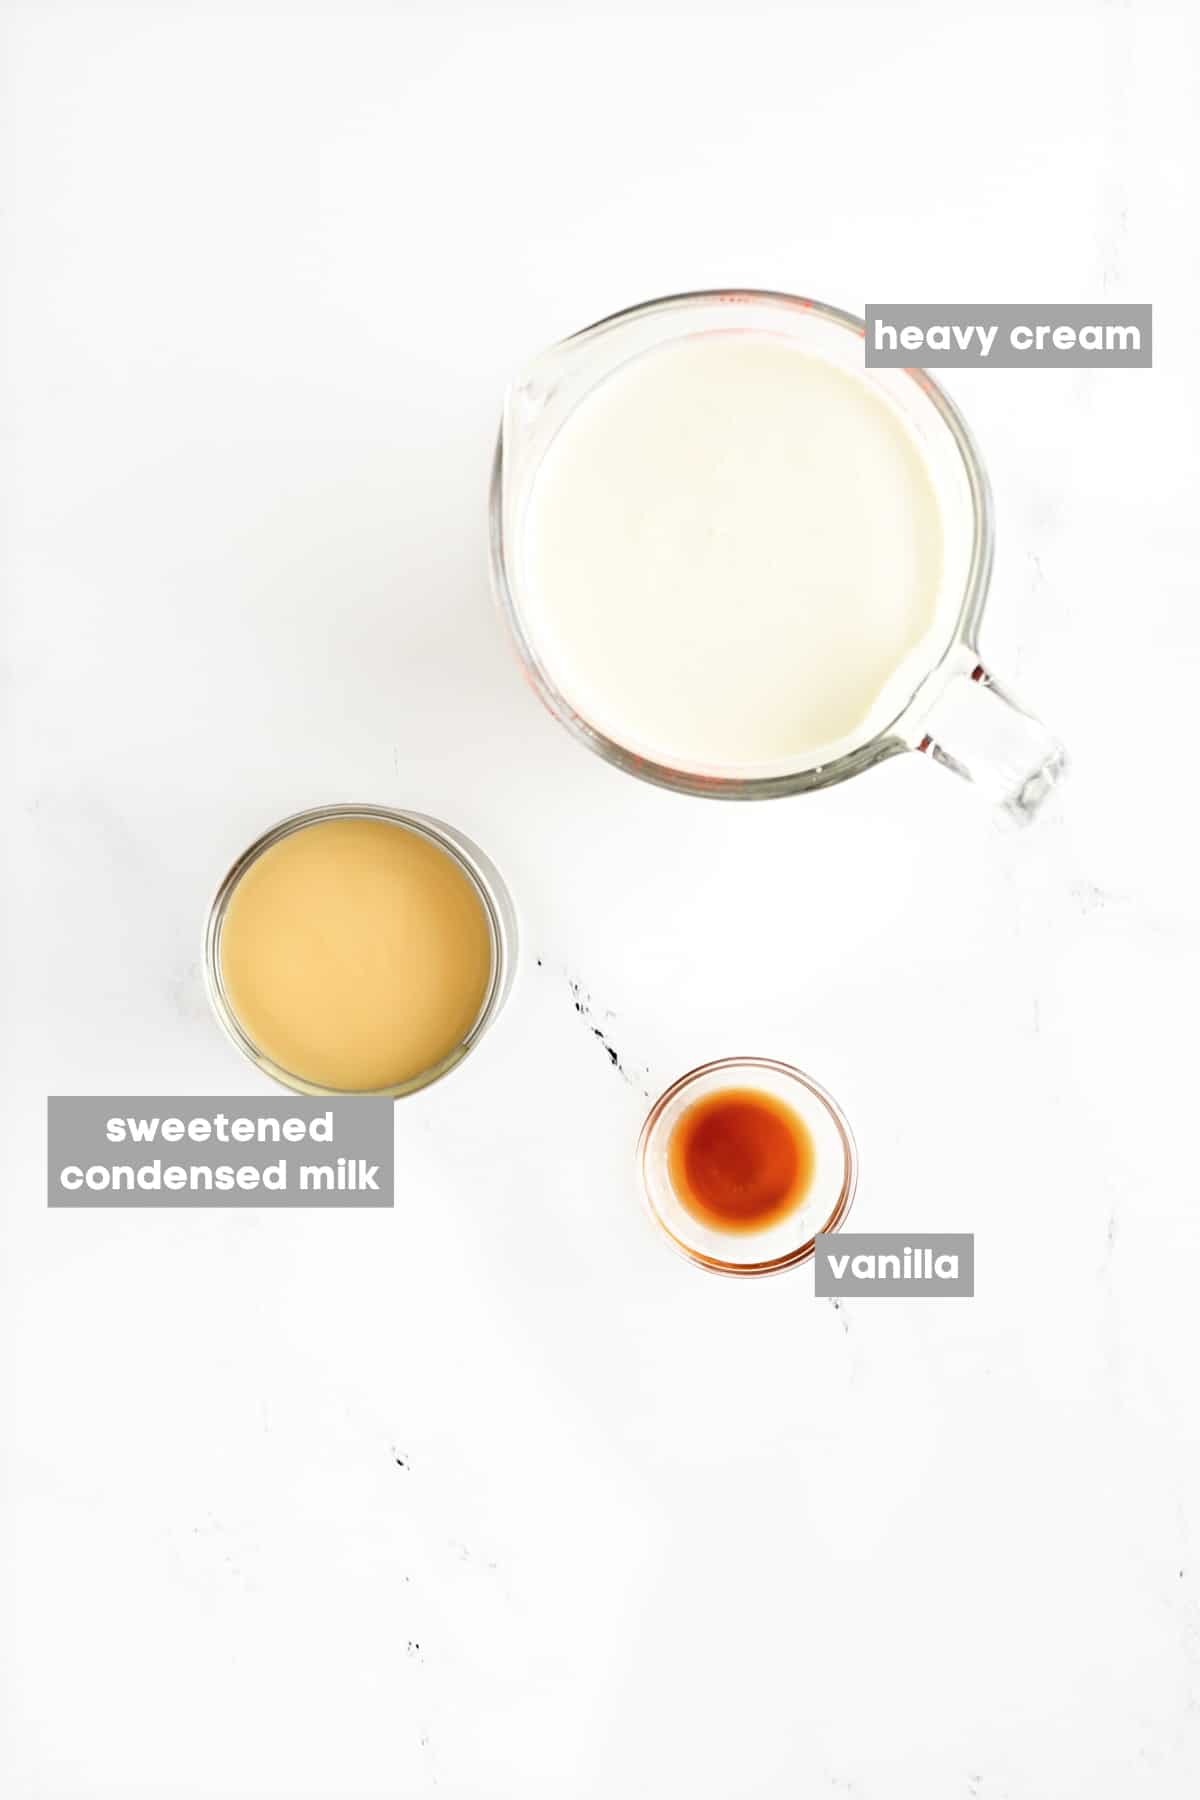
The 3-Ingredient Foundation (Makes 1 Quart):
– 2 cups heavy cream (chilled overnight—critical for texture)
– 1 can (14 oz) sweetened condensed milk (room temperature)
– 2 tsp pure vanilla extract (NOT imitation—burns when frozen)
Why This Works: The condensed milk’s sugar concentration lowers freezing point while cream’s fat coats ice crystals. Result? No ice shards—just melt-in-your-mouth creaminess.
Pro Tip: Add ¼ tsp xanthan gum while blending for extra stability. Prevents melting during serving.
3 Fastest Flavor Variations (Ready in Under 5 Minutes)
Chocolate Fix in 3 Steps
- Blend ¾ cup cocoa powder with 2 tbsp hot water until smooth paste
- Add 2 cups cream + 14 oz condensed milk + 2 tbsp honey
- Freeze 4 hours (cocoa slows freezing)
Warning: Dutch-process cocoa gives richer flavor but requires 30 minutes extra freezing time.
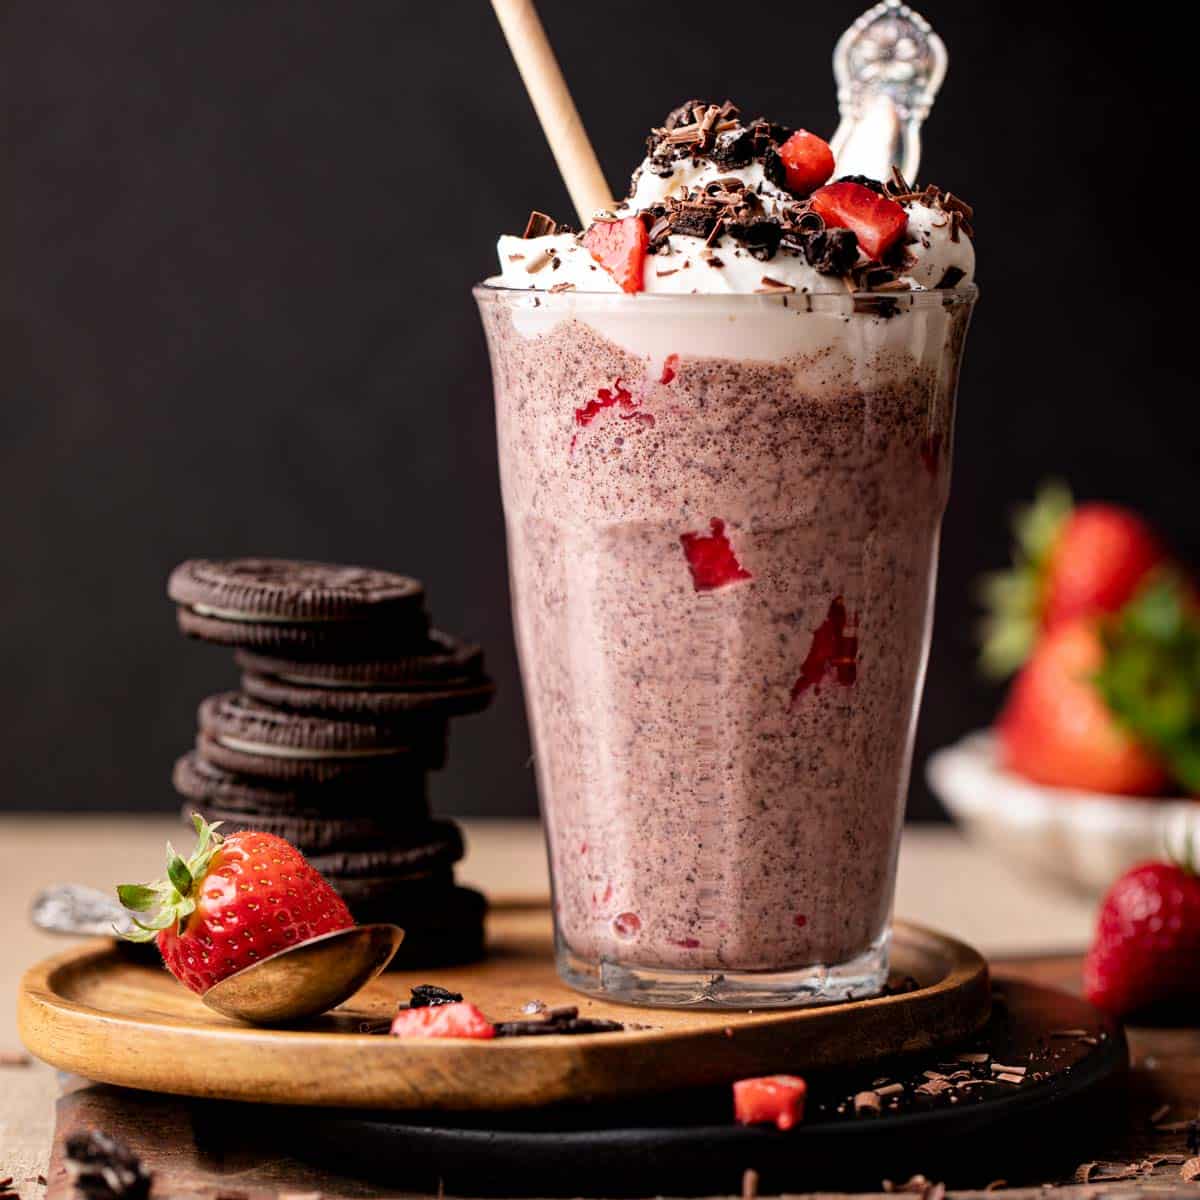
Strawberry Swirl Hack
- Cook 2 cups chopped strawberries + 3 tbsp sugar 10 minutes until syrupy
- Cool completely (warm fruit melts base)
- Swirl cooled sauce into vanilla base after blending—never before
Pro Tip: Freeze sauce in ice cube trays first. Blend strawberry cubes with vanilla base for uniform pink color.
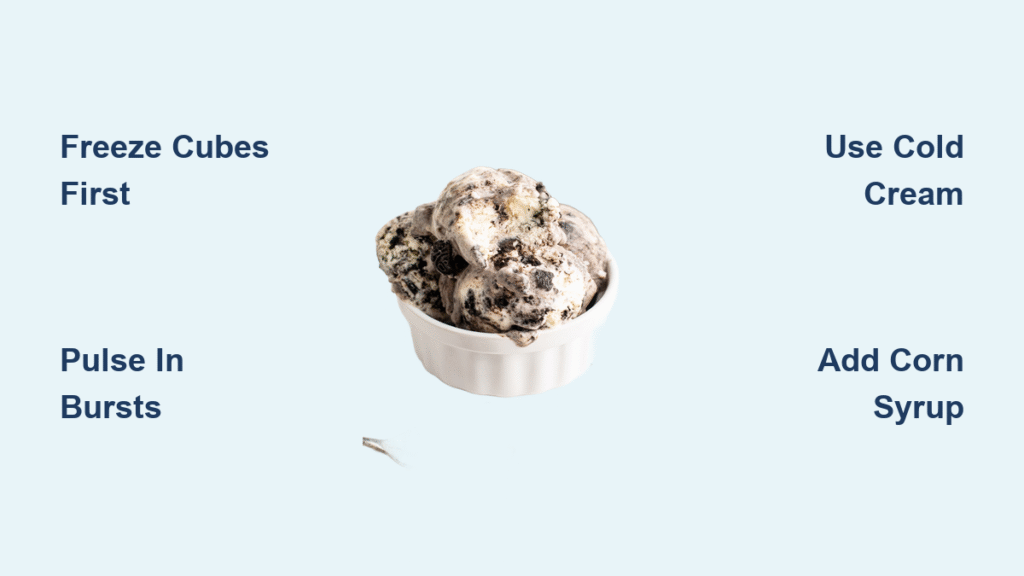
Cookies & Cream Shortcut
- Crush 8 Oreos (reserve 2 for topping)
- Fold into blended vanilla base by hand
- Freeze 1 hour—no extra time needed
Critical Mistake: Blending cookies with base turns it grey. Always fold in after blending.
Fix Grainy Texture in 3 Steps
When Ice Crystals Form
Cause: Inadequate fat or over-freezing before blending
Solution:
1. Let frozen cubes sit 3 minutes at room temperature
2. Pulse 10 seconds with 1 tsp corn syrup (binds water molecules)
3. Freeze 20 minutes before serving
When It’s Too Hard to Scoop
Cause: Deep container freezing
Solution:
– Transfer to shallow container (½-inch deep max)
– Let sit 7 minutes at room temperature
– Dip scoop in hot water—never microwave
When It Melts Too Fast
Cause: Low fat content
Solution:
– Replace ¼ cup condensed milk with extra ¼ cup cream
– Freeze 2 extra hours before serving
Pro Tip: Add 1 tbsp vodka to base—it won’t freeze but prevents hardening. Perfect for adult-only batches!
Storage Secrets That Prevent Freezer Burn
The Airtight Container Method
- Press plastic wrap DIRECTLY on ice cream surface
- Seal with lidded container (no air pockets)
- Store flat in coldest part of freezer (usually back)
Why This Works: Air exposure = ice crystals. The plastic wrap barrier is non-negotiable for freshness.
Pre-Scoop Portion Hack
- Scoop portions onto parchment-lined tray
- Freeze 45 minutes until firm
- Transfer to freezer bag labeled with date
Time Saver: Grab single servings without thawing entire batch. Ready in 90 seconds!
Timeline Cheat Sheet for Busy People
| Method | Active Time | Freeze Time | Total Wait | Best For |
|---|---|---|---|---|
| Ice Cube Tray | 10 min | 8-12 hours | Overnight | Perfect texture |
| Whipped Base | 15 min | 3-4 hours | Same day | Urgent cravings |
| Pro Shortcut | 5 min | 2 hours | Same hour | Soft-serve emergencies |
Same-Hour Trick: Blend frozen cubes for 45 seconds. Serve immediately as soft-serve with warm toppings (hot fudge melts into magic).
Your blender has been wasting its dessert potential this whole time. Tonight, transform pantry staples into ice cream that shocks guests (“You made this WITHOUT a machine?!”). Start with vanilla to master the technique—then unleash creativity with cookie dough or salted caramel swirls. The ice cube tray method delivers restaurant-quality smoothness, while the whipped base satisfies midnight cravings before your Netflix episode ends. Grab your blender, freeze that base, and taste the difference real homemade ice cream makes. Your new favorite dessert routine starts with one simple blend.


