
Your Ninja Pro Touch blender suddenly dies mid-smoothie, leaving you staring at a red blinking light and half-blended kale. You’re not alone—thousands of BL663CO owners face this frustration weekly. When your 1100-watt powerhouse refuses to spin, it’s rarely a catastrophic failure. Most Ninja Pro Touch blender not working issues stem from simple alignment errors, blade obstructions, or overlooked maintenance. Skip the panic and the replacement costs: this guide delivers actionable fixes for every common failure mode. You’ll diagnose the problem in under 5 minutes and restore blending performance before your next smoothie craving hits.
Why Your Ninja Pro Touch Won’t Power On
Zero Response When Pressing Start
When your blender stays completely dead—no lights, no sounds—the culprit is almost always external to the unit. Immediately test the outlet by plugging in your phone charger; faulty circuits are the #1 cause of apparent “dead” blenders. If the outlet works, scrutinize the entire power cord for damage. Pay special attention to the base connection point where kinks commonly form—exposed copper or frayed insulation here interrupts power flow. Never operate with damaged cords; replace them immediately to prevent electrical hazards.
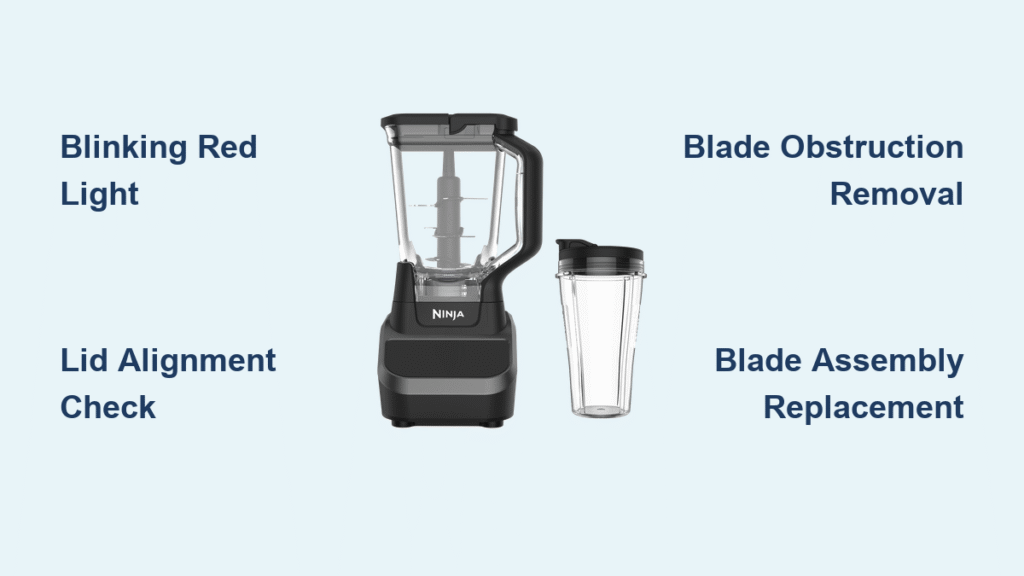
Continuous Blinking Red Light Explained
That persistent red blinking isn’t random—it’s your Ninja Pro Touch screaming for help. This critical safety feature blocks motor activation when components misalign. The BL663CO requires three precise connections: lid arrows must match, pitcher must click into base, and blade assembly must seat flush on the gear shaft. Follow this foolproof alignment sequence:
– Press lid down firmly while aligning its arrow with handle arrow
– Rotate handle clockwise until you hear a distinct click
– Screw pitcher base clockwise until no gap remains between pitcher and motor base
– Verify blade assembly sits fully seated with no wobble
Fixing Ninja Pro Touch Component Alignment
Lid Locking Failures
A lid that won’t lock properly triggers the safety interlock, making your Ninja Pro Touch blender not working. If the lid arrows don’t align perfectly, the locking tabs can’t engage. Apply firm downward pressure while twisting clockwise—many users underestimate the force needed for that critical click. If resistance feels abnormal, inspect the lid’s inner tabs for cracks or food debris. Clean residue with a soft brush before retrying; hardened smoothie buildup often prevents proper seating.
Pitcher Base Misalignment
Gaps or wobbling between pitcher and base mean your unit won’t activate. Remove the pitcher completely and examine the locking mechanism. The BL663CO uses a quarter-turn system where misaligned tabs create dangerous instability. Re-seat with precision: align the pitcher’s tabs with base slots, then twist clockwise until resistance increases significantly. You should feel positive engagement—like tightening a jar lid—before the final quarter-turn locks it securely. Never force it; misalignment indicates debris or damage requiring cleaning.
Blades Spinning But Not Blending Solutions

Dull or Damaged Blades Diagnosis
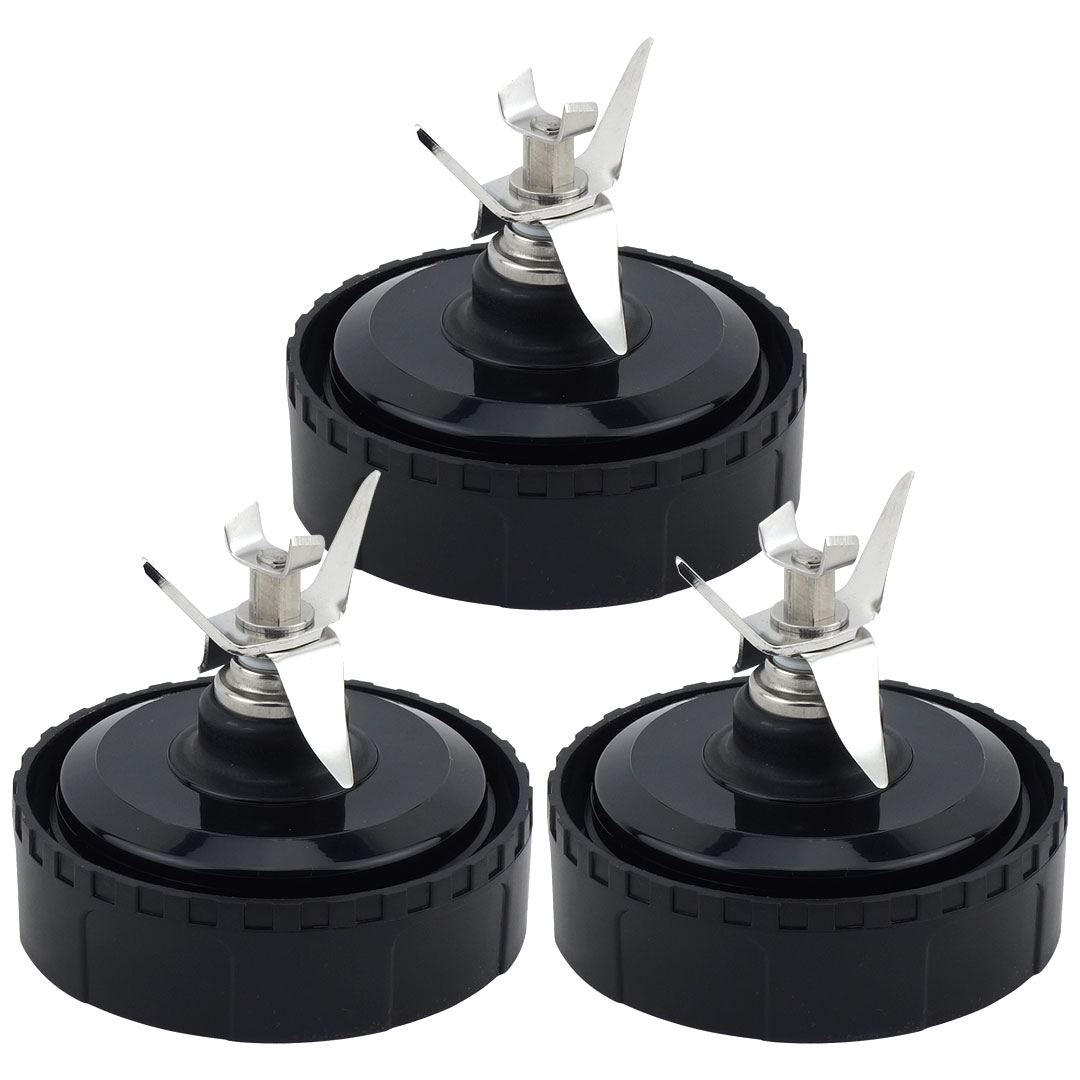
When your motor hums but leaves ice chunks floating, blade inspection is urgent. Remove the pitcher and turn it upside down. Run your finger carefully along blade edges—sharp blades feel like razors, while damaged ones feel rounded or nicked. Critical warning: Bent blades create uneven stress that can strip internal gears. The Ninja Professional Blender 1100 watt blade replacement (part #BPA-1100) includes the entire housing assembly—essential because plastic wear often accompanies blade damage.
Correct Ingredient Loading Technique
Overloading causes 70% of inefficient blending. Always layer in this order: liquids first (1-2 cups), soft ingredients next (yogurt, spinach), frozen items last (berries, ice cubes). Never exceed the max fill line—overpacking prevents the vortex formation needed for smooth blending. For stubborn frozen items, pulse in 10-second bursts with the tamper until ingredients move freely. Packaged “smoothie boosters” often cause jams; break them into smaller pieces before adding.
Blade Assembly Won’t Rotate? Fix It Now
Removing Blade Obstructions
Food particles jamming blades are the most common cause of rotation failure. Stop immediately if you hear grinding or see ingredients not moving—continued operation burns out motors. Unplug the unit, then:
1. Empty contents into a bowl for inspection
2. Shine a flashlight between blade arms to spot trapped ice or fruit
3. Use a wooden chopstick (never metal!) to dislodge debris
4. Rinse blade assembly under warm water before retesting
5. Start with smaller batches to confirm clearance
Stripped Gear Emergency Signs
A high-pitched whine during operation signals catastrophic gear failure. Inspect the pitcher’s bottom center where the blade assembly connects—intact drive gears show sharp, uniform teeth. Worn gears appear rounded or have missing segments. This requires pitcher replacement since gears are molded into the pitcher base (part #PIC-1100). Continuing use with stripped gears generates dangerous heat—stop operation immediately if you detect burning smells.
Lid Stuck After Blending? Release It Safely
Standard Lid Release Protocol
Hot liquids create vacuum seals that weld lids shut. Never twist the lid—this damages locking mechanisms. Instead: press the release button fully down while pulling straight up on the handle. If resistance persists, let the blender cool 2-3 minutes; thermal expansion often eases removal. For stubborn cases, wrap a rubber band around the handle for better grip before attempting release.
Breaking Vacuum Seals Without Damage
When liquid seeps into seals, butter knives become your best friend. Slide the blade gently between lid and pitcher rim at the handle’s opposite side, then twist slightly to break suction. Never force it—this cracks pitchers. After removal, inspect the rubber seal for tears and clean residue with vinegar solution. Apply a rice-grain-sized drop of food-grade mineral oil to the seal before reassembly to prevent future sticking.
Unresponsive Control Panel Fixes
Pre-Diagnosis Checklist
Before assuming electronic failure, verify these common oversights:
– Solid red power light? If blinking, realign components first
– Pitcher fully locked? A 1/16-inch gap disables controls
– Lid arrow aligned? Misalignment triggers safety lockouts
– Moisture on panel? Dry thoroughly with microfiber cloth
Button Membrane Failure Signs
If the red light stays solid but buttons ignore presses, the membrane beneath the touch panel has likely failed. Temporary workaround: press firmly while sliding fingers left/right across buttons—sometimes this reconnects faulty contacts. Permanent repair requires opening the motor base, which voids warranties. For most users, replacing the entire base (part #MBA-1100) costs less than professional diagnostics.
Plastic Flakes in Smoothies? Critical Action Required

Immediate Contamination Response
Finding plastic shards means blade housing is disintegrating. Stop using the blender instantly—ingesting plastic causes serious health risks. Unplug the unit and inspect the blade assembly’s plastic housing for cracks, pitting, or missing chunks. The bottom surface should be smooth; any texture indicates wear. This isn’t a cleaning issue—it’s a failure requiring replacement.
Mandatory Replacement Protocol
Order the Ninja Professional Blender 1100 watt blade replacement immediately (confirm BL663CO compatibility). While waiting, do not:
– Attempt temporary fixes like tape or glue
– Use alternative blade assemblies
– Operate the blender even once
Plastic contamination escalates rapidly—delaying replacement risks motor burnout from unbalanced blades.
Prevent Ninja Pro Touch Failures Before They Start
Daily Maintenance Routine
Spend 90 seconds post-blend to avoid future Ninja Pro Touch blender not working disasters:
– Rinse pitcher immediately to prevent dried residue
– Hand-wash blade assembly with soft sponge (dishwashers warp plastic)
– Check rubber seal for trapped seeds or pulp
– Dry all parts completely before storage
Weekly, inspect blade sharpness by cutting paper—dull blades tear ingredients instead of slicing cleanly.
Smart Storage Protocol
Never store assembled units—this compresses seals prematurely. Disassemble completely:
– Store pitcher upside down to prevent seal deformation
– Keep blade assembly in a separate container
– Place rubber seals in cool, dark locations (sunlight degrades rubber)
– Never stack pitchers—this warps alignment points
Replacement Parts Guide for BL663CO Owners
Critical Part Numbers Decoded
Use these exact identifiers for Ninja Pro Touch repairs:
– Blade Assembly: BPA-1100 (includes blades, housing, seals)
– Pitcher Unit: PIC-1100 (with integrated drive gear)
– Motor Base: MBA-1100 (for electrical/control failures)
Always verify “BL663CO” compatibility—similar models use incompatible parts. Genuine Ninja parts cost 20% more but last 3x longer than generics.
Cost-Saving Replacement Strategy
For daily users, order a spare blade assembly (BPA-1100) during your next Amazon run. At $24.99, it’s cheaper than a week of store-bought smoothies. Since blades wear out every 12-18 months with regular use, having a backup eliminates blender downtime during shipping. Keep it in your pantry—next to the protein powder.
Your Ninja Pro Touch blender not working crisis is almost certainly fixable in under 10 minutes. Start with the blinking red light diagnostic—90% of “dead” blenders just need realignment. If blades spin but won’t blend, inspect for dullness or improper loading before considering replacements. Never ignore plastic contamination; it’s a health emergency requiring immediate blade assembly replacement. Implement the daily maintenance routine to prevent 80% of common failures, and keep that spare BPA-1100 blade assembly on hand. Within an hour of reading this guide, you’ll be back to creating perfect smoothies—no technician required. Remember: when your Ninja Pro Touch acts up, it’s rarely broken… it just needs your attention.


