
You don’t need a dedicated juicer to make fresh, nutrient-packed juice at home—your Ninja blender can do the job with just a few extra steps. While traditional juicers automatically separate pulp from liquid, your Ninja creates a smooth mixture that you’ll strain manually. This two-step process gives you complete control over texture and flavor while saving you from buying another single-purpose kitchen gadget.
The beauty of using your Ninja blender as a juicer is that you already own the equipment, and cleanup takes minutes instead of the tedious disassembly required by dedicated juicers. Whether you’re craving fresh orange juice or want to experiment with vegetable blends, this guide walks you through exactly how to transform your Ninja into an effective juicing machine without wasting a single drop of your precious produce.
Why Your Ninja Makes Great Juice
Your Ninja blender excels at juicing because it pulverizes ingredients completely, extracting maximum flavor and nutrients. Unlike dedicated juicers that waste some produce in the separation process, your Ninja ensures nothing goes to waste—every drop of your fruits and vegetables ends up in your glass.
Key advantages over traditional juicers:
– No expensive equipment purchases (you already own your Ninja)
– Accepts larger produce pieces (less prep time)
– Functions as a multi-purpose kitchen tool (not single-use)
– Significantly faster cleanup process (no complex parts to disassemble)
Essential Equipment Setup
Required Tools for Juicing Success
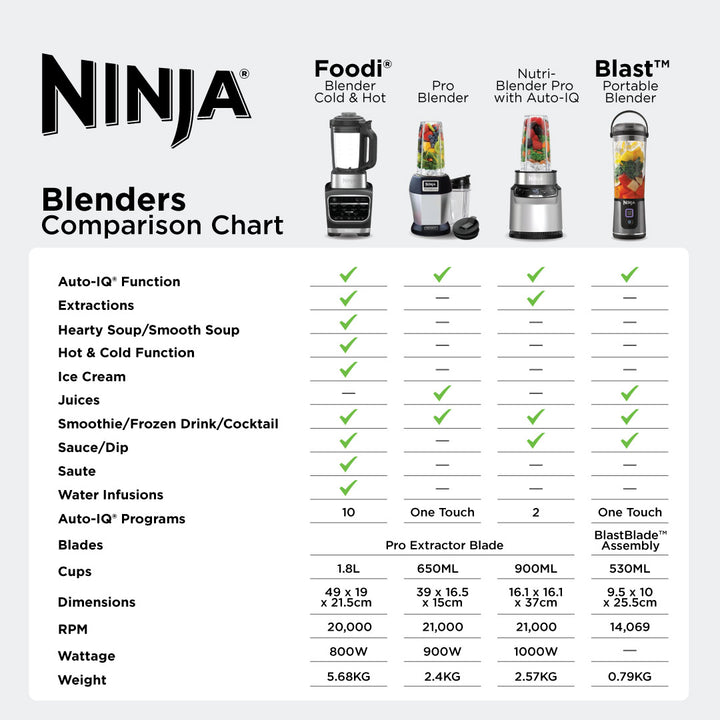
- Ninja blender (any model works: Professional, Mega Kitchen System, or standard)
- Fine-mesh sieve or handheld strainer (critical for pulp separation)
- Rubber spatula or large spoon for pressing pulp
- Measuring cups for precise water addition
- Sharp knife and cutting board for produce prep
Optional but Helpful Accessories
- Citrus peeler for faster orange preparation
- Large bowl for catching strained juice
- Compost container for pulp disposal
- Cheesecloth (backup for extra-fine straining)
Orange Juice: Start-to-Finish Method
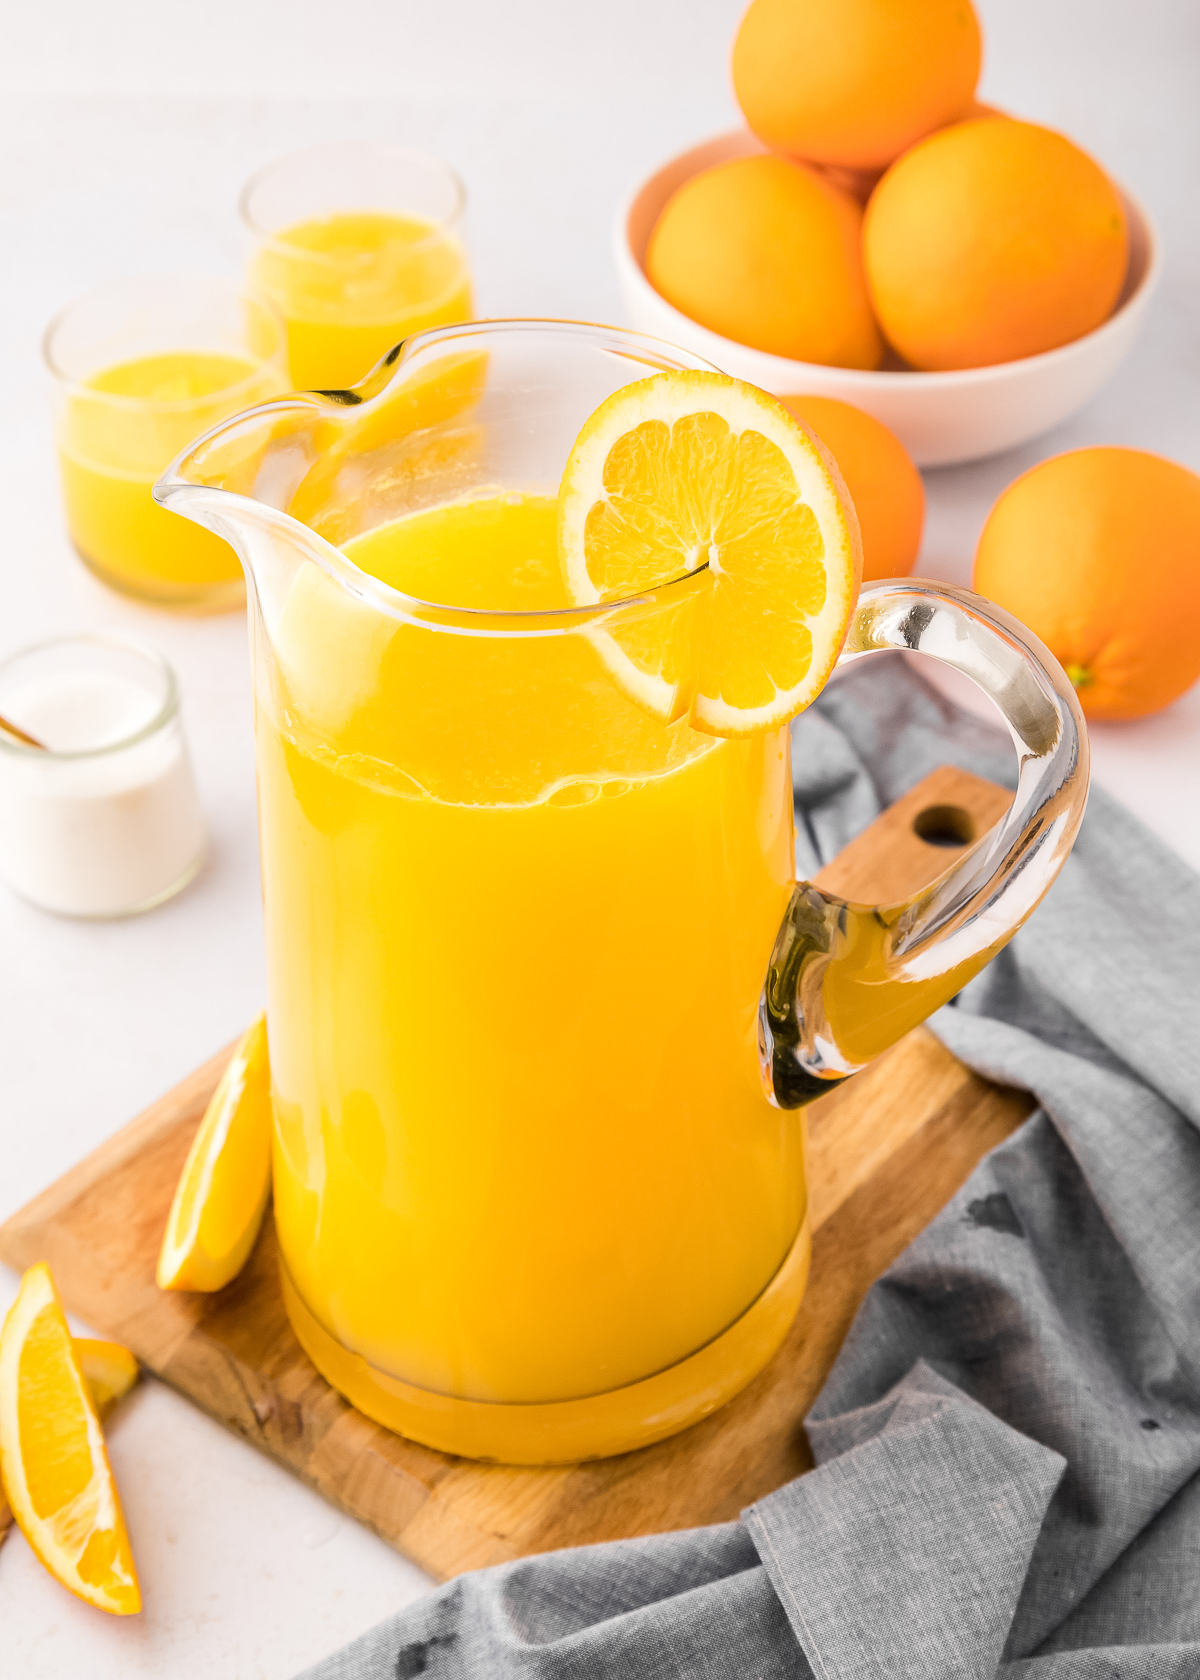
This tested method produces restaurant-quality orange juice using simple ingredients and your Ninja blender.
Yield: 20 ounces of fresh juice (3 servings)
Time: 5-7 minutes total
Ingredients: 10 small oranges, 3/4-1 cup cold water
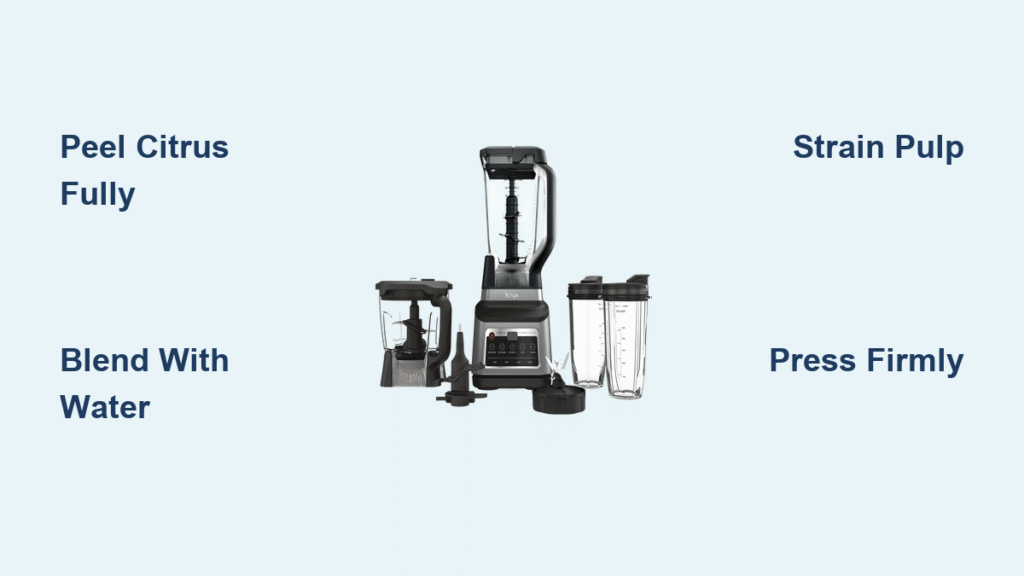
Peel Oranges Completely
Wash oranges thoroughly, then peel completely using a knife to remove all white pith—the bitter membrane that ruins fresh juice flavor. Don’t worry about perfect segments; your Ninja handles larger pieces easily.
Blend to Maximum Extraction
- Load ingredients: Add orange segments directly into blender pitcher
- Pulse first: Use 3-5 short pulses to break down large pieces
- Blend low: Process on setting 1 for 30 seconds
- Add water: Start with 1/3 cup, increase to 1 cup for desired thickness
- Finish high: Blend on setting 3 for 1 minute until completely smooth
Strain Like a Pro
Pour mixture through your mesh sieve positioned over a large bowl. Use your spatula to press firmly against the pulp, extracting every drop of liquid. Continue pressing until pulp appears dry—this maximizes juice yield and minimizes waste.
Pro tip: Save the orange pulp for baking or composting. It’s packed with fiber and nutrients your body needs.
Carrot Juice Without a Juicer
This method transforms 3 cups of baby carrots into 16 ounces of vibrant carrot juice in under 7 minutes.
Yield: 16 ounces fresh juice
Time: 5-7 minutes
Ingredients: 3 cups baby carrots, 3/4 cup cold water
Processing Steps
- Measure carrots: Use baby carrots for convenience—no peeling required
- Initial blend: Pulse 3-5 times to break down carrots
- Add water gradually: While blending on low, stream in 3/4 cup water
- Final blend: Process on high for 1 minute until completely smooth
- Strain thoroughly: Use firm pressure to extract maximum juice
The resulting juice tastes remarkably fresh and sweet without the earthy undertones common in store-bought versions. You’ll be surprised how much better homemade carrot juice tastes when made with your Ninja blender as a juicer.
Mixed Juice Combinations

Expand your juicing repertoire with these tested combinations that work perfectly with your Ninja blender:
Orange-Carrot Blend
- 5 peeled oranges + 1.5 cups baby carrots
- Add water incrementally for desired consistency
- Naturally sweet, kid-friendly flavor with double the vitamin C
Green Power Juice
- Base of 6 oranges + 1 cup fresh spinach
- Spinach adds nutrients without affecting sweet taste
- Rich in vitamin C and iron—perfect energy booster
Beet-Carrot Energy
- 2 cups carrots + 1 cup cooked beet pieces
- Earthy, energizing combination
- Beautiful deep purple color that looks as good as it tastes
Common Juicing Problems Solved
Too Much Pulp in Your Juice
Solution: Increase straining pressure or use double-layer cheesecloth for ultra-smooth texture. Press pulp firmly until completely dry—this extracts every possible drop of juice.
Weak or Watery Flavor
Solution: Reduce water addition by 1/4 cup or increase produce quantity. Taste your mixture before final straining and adjust accordingly.
Bitter Aftertaste
Solution: Ensure complete removal of citrus pith and any seeds. These contain bitter compounds that intensify during blending.
Separation After Storage
Solution: Natural separation occurs—simply shake or stir before serving. This indicates minimal processing and maximum nutrition.
Storage and Freshness Guidelines
Fresh Juice Storage
- Refrigerator: Store in airtight glass container up to 3 days
- Optimal flavor: Consume within 24-48 hours for peak taste
- Separation: Normal and expected—shake vigorously before drinking
Pulp Storage Tips
- Refrigerate: Store moist pulp in sealed container up to 2 days
- Freeze: Portion into ice cube trays for future smoothies
- Immediate use: Incorporate into muffins, soups, or compost pile
Safety Best Practices
Operating Safety
- Never blend hot ingredients—cool produce only
- Secure lid tightly before high-speed blending
- Allow motor 30-second rest between batches
Hygiene Protocol
- Wash produce thoroughly before juicing
- Clean blender immediately to prevent staining
- Sanitize strainer between different produce types
- Store juice in clean, airtight containers only
Time-Saving Ninja Tips
Prep Shortcuts
- Batch preparation: Peel multiple oranges at once, store segments in refrigerator
- Carrot convenience: Use pre-washed baby carrots straight from bag
- Water measurement: Mark your favorite water level on a measuring cup for consistency
Efficiency Boosters
- Layering technique: Place softer ingredients (oranges) at bottom for easier initial blending
- Double straining: Strain juice directly into serving glasses to eliminate extra dishes
- Pulp collection: Position compost container under strainer for one-handed operation
Cost Comparison: Ninja vs. Juicer
Equipment Investment
- Ninja Professional Blender: ~$99 (multi-purpose)
- Quality dedicated juicer: ~$99 (single-purpose)
- Winner: Ninja provides better value through versatility
Operational Costs
- Ninja advantages: No additional equipment needed, existing blender works perfectly
- Juicer drawbacks: Complex cleaning, single-function device, more counter space required
For occasional juicing, your Ninja delivers comparable results with significantly less hassle and investment. You’re already paying for the Ninja’s multi-purpose functionality, so why buy another appliance?
Advanced Flavor Enhancements
Natural Sweeteners
- Add 1-2 dates during blending for natural sweetness
- Include fresh ginger (1/2 inch piece) for zesty kick
- Blend fresh mint leaves for refreshing aftertaste
Flavor Balancing
- Too tart: Add 1/4 apple or extra orange
- Too sweet: Include cucumber or celery for balance
- Flat tasting: Add squeeze of fresh lemon juice
Your Ninja blender transforms into a powerful juicing machine with these techniques. The combination of thorough blending and manual straining produces fresh, vibrant juice while maintaining the convenience and versatility of your existing kitchen equipment. By following these simple steps for how to use the Ninja blender as a juicer, you’ll enjoy restaurant-quality juice at home without the extra cost and counter space of a dedicated appliance. Start juicing today and experience the difference fresh, homemade juice makes to your health and daily routine.


