
Nothing beats the taste of fresh-squeezed orange juice, but those expensive countertop juicers gather dust after the novelty wears off. Your Ninja blender transforms whole oranges into vibrant, pulp-free juice faster than your morning coffee brews—and without the $100 price tag of a dedicated juicer. Skip the pre-chopped mess and bottled imposters; this method delivers restaurant-quality citrus in under 10 minutes using equipment already in your kitchen. You’ll never need added sugar when you master this Ninja blender orange juice technique.
Ninja Blender Setup for Maximum Juice Extraction

Your Ninja Mega Kitchen System or Ninja Professional Blender (model NJ600 or similar) handles whole orange segments effortlessly thanks to its powerful 1000+ watt motor. Unlike finicky juicers that clog with large chunks, your Ninja accepts peeled orange halves directly into the pitcher. The critical step most beginners miss? Using the right liquid ratio to transform fibrous pulp into smooth juice without diluting flavor.
Essential Tools Beyond Your Ninja Blender
- Fine mesh sieve (80-micron or finer for pulp-free results)
- Silicone spatula (rigid edge for maximum juice pressing)
- Sharp chef’s knife (serrated works for stubborn pith)
- Glass measuring cup (for precise water control)
- Small bowl (to catch strained juice)
Pro Tip: Skip nut milk bags—they tear when pressing dense orange pulp. A stainless steel mesh sieve withstands firm pressure while capturing every fiber.
Selecting and Prepping Oranges for Superior Flavor
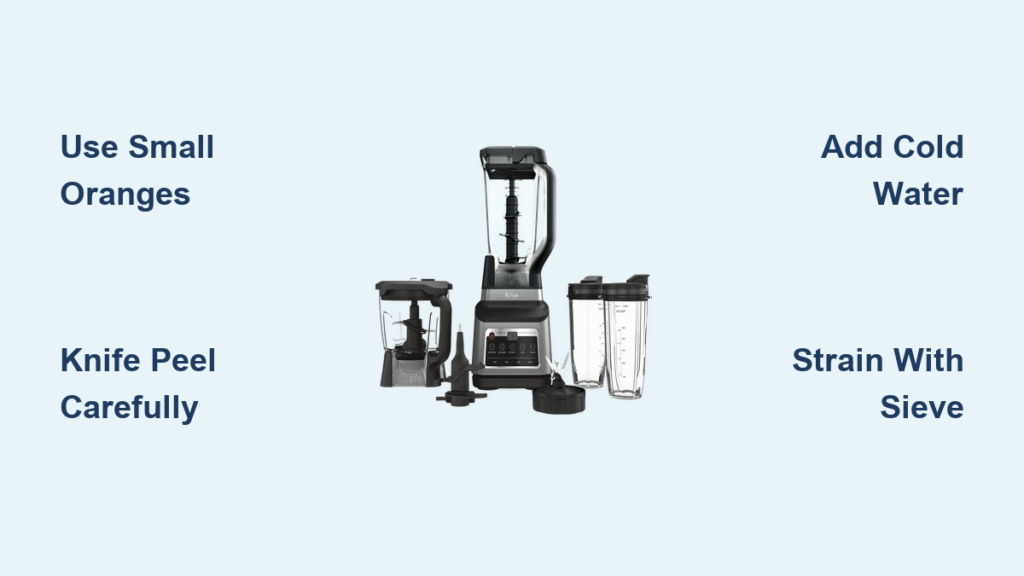
Why Small Oranges Beat Navels Every Time
Those petite oranges at your grocery store aren’t just cute—they pack 30% more natural sweetness than oversized navels. Their concentrated flavor eliminates the need for sugar while delivering brighter citrus notes. Choose fruits that feel heavy for their size with smooth, thin skin—these indicate higher juice content and lower pith density.
Knife-Only Peeling Technique That Prevents Bitterness
- Slice ¼ inch off both ends to create stable flat surfaces
- Stand orange upright and carefully cut downward following the fruit’s curve
- Inspect each segment—remove any remaining white pith with your thumbnail
- Quarter larger fruits but keep small oranges in halves to minimize oxidation
Warning: Hand-peeling leaves bitter white membrane behind. The knife method takes 30 seconds longer but prevents off-flavors that ruin your juice.
Step-by-Step Ninja Blender Orange Juice Process
Perfect Blending Sequence for Smooth Results
Start with 3-4 quick pulses on your Ninja’s lowest setting to break up whole orange segments. Add ⅓ cup ice-cold water—this initial liquid helps the blades grip fibrous pulp without diluting flavor. Immediately follow with 30 seconds on Speed 1 until the mixture resembles chunky applesauce.
Critical Speed Transition for Complete Pulp Breakdown
- Increase to Speed 3 and blend for 60 seconds (set a timer—over-blending creates foam)
- Check consistency—add water 2 tablespoons at a time if too thick
- Stop when texture resembles thin smoothie (not chunky puree)
- Never exceed 1 cup water total for a 10-orange batch to maintain intense flavor
Pro Tip: Blend in batches if making more than 10 oranges—overfilling strains the motor and creates uneven texture. Your Ninja handles 6-8 small oranges per session perfectly.
Straining Method That Yields 20% More Juice
Pour blended mixture through your fine mesh sieve positioned over a measuring cup. Press pulp firmly with your silicone spatula using circular motions—this mechanical extraction pulls out every drop of liquid trapped in fibers. Discard spent pulp or freeze for smoothies (it won’t sweeten ice cream effectively).
Troubleshooting Common Ninja Juice Problems

Fixing Bitter-Tasting Orange Juice Instantly
Bitterness always comes from residual white pith—not the orange itself. Next time, slice slightly deeper when removing peel to eliminate all white membrane. For current batches, add ¼ teaspoon salt to neutralize bitter compounds without altering flavor.
Preventing Motor Overheating During Blending
Your Ninja shuts off automatically when overloaded—a safety feature many mistake for malfunction. Never process more than 8 small oranges at once, and always include the minimum ⅓ cup water. If motor stops, wait 15 minutes before restarting to allow cooling.
Achieving Pulp-Free Consistency Without Cheesecloth
Double-strain stubborn batches by placing your mesh sieve over a second container and pouring through a clean cotton kitchen towel. The towel catches microscopic fibers while allowing liquid to flow freely—no special equipment needed.
Flavor Variations That Elevate Basic Orange Juice
Tropical Orange-Pineapple Fusion (No Water Needed)
Blend 1 peeled orange, 300g fresh pineapple chunks, and ½ lemon on Speed 3 for 45 seconds. Pineapple’s natural enzymes break down fibers while adding complementary sweetness. This combination yields 14 ounces of vibrant juice with zero added liquid.
Creamy Orange Julius Copycat in 90 Seconds
After straining regular orange juice, add ¼ cup whole milk and 1 teaspoon vanilla extract to the pitcher. Blend 10 seconds on Speed 2 until frothy. The Ninja’s vortex creates the signature creamy texture without ice cream.
Ninja Blender vs Dedicated Juicer: The Real Comparison
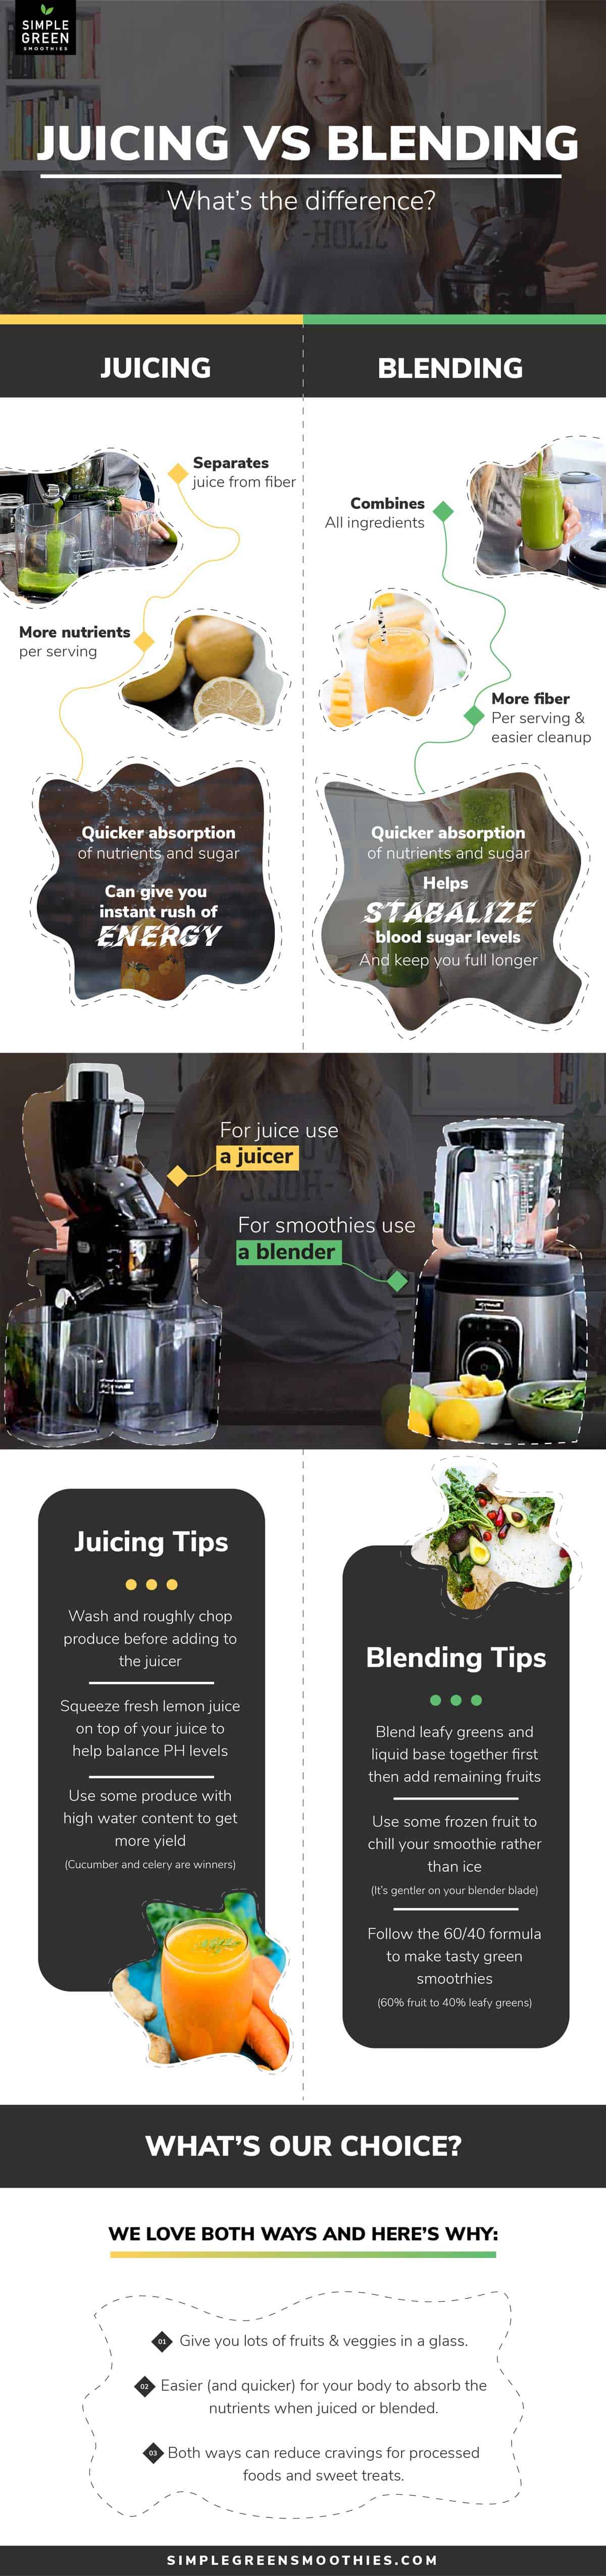
When Your Ninja Wins Hands-Down
| Task | Ninja Blender | Dedicated Juicer |
|---|---|---|
| Setup Time | 30 seconds | 2+ minutes |
| Cleanup | 2 minutes | 5+ minutes |
| Counter Space | Already owned | New appliance |
| Versatility | 10+ uses | Juicing only |
Verdict: Your Ninja blender makes superior occasional juice. Only invest in a dedicated juicer if you process 15+ oranges daily—the straining step becomes tedious with frequent use.
Storage Secrets for Lasting Freshness
Glass Container Method That Preserves Flavor
Transfer strained juice into airtight glass bottles filled to the very top to minimize oxygen exposure. Add 1 teaspoon lemon juice per quart to slow oxidation—this trick maintains bright color for 72 hours. Plastic containers leach chemicals into acidic juice over time.
Freeze Pulp for Future Use
Scoop strained pulp into silicone ice cube trays and freeze. These citrus fiber cubes boost smoothies and baked goods with natural sweetness. Thaw overnight in the fridge before using—never microwave as it destroys nutrients.
Speed Cleaning Your Ninja After Juicing
60-Second Rinse Protocol
- Immediately disassemble pitcher and blade assembly
- Rinse under cold water while pulp is still wet
- Fill pitcher halfway with warm water and 1 drop dish soap
- Blend 30 seconds on Speed 1 to clean blade crevices
- Air dry all components before reassembling
Critical Step: Never let orange residue dry on blades—citric acid etches metal over time. Weekly deep cleaning requires soaking the blade assembly in hot, soapy water for 10 minutes before gentle brushing.
Final Pro Tips for Perfect Ninja Blender Orange Juice
Your $99 Ninja Professional Blender outperforms entry-level juicers for occasional use while saving valuable counter space. Master this technique and you’ll enjoy premium orange juice that costs 60% less than store-bought versions—with no preservatives or added sugars. Remember the golden rule: small oranges + knife peeling + precise water ratio = flawless results every time. When guests taste your vibrant homemade juice, they’ll never believe it came from your everyday blender. Start with just three oranges tomorrow morning—you’ll be hooked after that first glass of sunshine-bright citrus.


