
That daily coffee shop run adds up fast—especially when a simple iced coffee costs $5-7. Your Ninja blender can deliver the same barista-quality results in under five minutes, saving you hundreds per year. Whether you’re using the single-serve cup for quick morning fixes or the full pitcher for weekend brunch, this guide transforms your kitchen into your personal café. Learn exactly how to make iced coffee in a ninja blender with smooth, chunk-free results every time.
Stop wasting money on overpriced drinks and start mastering your Ninja blender for cafe-quality iced coffee at home. This guide cuts through the confusion with precise ice softening times, ingredient ratios, and model-specific blending techniques. You’ll never struggle with watery coffee or ice chunks again—just creamy, perfectly chilled coffee that rivals any coffee shop. By the end, you’ll know how to craft your signature blend in less time than your commute.
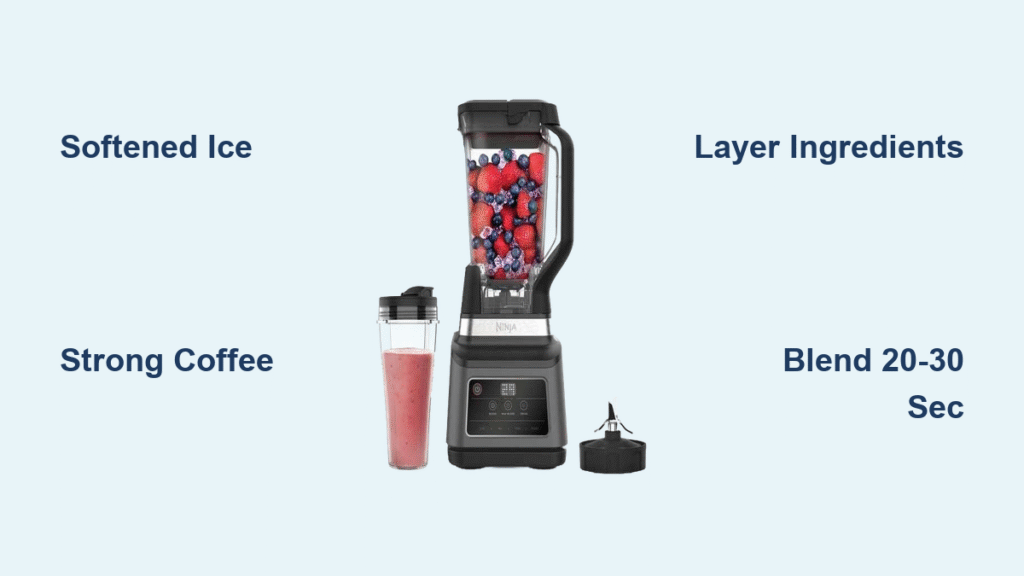
How to Soften Ice for Chunk-Free Ninja Blender Iced Coffee
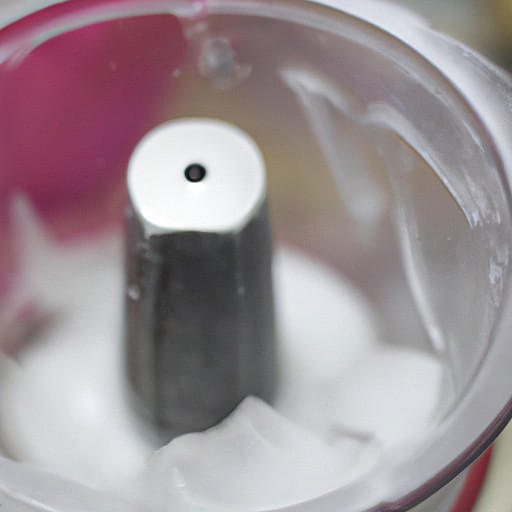
Skipping this step guarantees icy shards that ruin texture. Take 4-5 ice cubes straight from your freezer and set them on your counter for exactly five minutes before blending. This controlled softening creates the sweet spot where ice blends smoothly without melting prematurely. Warm your cubes too long and they’ll water down your drink; use them straight from the freezer and you’ll strain your blender motor.
Test Ice Readiness Instantly
Press a cube gently between your thumb and forefinger—it should yield slightly but still hold its shape. If it cracks cleanly, it’s too cold; if it collapses into slush, it’s over-softened. Perfectly softened ice feels slightly sticky to the touch and creates that velvety consistency professional baristas achieve. Pro tip: Set a timer religiously—this five-minute window makes or breaks your texture.
Perfect Ninja Blender Iced Coffee Formula (2 Servings)
This ratio eliminates guesswork for balanced sweetness and strength. Combine 1 cup of completely cooled, strong-brewed coffee (make it 1.5x stronger than your normal cup), ⅓ cup milk of choice, and 1 tablespoon chocolate or caramel syrup in your blender. For single-serve cups, scale down to 100ml extra-strong coffee, 200ml milk, and 1-2 tablespoons syrup. Never pour hot coffee into the blender—it melts ice instantly, creating watery results.
Avoid These Ratio Mistakes
Using weak coffee creates a washed-out drink after blending. If your coffee isn’t chilled completely, it shocks the ice and causes uneven melting. Critical fix: Brew coffee the night before and refrigerate uncovered—it cools faster and develops deeper flavor. Skimping on syrup? Start with the recipe’s measurements, then adjust to taste after blending. Sugar-free syrups often need extra volume since they’re more concentrated.
Step-by-Step: Making Single-Serve Iced Coffee in Ninja Blender
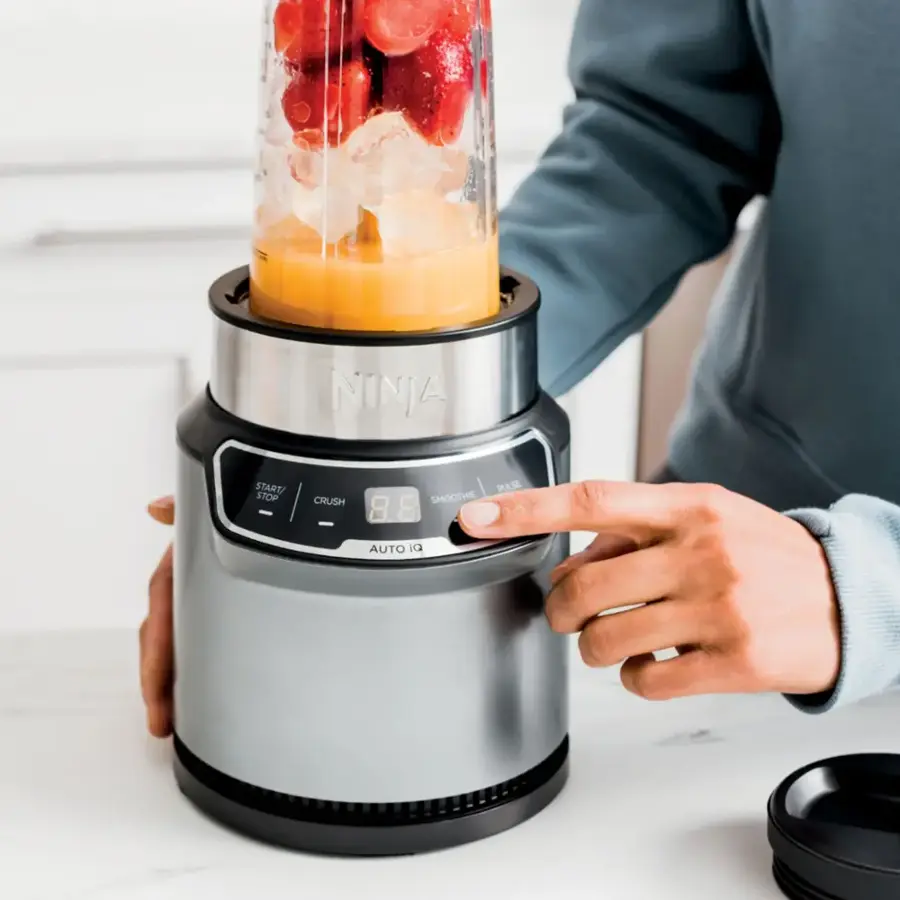
Follow this sequence to prevent leaks and achieve café texture. First, pour cooled coffee into your 700ml single-serve cup. Next, add milk, then syrup on top—this layering prevents clogs. Screw the blade assembly on tightly until it clicks, then secure the cup onto the base. Press START/STOP and blend for 20-30 seconds until completely uniform (no visible ice flecks). Immediately remove the blade assembly and attach the spout lid for mess-free commuting.
Fix Single-Serve Blending Failures
If liquid leaks from the bottom, you’ve cross-threaded the blade assembly—remove and reseat it clockwise until fully locked. Overfilling past the MAX line causes explosive spills; never exceed ⅔ capacity with liquid plus ice. Hear grinding noises? Stop immediately and check for stray ice chunks—your ice likely wasn’t softened enough. Pro move: Wipe the blade gasket weekly with vinegar to prevent coffee oil buildup that causes leaks.
How to Blend Iced Coffee in Ninja Pitcher (2-4 Servings)
This method creates crowd-pleasing batches without thinning flavor. Pour 2 cups strong-brewed coffee into the standard pitcher first, followed by ¾ cup milk and 2 tablespoons syrup. Add softened ice cubes last. Lock the lid with firm downward pressure until it clicks—Ninja’s vortex action requires a perfect seal. Select high speed and blend 30-45 seconds until the mixture looks homogenous and coats the pitcher walls.
Control Pitcher Foam Naturally
Unlike single-serve cups, the pitcher generates more foam due to its wider shape. Don’t panic—let the blended coffee sit undisturbed for 30 seconds. Foam will rise to the top for easy skimming with a spoon. Prefer froth? Skip the resting step and pour immediately for a cappuccino-like layer. Key insight: Oat milk creates thicker foam than dairy—adjust your resting time based on your milk choice.
4 Proven Ninja Blender Iced Coffee Flavor Combinations
Skip generic syrup experiments with these tested pairings. For Mocha Magic, blend coffee with 1 tbsp chocolate syrup plus a pinch of instant espresso powder. Salted Caramel shines with 1½ tbsp caramel syrup and ¼ tsp flaky sea salt. Try Vanilla Spice using vanilla syrup plus a dash of cinnamon and nutmeg. Maple Pecan dazzles with 1 tbsp maple syrup and 5 drops of almond extract (mimics nutty notes without actual nuts).
Dietary Swap Successes
Dairy-free? Oat milk delivers creaminess closest to 2% dairy. For keto, replace syrup with 2 tbsp sugar-free vanilla and use heavy cream instead of milk. Vegan protein powder (1 scoop) blends seamlessly into any flavor for a post-workout boost—add it after initial blending to prevent clumping. Warning: Avoid coconut milk in large quantities—it separates when blended and creates oily texture.
Fix Chunky or Watery Ninja Blender Iced Coffee in 60 Seconds
Rescue ruined batches instantly with these field-tested fixes. If your coffee’s too thick (barely flows when tilted), add 1-2 tbsp cold milk and pulse 3 seconds—test by swirling the cup; ideal texture should coat sides briefly before streaming down. For watery coffee, drop in 2 softened ice cubes and blend 5 seconds max. Chunky texture means your ice wasn’t softened—strain through a fine-mesh sieve, then re-blend with 3 fresh softened cubes.
Prevent These Consistency Disasters
Never blend more than 45 seconds total—heat from prolonged blending melts ice and thins results. Using room-temperature coffee instead of chilled? That’s why your drink’s watery. Pro hack: Freeze coffee in ice cube trays. These concentrate flavor as they melt, keeping strength intact while chilling.
Which Ninja Blenders Work Best for Iced Coffee (and Accessories You Need)
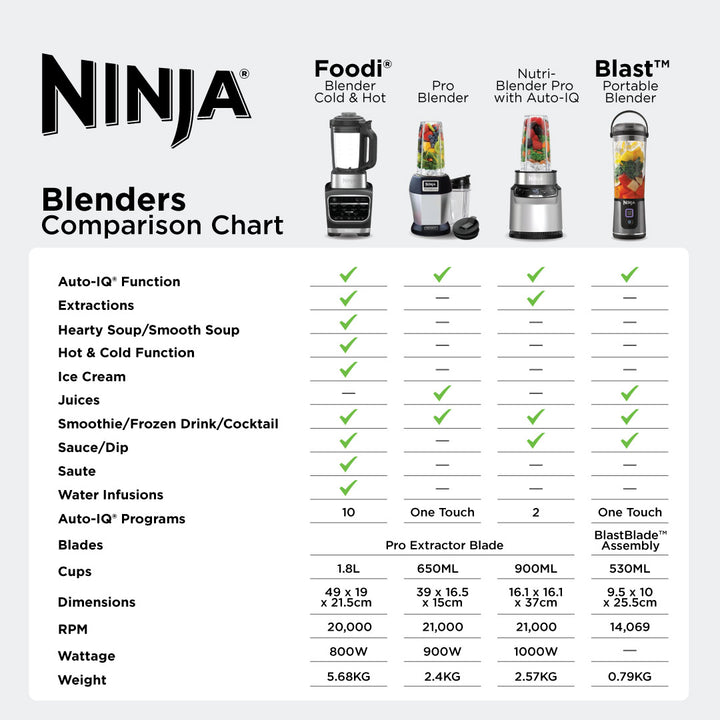
Your Nutri Ninja, Ninja Blend Max Duo, or any model with single-serve cups handles this perfectly. Pitcher models require 2+ servings for proper vortex action—don’t attempt single servings in large pitchers. Essential accessories: the 700ml single-serve cup for solo drinks, standard pitcher for groups, and spout lid for leak-proof transport. Skip the food processor attachment—it shreds ice instead of blending.
Avoid Incompatible Setups
Mini personal blenders under 600 watts stall with ice. Older Ninja models without “pulse” functions often leave chunks—use 10-second bursts instead. Critical check: Verify your cup’s max-fill line before adding ingredients. Overfilling cracks containers under pressure.
How Much You Save Making Ninja Blender Iced Coffee vs. Coffee Shops
One $6 coffee shop iced coffee daily costs $2,190 yearly. Your Ninja-made version costs just $1 per serving: $0.50 for coffee grounds, $0.30 for milk, $0.20 for syrup. Brew once weekly in bulk to slash active time to 2 minutes per serving. Even with premium ingredients like oat milk and sugar-free syrups, you’ll save $1,460+ annually.
Maximize Your Savings
Buy coffee beans in bulk and grind weekly—saves 40% over pre-ground. Store syrup in squeeze bottles for mess-free measuring. Real math: At 3x weekly consumption, you recoup your Ninja blender cost in under 4 months.
3 Make-Ahead Hacks for Ninja Blender Iced Coffee
Prep components Sunday night for instant weekday drinks. Brew 4 cups extra-strong coffee, cool completely, and store in airtight containers for up to 3 days. Freeze coffee in ice cube trays—these intensify flavor as they melt. Portion syrups into small jars and milk into 8oz bottles. Morning assembly? Dump pre-measured ingredients + ice into cup, blend 30 seconds, go.
Avoid Make-Ahead Mistakes
Never store blended coffee—it separates and loses texture. Coffee ice cubes must be 100% frozen before transferring to bags (prevents clumping). Time-saver: Label containers with recipe names (“Mocha,” “Caramel”) so you grab the right mix instantly.
Frappé-Style Ninja Blender Iced Coffee Without the Calories
Create thick, spoonable frappés minus the sugar crash. Add 1 tbsp instant vanilla pudding mix to your base recipe before blending—it stabilizes foam and mimics ice cream texture. For protein-packed versions, blend in 1 scoop vanilla protein powder after the initial 20-second blend. Need extra creaminess? Drop in ½ frozen banana with your ice.
Texture Troubleshooting
Pudding mix too thick? Reduce to 2 tsp. Protein powder clumping? Blend liquids first, then add powder through the lid’s feed tube. Pro tip: Use cold brew concentrate instead of regular coffee for smoother, less acidic frappés.
Fix Ninja Blender Iced Coffee Leaks, Bitterness & More
Leaking from the cup bottom? Remove and reseat the blade assembly clockwise—cross-threading is the #1 cause. Bitter coffee? Your brew was too strong—add 1 tsp sugar mid-blend. Metallic taste means old coffee oils are rancid; run a vinegar-water cycle through your blender. No blending action? Ensure the cup is fully locked into the base with audible click.
Prevent Future Failures
Clean blades immediately after use—dried coffee stains are hard to remove. Wipe the gasket weekly with baking soda paste. Critical: Never submerge the motor base in water. Store cups upside down to prevent odors.
Keep Your Ninja Blender Iced Coffee Perfect: Storage & Routine Tips
Refrigerate brewed coffee in sealed containers up to 72 hours—discard after day 3 for peak flavor. For best results, use coffee within 48 hours. Never store hot coffee; condensation dilutes strength. Drink blended coffee immediately, but if necessary, refrigerate up to 24 hours—re-blend 10 seconds before serving to recombine separated layers.
Master this routine and you’ll ditch coffee shop lines forever. Start with the base formula, then experiment with flavors until you create your signature blend. Your Ninja blender isn’t just for smoothies—it’s your ticket to daily café luxury without the markup. Grab those ice cubes and blend your first perfect iced coffee before lunch.


