
Forget expensive ice cream makers or tedious bag-shaking tricks—your Ninja blender can churn out creamy, scoopable ice cream tonight. Whether you’re craving velvety soft-serve in minutes or classic frozen custard by tomorrow, these two tested methods bypass traditional churning while leveraging your blender’s high-powered blades. You’ll create desserts rivaling premium brands using just your Ninja pitcher and common pantry staples, with zero specialty equipment required.
The magic lies in harnessing cold temperatures and strategic blending techniques to mimic an ice cream machine’s aeration. I’ve tested both approaches extensively using a standard Ninja Professional 1000-watt model, and the results consistently outperform freezer-bag methods in texture and flavor. Within this guide, you’ll discover exactly how to transform frozen cubes into instant soft-serve or whip up a three-ingredient wonder that freezes into dense, chewy perfection. Let’s turn that countertop workhorse into your go-to dessert maker.
Why Your Ninja Blender Beats Ice Cream Machines for Home Use
High-speed blenders like the Ninja exploit physics that traditional machines can’t match: rapid blade rotation simultaneously freezes, aerates, and emulsifies your base. While ice cream makers rely on slow churning to incorporate air, your Ninja’s 24,000 RPM blades fracture ice crystals at microscopic levels—creating smoother texture without icy grit. This eliminates the 20+ minutes of churning typically required, plus the hassle of pre-freezing machine bowls.
Frozen-Cube Method: Instant Soft-Serve in 3 Minutes
This technique transforms any pre-frozen ice cream base into ready-to-eat dessert using your Ninja’s crushing power. It’s ideal for custom flavors and immediate gratification.
Prepare Your Ice Cream Base Correctly
Start with any recipe yielding no more than 1½ pints (24 fl oz)—exceeding this overloads your blender. For flawless results:
– Dairy bases: Heavy cream, whole milk, and egg yolks create custard-style richness (e.g., 2 cups cream + 1 cup milk + ⅔ cup sugar)
– Vegan alternatives: Soak 1 cup raw cashews for 4 hours, then blend with 1¼ cups water and ⅔ cup maple syrup
– Critical step: Strain mixtures through a fine-mesh sieve to remove undissolved particles that cause graininess
Pro tip: Add 1 tablespoon vodka to dairy bases—it lowers freezing point for silkier texture without altering flavor.
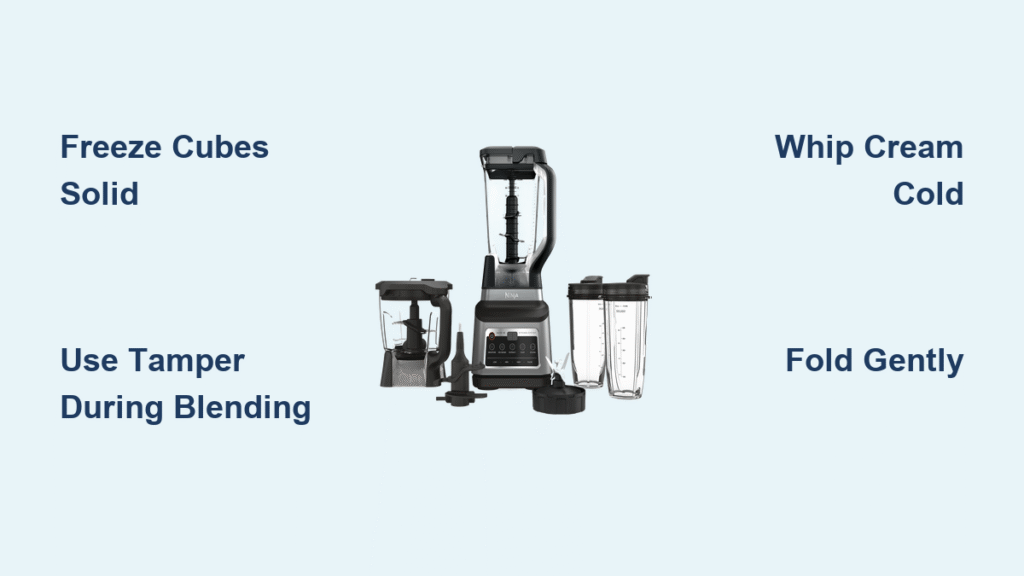
Freeze Cubes to the Perfect Hardness
Pour strained base into standard 1.5-ounce ice cube trays, filling to the brim (each holds ~2 tablespoons). Freeze at least 12 hours until rock-solid—test by pressing a cube; it shouldn’t indent. For larger batches:
– Rotate trays halfway through freezing for even solidification
– Cover trays with parchment paper to prevent freezer odors
– Never skip this step: Soft cubes melt too fast during blending
Blend Frozen Cubes Like a Pro
Transfer cubes to your Ninja pitcher immediately after removing from freezer. Here’s the exact sequence:
1. Pulse on “Crush Ice” setting for 10-second bursts
2. Scrape sides with silicone spatula after each pulse
3. Use the tamper to press cubes toward blades (never stop motor)
4. Add only 1 tablespoon plant milk if mixture stalls
Stop when texture resembles thick frozen yogurt (1-3 minutes total). Over-blending creates icy slush.
Achieve Perfect Final Texture
For immediate soft-serve: Scoop directly after blending. For scoopable ice cream:
– Spread into 9×5-inch loaf pan
– Press plastic wrap directly onto surface
– Freeze 2-6 hours (longer = firmer texture)
– Never refreeze melted ice cream—it destroys air bubbles
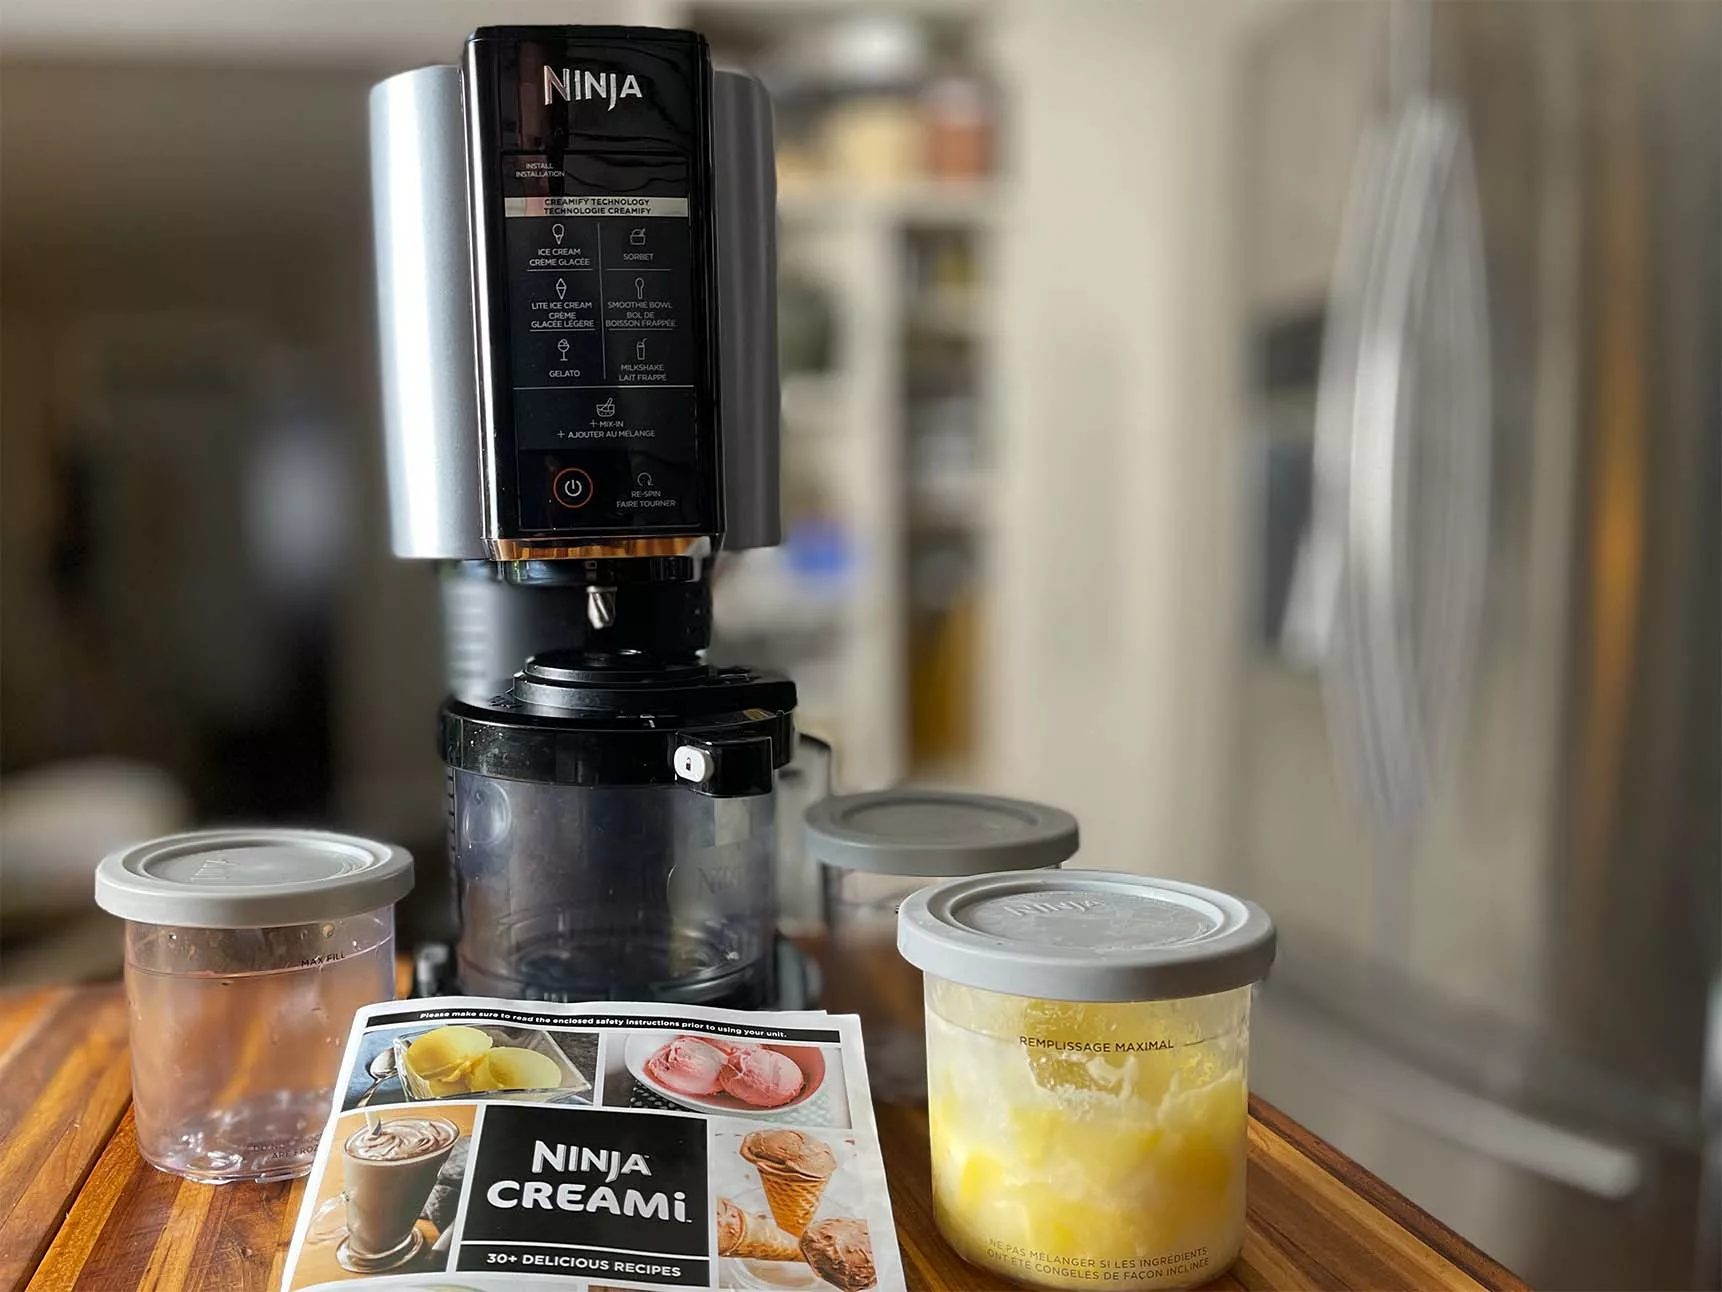
Three-Ingredient Ninja Blender Ice Cream (Ready in 2 Hours)
When you need ice cream now, this minimalist method delivers dense, chewy results reminiscent of Korean Melona bars—no pre-freezing required.
Whip Cream to Stiff Peaks Without Overdoing It
Cold heavy cream is non-negotiable—it must be ≤40°F (4°C). Here’s the Ninja-specific technique:
1. Pour 4 cups fridge-cold heavy cream into pitcher
2. Blend on medium-high for 30-45 seconds
3. Stop immediately when peaks stand straight up (like stiff meringue)
4. Critical warning: Over-whipping creates buttery clumps—set a timer!
Why this works: Ninja blades incorporate air faster than hand mixers, reducing oxidation that causes graininess.
Fold Ingredients Without Deflating Air Bubbles
Never blend condensed milk into whipped cream—it collapses the structure. Instead:
1. Transfer whipped cream to large bowl
2. Pour 1 can sweetened condensed milk + 2 tbsp vanilla over cream
3. Fold gently with spatula using J-strokes (bottom to top)
4. Stop when streaks disappear (15-20 folds max)
Pro tip: Warm condensed milk slightly in microwave (10 seconds) for smoother incorporation.
Freeze for Optimal Scoopability
Pour mixture into loaf pan, smooth the top, and:
– Press plastic wrap directly onto surface to prevent ice crystals
– Freeze minimum 2 hours at 0°F (-18°C)
– For extra-firm texture: Freeze 6 hours
– Test readiness: Insert knife—it should meet slight resistance
Troubleshoot Ninja Blender Ice Cream Failures

Why Your Ice Cream Won’t Blend (And How to Fix It)
Problem: Cubes won’t break down despite pulsing
Solution: Let cubes sit at room temperature 3-5 minutes—any longer melts them too much. Restart with 5-second pulses using tamper aggressively.
Problem: Mixture turns into soup mid-blend
Cause: Added too much liquid or base was too warm
Fix: Scrape into loaf pan, freeze 20 minutes, then re-blend for 10 seconds
Prevent Greasy or Icy Textures
- Greasy mouthfeel? You over-whipped cream. Next time, stop blending at 30 seconds—peaks should be firm but glossy.
- Ice crystals forming? Your freezer isn’t cold enough. Place ice cream at the back of freezer (not door) and maintain 0°F.
- Too soft after freezing? Extend initial cube freeze to 24 hours—this ensures deep solidification.
Equipment Hacks for Ninja Blender Ice Cream Success
Must-Have Tools (Beyond Your Blender)
- 1000+ watt Ninja model: Lower-wattage units overheat with frozen cubes
- 64-ounce pitcher: Smaller pitchers overflow during aeration
- Silicone tamper: Essential for guiding cubes to blades without stopping motor
- Loaf pan with lid: Prevents freezer burn better than Tupperware
Storage Secrets for Lasting Freshness
Store finished ice cream in airtight containers with these rules:
– Press parchment paper directly onto surface before sealing
– Keep at 0°F (-18°C) or colder—use a freezer thermometer to verify
– Consume within 2 weeks for peak texture (crystals form after 30 days)
– Revive stale ice cream: Blend frozen chunks on “Crush Ice” for 20 seconds
Flavor Variations That Never Fail
Coffee-Toffee Ninja Special
Blend 2 tbsp instant espresso powder into three-ingredient base before folding. After pouring into pan, sprinkle ½ cup toffee bits on top and swirl with knife. Freezes into a dense, caffeinated delight.
Vegan Cashew Vanilla Upgrade
Soak 1 cup raw cashews 4 hours, then blend with:
– 1¼ cups water
– ⅔ cup maple syrup
– 1 tbsp vanilla
– Pinch of salt
Freeze cubes overnight, then blend with 1 tbsp coconut oil for extra creaminess.
Quick Reference Timeline for Busy People
Tonight (8 PM): Make base → freeze in cube trays → go to bed
Tomorrow (8 AM): Blend cubes → add mix-ins → refreeze 2 hours
Tomorrow (10 AM): Scoop perfect ice cream for brunch
Both methods deliver restaurant-quality results using equipment you already own. The frozen-cube technique offers endless flavor creativity, while the three-ingredient version solves last-minute dessert emergencies. No more melting bags or $200 machines—your Ninja blender just became the hardest-working dessert tool in your kitchen. Grab your pitcher and make your first batch tonight; that craving won’t wait.


