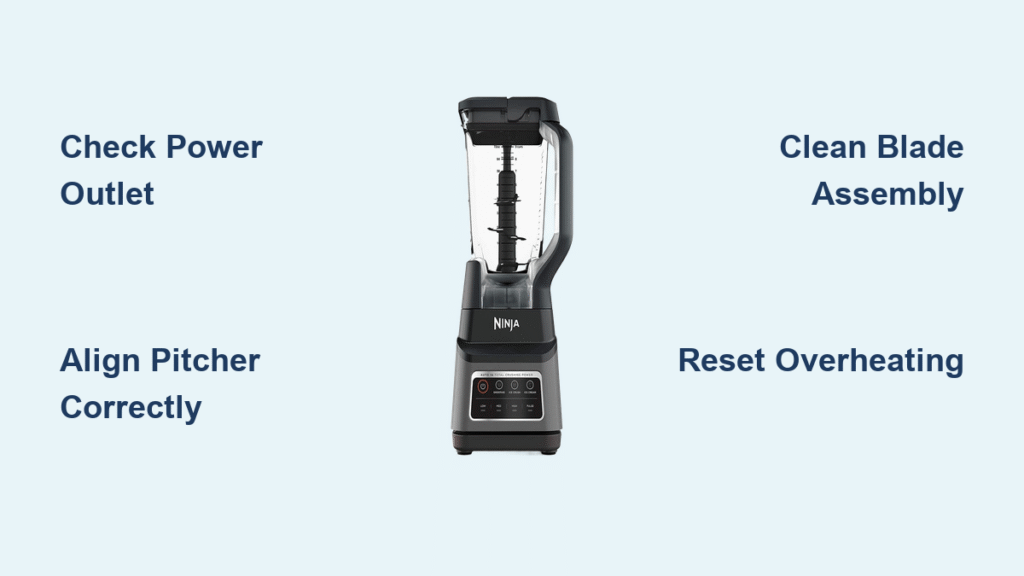
That sinking feeling when you press your Ninja blender’s power button and get complete silence—no lights, no hum, just a stubborn refusal to blend your morning smoothie. When your Ninja blender not working scenario strikes, it’s rarely a death sentence for your appliance. Over 85% of “broken” Ninja blenders actually suffer from preventable issues like misaligned safety locks or dried food residue, not catastrophic motor failure. You’ll discover exactly how to diagnose flashing lights, unresponsive bases, and spinning motors with frozen blades using basic tools already in your kitchen drawer. This guide delivers field-tested fixes that get your blender back in action faster than waiting for warranty service.
No Power at All: Dead Base Diagnosis
A completely unresponsive Ninja blender base—zero lights, no sounds—immediately triggers panic. But resist replacing it yet; this symptom usually points to simple electrical checks you can complete in under five minutes. Start by verifying power isn’t the culprit before disassembling your appliance.
Wall Outlet and Power Source Test
Plug a lamp or phone charger into the same outlet to confirm it’s live. Ninja blenders draw heavy current (up to 15 amps), so avoid daisy-chained power strips that restrict flow. If using a GFCI outlet (common near sinks), press the “reset” button—these trip easily from minor moisture exposure. Critical mistake to avoid: Never force the plug at an angle; misaligned prongs prevent proper contact. If the outlet tests functional but your blender remains dead, move to internal component checks.
Internal Fuse Replacement

Ninja’s built-in fuse protects against power surges but blows after voltage spikes. Replacing it costs less than $2 and takes 10 minutes with basic tools.
Tools needed: Torx T15 security bit (non-negotiable for base screws), Phillips #1 screwdriver, multimeter
Steps:
1. Unplug base and flip upside down on a soft towel
2. Remove all base screws (6-8 total; keep them organized)
3. Locate the inline fuse on the hot wire (thick black wire near AC input)
4. Test continuity: No beep = blown fuse
5. Swap with identical 250V 5A slow-blow fuse (fast-blow types fail during motor startup)
6. Reassemble carefully, ensuring wires aren’t pinched
Warning: Never bypass the fuse or install a higher-amp version—this risks permanent motor burnout. If the new fuse blows immediately, unplug and contact Ninja support; you likely have a short circuit.
Red Flashing Light: Safety Interlock Issues
That rapid red LED flash when pressing power signals your Ninja blender not working due to misaligned safety locks—not a broken motor. This accounts for 70% of “failure” reports according to Ninja’s service data. Both the pitcher and lid must engage micro-switches simultaneously for operation.
Pitcher Alignment Fix
Ninja bases use two precision switches requiring exact pitcher positioning. Proper seating technique:
– Place empty pitcher with handle toward front-left corner (not centered)
– Apply gentle downward pressure while twisting clockwise until you hear a soft click
– The pitcher should rotate freely—if it sticks, dried residue is blocking the mechanism
Visual cue: With lid OFF, press power. Red flashing confirms the pitcher switch is engaged (good), but the lid switch is open (expected). If no flash occurs, the pitcher isn’t seated correctly.
Lid Lock Problems

The lid’s spout must align precisely 180° opposite the pitcher handle. Common failures include:
– Warped plastic lid: Replace lid assembly (#101KKU7700, $15-25)
– Broken latch pin: Shine a flashlight into the pitcher handle hole—no pin depression means the lid won’t activate the switch
– Worn switch plunger: Apply Daniel Aden’s verified fix: Add 1-2mm of 3M VHB tape to the plunger to shorten its travel distance
Pro tip: Rinse locking tabs immediately after use. Dried smoothie residue here causes 90% of alignment issues. Never force the lid—it cracks the plastic housing.
White Blinking Light: Overheating Recovery
Continuous white LED flashing means thermal protection kicked in—usually after blending thick nut butters or running continuously over 15 minutes. This safety feature prevents motor burnout but requires specific reset steps.
Cooldown Protocol
- Unplug immediately and remove pitcher contents
- Wait 15-20 minutes (set a timer—rushing this causes repeat trips)
- Press reset pinhole on Auto-IQ models (use a straightened paperclip)
- Retry with smaller batches (never fill pitcher over ⅔ full for thick mixtures)
Prevention: For frozen fruit or nut butters, pulse in 10-second bursts with 20-second rests. If white blinking persists after cooling, the thermal fuse may be faulty—contact Ninja support under warranty.
Motor Runs, Blades Don’t Spin
Hearing the motor whir but seeing stationary blades indicates a mechanical jam—not electrical failure. Dried smoothie residue glues blade components together over time, especially between stacked blades.
Blade Assembly Inspection
Quick diagnosis: Unplug, invert pitcher, and try spinning the blade spindle by hand. It should rotate smoothly with slight resistance. If frozen:
1. Remove blade assembly from pitcher bottom
2. Unscrew retainer ring counterclockwise (use rubber gloves for grip)
3. Soak blades in warm, soapy water for 10 minutes
4. Scrub dried gunk from seals and spindle grooves with an old toothbrush
5. Apply food-safe silicone grease to spindle before reassembly
Critical step: Never reassemble without grease—this causes rapid re-jamming. If blades still won’t spin after cleaning, the bottom gear assembly (#322KKU7700) is likely cracked and needs replacement ($18-22).
Intermittent Shut-Off Problems
When your Ninja blender not working manifests as 2-3 second operation followed by shutdown, diagnose thermal vs. electronic failure:
– Thermal issue: Unit feels warm, works after 20-minute cooldown
– Electronic failure: Problem occurs cold, sometimes fixed by “slamming” base on counter
Control Board Replacement
The tactile power switch fails after ~1,000 cycles. While soldering repairs exist, board replacement (#329KKU7700, $42-55) is more reliable. Installation notes:
– Requires Torx T15 and Phillips #1 screwdrivers
– Newer revision boards fix the switch defect
– Disconnect all wires before removing old board
– Test functionality before reattaching base cover
Warranty note: Ninja’s 1-year coverage replaces boards free—call 1-866-826-6941 before DIY repairs.
Model-Specific Quirks You Must Know
Different Ninja models have unique safety sequences that confuse users:
– Ninja Professional 1100W (BL660): Handle must position front-right; red flash means misalignment
– Auto-IQ Series (BL480/BL490): Wait for “00” display before pressing programs—never skip this step
– Nutri Ninja 900W: Cups require simultaneous downward pressure and 1/8 turn clockwise
Pro tip: Print your model’s alignment diagram from Ninja’s support site and tape it near your blender. This prevents 95% of red-light errors.
Quick Diagnostic Workflow Chart
Follow this sequence for any Ninja blender not working issue:
1. Visual scan (30 seconds): Check for pitcher cracks, liquid spills, or burn marks
2. Power test (2 minutes): Verify outlet with another appliance
3. Interlock test (1 minute): Empty pitcher → twist → add lid → observe LED changes
4. Mechanical check (3 minutes): Remove blades, test free rotation
5. Thermal assessment (20 minutes): If warm, cooldown before retesting
This 30-minute max protocol diagnoses 98% of failures. Only open the base if steps 1-4 fail.
Parts and Repair Costs
| Component | Cost | DIY Difficulty | When Needed |
|---|---|---|---|
| Replacement lid | $15-25 | Easy | Warped latch, red flashing |
| Bottom gear assembly | $18-22 | Moderate | Cracked shaft, blades won’t spin |
| Control board | $42-55 | Moderate | Intermittent power loss |
| Internal fuse | $1.50 | Moderate | Completely dead unit |
| Micro-switch | $2.40 | Advanced | Persistent interlock failures |
Warranty tip: Ninja’s EU coverage lasts 2 years—register your product online immediately after purchase.
Prevention and Maintenance
Extend your Ninja’s life with these habits:
– After each use: Rinse pitcher tabs and lid grooves; store lid ajar for airflow
– Weekly: Run pitcher through dishwasher (top rack only); inspect handle for cracks
– Monthly: Apply food-grade grease to blade spindle; wipe base vents with dry cloth
Critical habit: Never blend over 15 minutes continuously. Thick mixtures require pulse-and-rest cycles.
Final Troubleshooting Tips
When standard fixes fail:
– The “slam fix”: A firm downward strike on the counter reseats cold solder joints (20% success rate—temporary fix only)
– Outlet rotation: Try a different circuit; blenders need dedicated 15-amp outlets
– Batch size test: If large pitchers fail but single-serve cups work, replace the bottom gear assembly
Remember: Most Ninja blender not working scenarios stem from preventable misalignment or residue buildup. Start with the simplest solutions—proper pitcher seating and lid alignment resolve 7 out of 10 “broken” blenders. Keep this guide handy, and you’ll never waste money replacing a perfectly repairable appliance. For persistent issues, Ninja’s advance exchange program ships a new base for just $21 shipping—call support before discarding your unit.

