
Your Ninja blender can transform canned chickpeas into velvety hummus faster than you can drive to the grocery store. Forget gritty store-bought tubs or complicated food processor recipes—this powerhouse appliance creates restaurant-smooth dips in under 5 minutes using just one can of chickpeas. Whether you’re prepping snacks for the week or need a last-minute party appetizer, you’ll skip takeout forever once you master these techniques. The secret? Your Ninja’s vortex action pulverizes chickpeas without leaving grainy bits, while Auto-iQ presets handle timing so you don’t need culinary skills.
You’ll learn two foolproof methods: one using Auto-iQ presets for hands-off blending and another manual technique for single-serve cups. Plus, discover why adding olive oil during blending prevents separation, how to fix texture disasters in seconds, and pro storage tricks that keep hummus fresh for a full week. Let’s turn that dusty blender in your cabinet into your new hummus-making hero.
Equipment Setup for Ninja Blenders
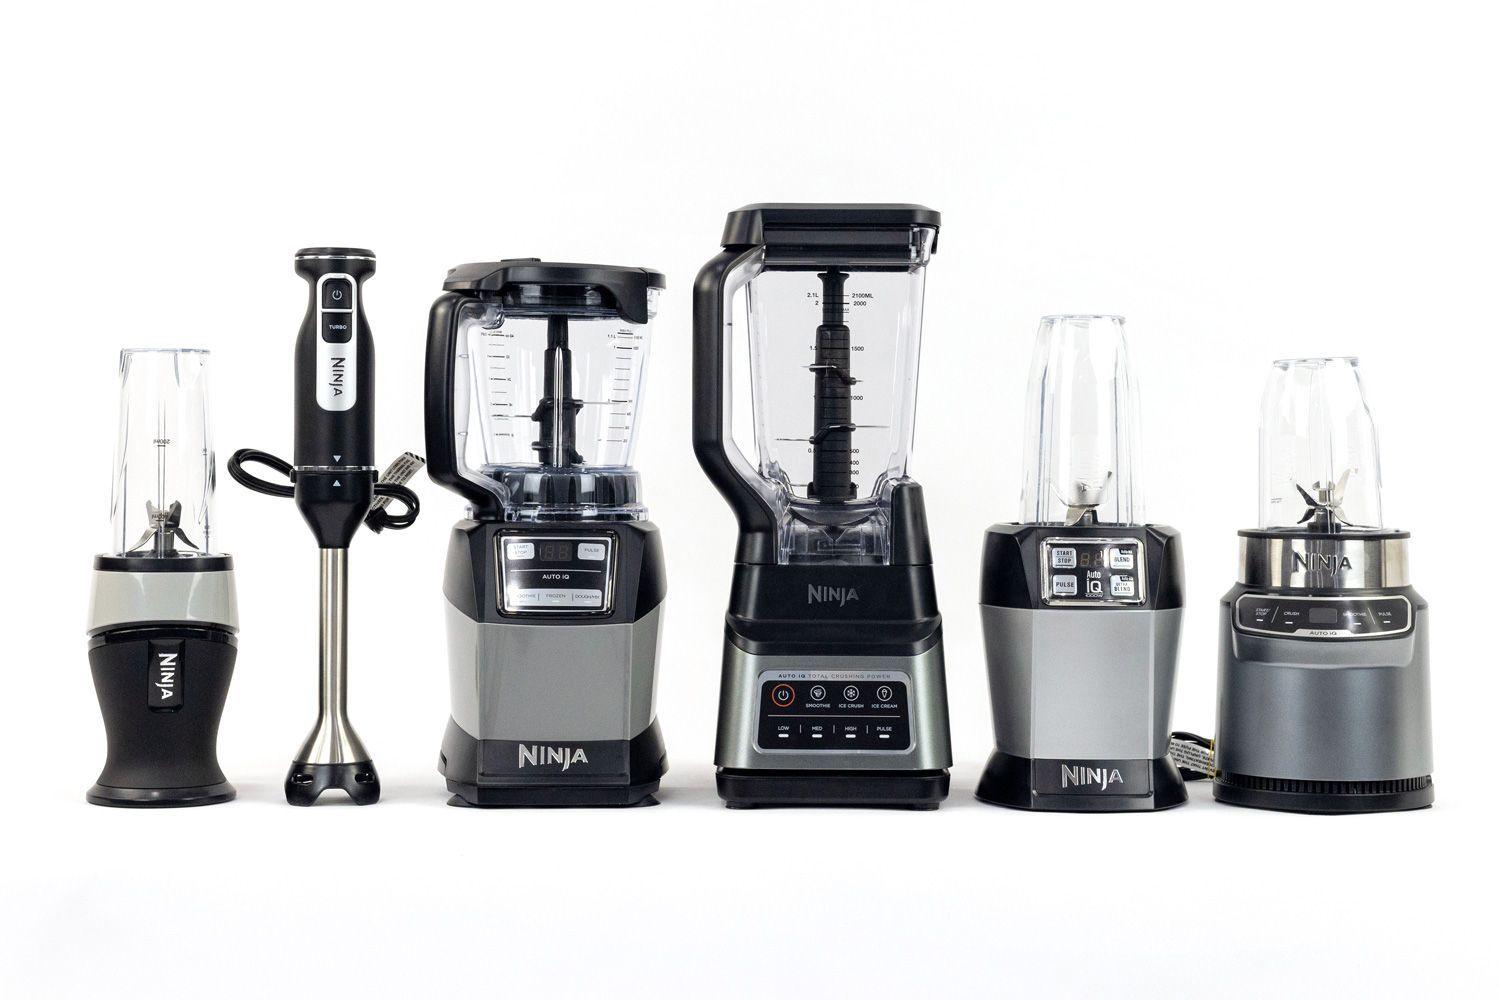
Choose Your Ninja Model
Your Ninja Chef with Auto-iQ is the MVP for full batches—just drop in ingredients and let the “Puree” preset work its magic. For solo snacking, the 700 ml single-serve cup handles one can of chickpeas perfectly. Both outperform food processors because their high-speed blades create a vortex that pulls ingredients downward, eliminating the need for constant scraping. Always use the tamper included with pitcher models to push thick mixtures toward the blades; skip it for single-serve cups since their compact design prevents ingredient separation.
Prep Your Workspace
Lock your pitcher or cup onto the base before adding ingredients—this prevents dangerous wobbling during blending. For pitcher models, fill only to the max line (about 2 cans of chickpeas) to avoid overflow. With single-serve cups, remove the blade assembly immediately after blending stops; residual momentum can over-process hummus if left attached. Keep a rubber spatula nearby for scraping—Ninja’s smooth pitcher walls make transferring effortless.
Essential Hummus Ingredients
Standard Pitcher Recipe
For a crowd-pleasing batch (8 servings), combine:
– 2 cans (15 oz each) chickpeas, drained with ½ cup liquid reserved
– 4-6 garlic cloves, peeled (roast them first for milder flavor)
– 2 tbsp tahini (stir well if oil has separated)
– Juice of 1 lemon (60 ml—never lime!)
– ½ tsp salt + ½ tsp cumin
Skip adding olive oil during blending for this method—it’s only needed for garnish. The reserved chickpea liquid (aquafaba) creates creaminess without thinning flavor.
Single-Serve Cup Formula
Perfect for one (makes 4 oz):
– 1 can (400g) chickpeas, drained
– 50 ml chickpea liquid
– 60 ml lemon juice + 60 ml olive oil (emulsifies while blending)
– 1 garlic clove + 1 tsp cumin + ½ tsp paprika
– 1 tbsp tahini + 1 tsp sea salt
Critical tip: Layer ingredients in this exact order—chickpeas first, then liquids, then spices—to prevent dry ingredients from clogging under the blades.
Smart Substitutions
No tahini? Use 4 tbsp sesame seeds (high-power models only). Tame garlic’s bite by blanching cloves in boiling water for 30 seconds. If aquafaba runs out, thin hummus with ice water—never room-temperature water, which makes it gummy. For oil-free versions, omit olive oil during blending and drizzle sparingly on top.
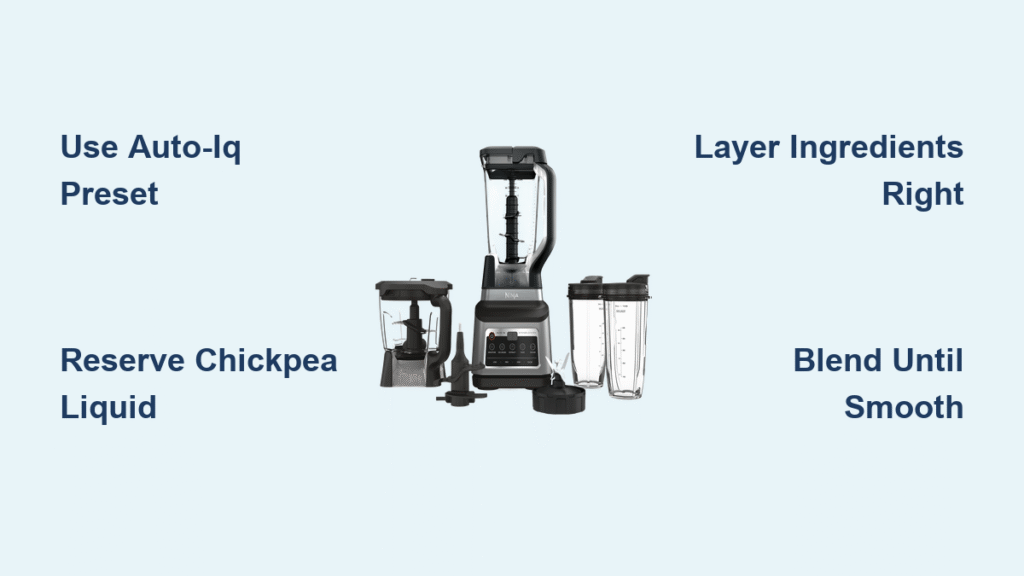
Auto-iQ Puree Method
Step 1: Load Ingredients
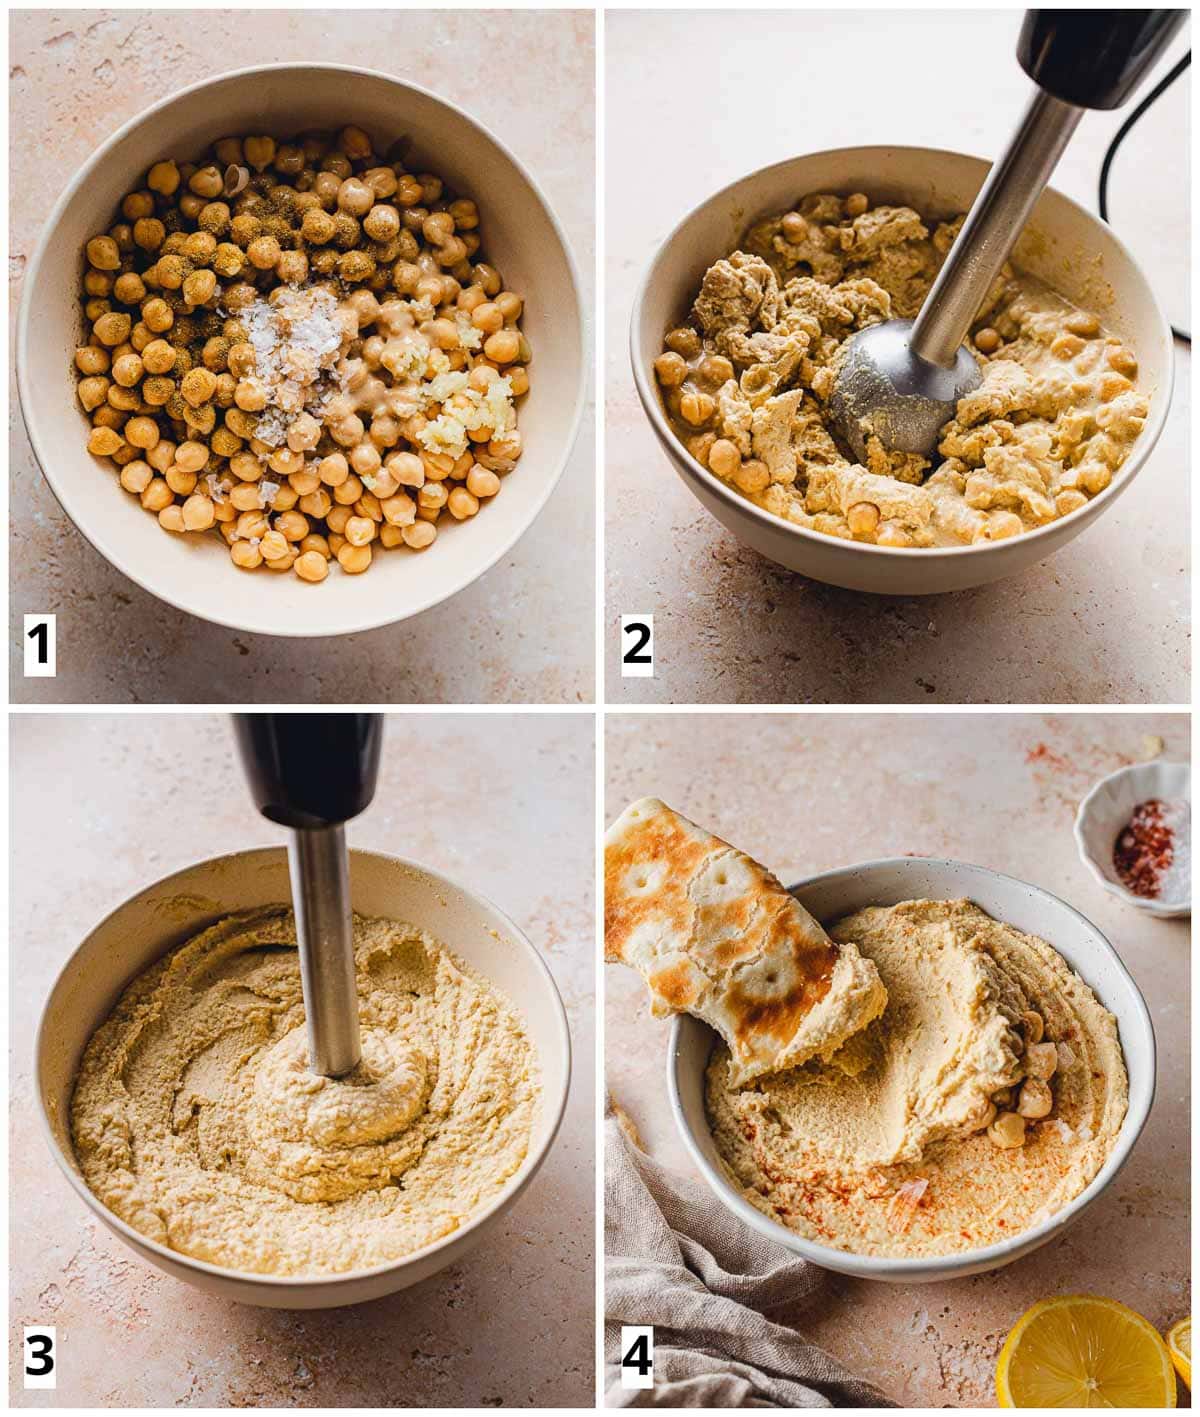
Drain chickpeas over a bowl to catch liquid. Add chickpeas, reserved liquid, garlic, lemon juice, tahini, salt, and cumin to the 64 oz pitcher. Don’t skip reserving liquid—it’s your secret weapon for smoothness.
Step 2: Activate Preset
Lock the lid securely, select Auto-iQ → Puree, and press start. The program runs 45-60 seconds automatically. Watch for the vortex—a swirling funnel means ingredients are circulating properly. If the mixture stalls (no movement), pause and use the tamper to push ingredients toward blades.
Step 3: Adjust Consistency
If hummus looks thick after the preset ends, add liquid 1 tbsp at a time while blending. Stop when it flows like warm peanut butter. The Auto-iQ stops when texture is optimal—over-blending creates heat that makes hummus gluey.
Manual Single-Serve Technique
Layer Ingredients Correctly
Pour chickpeas into the cup first, then chickpea liquid, lemon juice, and olive oil. Top with garlic, spices, tahini, and salt. This layering ensures liquids hit the blades first, creating an instant emulsion.
Blend to Perfection
Screw the blade assembly on tightly—loose lids cause leaks. Invert onto the base, press START, then hold BLEND for 30-45 seconds. Listen for the pitch change: a high whine means smoothness; a grinding sound means chunks remain. Stop when mixture coats the cup walls evenly.
Quick Texture Fixes
- Too thick? Add 1 tbsp aquafaba, blend 5 seconds
- Grainy? Blend 20 seconds longer with 1 tsp lemon juice
- Too loose? Pulse in ¼ cup extra chickpeas
Flavor Variations After Base
Divide fresh hummus into portions before customizing. These add-ins blend seamlessly without extra liquid:
Classic Twists:
– Roasted red peppers (¼ cup, patted dry)
– Sun-dried tomatoes (2 tbsp, drained)
– Chipotle pepper + 1 tsp adobo sauce
Bold Flavors:
– Jalapeño (½ for mild heat, seeds removed)
– Caramelized onions (¼ cup)
– Handful of fresh spinach
Pro Tip: Garnish spicy versions with jalapeño slices so guests avoid surprises. For roasted garlic hummus, blend in one whole head (20 cloves) for sweet, mellow depth.
Storage and Freshness Rules
Refrigeration Method
Transfer to an airtight container, smooth the surface with a spoon, and pour a ⅛-inch olive oil layer on top. This seals out air, preventing the gray film that ruins texture. Flavor peaks after 1 hour—garlic mellows while lemon brightens.
Freezing Guidelines
Portion into ice cube trays, freeze solid, then transfer cubes to a ziplock bag. Thaw overnight in the fridge, then stir vigorously. Add 1 tsp lemon juice per cube if texture separates.
Food Safety Timeline
- Refrigerated: 7 days max (discard if surface darkens)
- Frozen: 3 months (flavor fades after)
- Room temperature: 2 hours only (bacteria thrive in protein-rich dips)
Troubleshooting Common Issues
Fix Grainy Texture
Graininess means chickpeas weren’t fully pulverized. Add 1 tbsp aquafaba and blend 30 seconds while watching for the vortex. Never add dry spices mid-blend—they absorb liquid and thicken hummus.
Tame Garlic Heat
Blanch garlic in boiling water for 30 seconds before blending, or roast whole cloves at 400°F for 15 minutes. Raw garlic intensifies as hummus chills—roasted versions stay mellow.
Handle Tahini Separation
Sesame oil naturally separates. Stir tahini vigorously in its jar before measuring, or warm the jar in hot water for 1 minute to loosen. Never substitute peanut butter—it alters flavor and texture.
Achieve Ultra-Smooth Results
Pinch skins off chickpeas (takes 5 minutes) for silky results. Pro move: Use warm chickpeas—drain cans, then rinse with hot water to soften skins before peeling.
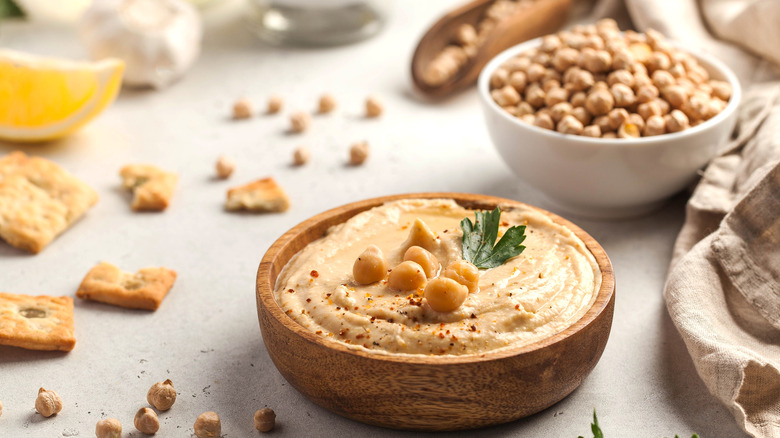
Serving Ideas and Meal Prep
Snack Combinations
Pair with veggie sticks (carrots, cucumbers, bell peppers) or whole-grain pita chips. Game-changer: Lightly toast pita wedges with olive oil and za’atar for dipping.
Lunch Box Solutions
Pack 2 oz portions with mini cucumbers and snap peas. Hummus acts as a “glue” for sandwiches—spread on wraps before adding falafel or roasted veggies.
Meal Integration
- Breakfast: Swirl into scrambled eggs
- Dinner: Dollop on grain bowls with roasted beets
- Party Trick: Create a rainbow platter with classic, beetroot (for pink), and spinach (for green) hummus
Pro Serving Tip: Let refrigerated hummus sit at room temperature for 30 minutes before serving—cold dulls flavors.
Your Ninja blender just transformed from a smoothie machine into a hummus powerhouse. Master these techniques once, and you’ll never buy store-bought again—fresh hummus costs pennies per serving and beats pre-made versions in texture and taste. Start with the Auto-iQ method this weekend, then experiment with roasted red pepper or jalapeño variations. Remember: the perfect hummus is always one can of chickpeas away, and your Ninja makes it foolproof. Grab your tamper and blend your first batch tonight—you’ve earned that creamy, garlicky reward.


